All things Beaver Mill
All things Beaver Mill
- This topic has 225 replies, 43 voices, and was last updated 12 June 2026 at 21:50 by
 Mark Rand.


- Please log in to reply to this topic. Registering is free and easy using the links on the menu at the top of this page.
Latest Replies
-
- Topic
- Voices
- Last Post
-
-
Super Simplex Build
Started by:
Peter Hoerlein
in: Work In Progress and completed items
- 7
-
15 June 2026 at 07:08
Peter Hoerlein
-
KMO RETROL 1/4 Scale Lister D Engine with some Mods.
Started by:
Blue Heeler
in: I/C Engines
- 1
-
15 June 2026 at 04:55
Blue Heeler
-
How Good Are 3D Printers?
Started by:
Neil Wyatt
in: 3D Printers and 3D Printing
- 4
-
14 June 2026 at 22:44
Mark Rand
-
My adventures with a bench top CNC mill
1
2
3
Started by:
John Hinkley
in: CNC machines, Home builds, Conversions, ELS, automation, software, etc tools
- 8
-
14 June 2026 at 21:29
Julie Ann
-
Running 380V 3-phase motor on 230V 1-phase
Started by:
jimalm
in: Electronics in the Workshop
- 13
-
14 June 2026 at 21:24
Julie Ann
-
Taper Identification
Started by:
Andrew Tinsley
in: Workshop Tools and Tooling
- 2
-
14 June 2026 at 20:46
Chris Crew
-
Lathe cutting aggressive taper
Started by:
Lee Kennedy
in: Manual machine tools
- 7
-
14 June 2026 at 12:22
Dave Halford
-
Lightning
1
2
3
Started by:
duncan webster 1
in: Electronics in the Workshop
- 14
-
14 June 2026 at 11:07
Robert Atkinson 2
-
Testing Single Point Thread Fitment
Started by:
berwick
in: Beginners questions
- 12
-
14 June 2026 at 10:18
alecs
-
Axle pin question – choice of material and possible need for case hardening?
Started by:
barryblundell
in: Materials
- 4
-
14 June 2026 at 09:21
Russell Eberhardt
-
Wallace valvegear simulator
Started by:
Kevan Shaw
in: General Questions
- 7
-
13 June 2026 at 18:43
John Purdy
-
Taylor Hobson Pantograph Engraver Model D
1
2
Started by:
jaCK Hobson
in: Workshop Tools and Tooling
- 8
-
13 June 2026 at 17:56
jaCK Hobson
-
What Did You Do Today 2026
1
2
…
4
5
Started by:
JasonB
in: The Tea Room
- 34
-
13 June 2026 at 15:38
Dalboy
-
Hindu ascetic in picture gallery
Started by:
Bill Phinn
in: Website Questions, Comments, and Suggestions
- 3
-
13 June 2026 at 15:37
Neil Wyatt
-
Bridgeport Milling Machine feed control module
Started by:
Mark Willis
in: Workshop Tools and Tooling
- 13
-
13 June 2026 at 13:08
henrik83
-
international exhibition 1862
Started by:
duncan webster 1
in: The Tea Room
- 9
-
13 June 2026 at 11:41
gerry madden
-
Air Duster
Started by:
jaCK Hobson
in: Workshop Tools and Tooling
- 4
-
13 June 2026 at 10:00
jaCK Hobson
-
Bridgeport Series 1 CNC
1
2
Started by:
tomcnc
in: CNC machines, Home builds, Conversions, ELS, automation, software, etc tools
- 12
-
13 June 2026 at 08:43
Les Riley
-
Gauge Glass Fitting
Started by:
Thomas Clarke
in: General Questions
- 10
-
13 June 2026 at 08:33
Luker
-
Searching for “The Pennsylvania A3 Switcher” by Kozo Hiraoka
Started by:
timdotd
in: Books
- 6
-
13 June 2026 at 08:22
DC31k
-
Myford VMC Spindle Advice Please.
1
2
Started by:
Nigel Graham 2
in: Manual machine tools
- 10
-
12 June 2026 at 23:11
Nigel Graham 2
-
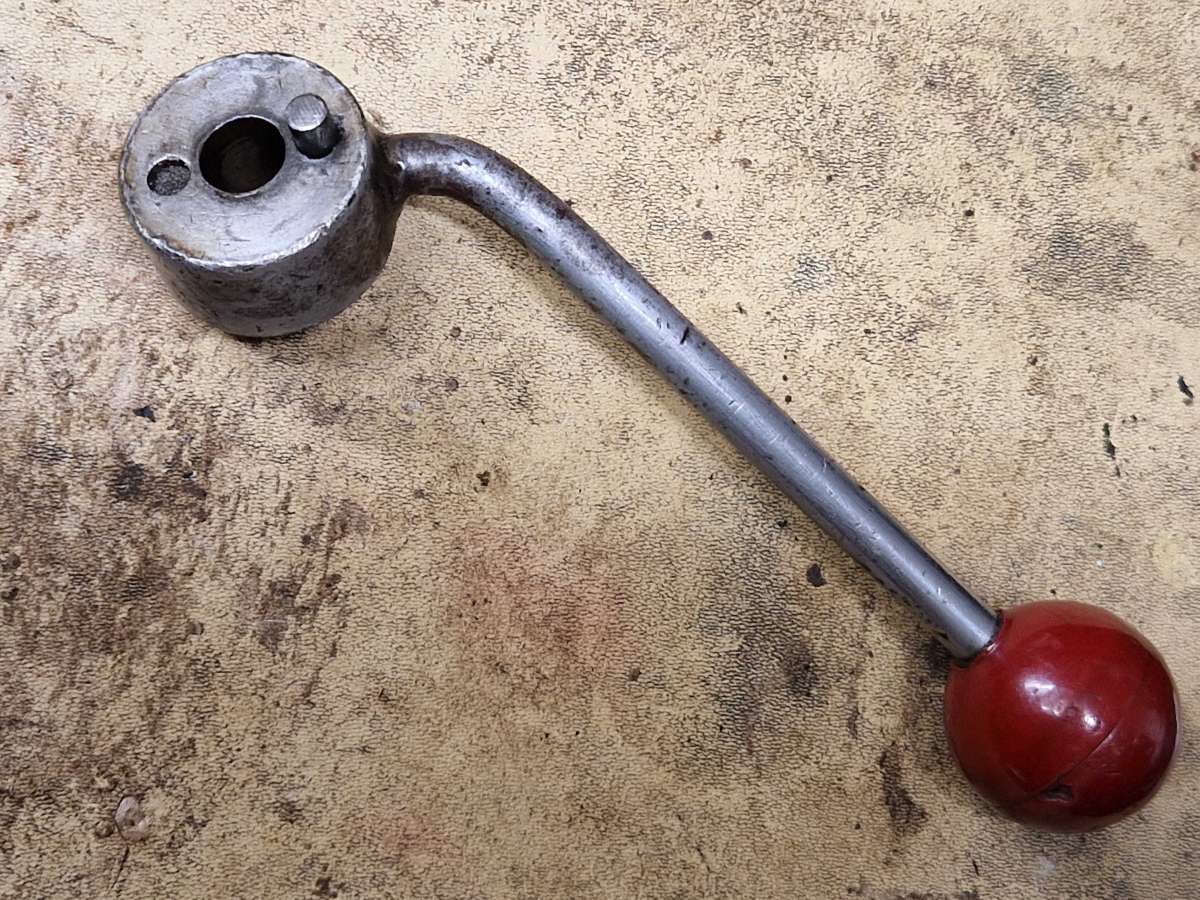
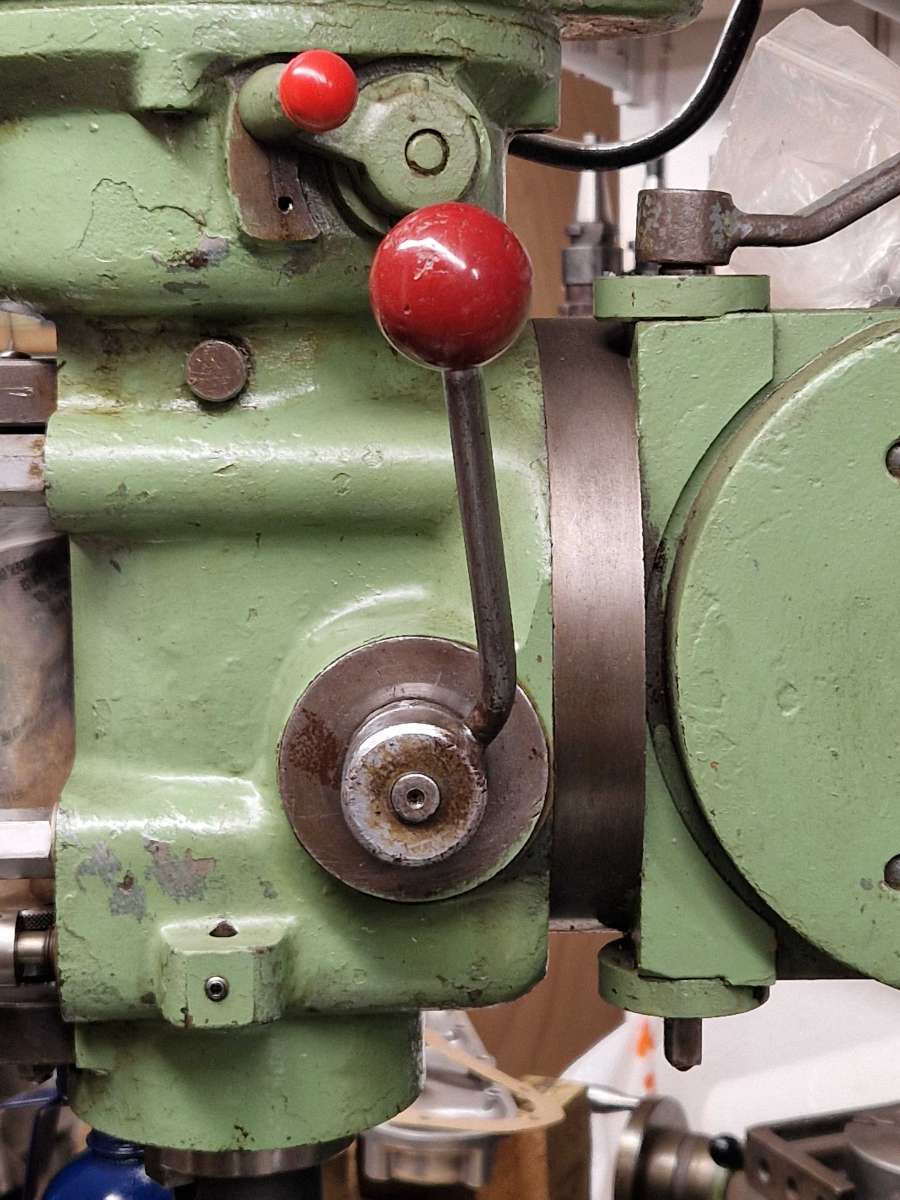
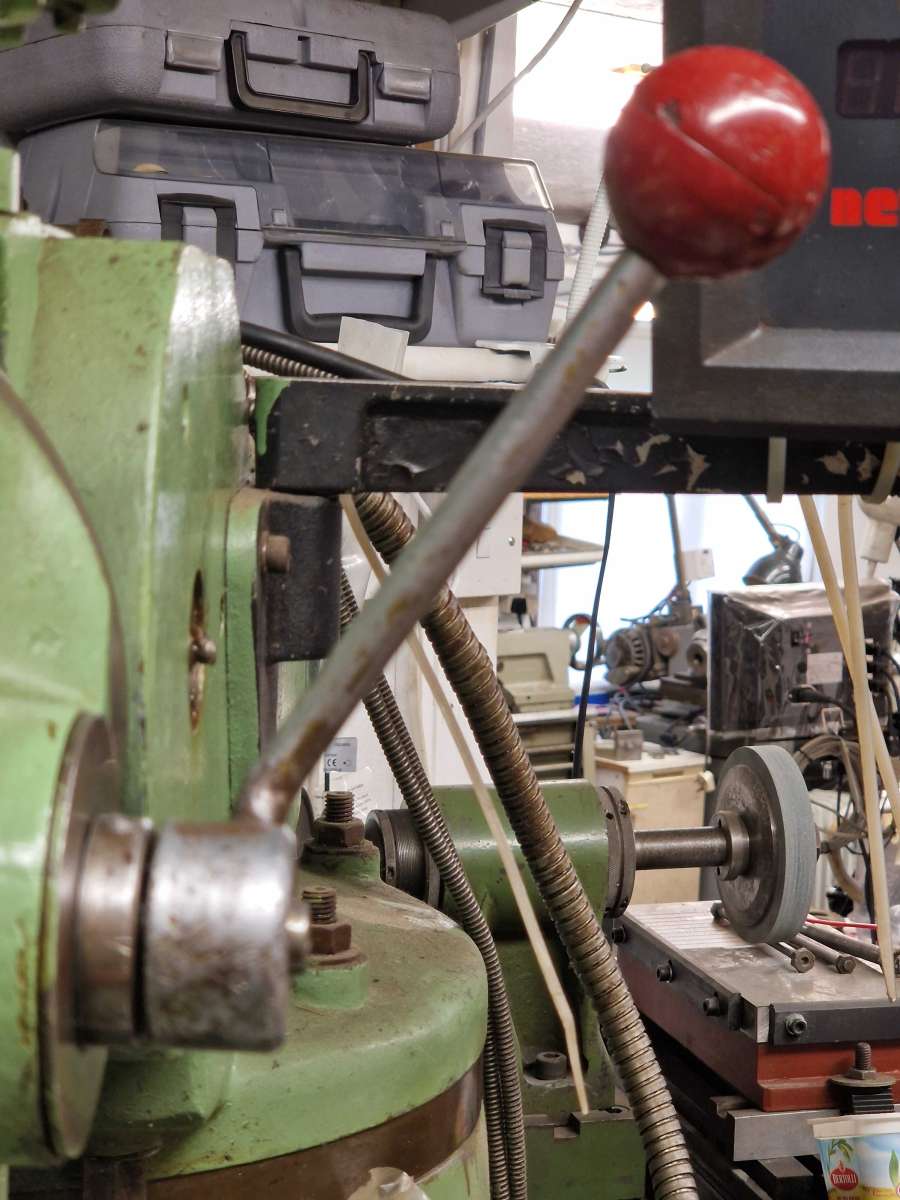
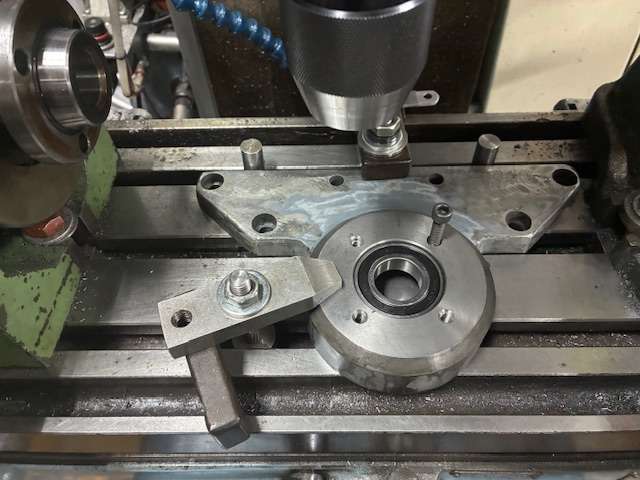
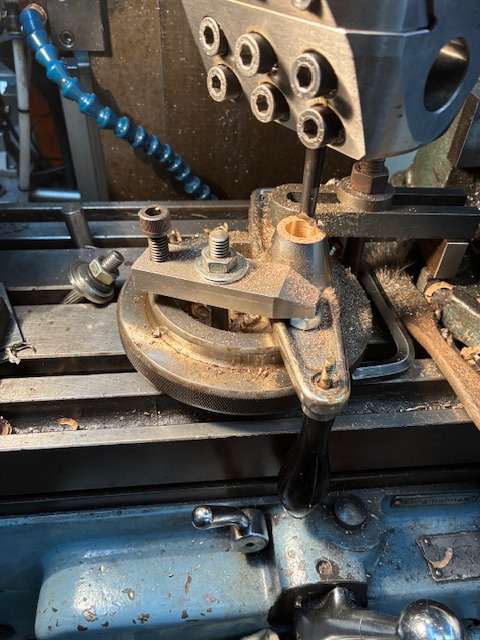
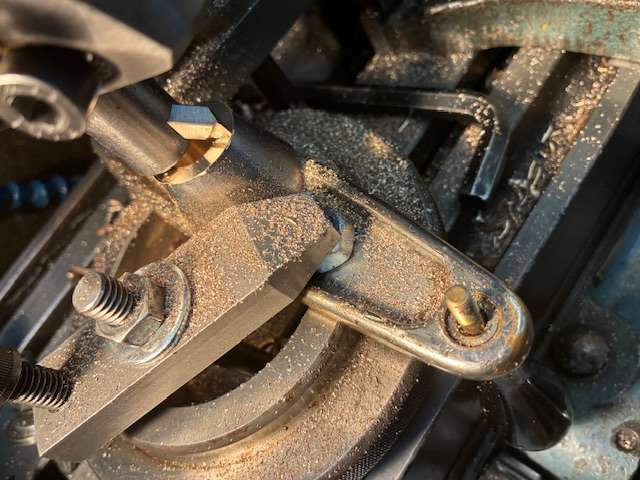
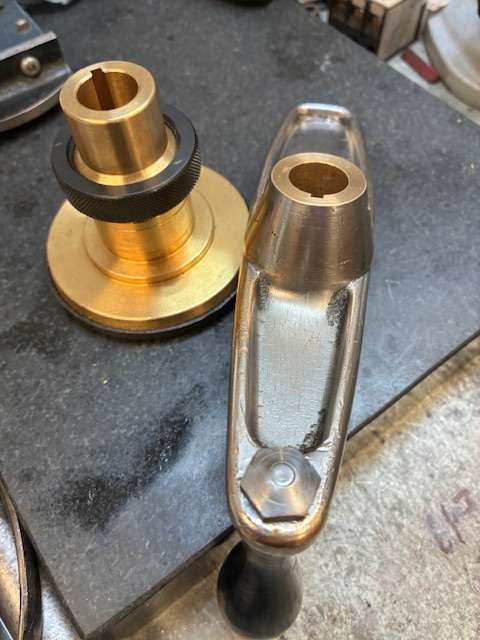
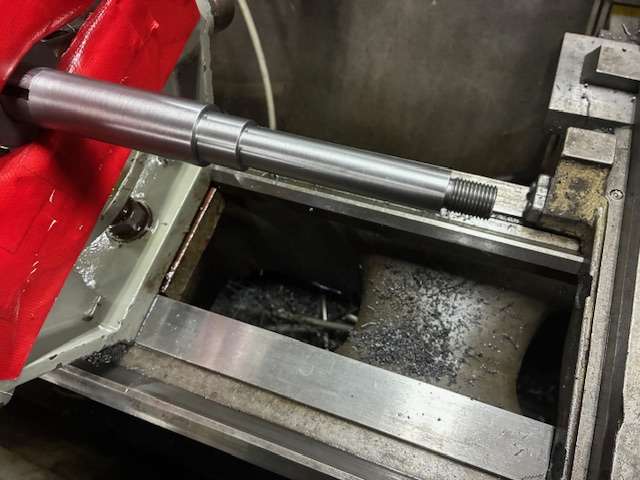
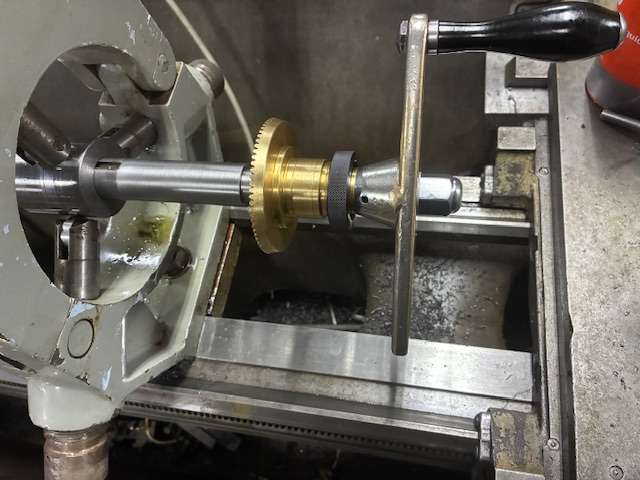
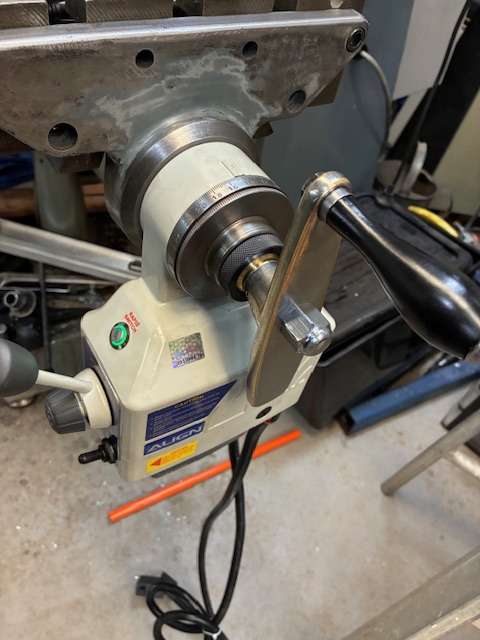
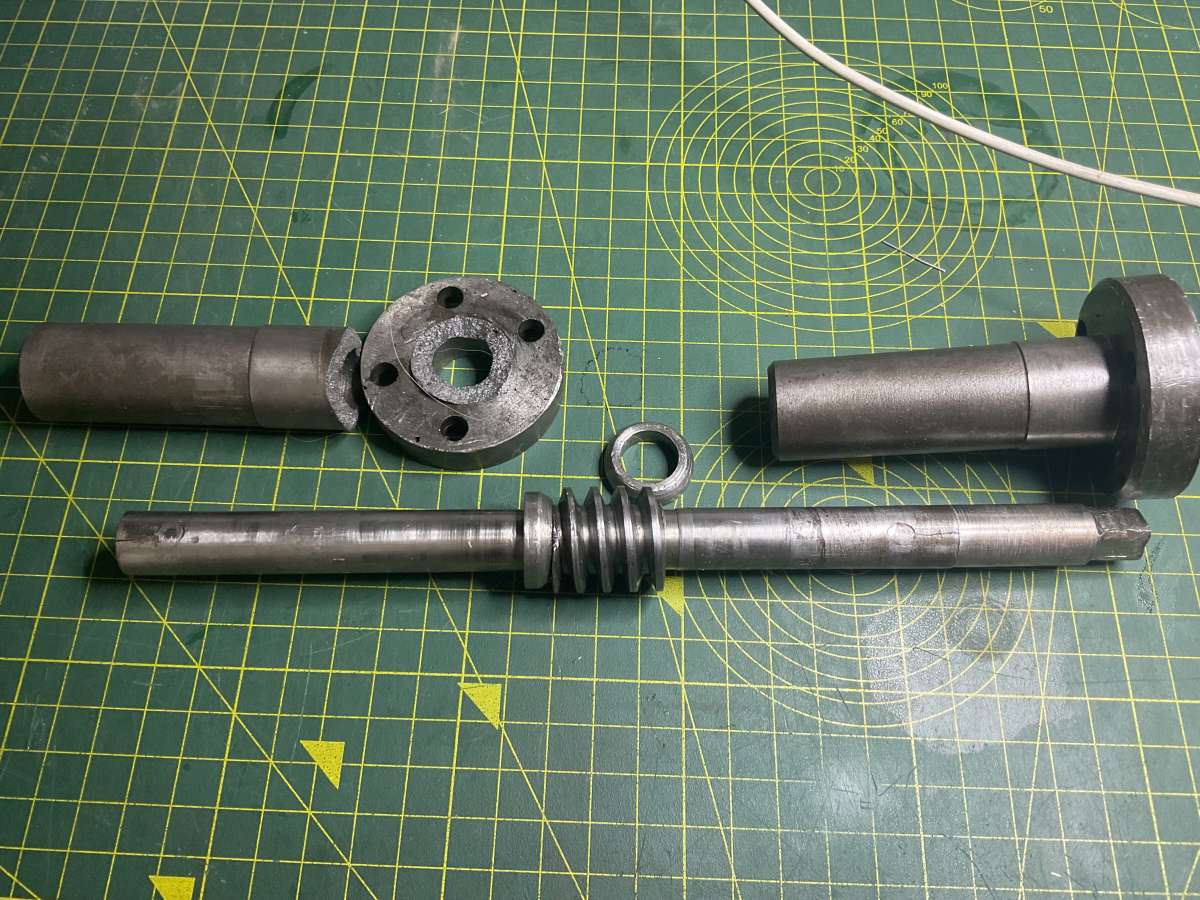
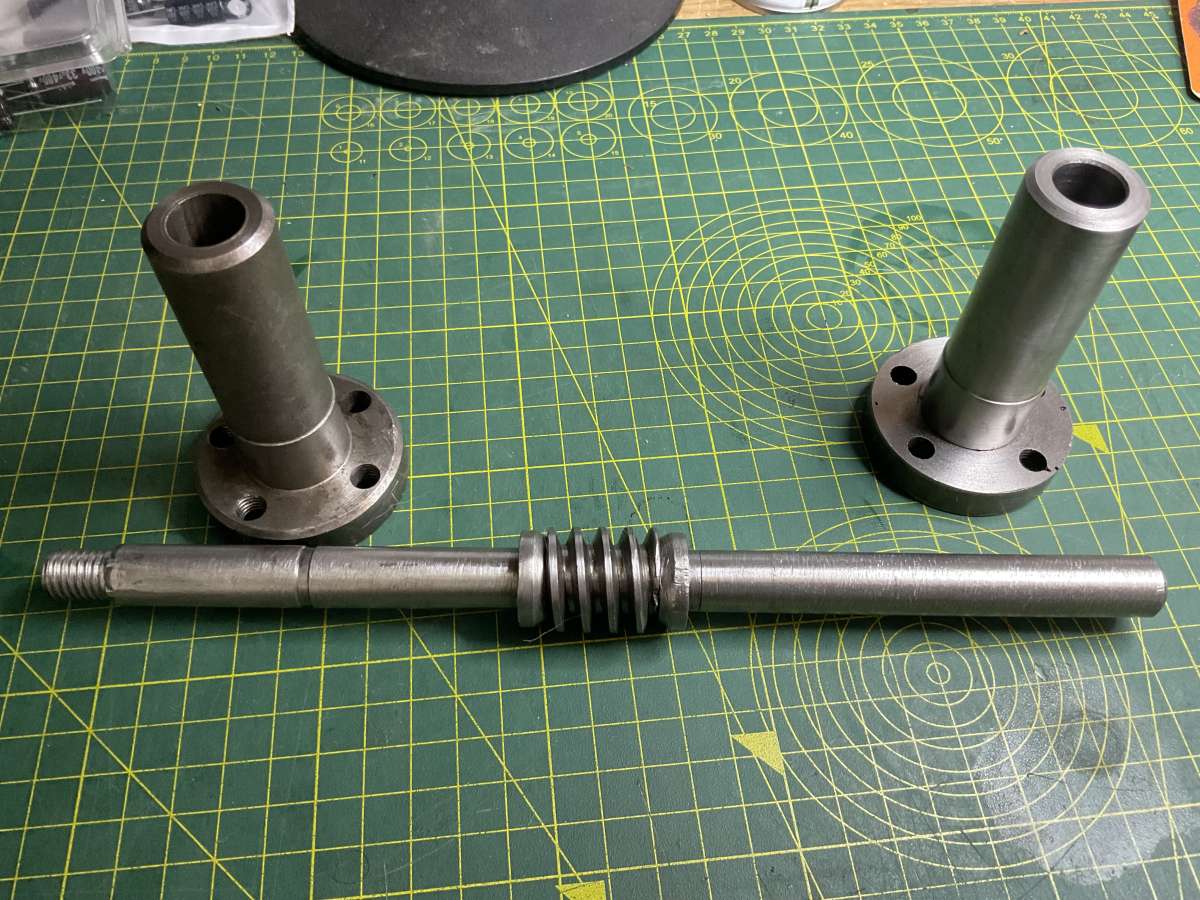
All things Beaver Mill
1
2
…
9
10
Started by:
Robert James 3
in: Manual machine tools
- 43
-
12 June 2026 at 21:50
Mark Rand
-
Clockmaking starter project?
Started by:
Gman
in: Clocks and Scientific Instruments
- 10
-
12 June 2026 at 20:21
iacooper
-
3 1/2″ Gauge Discussion Group
1
2
3
Started by:
Neil Wyatt
in: General Questions
- 37
-
12 June 2026 at 17:16
Paul McDonough
-
Boxford CUD cabinet screw sizes and threads
Started by:
lucerne
in: Manual machine tools
- 7
-
12 June 2026 at 17:15
lucerne
-
Super Simplex Build
Latest Issue
Newsletter Sign-up
Latest Replies
- Super Simplex Build
- KMO RETROL 1/4 Scale Lister D Engine with some Mods.
- How Good Are 3D Printers?
- My adventures with a bench top CNC mill
- Running 380V 3-phase motor on 230V 1-phase
- Taper Identification
- Lathe cutting aggressive taper
- Lightning
- Testing Single Point Thread Fitment
- Axle pin question – choice of material and possible need for case hardening?

