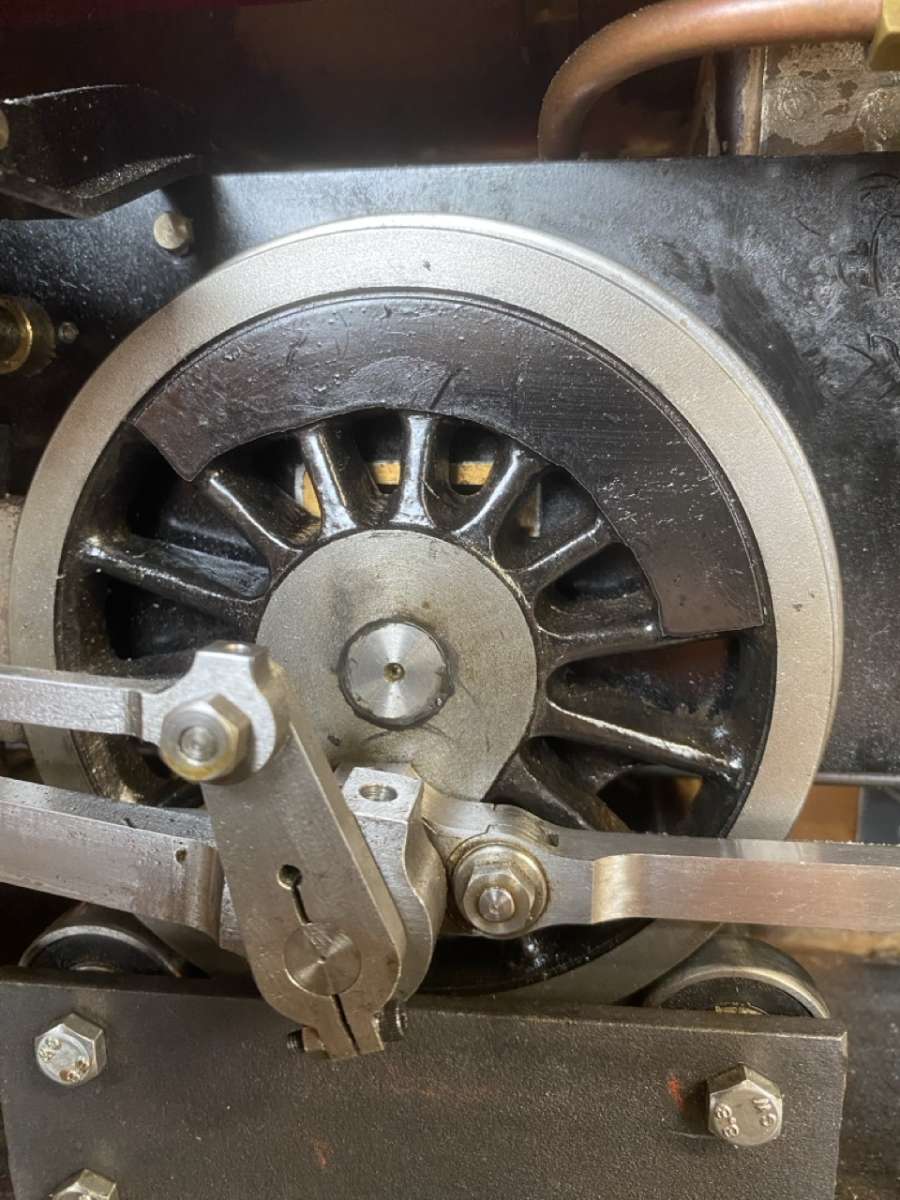
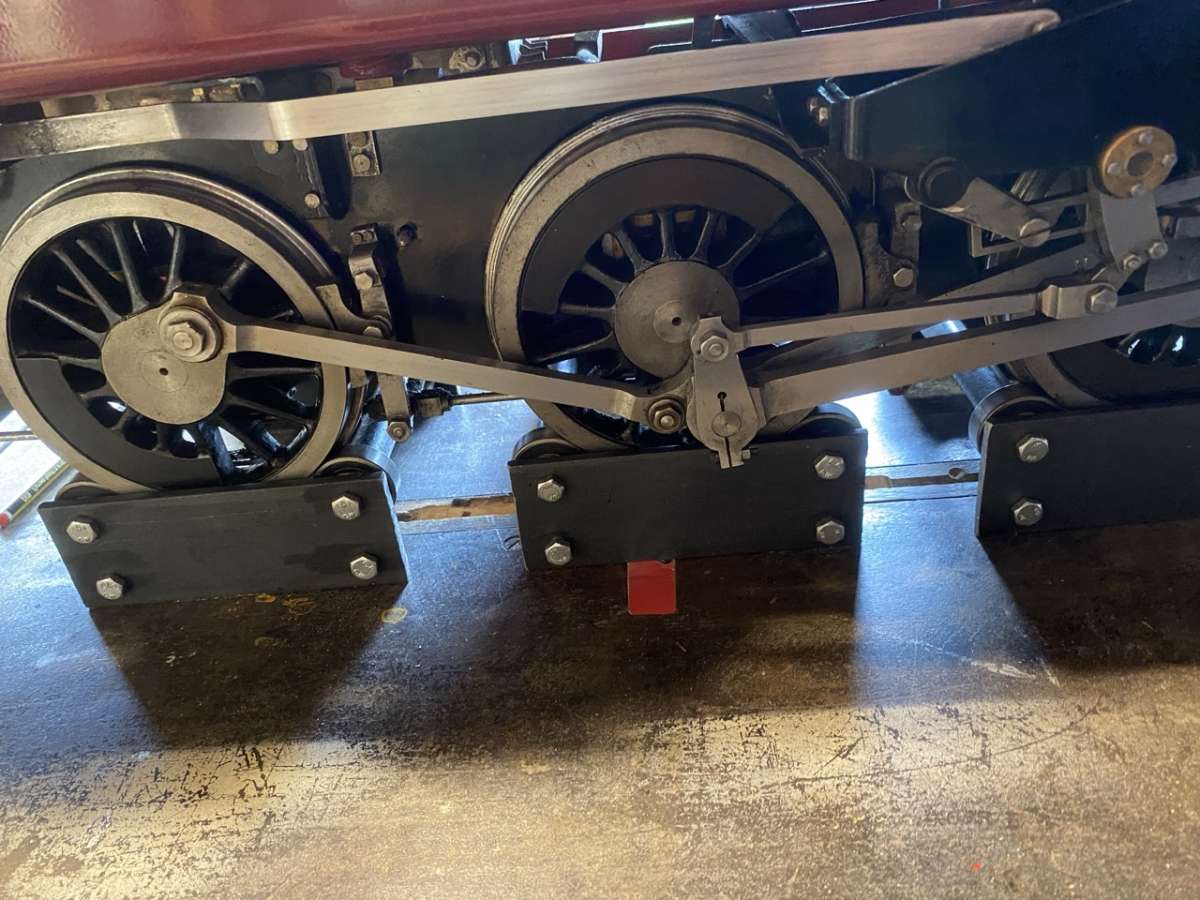
Wheel bonding

Wheel bonding

Home Forums Locomotives Wheel bonding

Viewing 23 posts - 1 through 23 (of 23 total)
  • Author
    Posts
  • #822115
    Speedy Builder5
    Participant
      @speedybuilder5

      I was going to title this BONDAGE, but thought better of it.

      The first of these photos are typical ??  signs of where wheel to axle bonding has broken down and perhaps should be part of routine mechanical checks. See the black oily ring where the axle is bonded to the wheel and “fretting” in service.  The second photo is the catestrophic result (fortunately in the workshop).

      WheelSlip2 Large

      WheelSlip3 Large

      #822132
      noel shelley
      Participant
        @noelshelley55608

        Does it smooth out the power strokes ? Noel.

        #822136
        Nigel Graham 2
        Participant
          @nigelgraham2

          Shows the need for a key as well as any adhesive. I hope you were able to repair it satisfactorily.

          #822160
          JA
          Participant
            @ja

            Bob

            I will follow this with interest. Please keep us informed of your progress.

            JA

            #822165
            Nicholas Farr
            Participant
              @nicholasfarr14254

              Hi, drill a hole *(or two if you wish) between the axle and the wheel, and put a pin in it, this will then act as a key.

              Regards Nick.

              #822174
              Clive Foster
              Participant
                @clivefoster55965

                Nicks suggestion of a pin is good but a dutch key may be better as it’s easier to remove if need be.

                A dutch key is a threaded hole centred on the joint line so half the thread is in one component, the wheel in this case, and half in the other, the shaft in this case. I’d use a hex socket grub screw taken a bit below flush so a thin slug can be stuck in place to obscure the hex.

                Adhesive bonding is known to be sensitive to joint thickness when under repetitive pulsing loads tending to break down, as in this case, should it be a bit on the thick side.

                No doubt that press or shrink fitting with the appropriate interference fit between a nicely finished hole and shaft pair is best. But achieving the required tolerances with typical Model Engineering / Home Workshop equipment can be challenging.

                Regrettably the method isn’t appropriate for retrofitting without re-making parts but, in my view, this is a good application for self gauging taper fitting where both parts are made to a very shallow taper equivalent to twice the interference fit on diameter over the joint length. Called self gauging because when the components slip together over half the length of the joint before pressing becomes necessary the mutual sizes are correct. Swops a very tight differential diametrical tolerance between the two components for a much more relaxed longitudinal one applied to one component. If there is a thou or three error from true half way in the gauging position the effect on actual fit is negligible. Being tapers accurate alignment is much easier than with parallel shaft – hole pairs. If fitted cold there is no scraping effect where the front edge of the hole rubs down the, slightly larger parallel shaft. Pennsylvania Railways fitted their wheels in that way so its known to be effective on locomotive loads.

                Clive

                #822176
                Martin Kyte
                Participant
                  @martinkyte99762

                  I can only think that the bonding was not carried out well enough. I have seen tests made where the shaft through the hole sheared before the bond gave way. I suspect that the idea of pinning wheels is ‘old hat’ although Im ready to be corrected. If a good chemical bond gives way I cannot see that a small diameter pin will not shear under the same force. As I said Im ready to be corrected by those who know better.

                  Im always ready to learn, but I suspect puns are historic and Loctite used correctly is stronger. Keys are another kettle of fish.

                  #822187
                  Clive Foster
                  Participant
                    @clivefoster55965

                    Martin

                    The issue with Loctite, as with all adhesive processes, is “used correctly”. Many a slip twixt cup and lip so even apparently superficial errors by inexperienced, usually untaught, folk can lay the seeds for catastrophic failure down the line. Lets face it almost none of us are adhesives experts and a similarity low percentage are set up to apply adhesives perfectly as per the book. Even in factory production considerable care in setting up is needed to get reliably close to best results.

                    In practice there is a considerable margin where being clean and careful will produce entirely adequate results. Even though the bond strength may not meet advertised values. Quick failure is usually due to materials having incompatible surface energy that the adhesive won’t properly bond to or overly smooth surface with no mechanical locking. Naturally assuming no “I can’t believe I did that” class errors such as an inadequately clean surface so the adhesive sticks to the grease or whoever and does a super-duper cleaning job when it comes off.

                    Regular racking, pulsating and twisting stresses applied to an over thick adhesive bond pump energy into the adhesive causing it to break down. Back in the days before folk got to trust Loctite, before it wasn’t generally realised by ordinary folk just how thin the bond needs to be, it was often suggested that the ends of a bonded area should be a gnats thingy proud requiring a firm push to seat with more clearance in the middle for the “glue”. Presumably the theory being that the ends would do the supporting and the Loctite would stop things twisting apart.

                    A perversion of the whole Loctite thing.

                    These days folk seem to have gotten the message that a smooth, sliding, rock free fit provides plenty of room for enough Loctite to bond really strongly providing the appropriate sliding and twisting is done to ensure full coverage of the joint. Which can, I imagine, be an issue when quartering wheels. The thinner a Loctite joint is the faster it goes off. Which sometime doesn’t help. I’ve had one on a 12 inch to the foot scale job that almost went off before it was fully home. I wasn’t hanging around with fitting either due to expecting such problems.

                    Although Loctite has some, small, gap filling ability exploiting this can be chancy.

                    Clive

                    #822199
                    duncan webster 1
                    Participant
                      @duncanwebster1

                      Old loctite goes off faster than new, and can result in sort of sticking half way, then you push harder and it slips into place, but the joint isn’t as strong. Don’t ask how I know. I’ve related this one before, but I once blew up the cylinder on a 1te hydraulic jack trying to remove a wheel on a 5″g truck which had been loctited

                      #822225
                      Martin Kyte
                      Participant
                        @martinkyte99762

                        My issue is that a 1/4 or an 1/8 inch pin will have a shear strength less than n the the loctitite strength. Putting a pin in must weaken the bond. As so said Im open to comments.

                        #822228
                        Speedy Builder5
                        Participant
                          @speedybuilder5

                          It could have been that the wheels were never bonded in the first place?  I bought the model as an abandoned project and that the wheels were left unbonded until final assembly and that they were just a close fit ??  but that was never passed on to me.

                          Bob

                          #822229
                          duncan webster 1
                          Participant
                            @duncanwebster1

                            I agree with Martin in principle, but if you ever have to take them off again, having a pin makes it easier to put them back in the right place.  I used roll pins on one of mine, put them in after you’ve had a trial run and know everything is OK. The second one just relies on loctite.

                            Full size wheelsets rely on press fit, no key. I think the seat is very slightly tapered, the wheels can be got off by injecting oil into the joint under high pressure

                            #822244
                            Nicholas Farr
                            Participant
                              @nicholasfarr14254

                              Hi, Loctite needs two main things to have its ultimate strength, first one being absolute cleanness of the two parts, second the gap between the two parts must not be bigger than that stated in the technical data.

                              As far as pins shearing off, it’s probably better than the axle being sheared. Traditional keys can and do shear in half, and I’ve seen some small and fairly large ones that have been sheared in half.

                              Slight Tapers in the bore and the shaft without any keys or retaining compound, will hold incredibly well. I had the job of replacing the bearing in one of these once.

                              roots-positive-displacement-blower

                              The two at the end in the foreground were straight forward, but the two at the other end were a different matter, as these were on the other side of helical gears, which were on tapers, these are pressed on while very high presser is pumped down a hole in the end of the shaft, and into the joint between the shaft and the gear, which expands the gear a few microns, and when the gear has been pressed into it’s working position, the pressurised oil in the shaft is released, which clamps the gear to the shaft. Needless to say, to get them off needs the reverse procedure. The shafts for these bearings were about five or six inches in diameter, and the tapers were only a little smaller, and the company I was working for, didn’t have the equipment to remove and replace those gears, and so the bearings and the unit was sent to a company that could undertake the task,as the timing of the vanes inside was extremely crucial.

                              Regards Nick.

                              #822309
                              Martin Kyte
                              Participant
                                @martinkyte99762
                                On duncan webster 1 Said:

                                I agree with Martin in principle, but if you ever have to take them off again, having a pin makes it easier to put them back in the right place.  I used roll pins on one of mine, put them in after you’ve had a trial run and know everything is OK. The second one just relies on loctite.

                                Full size wheelsets rely on press fit, no key. I think the seat is very slightly tapered, the wheels can be got off by injecting oil into the joint under high pressure

                                That’s a very good point about the pin acting as a location device. Something I had not considered.

                                #822322
                                Clive Foster
                                Participant
                                  @clivefoster55965

                                  There is no question that the joint has been poorly made.

                                  What matters when it cones to rectification is why. Poor technique or poor bonding materials selection is easily rectified by clean up and being more careful. If it’s a dimensional issue with too much clearance the problem will take much more fixing.

                                  As Duncans story shows properly fitted and bonded Loctite joints are immensely strong. Like adhesive tape its not so much the absolute strength of the bonding material that does it more the large area covered. I was always advised to use heat before attempting to break a Loctite bond. The scrappy got a couple of things that never did come apart.

                                  What to do if the clearance is excessive?

                                  Could a tolerance ring and pin / key be made to work?

                                  Or maybe a sort of double joint with a Speedie sleeve (the thin stainless steel sleeves used to repair a shaft that has had a groove worn in it by an oil seal) round the journal fitting into slightly enlarged bore in the wheel. Well made bonds should be amply strong enough even despite the two layers.

                                  Key or pin shearing is pretty much a non issue, unless it’s vastly undersize, so long as everything fits firmly without clearance. It’s excess clearance allowing a bit of movement that shears keys. As ever the objective is to get as close to a “solid piece of metal that be taken apart” as possible. In many respects round pins and dutch keys are more resistant to shearing due to the load distribution.

                                  A flat key can be thought of as taking all the load at the joint line.

                                  A round pin distributes it better. It’s not completely inaccurate to consider that much of the force applied to a round pin is trying to stretch the bore up and over the pin rather than simply trying to shearing it.

                                  Vastly oversimplified thought experiments of course.

                                  Clive

                                  #822335
                                  Michael Gilligan
                                  Participant
                                    @michaelgilligan61133
                                    On Speedy Builder5 Said:

                                    It could have been that the wheels were never bonded in the first place?  I bought the model as an abandoned project and that the wheels were left unbonded until final assembly and that they were just a close fit ??  but that was never passed on to me.

                                    Bob

                                    May I respectfully suggest that the first move should be to dismantle, clean, and measure the components.

                                    This would ‘inform’ your choice of Loctite [or alternative] grade … there are many to choose from !

                                    MichaelG

                                    #822344
                                    parovoz
                                    Participant
                                      @parovoz

                                      On pins and keys. Drilling, pinning or keying AFTER a loctite bond has set will weaken the bond. I have used both pins ( main crank pin to wheel ) and key ( Wheels to axle ) and the job is to get everything machined to fit, keyways cut, or pinhole drilled, cleaned and ready to assemble with a nice sliding fit. Then apply loctite and rapidly and accurately assemble and pin while the whole lot is wet. One has to be brisk and accurate, that is why everything has to fit WELL before one starts. And as a little improver on the key fitting. I make the width of the key a very accurate sliding fit, and put a very slight locking taper to the thickness, so when it is pressed into the wet joint it provides a nice firm lock to the whole lot. Belt, braces and a few nails…..

                                      #822350
                                      Speedy Builder5
                                      Participant
                                        @speedybuilder5

                                        I think it is worthwhile thinking that model locomotives and wheel bonding has been around longer than any of us here !!!  LBSC didn’t have Loctite or a similar product, he relied on a press fit.  We seem to have drifted away from the possibility that old methods did work, do work and in some cases are still working.  Going back to my earlier post, I think the constructor who started this project left using Loctite until he was sure that everything was working and running freely – but didn’t pass that information onto me at point of sale.  I bought with eyes open, “sold as seen” and have no complaint with the builder.

                                        Latest – I have now made the quartering jig and will “press” ahead with Loctite and pins. As to the pins, I have filed a very light flat on the outer edge to allow air, loctite to escape whilst being pressed in.

                                        Bob

                                        #822361
                                        JA
                                        Participant
                                          @ja

                                          As our model engineering club’s chairman says “If you buy a half half finished model, you are buying someone else’s mistakes.” He speaks from experience.

                                          I am now studying the 638 and 648 data sheets very careful and intend to use square keys without a quartering jig.

                                          All the best, Bob. Please keep us informed on your progress. As an aside, what reversing gear have you used?

                                          JA

                                          Edit: Heavy press fits broke cast iron wheels. I don’t think there is a one correct way of doing this assembly.

                                          #822399
                                          howardb
                                          Participant
                                            @howardb

                                            I’m slightly bemused that nobody has introduced the concept of using taper pins to lock the wheel hubs to the shafts.

                                            Back in the 70’s I was working maintenance on high speed labelling machines running a double-day shift.

                                            They were US designed and made machines by our parent company.

                                            Every gear and drive shaft/pulley on those machines was taper pinned to the shafts.

                                            Never had a pin fail,shear or drop out.

                                            Worth looking at, instead of keywaying the shaft and broaching the hub of the wheels I reckon.

                                            #822501
                                            Speedy Builder5
                                            Participant
                                              @speedybuilder5

                                              Howard, are you thinking longitudinally along the axis of the axle ?? as the spokes on Locomotive wheels are nearly the width of the tire and thus the hub width is very narrow and trying to put taper pins between the spokes would necessitate them being put in at an angle (and for the purist, not represent a scale model of the original full sized loco). But thanks for the suggestion.

                                              Bob

                                              #822601
                                              howardb
                                              Participant
                                                @howardb
                                                On Speedy Builder5 Said:

                                                Howard, are you thinking longitudinally along the axis of the axle ?? as the spokes on Locomotive wheels are nearly the width of the tire and thus the hub width is very narrow and trying to put taper pins between the spokes would necessitate them being put in at an angle (and for the purist, not represent a scale model of the original full sized loco). But thanks for the suggestion.

                                                Bob

                                                Yes, I did query this matter of hub diameter and length in my mind, and recalled that years ago small components some were taper pinned at an angle -ie not necessarily at 90 degrees to the axis of shafts. As this would presumably be at the back of the wheel face if possible, does that matter from the point of view of authenticity/scale etc?

                                                Be aware that taper pins can be obtained in various strengths and standards – imperial pins are 1-48 taper and metric pins are 1-50 taper.

                                                #822637
                                                Speedy Builder5
                                                Participant
                                                  @speedybuilder5

                                                  Just a final note, Wheels are now back on the axles with pins and coupling rods etc all fitted, and we have rotation once again.  However, not without panic !

                                                  The wheels are a pretty close push fit and the Loctite 648 probably 4 years old.  The first couple of wheel Sets passed without incident and each left to set overnight.  The third and last was all set up, Loctite applied and wiped around the joint and axle but the bonding started to grip before the joint was less than 50% pushed home.  I had only taken probably 30 seconds before I couldn’t push the wheel further onto the axle and at that point hadn’t got the wheel well aligned and had to break the joint and start again.  Here the problem started to move into panic stations.

                                                  Fortunately I had an aluminium drift to hand, a 2lb hammer and a wood vice and was able to break the joint and remove the wheel. It was well bonded and I feared the wheel may break in the process, but luck was on my side.

                                                  My second go turned out well and I only applied the loctite to the inside of the wheel and not the axle.  I can concur with Duncan that old Loctite behaves very differently to fresh product as the stated Cure Time at 22deg C is in the order of 10 minutes.

                                                  Thanks to various contributers

                                                  Bob

                                                Viewing 23 posts - 1 through 23 (of 23 total)
                                                • Please log in to reply to this topic. Registering is free and easy using the links on the menu at the top of this page.

                                                Latest Replies

                                                Home Forums Locomotives Topics

                                                Viewing 25 topics - 1 through 25 (of 25 total)
                                                Viewing 25 topics - 1 through 25 (of 25 total)

                                                View full reply list.