

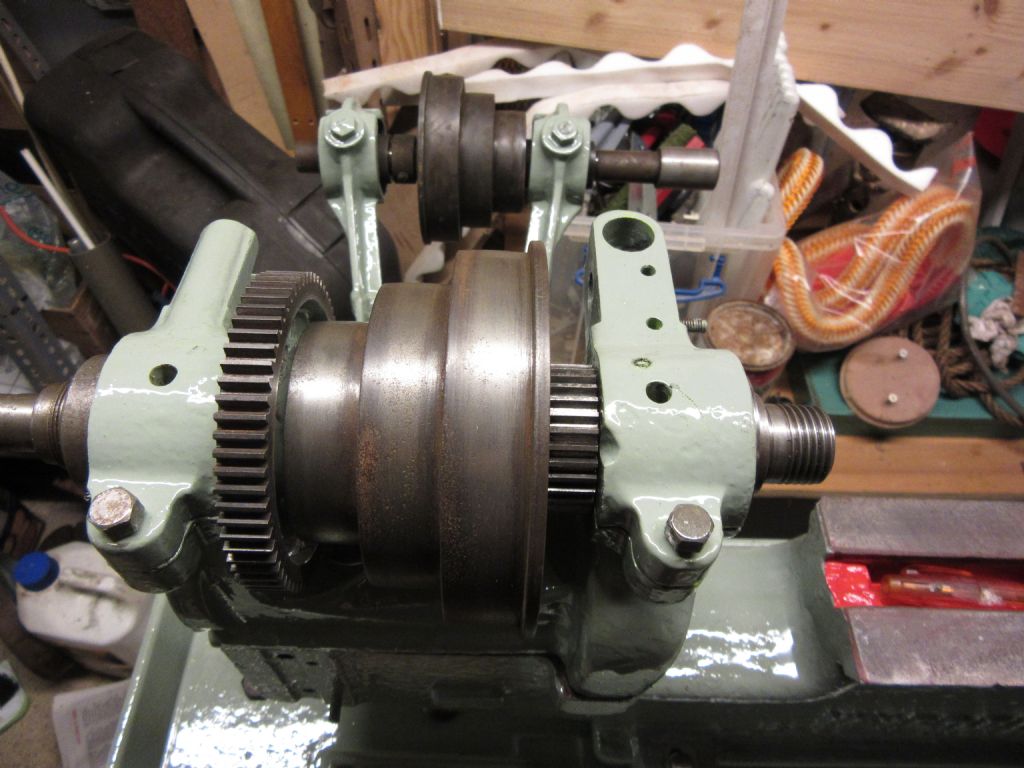
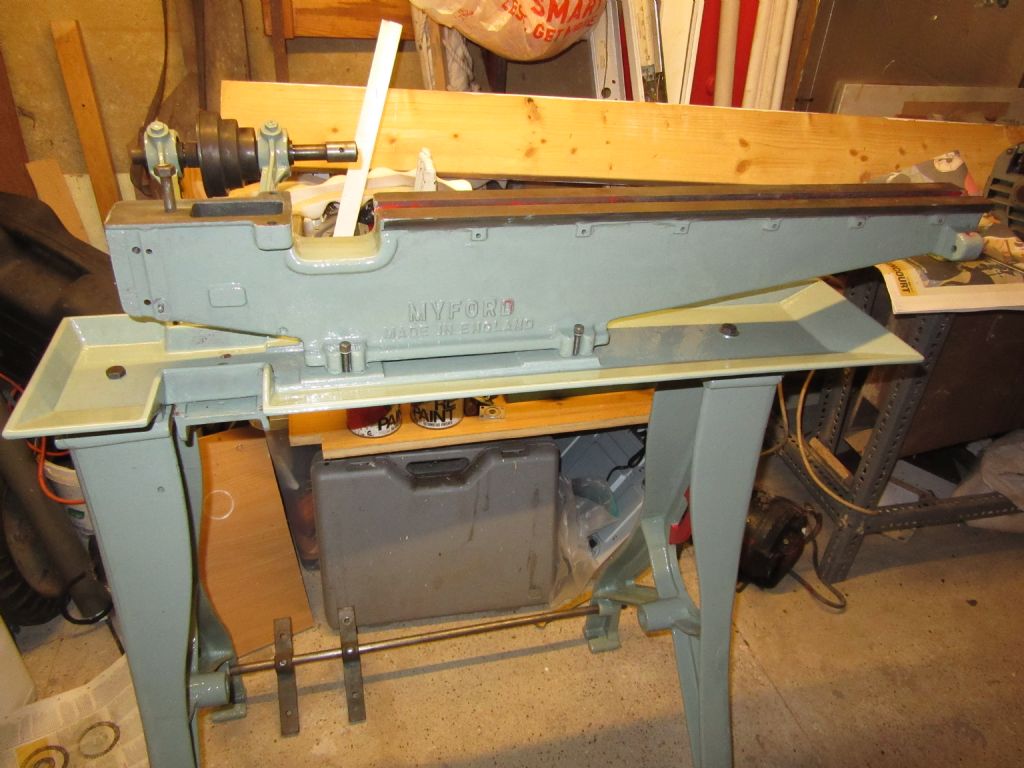
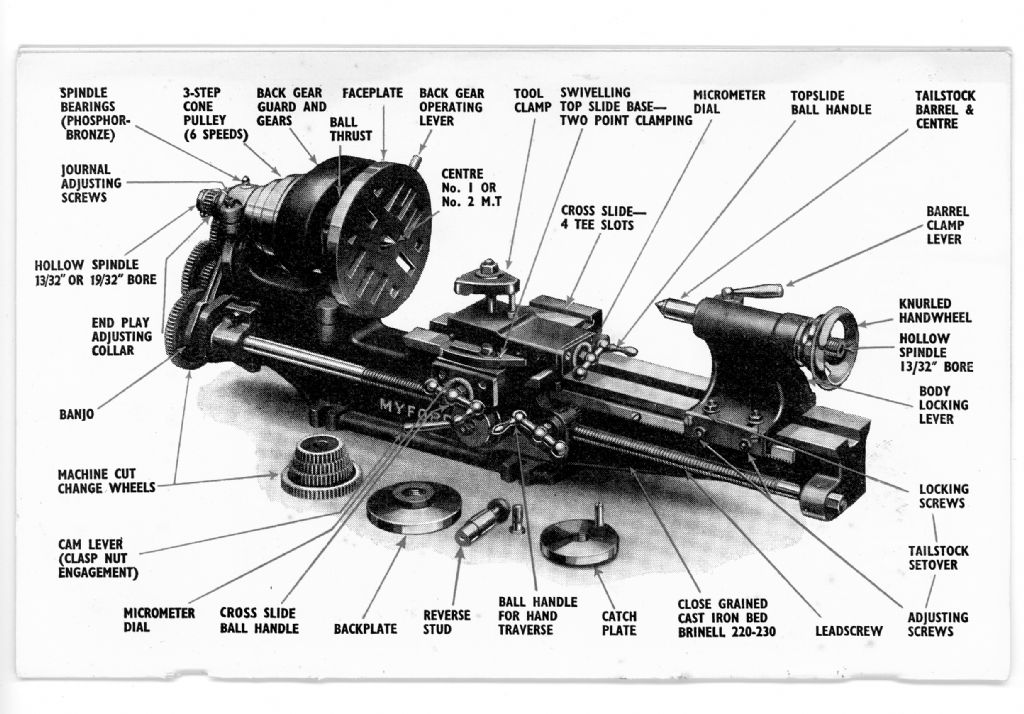
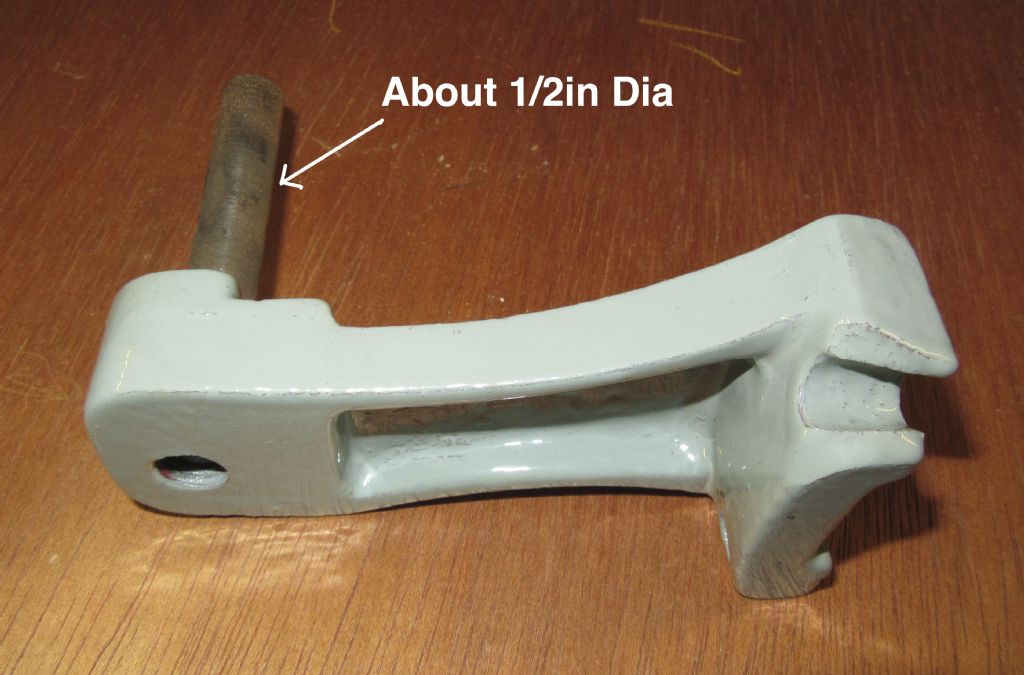
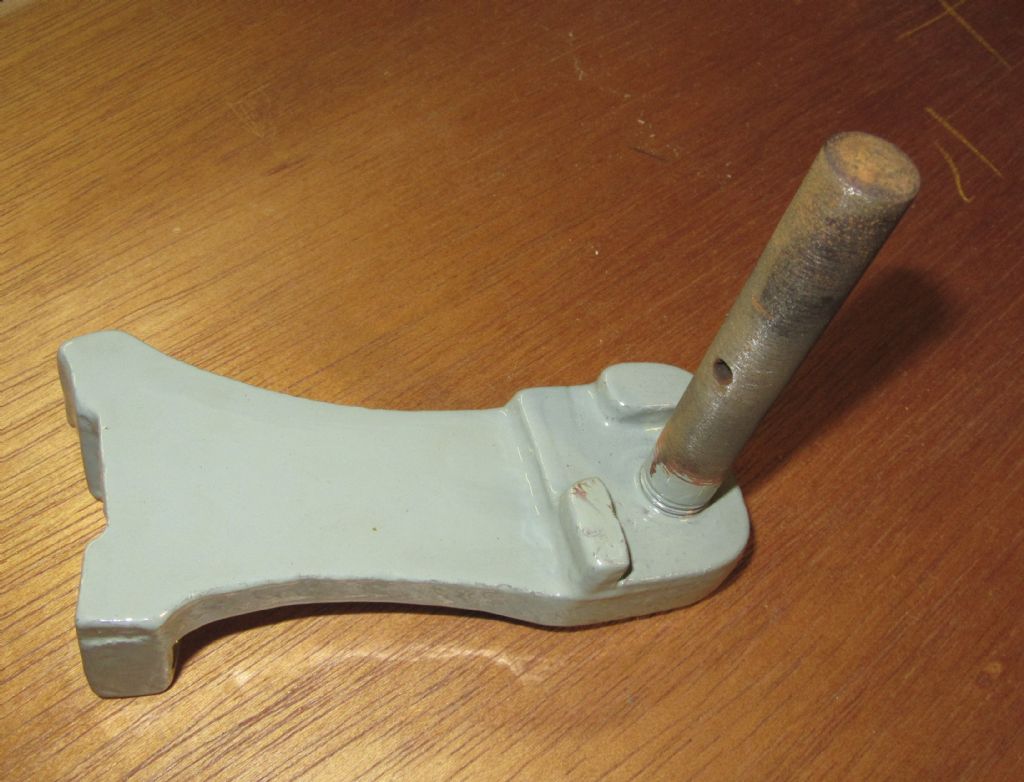
Mounting drive-pulley bracket
Mounting drive-pulley bracket
- This topic has 9 replies, 4 voices, and was last updated 6 November 2015 at 22:57 by
 Oldpedagog.
 Oldpedagog.
 Oldpedagog
 Brian Wood
 Paul Lousick
 NJH
NJH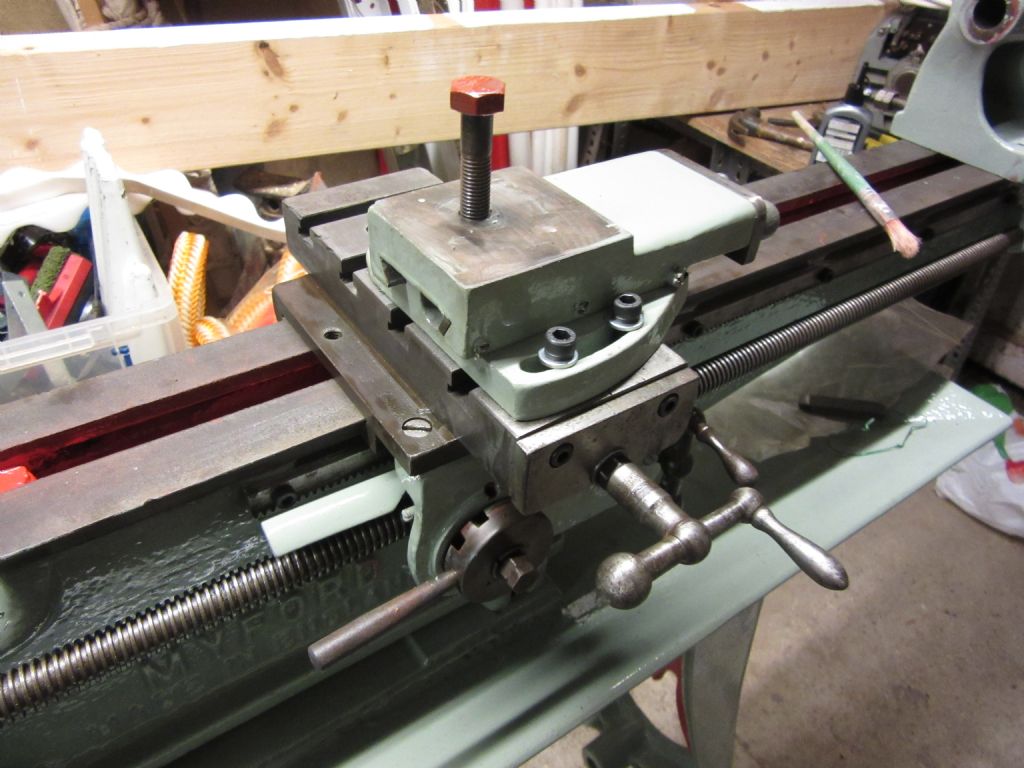
- Please log in to reply to this topic. Registering is free and easy using the links on the menu at the top of this page.
Latest Replies
-
- Topic
- Voices
- Last Post
-
-
Suzanne
Started by:
Steve Huckins
in: Work In Progress and completed items
- 1
-
18 September 2026 at 23:42
Steve Huckins
-
Ideas needed for problem wth Tom Senior E type Mill
Started by:
Mike Crossfield
in: Manual machine tools
- 8
-
18 September 2026 at 22:41
Kiwi Bloke
-
End mill sharpening
1
2
Started by:
petro1head
in: General Questions
- 16
-
18 September 2026 at 22:40
Nigel Graham 2
-
New Myford 7 DRO article
Started by:
Bob Worsley
in: Electronics in the Workshop
- 5
-
18 September 2026 at 22:36
Nigel Graham 2
-
Maxcut 5 – Arc Euro Trade
Started by:
Phil S
in: Workshop Tools and Tooling
- 2
-
18 September 2026 at 22:32
Nigel Graham 2
-
Octopus Heat Pump
1
2
3
Started by:
Michael Gilligan
in: The Tea Room
- 23
-
18 September 2026 at 21:22
Michael Gilligan
-
Machining inserts part numbers
Started by:
JA
in: Workshop Tools and Tooling
- 5
-
18 September 2026 at 21:18
bernard towers
-
… I had hoped we were growing-out of this nonsense !
Started by:
Michael Gilligan
in: The Tea Room
- 20
-
18 September 2026 at 21:15
Rod Clemett
-
What Did You Do Today 2026
1
2
…
7
8
Started by:
JasonB
in: The Tea Room
- 48
-
18 September 2026 at 20:26
Neil Wyatt
-
1904 Whitehead Vertical Gas Engine
Started by:
JasonB
in: I/C Engines
- 4
-
18 September 2026 at 19:28
JasonB
-
Tom Thumb Toolpost Grinder
Started by:
Phil P
in: Workshop Tools and Tooling
- 2
-
18 September 2026 at 15:30
John Haine
-
Drive coil ampere turns for seconds pendulum
1
2
Started by:
carlw
in: Clocks and Scientific Instruments
- 6
-
18 September 2026 at 13:37
duncan webster 1
-
Sherline closing down
Started by:
Peter Cook 6
in: Manual machine tools
- 8
-
18 September 2026 at 13:04
Peter Cook 6
-
Model Engineer & Workshop
1
2
Started by:
Tony Watson 3
in: Model Engineer & Workshop
- 18
-
18 September 2026 at 12:55
Neil Wyatt
-
Building a 4″ traction engine
Started by:
Karl Tear
in: Traction engines
- 11
-
18 September 2026 at 11:41
Nigel Graham 2
-
Su251-53
1
2
Started by:
parovoz
in: Locomotives
- 14
-
18 September 2026 at 07:10
Dave Wootton
-
Denford Viceory TDS 1/1 GBL lathe
Started by:
sean logie
in: General Questions
- 4
-
17 September 2026 at 20:55
sean logie
-
Have I got 12-28 UNF wrong or has Völkel?
1
2
Started by:
Bill Phinn
in: Workshop Tools and Tooling
- 12
-
17 September 2026 at 19:12
peak4
-
pendulum support springs
Started by:
gerry madden
in: Clocks and Scientific Instruments
- 6
-
17 September 2026 at 18:54
John Haine
-
Thread info required for the TEMU hydraulic pressure tester
Started by:
Greensands
in: General Questions
- 10
-
17 September 2026 at 18:28
duncan webster 1
-
CLarke C430 lathe threading
Started by:
tatler
in: Help and Assistance! (Offered or Wanted)
- 6
-
17 September 2026 at 18:19
Howard Lewis
-
Harry’s Steam
Started by:
harryssteam
in: Introduce Yourself – New members start here!
- 4
-
17 September 2026 at 17:34
Howard Lewis
-
New project for 2025
1
2
Started by:
SteveP
in: I/C Engines
- 8
-
17 September 2026 at 16:49
SteveP
-
Cylindrical Grinding Attachment
1
2
Started by:
Shaun Churchill
in: General Questions
- 9
-
17 September 2026 at 16:40
Trevor Drabble 1
-
Midlands Model Engineering Exhibition, Thursday 15th to Sunday 18th October 2026
Started by:
Meridienne Exhibitions 1
in: Exhibitions, Shows and Club Events
- 4
-
17 September 2026 at 16:23
noel shelley
-
Suzanne
 Steve Huckins
  Mike Crossfield
  Kiwi Bloke
 petro1head
  Nigel Graham 2
 Bob Worsley
  Phil S
  Michael Gilligan
  JA
JA  bernard towers
 Rod Clemett
 JasonB
  Neil Wyatt
 Phil P
  John Haine
 carlw
carlw  duncan webster 1
 Peter Cook 6
  Tony Watson 3
  Karl Tear
  parovoz
  Dave Wootton
 sean logie
  Bill Phinn
  peak4
peak4 gerry madden
  Greensands
  tatler
  Howard Lewis
 harryssteam
  SteveP
  Shaun Churchill
  Trevor Drabble 1
 Meridienne Exhibitions 1
  noel shelley
Latest Issue

Newsletter Sign-up
Latest Replies

