What Did You Do Today 2025
What Did You Do Today 2025
- This topic has 145 replies, 32 voices, and was last updated 15 June 2025 at 18:39 by
 SillyOldDuffer.
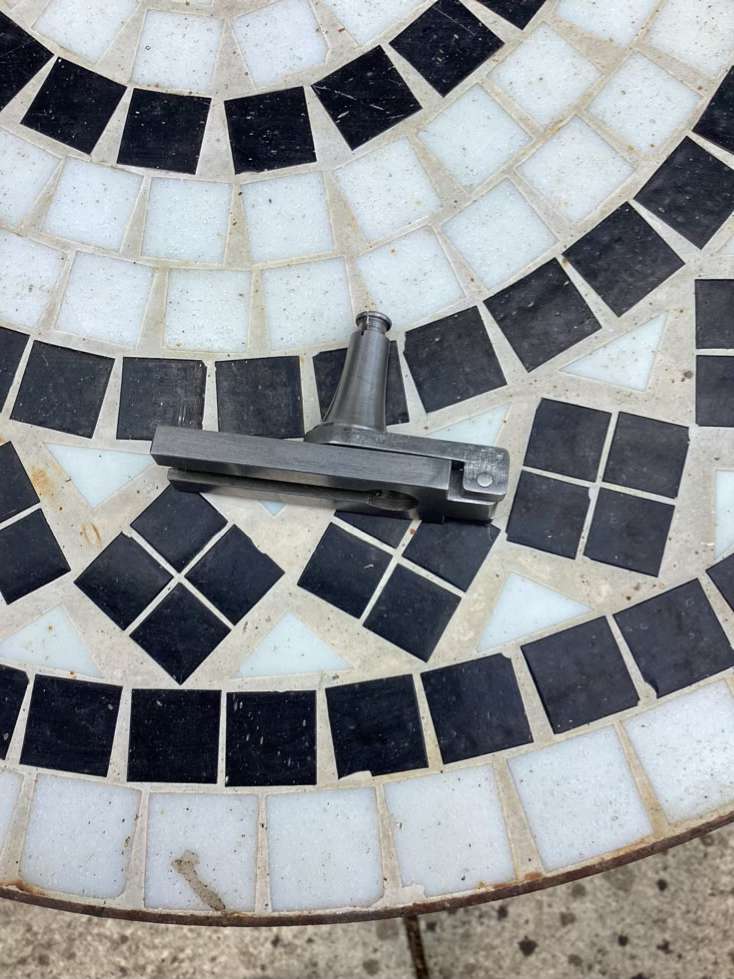
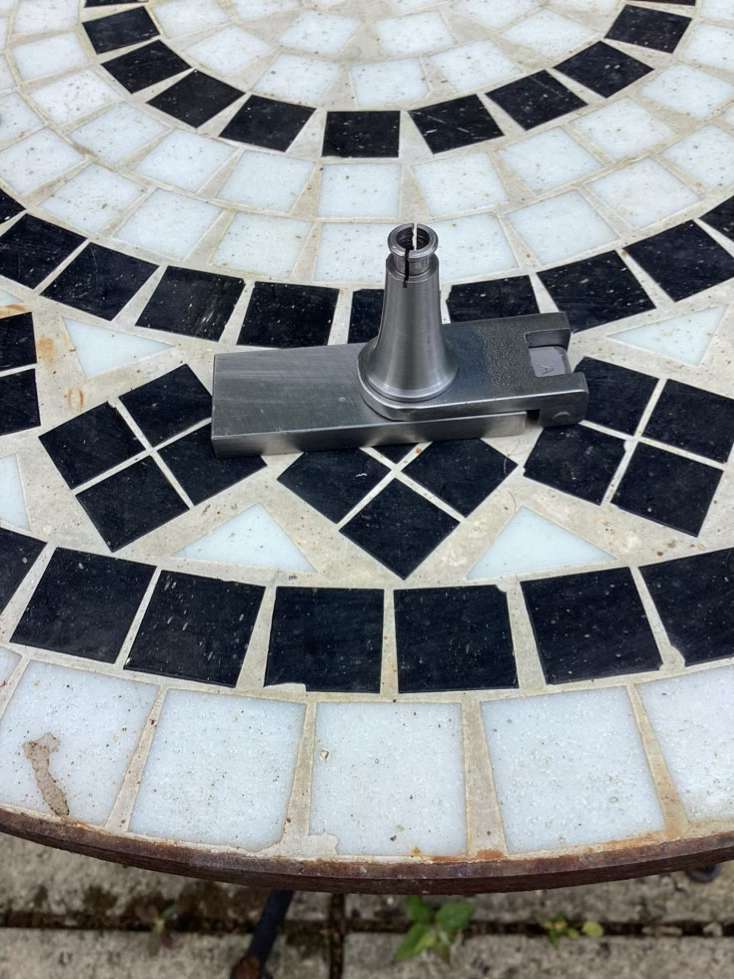
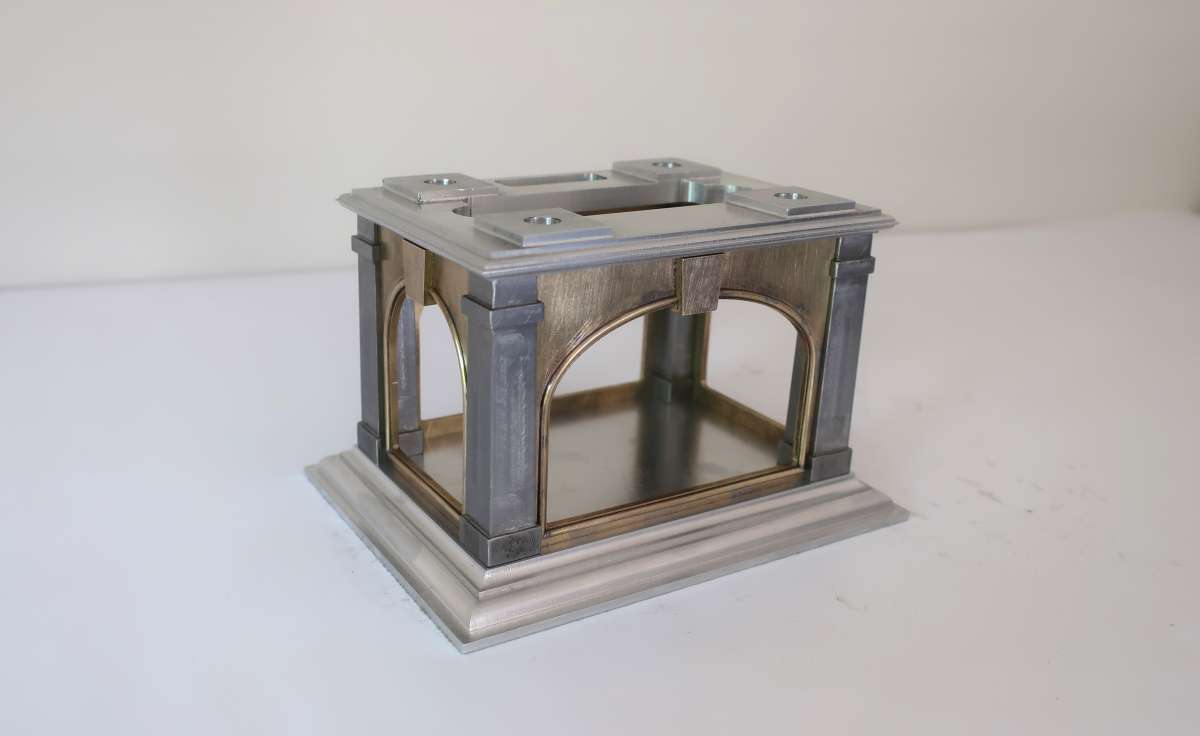
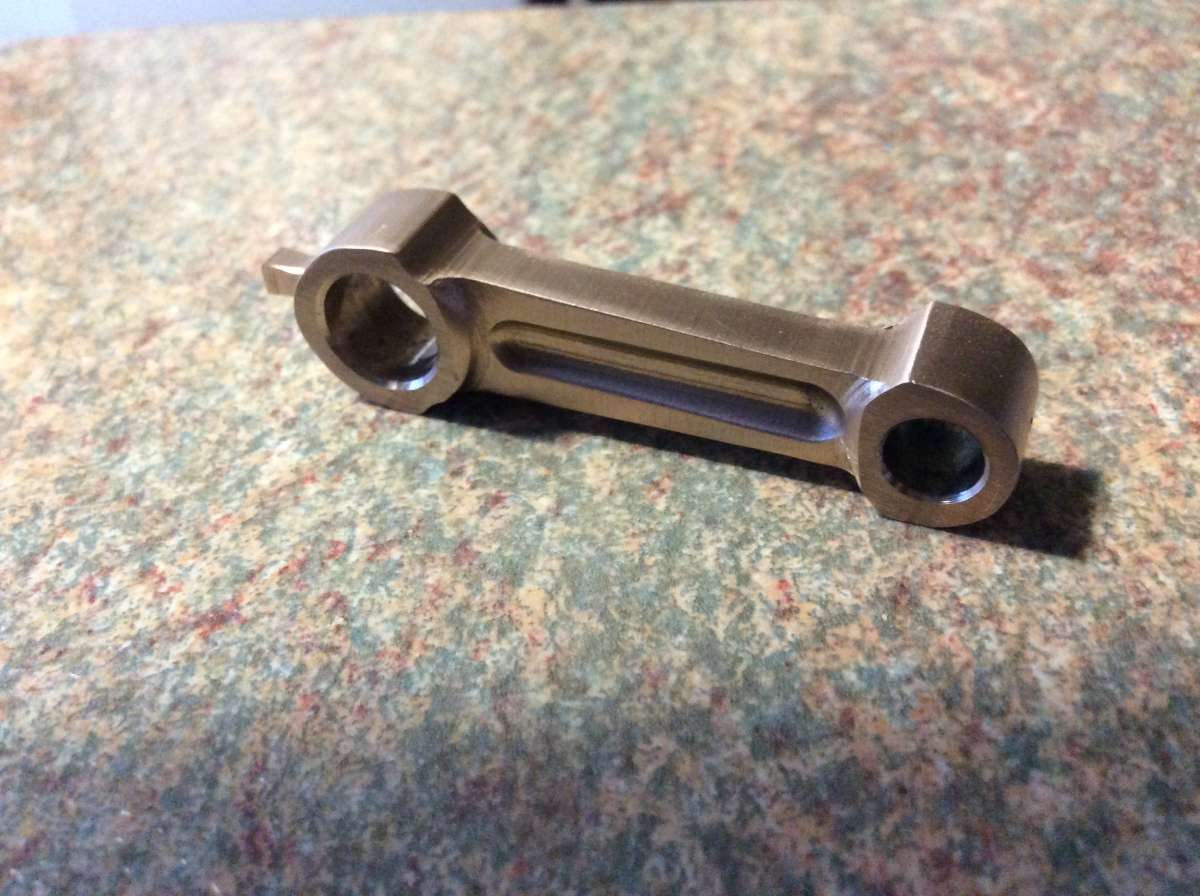 whippet con rod finished tonight lots of little set ups with very little machining and seems to fit the crank ok, time will tell!
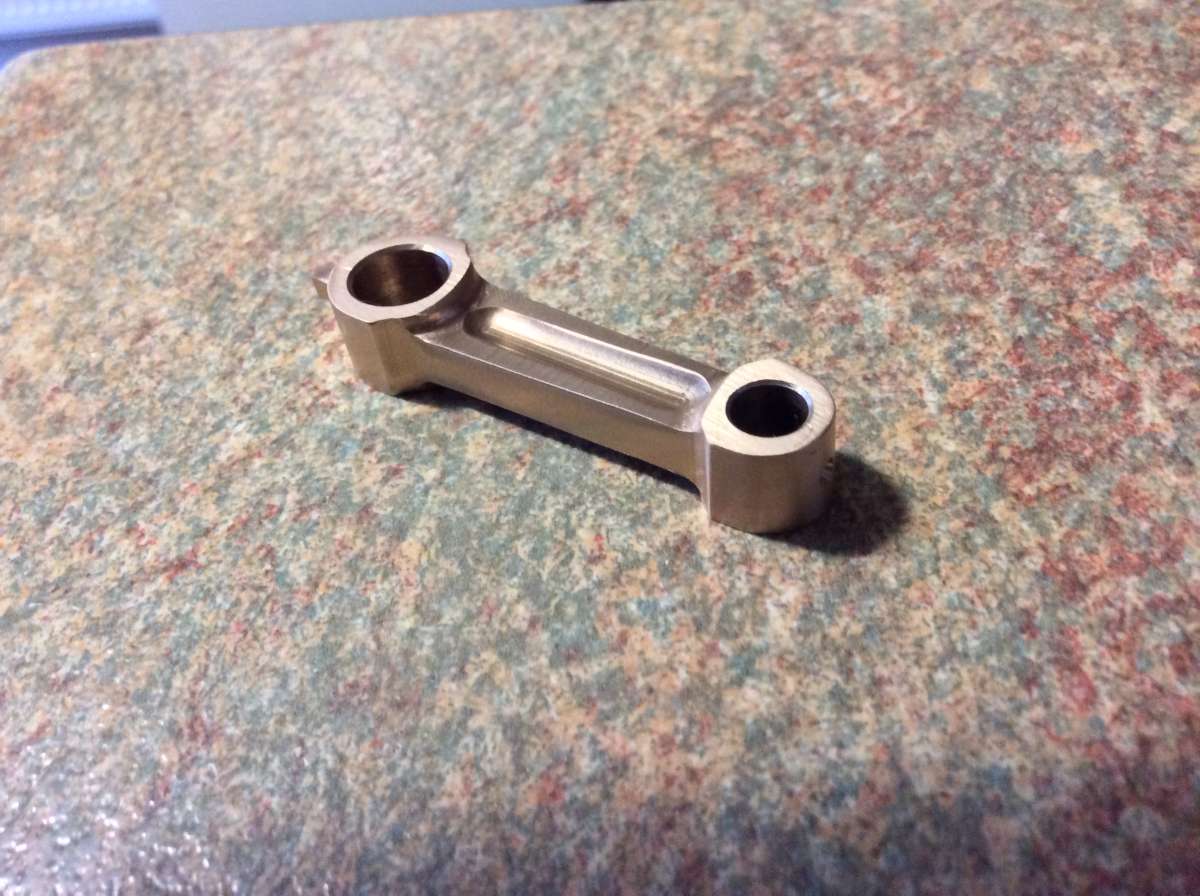
- Please log in to reply to this topic. Registering is free and easy using the links on the menu at the top of this page.
Latest Replies
-
- Topic
- Voices
- Last Post
-
-
Milling in the lathe – Vertical slide
Started by:
Chris12
in: Beginners questions
- 7
-
16 June 2025 at 13:12
Chris12
-
Magnetic bases – stored on or off?
1
2
Started by:
Grindstone Cowboy
in: Beginners questions
- 25
-
16 June 2025 at 12:25
Robert Atkinson 2
-
How many rings per piston?
1
2
Started by:
Arthur Jones 2
in: Locomotives
- 14
-
16 June 2025 at 12:09
Brian Baker 2
-
Micrometer ratchet springs
Started by:
Grindstone Cowboy
in: General Questions
- 8
-
16 June 2025 at 10:30
Graham Meek
-
Test Thread for inserting images
1
2
3
4
Started by:
JasonB
in: New Forum Software questions, comments and Test Threads
- 32
-
16 June 2025 at 09:19
jamesp1
-
PicPet
Started by:
duncan webster 1
in: Electronics in the Workshop
- 4
-
15 June 2025 at 20:46
John Haine
-
Steve 2250, new forum member
Started by:
steve2250
in: Introduce Yourself – New members start here!
- 2
-
15 June 2025 at 18:44
noel shelley
-
What Did You Do Today 2025
1
2
…
5
6
Started by:
JasonB
in: The Tea Room
- 32
-
15 June 2025 at 18:39
SillyOldDuffer
-
Bending Rolls
1
2
Started by:
Baldric
in: Workshop Tools and Tooling
- 15
-
15 June 2025 at 17:52
Baldric
-
The Sunday bazar
1
2
Started by:
Sonic Escape
in: The Tea Room
- 19
-
15 June 2025 at 17:40
Sonic Escape
-
Twin Engineering’s heavy mill/drill quill removal
Started by:
Martin of Wick
in: Manual machine tools
- 2
-
15 June 2025 at 16:22
Peter Cook 6
-
Making form relived cutters
Started by:
Dave S
in: CNC machines, Home builds, Conversions, ELS, automation, software, etc tools
- 7
-
15 June 2025 at 13:59
Julie Ann
-
Metric Build
Started by:
danieldlonsdale@gmail.com
in: Traction engines
- 4
-
14 June 2025 at 23:36
Nigel Graham 2
-
A modern mystery (Yanmar injectors)
Started by:
Fulmen
in: The Tea Room
- 7
-
14 June 2025 at 22:42
Fulmen
-
Taylor Hobson cutter grinder modificaton
1
2
Started by:
David George 1
in: Workshop Tools and Tooling
- 9
-
14 June 2025 at 17:47
David George 1
-
Tool post drill?
1
2
Started by:
Andrew Tinsley
in: Workshop Tools and Tooling
- 19
-
14 June 2025 at 16:50
Andrew Tinsley
-
Myford service engineer
Started by:
Nic Bertelsen
in: General Questions
- 10
-
14 June 2025 at 14:50
noel shelley
-
Chester hobby store gift vouchers
Started by:
Beardy Mike
in: The Tea Room
- 4
-
14 June 2025 at 08:35
David George 1
-
40+ Year Reuinion!
Started by:
Martin King 2
in: The Tea Room
- 2
-
13 June 2025 at 20:02
Michael Gilligan
-
Stuart No.1 on a Myford Super-7??
Started by:
flatline
in: Beginners questions
- 5
-
13 June 2025 at 16:59
flatline
-
Need help choosing a lathe chuck
1
2
Started by:
th1980
in: Workshop Tools and Tooling
- 21
-
13 June 2025 at 16:37
teamricky
-
Boxford Cud or ML7
1
2
Started by:
Trevor Howley
in: General Questions
- 23
-
13 June 2025 at 16:35
Robert Atkinson 2
-
VFD Article in May issue 351
1
2
Started by:
Robert Atkinson 2
in: Model Engineer & Workshop
- 13
-
13 June 2025 at 16:20
Robert Atkinson 2
-
Sieg C1 lathe autofeed and screw cutting
1
2
Started by:
Rob Athome
in: Beginners questions
- 13
-
13 June 2025 at 16:06
th1980
-
Hints and tips
Started by:
larry phelan 1
in: Hints And Tips for model engineers
- 5
-
13 June 2025 at 16:01
Martin Kyte
-
Milling in the lathe – Vertical slide


