

What Did You Do Today 2020
What Did You Do Today 2020
- This topic has 635 replies, 133 voices, and was last updated 25 December 2020 at 18:57 by
 Nigel Graham 2.
 Nigel Graham 2.
 Journeyman
 roy entwistle
 Colin Heseltine
 gary
gary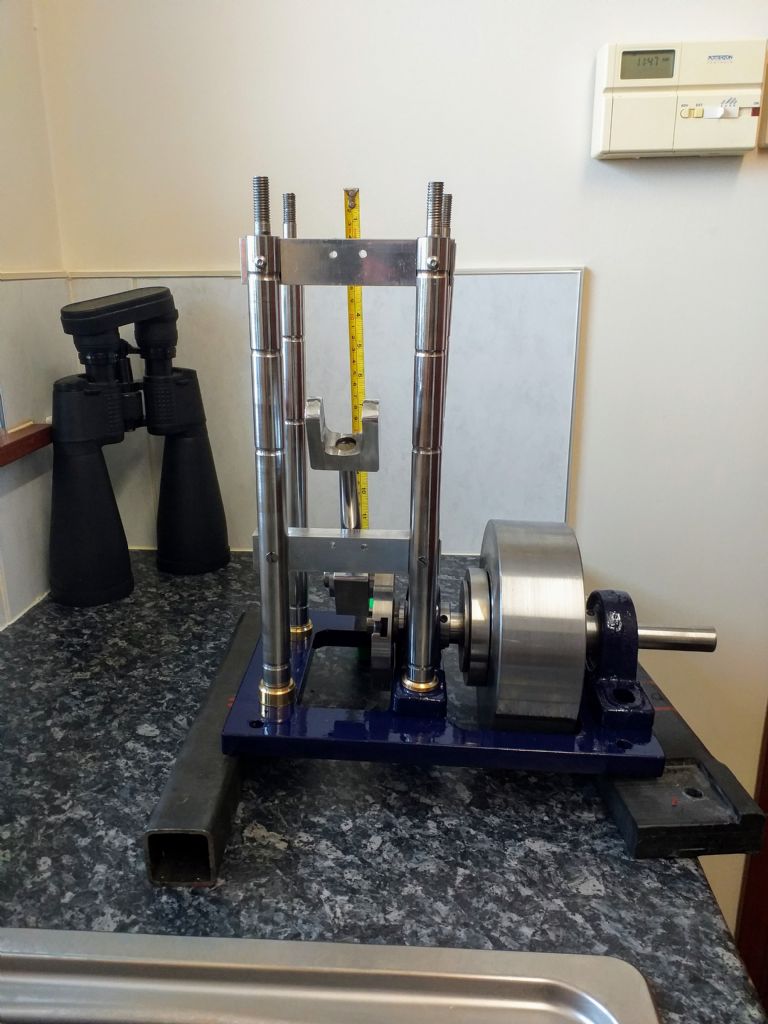
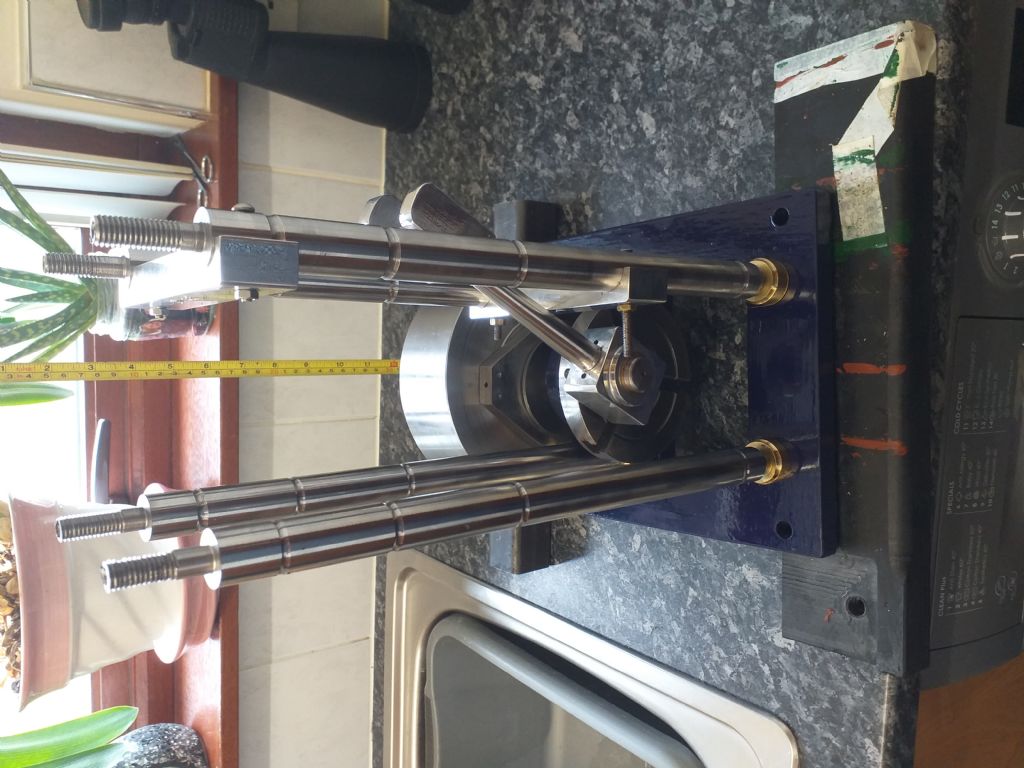
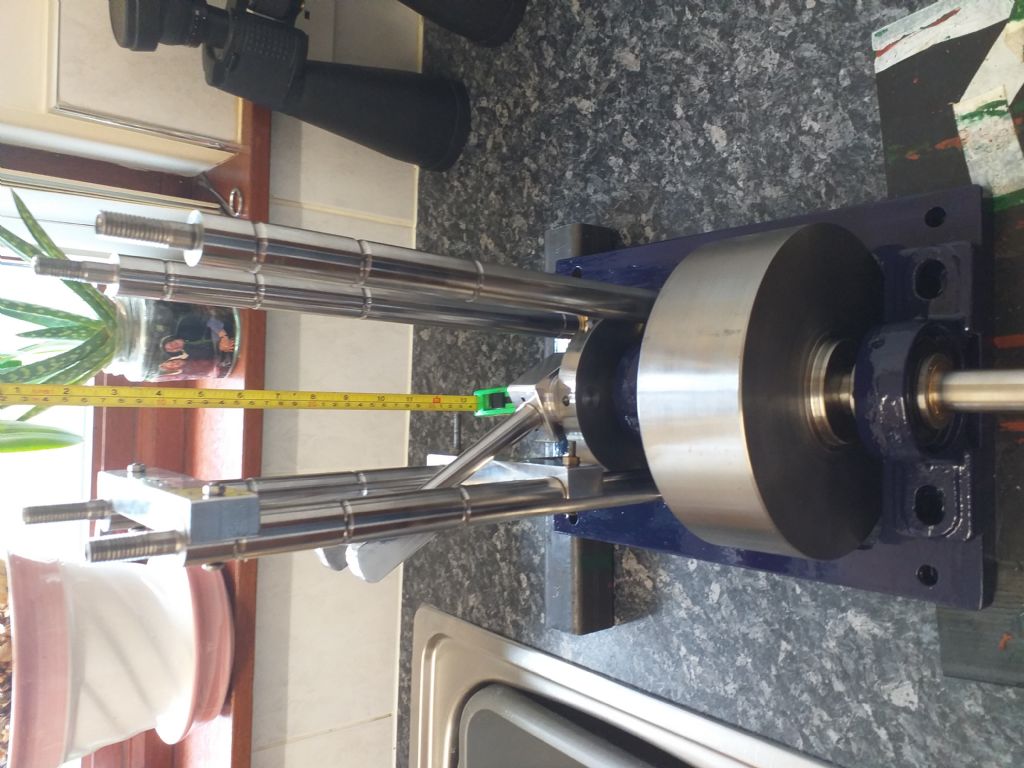
 Joseph Noci 1
 Anthony Knights
 Nigel Graham 2
 John Haine
 HOWARDT
 Brian Baker 2
 Roderick Jenkins
 Jan B
Jan B Anonymous
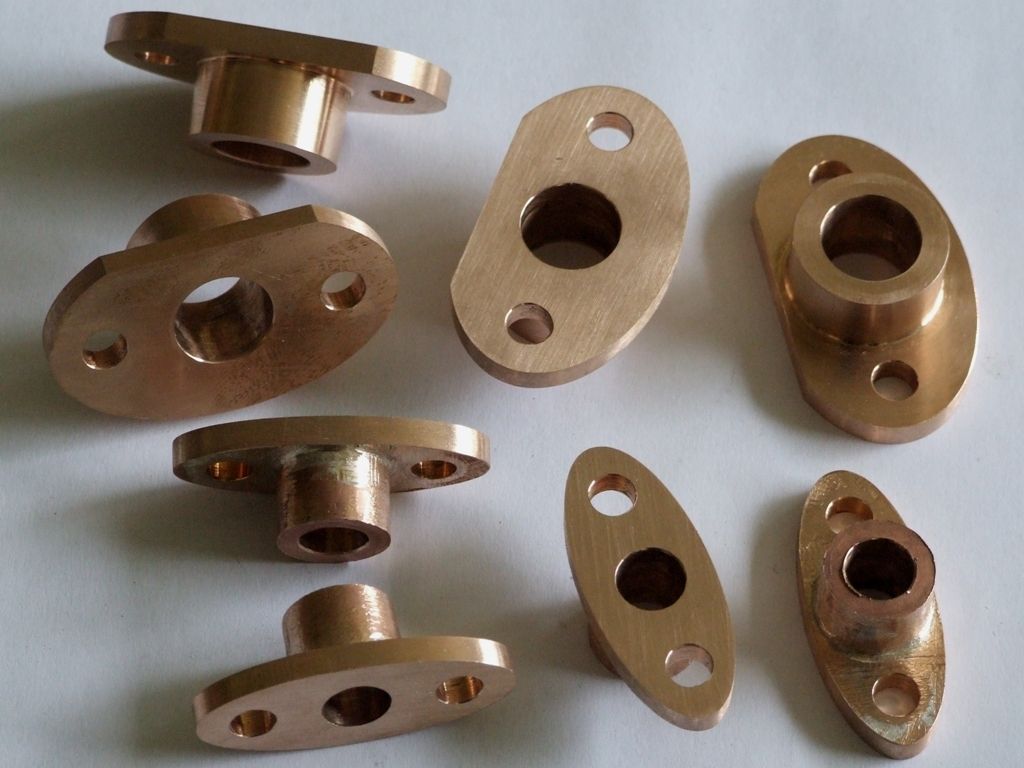
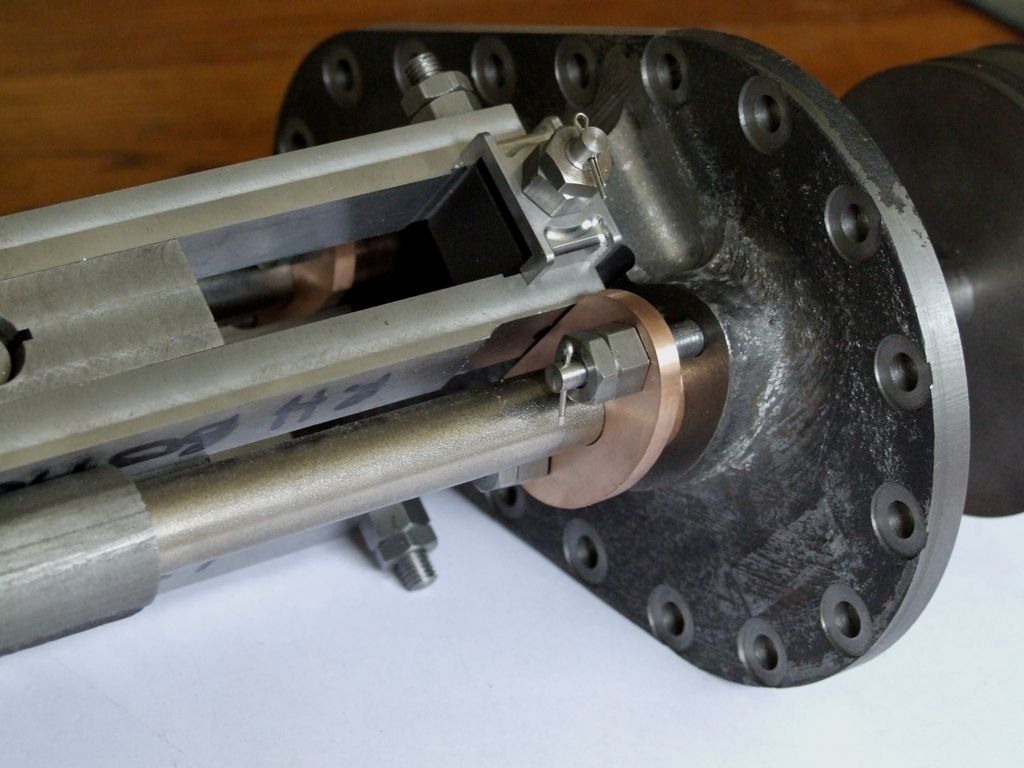
 bricky
 John Hinkley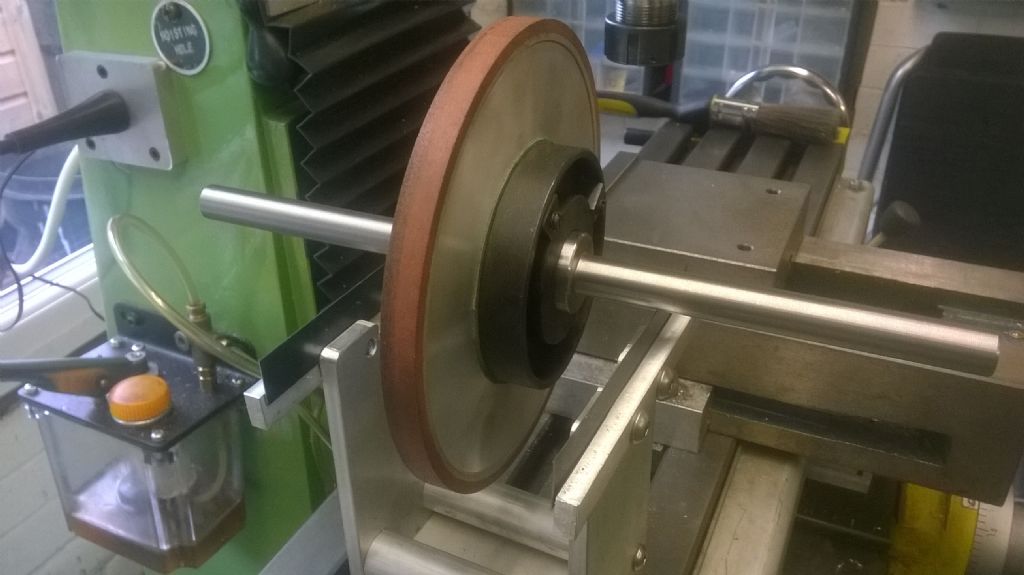
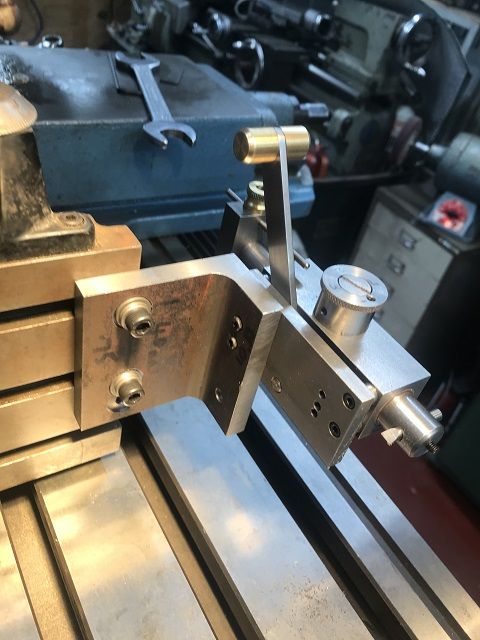
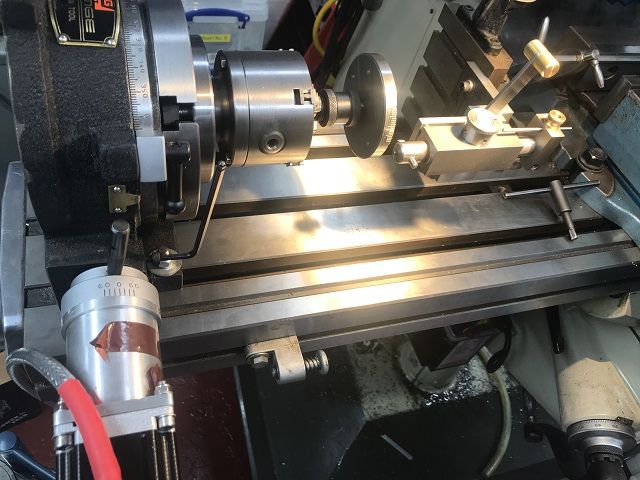
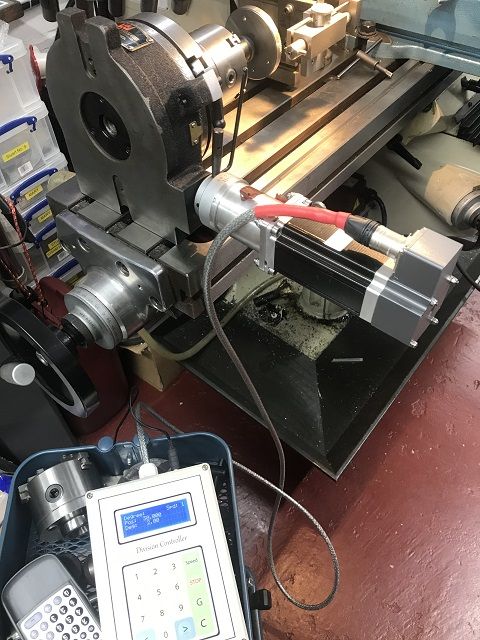
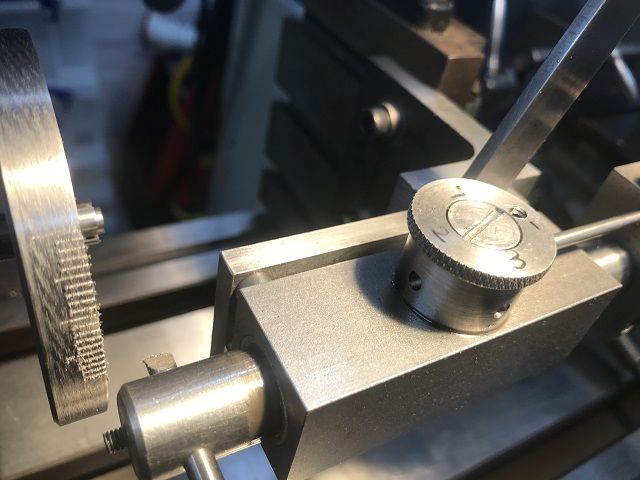
 Peter Spink
 Henry Brown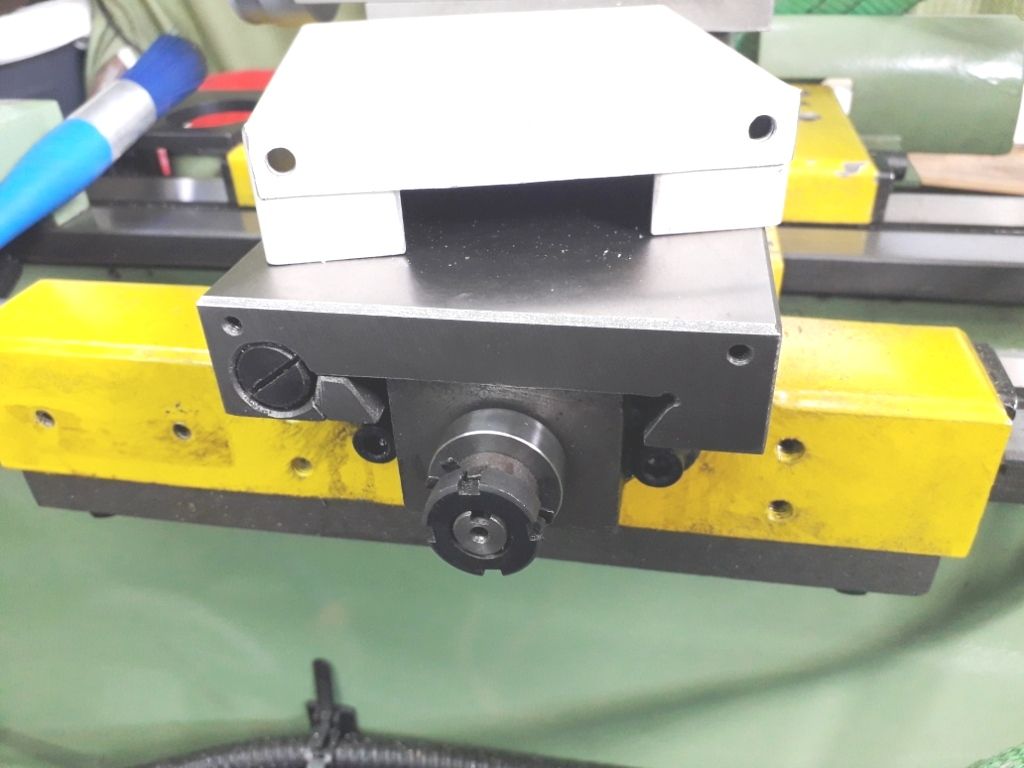
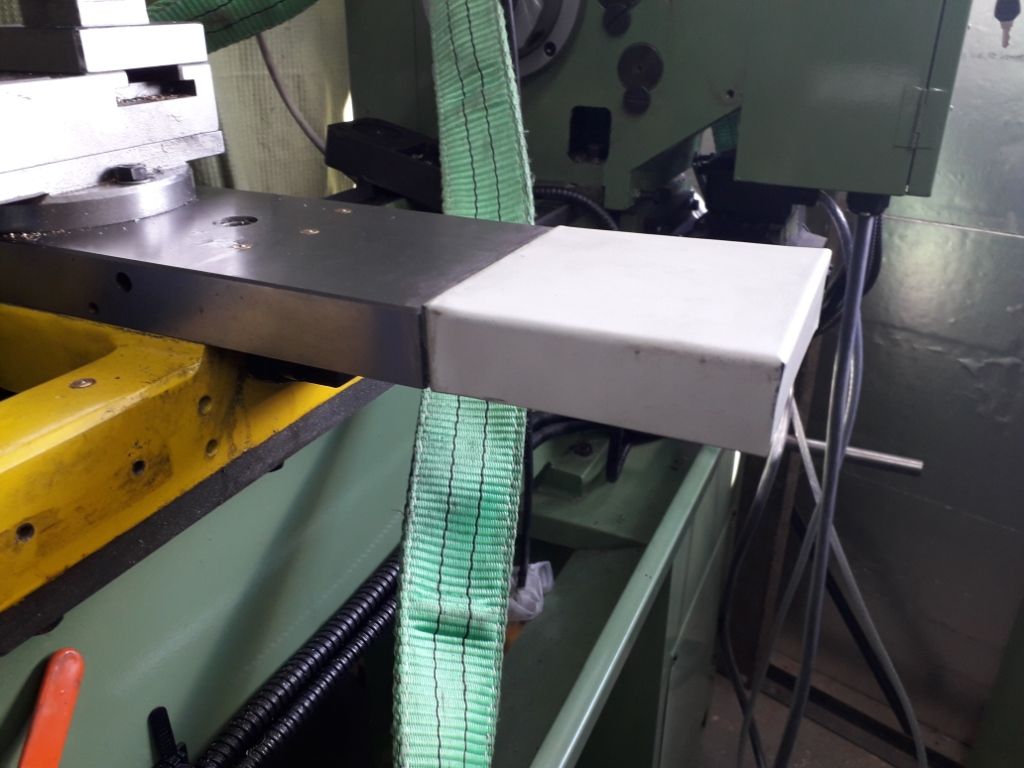
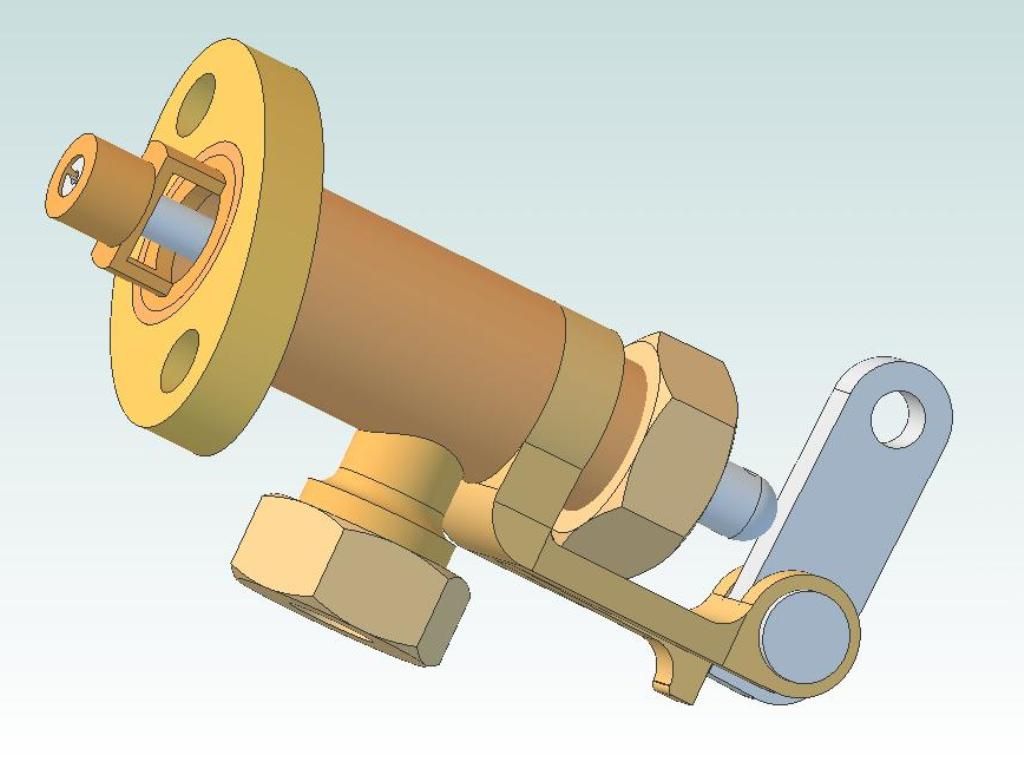
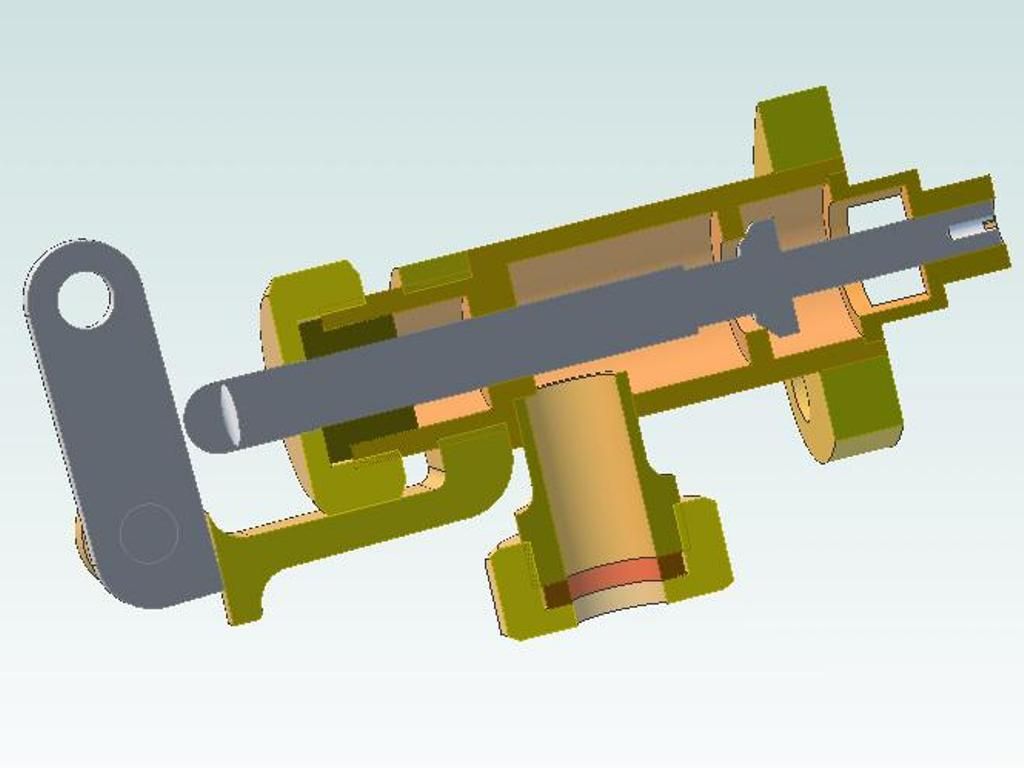
 Limpet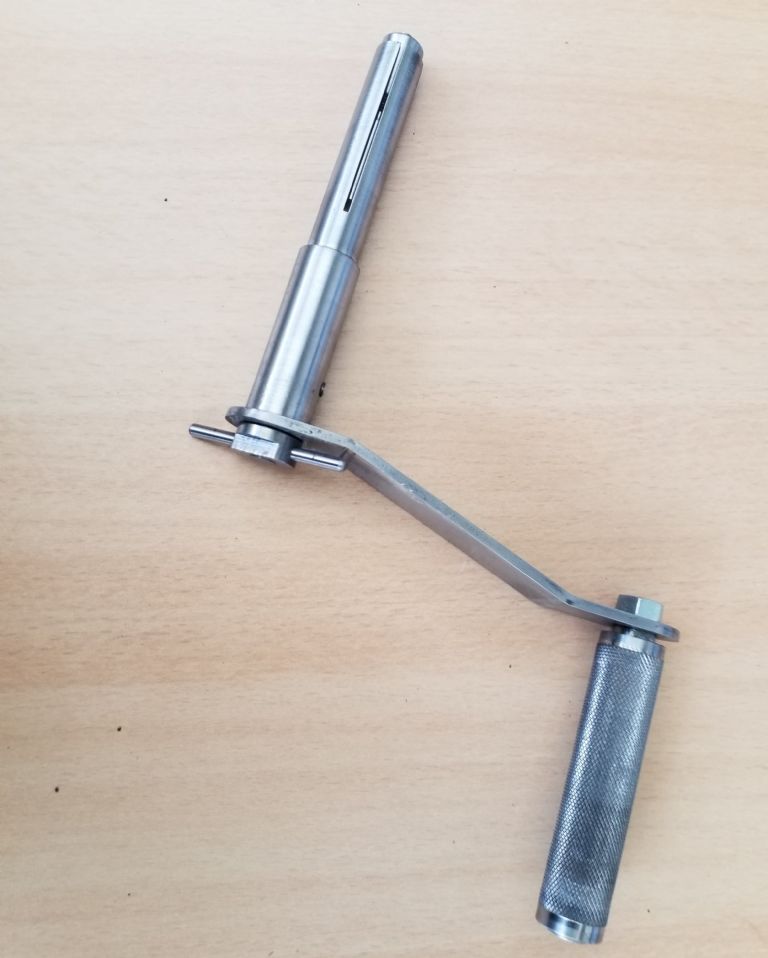
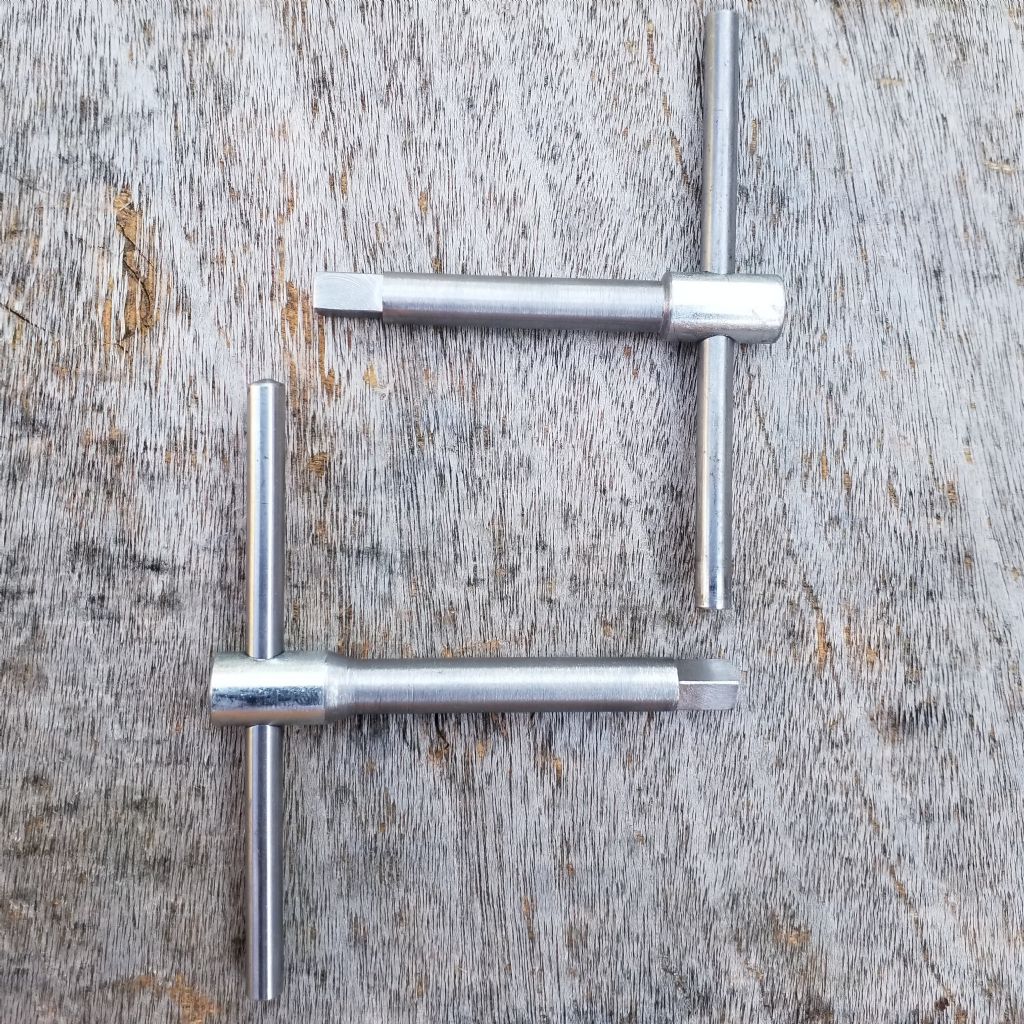

 , 1/4-inch BSF Spanner – for setting the bracket heights from the table so the smoke-box centre-line height is correct.
- Please log in to reply to this topic. Registering is free and easy using the links on the menu at the top of this page.
Latest Replies
-
- Topic
- Voices
- Last Post
-
-
Suzanne
Started by:
Steve Huckins
in: Work In Progress and completed items
- 4
-
20 September 2026 at 12:52
Steve Huckins
-
Ideas needed for problem wth Tom Senior E type Mill
Started by:
Mike Crossfield
in: Manual machine tools
- 8
-
20 September 2026 at 12:14
Mike Crossfield
-
Doobells
Started by:
Michael Gilligan
in: The Tea Room
- 4
-
20 September 2026 at 11:51
renardiere7
-
New Myford 7 DRO article
Started by:
Bob Worsley
in: Electronics in the Workshop
- 7
-
20 September 2026 at 10:55
Bob Worsley
-
Harrison L5 mk2 or not
Started by:
sean logie
in: Workshop Tools and Tooling
- 3
-
20 September 2026 at 10:43
Clive Foster
-
Arc closure and popularity of Chineese lathes
Started by:
File Handle
in: The Tea Room
- 4
-
20 September 2026 at 10:35
John Haine
-
Mini lathes I need to look into
Started by:
mcenhillk
in: Manual machine tools
- 14
-
20 September 2026 at 08:06
Dell
-
End mill sharpening
1
2
Started by:
petro1head
in: General Questions
- 16
-
19 September 2026 at 23:30
Nigel Graham 2
-
My week this week! My workshop videos
1
2
…
13
14
Started by:
Phil Whitley
in: The Tea Room
- 16
-
19 September 2026 at 19:24
Phil Whitley
-
… I had hoped we were growing-out of this nonsense !
1
2
Started by:
Michael Gilligan
in: The Tea Room
- 21
-
19 September 2026 at 17:37
Howard Lewis
-
Octopus Heat Pump
1
2
3
4
Started by:
Michael Gilligan
in: The Tea Room
- 25
-
19 September 2026 at 16:30
Macolm
-
Drive coil ampere turns for seconds pendulum
1
2
Started by:
carlw
in: Clocks and Scientific Instruments
- 6
-
19 September 2026 at 12:16
John Haine
-
Machining inserts part numbers
Started by:
JA
in: Workshop Tools and Tooling
- 6
-
19 September 2026 at 10:15
JA
-
Maxcut 5 – Arc Euro Trade
Started by:
Phil S
in: Workshop Tools and Tooling
- 2
-
18 September 2026 at 22:32
Nigel Graham 2
-
What Did You Do Today 2026
1
2
…
7
8
Started by:
JasonB
in: The Tea Room
- 48
-
18 September 2026 at 20:26
Neil Wyatt
-
1904 Whitehead Vertical Gas Engine
Started by:
JasonB
in: I/C Engines
- 4
-
18 September 2026 at 19:28
JasonB
-
Tom Thumb Toolpost Grinder
Started by:
Phil P
in: Workshop Tools and Tooling
- 2
-
18 September 2026 at 15:30
John Haine
-
Sherline closing down
Started by:
Peter Cook 6
in: Manual machine tools
- 8
-
18 September 2026 at 13:04
Peter Cook 6
-
Model Engineer & Workshop
1
2
Started by:
Tony Watson 3
in: Model Engineer & Workshop
- 18
-
18 September 2026 at 12:55
Neil Wyatt
-
Building a 4″ traction engine
Started by:
Karl Tear
in: Traction engines
- 11
-
18 September 2026 at 11:41
Nigel Graham 2
-
Su251-53
1
2
Started by:
parovoz
in: Locomotives
- 14
-
18 September 2026 at 07:10
Dave Wootton
-
Denford Viceory TDS 1/1 GBL lathe
Started by:
sean logie
in: General Questions
- 4
-
17 September 2026 at 20:55
sean logie
-
Have I got 12-28 UNF wrong or has Völkel?
1
2
Started by:
Bill Phinn
in: Workshop Tools and Tooling
- 12
-
17 September 2026 at 19:12
peak4
-
pendulum support springs
Started by:
gerry madden
in: Clocks and Scientific Instruments
- 6
-
17 September 2026 at 18:54
John Haine
-
Thread info required for the TEMU hydraulic pressure tester
Started by:
Greensands
in: General Questions
- 10
-
17 September 2026 at 18:28
duncan webster 1
-
Suzanne
 Steve Huckins
  Mike Crossfield
  Michael Gilligan
  renardiere7
 Bob Worsley
  sean logie
  Clive Foster
 File Handle
  John Haine
 mcenhillk
  Dell
Dell petro1head
  Phil Whitley
  Howard Lewis
 Macolm
 carlw
carlw  JA
JA  Phil S
  JasonB
  Neil Wyatt
 Phil P
  Peter Cook 6
  Tony Watson 3
  Karl Tear
  parovoz
  Dave Wootton
 Bill Phinn
  peak4
peak4 gerry madden
  Greensands
  duncan webster 1
Latest Issue

Newsletter Sign-up
Latest Replies
- Suzanne
- Ideas needed for problem wth Tom Senior E type Mill
- Doobells
- New Myford 7 DRO article
- Harrison L5 mk2 or not
- Arc closure and popularity of Chineese lathes
- Mini lathes I need to look into
- End mill sharpening
- My week this week! My workshop videos
- … I had hoped we were growing-out of this nonsense !

