What did you do Today 2024
What did you do Today 2024
- This topic has 529 replies, 76 voices, and was last updated 27 December 2024 at 13:59 by
 Dalboy.
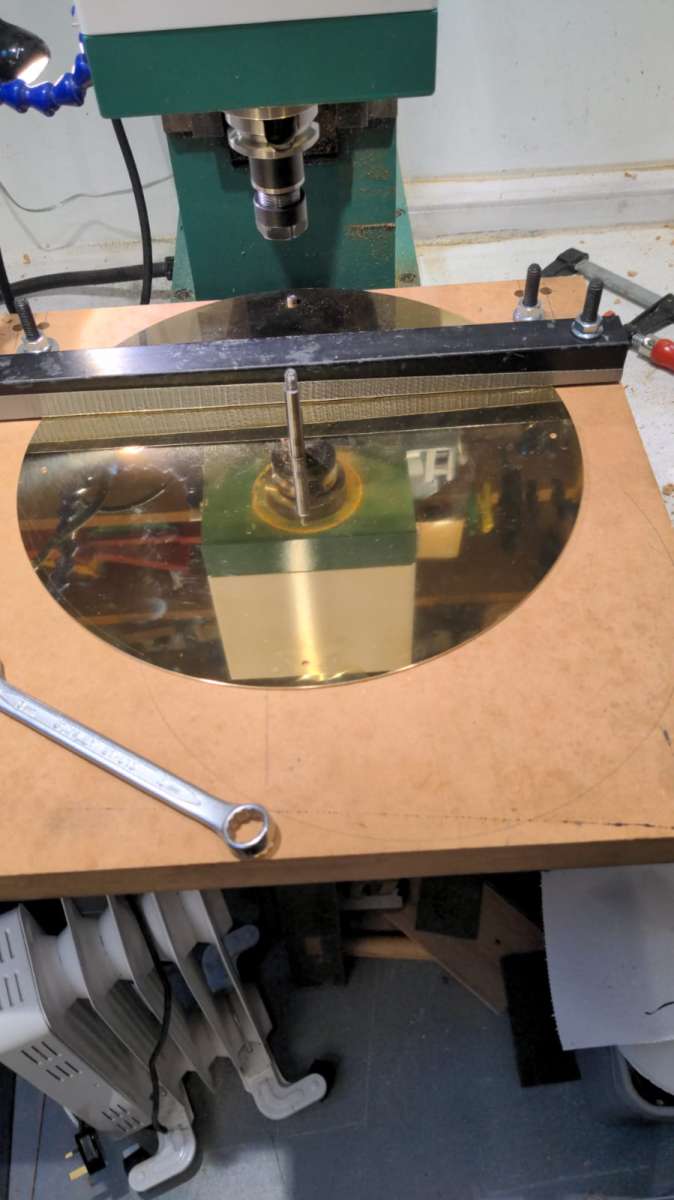
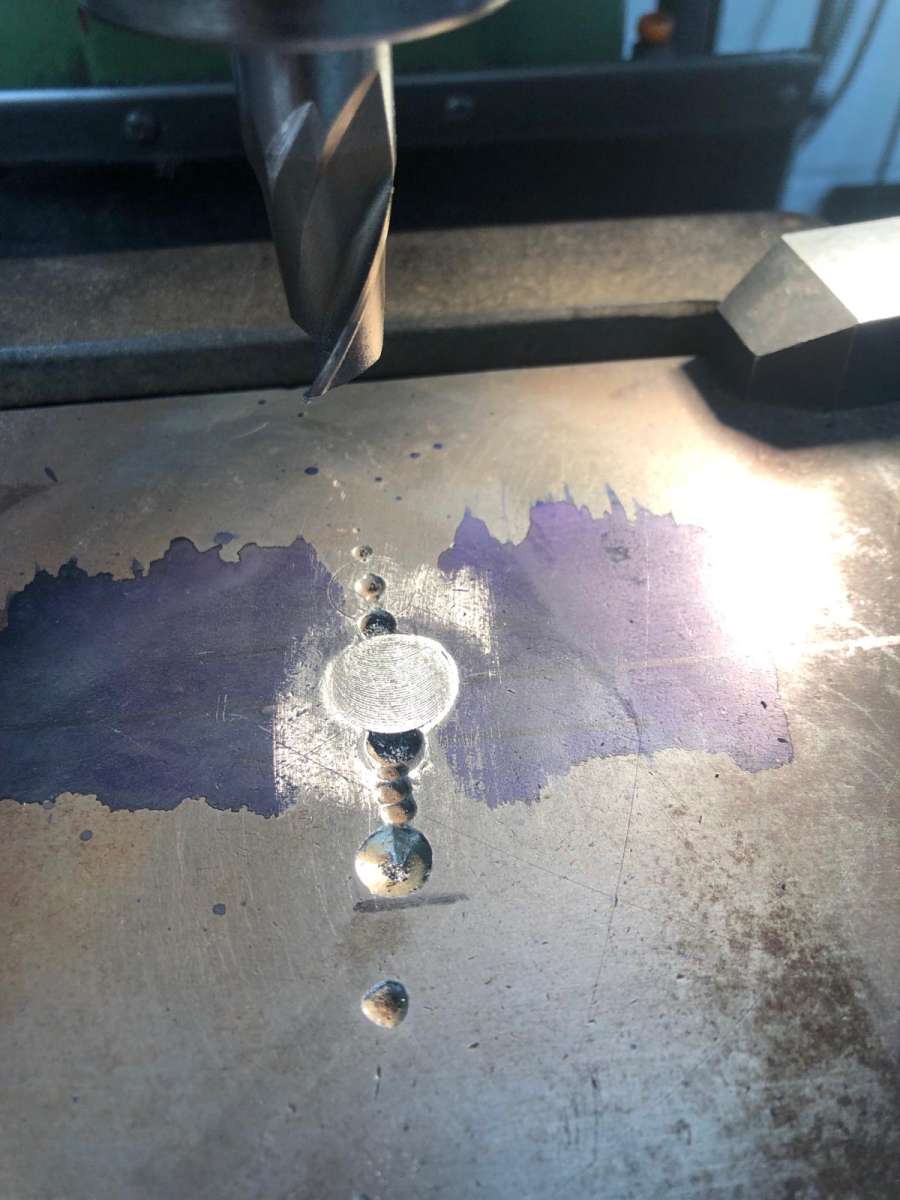
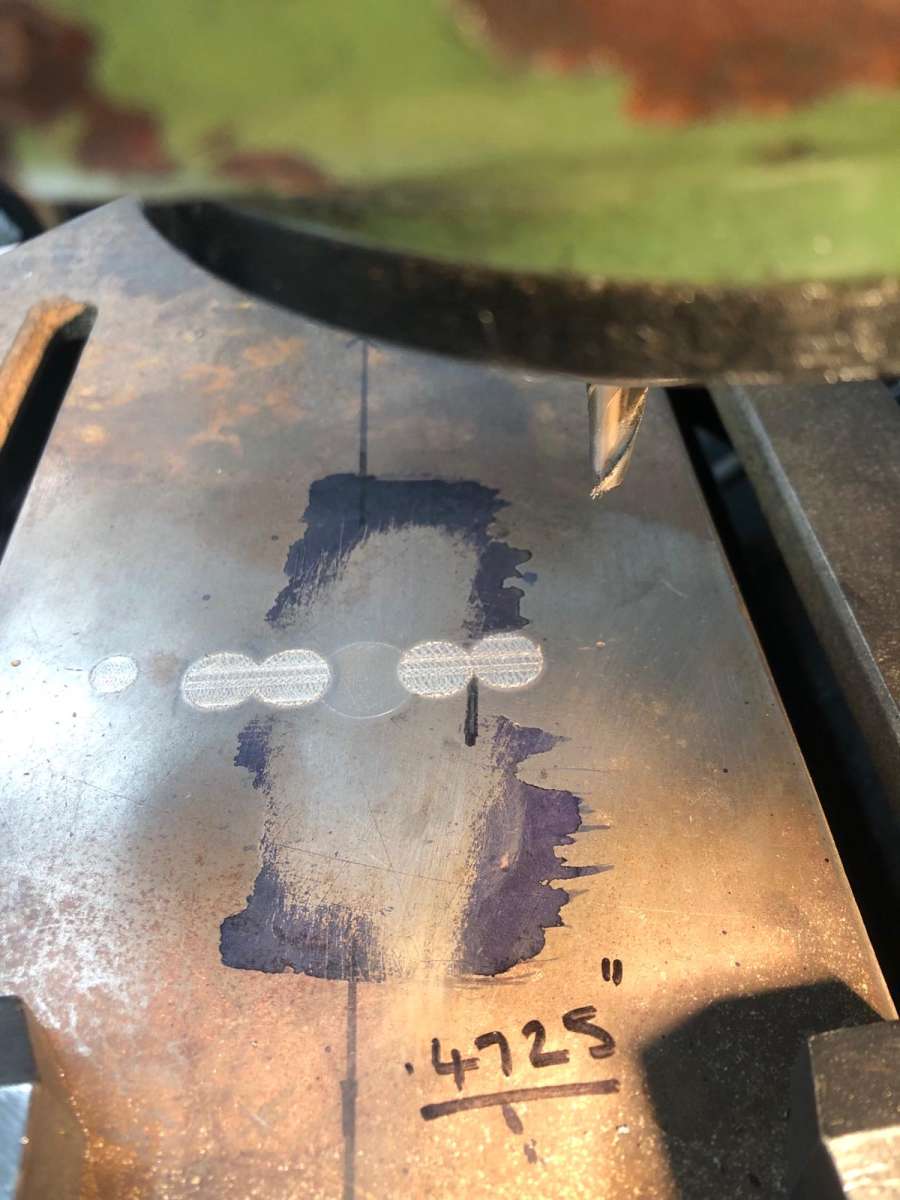 Bought a very cheap Meddings drill from Facebook marketplace , lots of surface rust a smile of shame on the table and the safety collar that fits under the head is cracked, otherwise very little used. The Meddings table shouldn’t have a centre hole, someone had thoughtfully drilled one in, but not central to the table clamp slots. Decided it couldn’t be lived with so spent the afternoon giving the table a little TLC, slot drilled holes 5/16″ deep and plugged with little slugs of cast iron. Slugs went into the freezer for a while and tapped in, machined off as near to the table as I dared, filed and oilstoned flat. Doesn’t look too bad, not perfect but much better than before, pleasant afternoons work. Next job fabricate a new safety clamp, there’s one on ebay for sale, but it’s the same price as paid for the machine!
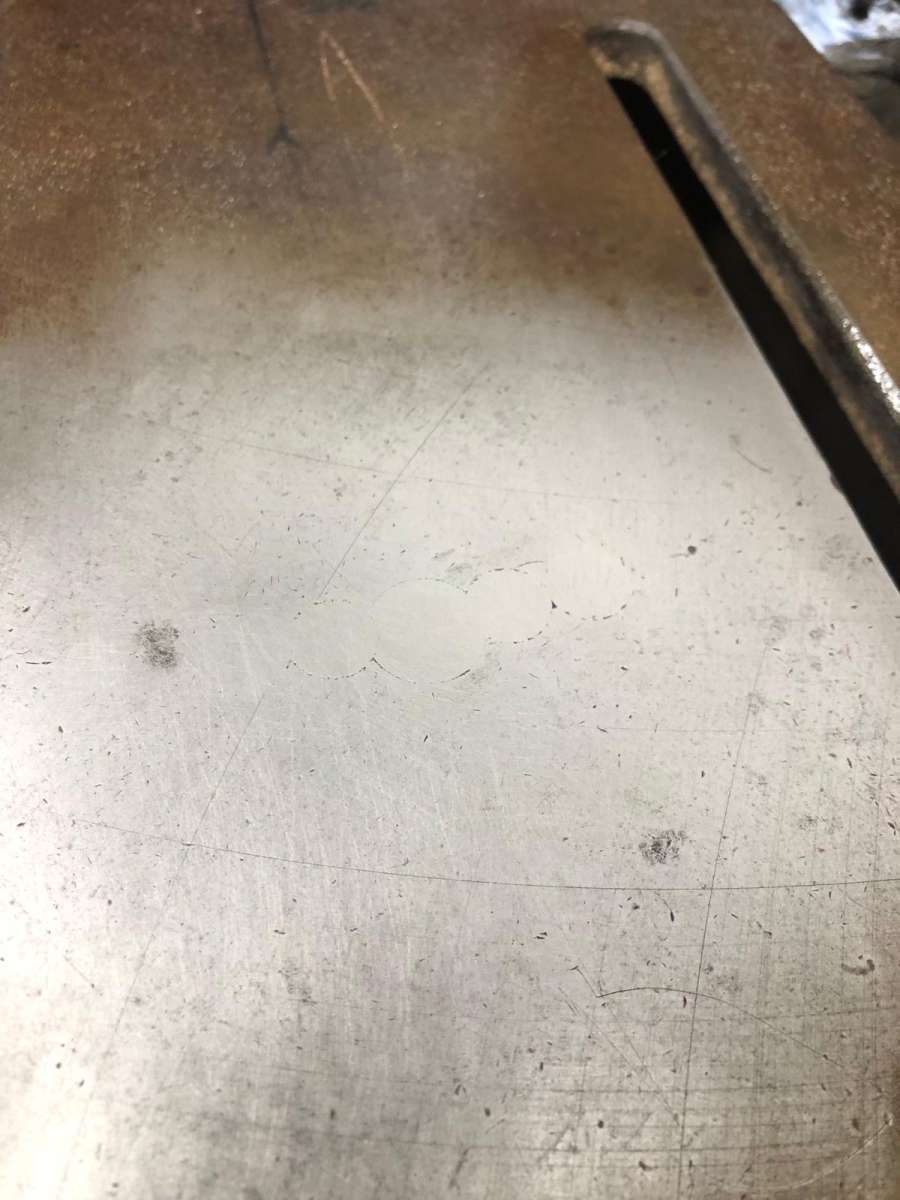
![PHOTO-2024-03-31-21-08-26[3819]](https://www.model-engineer.co.uk/wp-content/uploads/sites/4/hm_bbpui/723599/lm8xtk5ctny3k62gg7kxg7cksqchom5e.jpg)
 Finished rebuilding the Meddings drill I posted about the table repair a couple of weeks ago, photo at top is as bought but after table repair. Colour is quite a bit brighter than expected, probably through ordering from a tiny colour card swatch, grows on you. Very enjoyable job all round, had never dismantled a drill chuck before and after watching a sensible youtube video it turned out to be easy and worthwhile. Just got to tidy up and wipe the spray dust off everything and it’s back to the loco. But there is now a little Kennedy saw waiting in the wings….
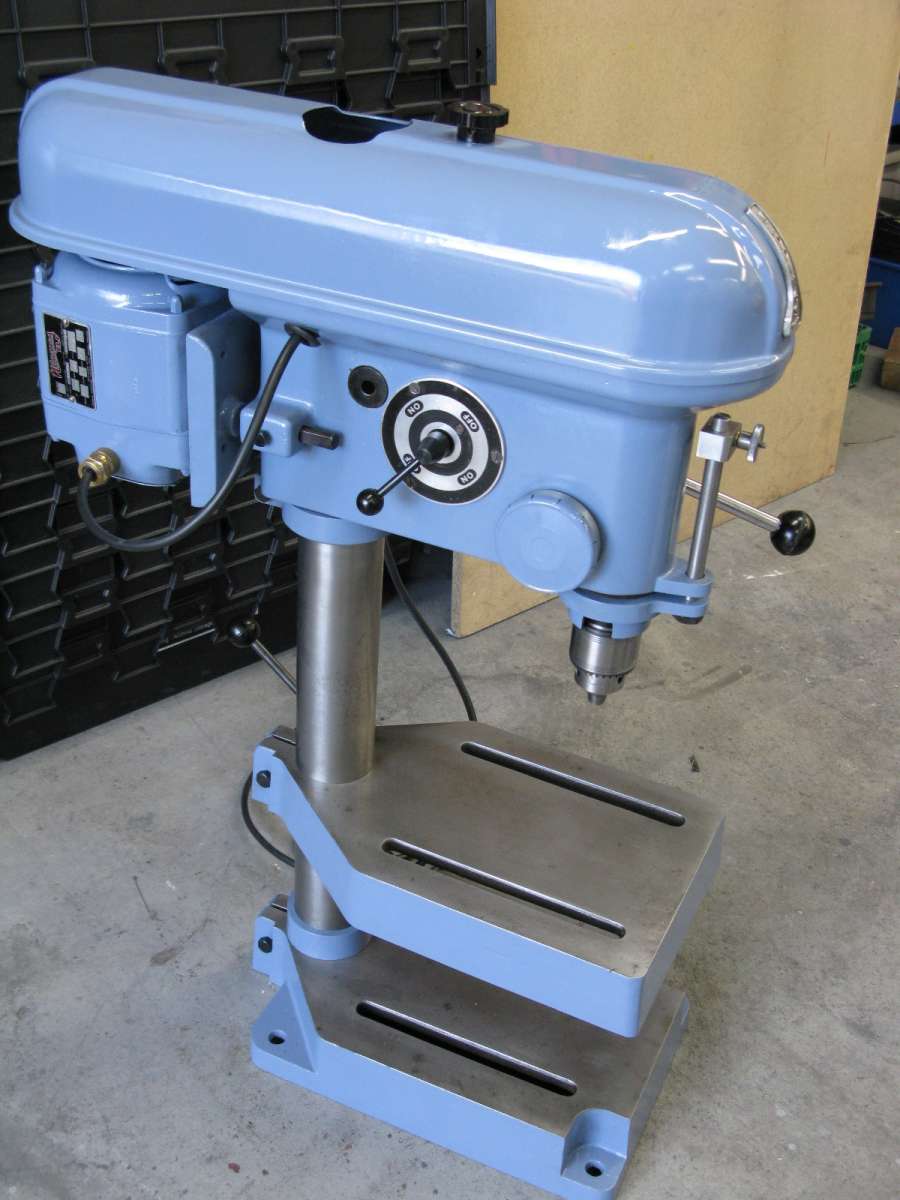


- The topic ‘What did you do Today 2024’ is closed to new replies.
Latest Replies
-
- Topic
- Voices
- Last Post
-
-
Mysterious Morse Tapers
Started by:
Pippin
in: Workshop Tools and Tooling
- 10
-
25 July 2026 at 17:12
Pippin
-
Buzz Ballz packaging “unrecyclable” in U.K.
Started by:
Michael Gilligan
in: The Tea Room
- 3
-
25 July 2026 at 16:47
bernard towers
-
Hobbing a Brass or Aluminium Drive Pulley to Stop Belt Slippage
Started by:
Blue Heeler
in: Hints And Tips for model engineers
- 5
-
25 July 2026 at 16:37
ega
-
Plug in Solar
1
2
3
4
Started by:
Vic
in: The Tea Room
- 26
-
25 July 2026 at 15:46
Michael Gilligan
-
Garden water pump
Started by:
John MC
in: The Tea Room
- 7
-
25 July 2026 at 12:58
Speedy Builder5
-
Deep drilling
Started by:
Speedy Builder5
in: Workshop Techniques
- 10
-
25 July 2026 at 12:56
Speedy Builder5
-
Is anyone interested in developping a new series of model engines?
1
2
3
4
Started by:
paulmichael1084
in: General Questions
- 20
-
25 July 2026 at 12:31
paulmichael1084
-
REXON SS16A scroll saw
Started by:
Michael Gilligan
in: Workshop Tools and Tooling
- 3
-
24 July 2026 at 22:32
Michael Gilligan
-
Posts by new member containing ads.
Started by:
alecs
in: Website Questions, Comments, and Suggestions
- 5
-
24 July 2026 at 20:22
bernard towers
-
Doris Black 5 mech lubricator question.
Started by:
kevmol57
in: Workshop Techniques
- 4
-
24 July 2026 at 13:25
kevmol57
-
24cc DIESEL ENGINE FROM SOLID
1
2
3
Started by:
dean clarke 2
in: I/C Engines
- 13
-
24 July 2026 at 10:27
KEITH BEAUMONT
-
Long awaited FreeCAD version 1.1 released
Started by:
Russell Eberhardt
in: CAD – Technical drawing & design
- 3
-
24 July 2026 at 10:16
Roger Woollett
-
Nut screws washer and bolts – you know the old joke
Started by:
Kiwi Bloke
in: General Questions
- 16
-
24 July 2026 at 08:55
Gerard O’Toole
-
The Latest INDEX to Model Engineer & Workshop (Also past issues of MEW)
1
2
3
Started by:
David Frith
in: Model Engineer & Workshop
- 7
-
24 July 2026 at 08:18
David Frith
-
Chat GPTgoes rogue and launches cyber attack
Started by:
Robert Atkinson 2
in: The Tea Room
- 8
-
24 July 2026 at 07:29
Adrian R2
-
Workshop Heaven but must have cost a fortune.
Started by:
alan ord 2
in: Workshop Tools and Tooling
- 5
-
24 July 2026 at 02:19
Bill Phinn
-
What Did You Do Today 2026
1
2
…
6
7
Started by:
JasonB
in: The Tea Room
- 43
-
23 July 2026 at 21:50
Nigel Graham 2
-
Mitutoyo Metrology Handbook – Still Available From Mitutoyo UK
Started by:
southernchap
in: Books
- 3
-
23 July 2026 at 21:46
Robert Atkinson 2
-
It’s A Compressor, Jim, But Not…
1
2
Started by:
Nigel Graham 2
in: General Questions
- 12
-
23 July 2026 at 21:17
Nigel Graham 2
-
Dart 7 1/4 Build
Started by:
Roy Birch
in: Locomotives
- 1
-
23 July 2026 at 14:25
Roy Birch
-
Electronics EL714-C DRO Display
Started by:
houstonceng
in: Workshop Tools and Tooling
- 2
-
23 July 2026 at 13:16
houstonceng
-
Mechanical lubrication steam locos. Non return valve opening pressure
Started by:
peter allen 1
in: General Questions
- 7
-
23 July 2026 at 10:28
noel shelley
-
BlueBerries
Started by:
Michael Gilligan
in: The Tea Room
- 13
-
23 July 2026 at 02:10
Grindstone Cowboy
-
Bridgeport Series 1 CNC
1
2
3
4
Started by:
tomcnc
in: CNC machines, Home builds, Conversions, ELS, automation, software, etc tools
- 12
-
23 July 2026 at 00:47
seemack
-
Help needed: Custom turned steering rack plug (Derbyshire / DE4)
Started by:
darikde4
in: General Questions
- 3
-
22 July 2026 at 23:03
paulmichael1084
-
Mysterious Morse Tapers
Latest Issue

Newsletter Sign-up
Latest Replies
- Mysterious Morse Tapers
- Buzz Ballz packaging “unrecyclable” in U.K.
- Hobbing a Brass or Aluminium Drive Pulley to Stop Belt Slippage
- Plug in Solar
- Garden water pump
- Deep drilling
- Is anyone interested in developping a new series of model engines?
- REXON SS16A scroll saw
- Posts by new member containing ads.
- Doris Black 5 mech lubricator question.

