Tool holder. What to do

Advert

Tool holder. What to do

Home Forums Help and Assistance! (Offered or Wanted) Tool holder. What to do

Viewing 10 posts - 1 through 10 (of 10 total)
  • Author
    Posts
  • #468745
    Steviegtr
    Participant
      @steviegtr

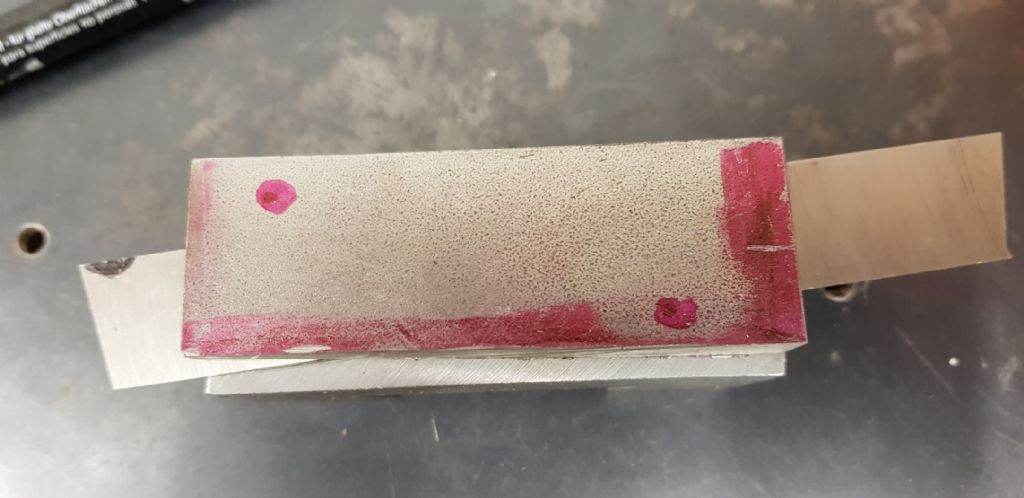
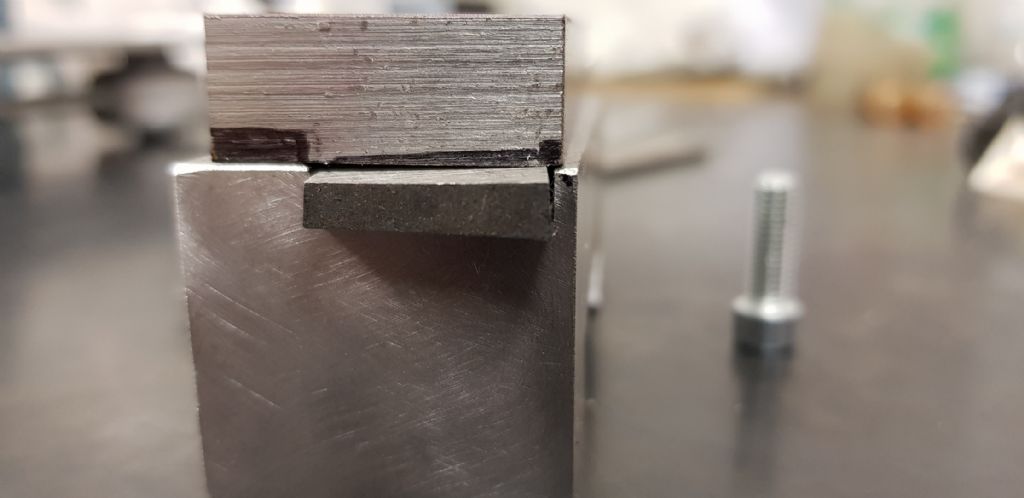
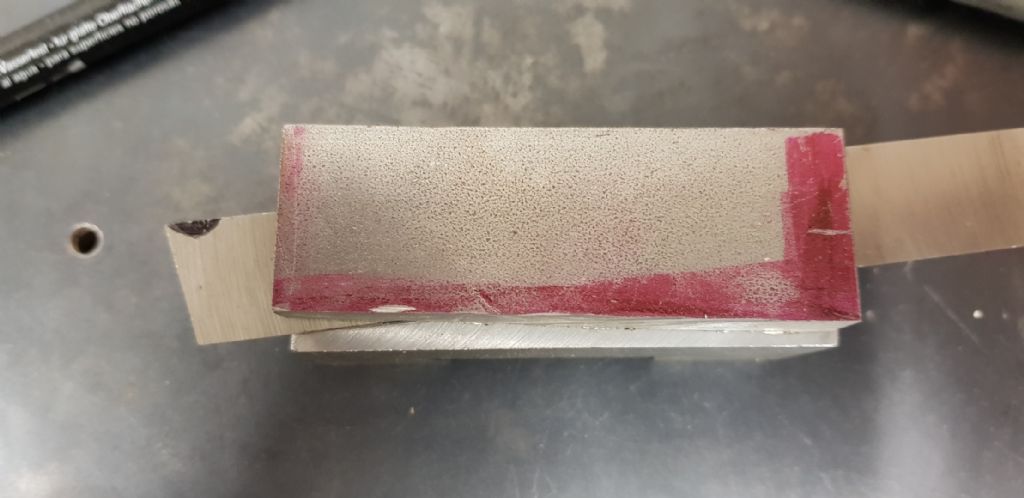
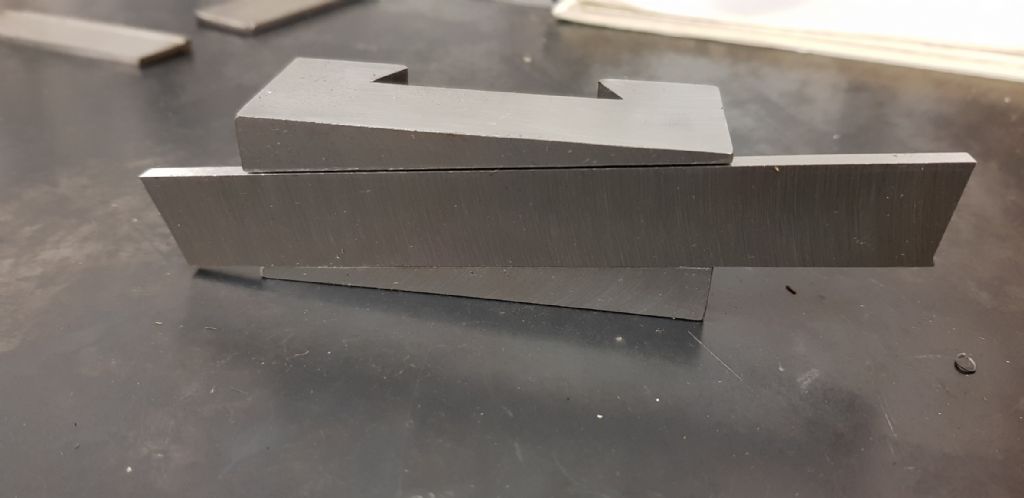
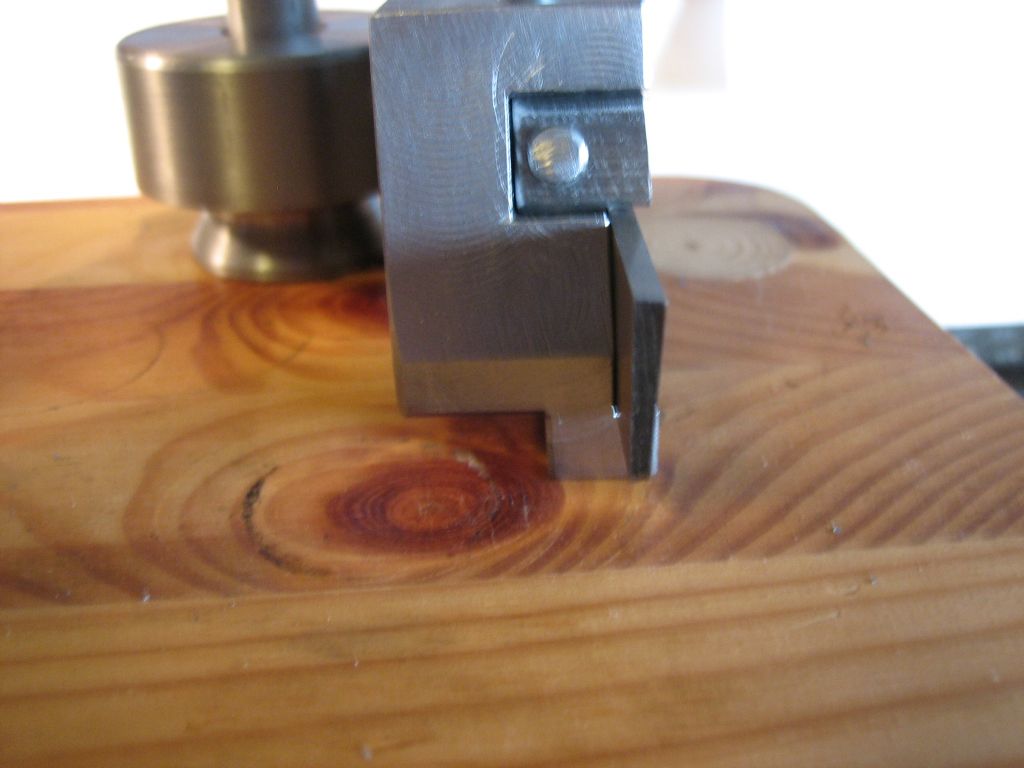
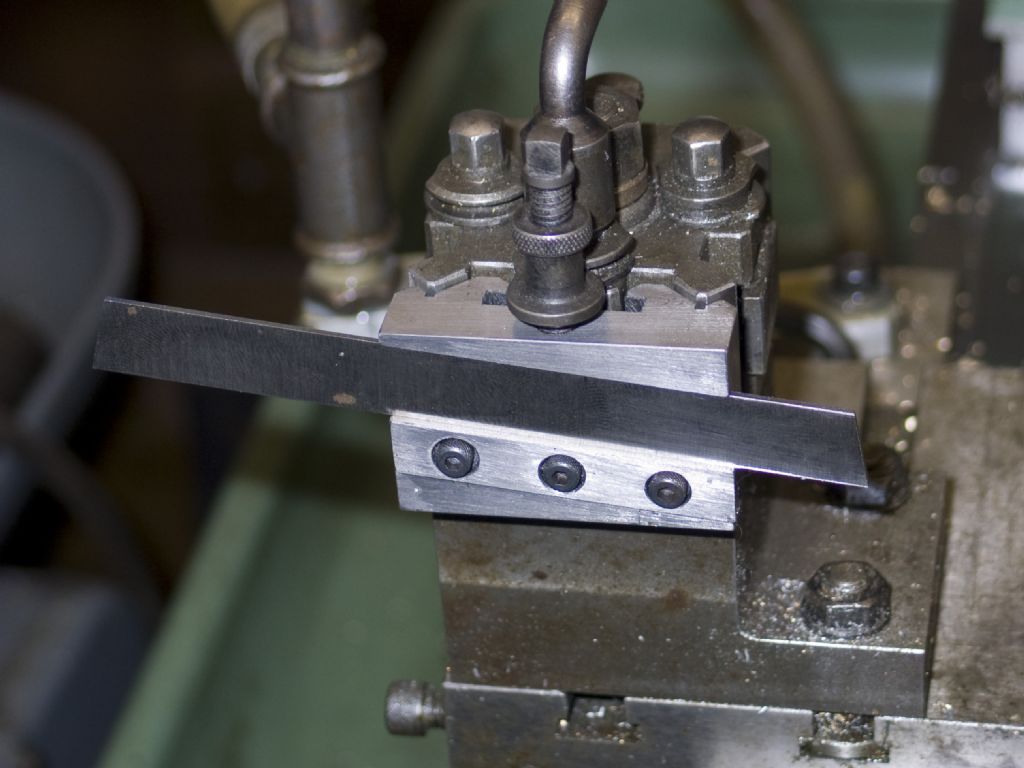
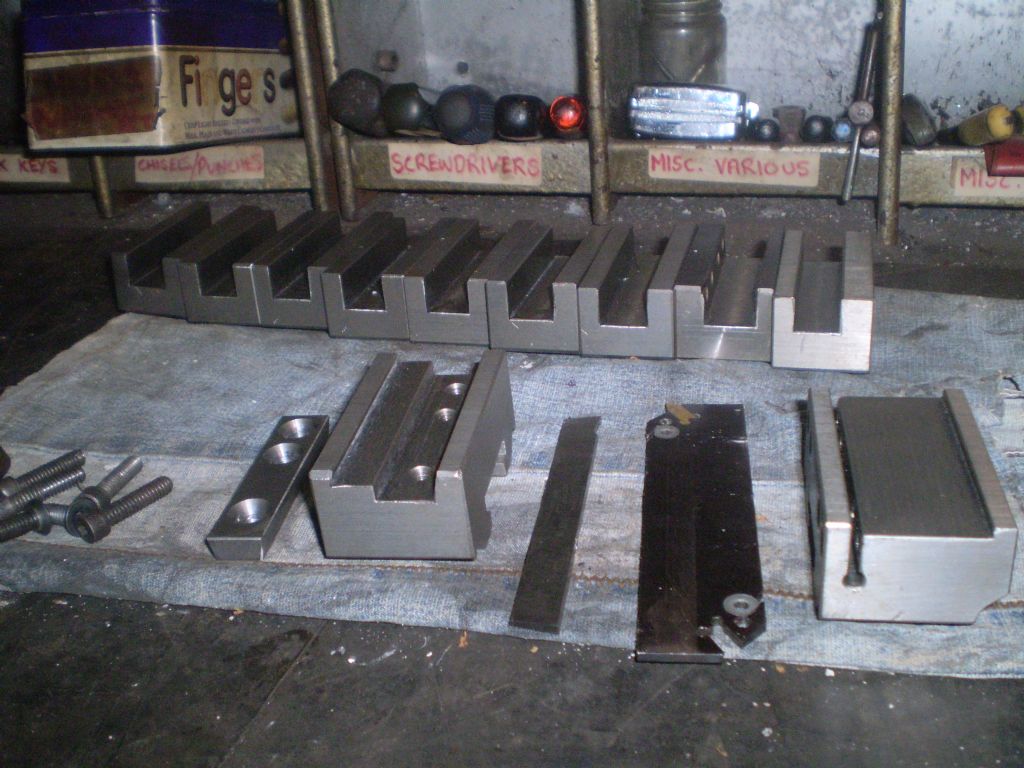
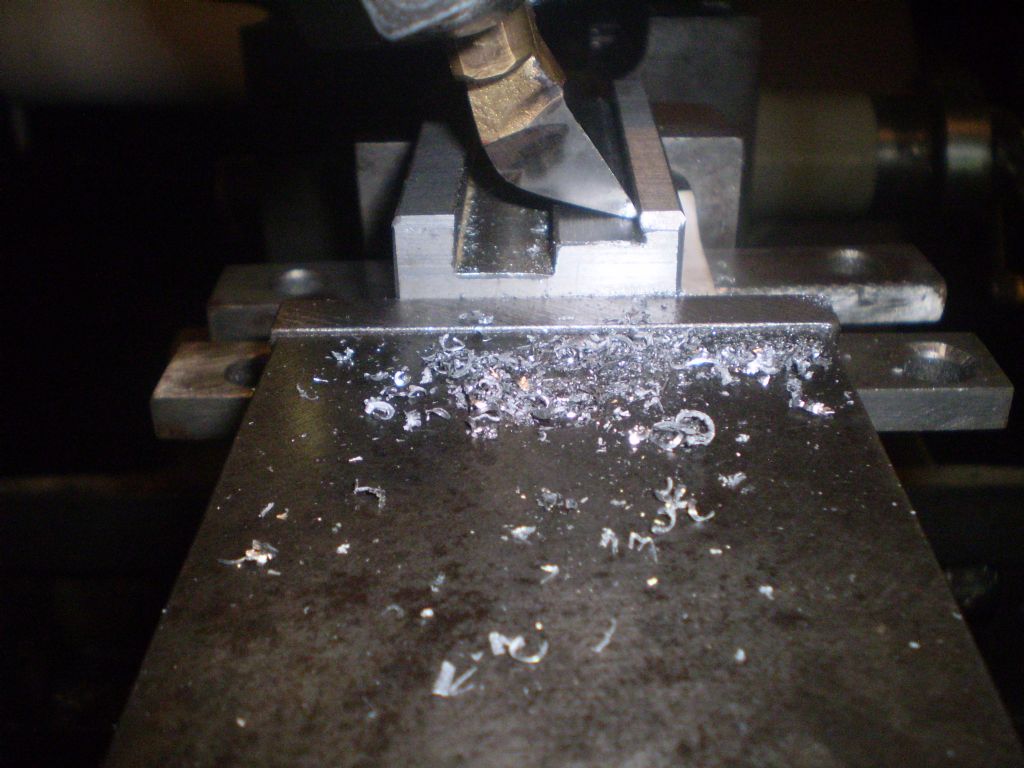
      I have made a tool holder to fit the Myford S7 with the 250-111 quick change tool post. It is to accept an Eclipse parting off tool that is made for a larger lathe. I.E the height is above the centre line of the work. See pictures.

      I have successfully made the body of the holder. I now need to make a clamp for the eclipse parting tool. I am thinking I have a piece that will clamp to the side of the cutter to hold it tight & stop it from sliding back away from the work. Look at the pictures & give me a better idea of the one I have. A point to see is the parting tool is tapered.

      It is only tapered at one side , so I made the slot at 90 degrees to the tool. Again see pics. The plan was to mill a relief in the piece of steel so the clamp would give a good side wards effort to the blade.

      I know I prattle but any better idea's would be greatly appreciated.

      Steve.

      eclipse 4.jpg

      eclipse 6.jpg


      eclipse 3.jpg

      eclipse 2.jpg

      eclipse 1.jpg

      Edited By Steviegtr on 03/05/2020 01:47:15

      Advert
      #33582
      Steviegtr
      Participant
        @steviegtr
        #468758
        JasonB
        Moderator
          @jasonb

          The way these holders are usually made for smaller toolposts is to have the part that holds the tool deeper than the main body of the tool holder so you can get a "ledge" under it for the tool to sit on.

          Angled like that will mean you will have to grind the business end flat at the very least to get zero top rake and subsequent sharpening will then make the cutting edge narrower than the top of the tool so it will jam in the cut. Angle the tool upwatds may be a better option as per some of teh toolholder sfor your type of post but would need the overhang with those blades

          Edited By JasonB on 03/05/2020 07:41:12

          #468763
          Yngvar F
          Participant
            @yngvarf

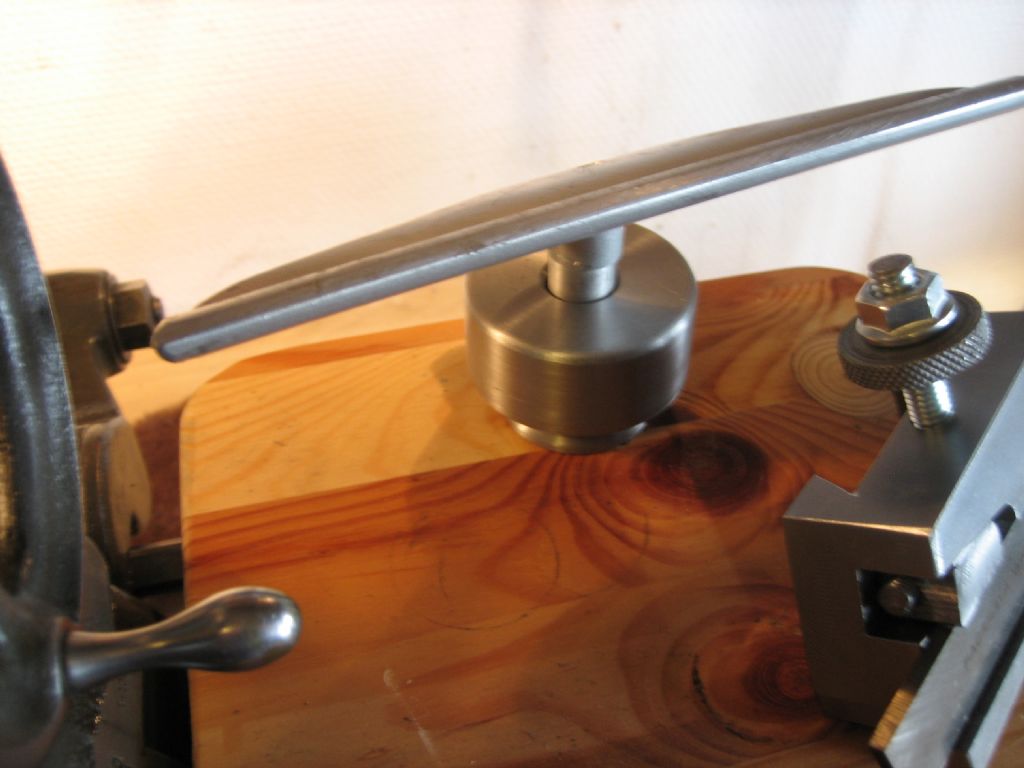
            6001f752-79e9-40ec-8f03-304bfeb5e2c8.jpegWood toolrest

            Made one that hangs over the edge of the top slide.

            #468768
            John Baron
            Participant
              @johnbaron31275

              Hi Stevie,

              I would bite the bullet and make a rear tool post for that blade !

              Apart from the issue of it being at the front, the angle should be the other way, the tool pointing up rather than down.

              This is my rear tool post and holder on my Myford S7LB.

              31-07-2019x002.jpg

              As you can see the parting blade is inverted and held horizontal. I don't use tapered blades, but rather long 200 mm 12 mm X 2 mm ones. This picture is with a new un-ground blade. I usually grind the front face to match the radius of the 6" grinding wheel with the table set at 10 degrees. I can easily part 50 mm steel bar under power. Aluminium is much more difficult, needing plenty of lubrication to prevent pickup.

              #468772
              Chris Evans 6
              Participant
                @chrisevans6

                Plus one for a rear tool-post. I made mine years ago with a tip holder from ARC that takes GTN2 tips. Never looked back.

                #468783
                JasonB
                Moderator
                  @jasonb

                  Couple of other points Stevie even though I'm sure you know

                  1. The pocket in the tool holder should actually be angled to match the slope of the blade so that when in use you get clearance on BOTH sides of the cutter to obviously help prevent swarf jamming and/or the blade rubbing and being pushed off to one side resulting in a concave or convex cut.

                  2. Ideally the bottom of the pocket should also be angled to match the angled bottom of the blade much like a dovetail which helps draw it into the solid holder when cutting forces are applied rather than hope a couple of screws will be OK, not that you have any screw pressure down in that front bottom corner anyway.

                  3. Swarf does not like going up hill, fine chips will get recut and/or jam

                  4. I knew it would not be long before a rear toolpost was suggesteddevil

                  Edited By JasonB on 03/05/2020 10:35:15

                  #468790
                  Clive Foster
                  Participant
                    @clivefoster55965

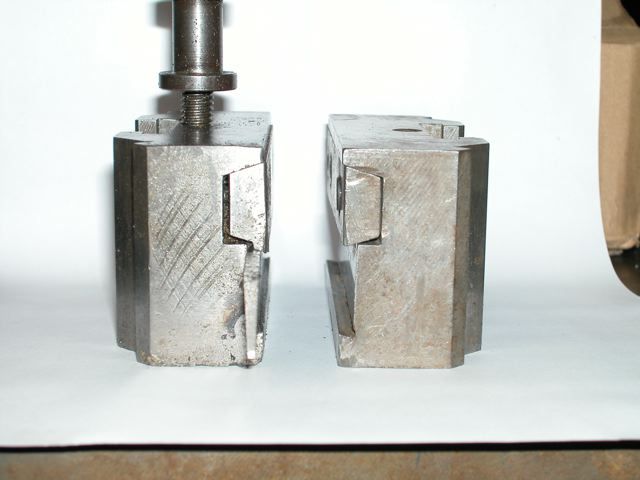
                    The factory Dickson toolpost blade holders use a full length bar of truncated triangle shape that simultaneously pushes the blade down into the bottom bevel and holds it back against the body. End on view in top picture shows the blade is held at the right angle to get clearance on both sides of the cutter as mentioned by Jason. Left hand one is a special wedge I made to use shallower blades in the Dickson holder. I had two sizes in my stash.

                    end view.jpg


                    side view.jpg

                     Generally the shallower blades are held in Armstrong style holders. These still have the full length bottom bevel but the actual clamp is much shorter so it can be fitted into the limited space in front of the four way, block or lantern toolpost. A full length wedge would make the holder impractically deep. Same sort of wedging principle. Common type mounts on an eccentric bolt so turning the bolt shank pushes the wedge down. Nearest thing to the factory Dickson is a short wedge with through bolt acting against a horizontal ledge at the top so the wedge pivots rather than pushing straight down. Easier to make but less secure as there is limited contact on the blade.

                    Possibly the most secure version uses a U shape wedging piece held down by two screws, mine has cap heads. The back of the holder has a slope matching the inner angle of the U wedge so as the screws are tightened the wedge pushes down and inwards on the blade.

                    I can take some pictures later if need be.

                    Clive

                    Edited By Clive Foster on 03/05/2020 10:56:42

                    Edited By Clive Foster on 03/05/2020 10:59:11

                    #468801
                    Phil P
                    Participant
                      @philp


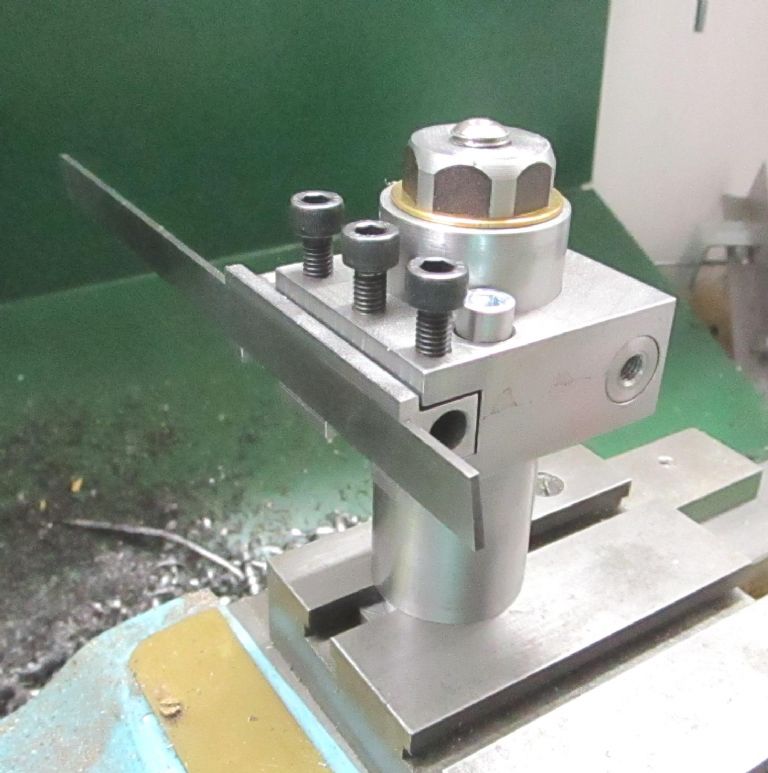
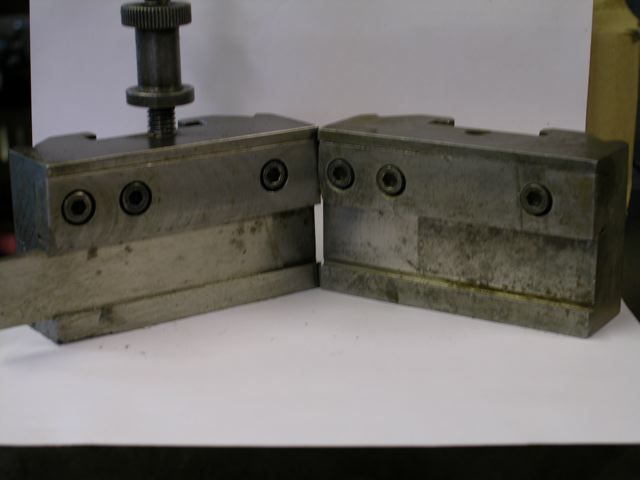
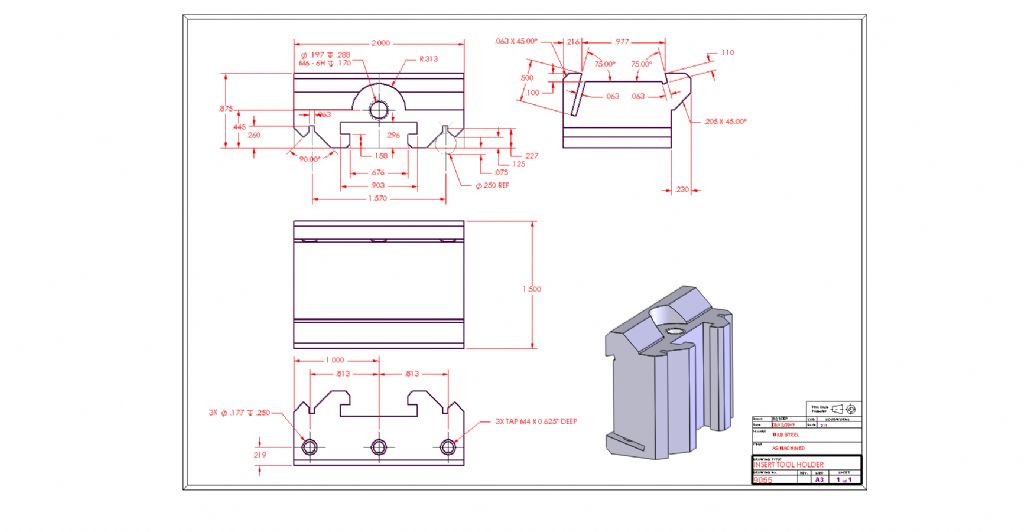
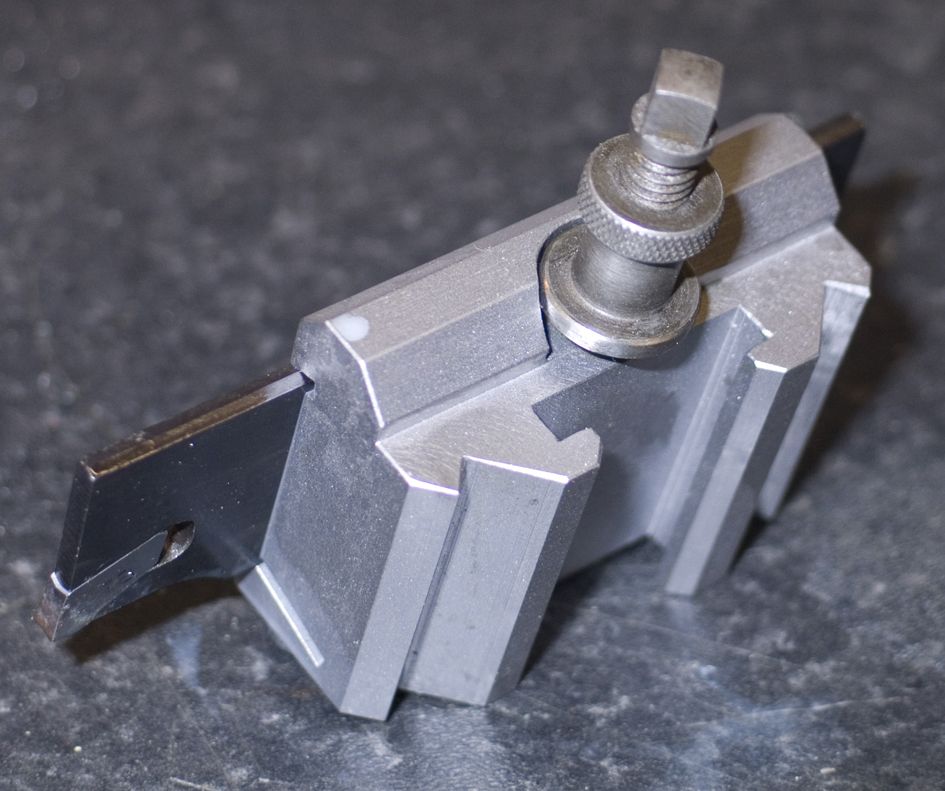
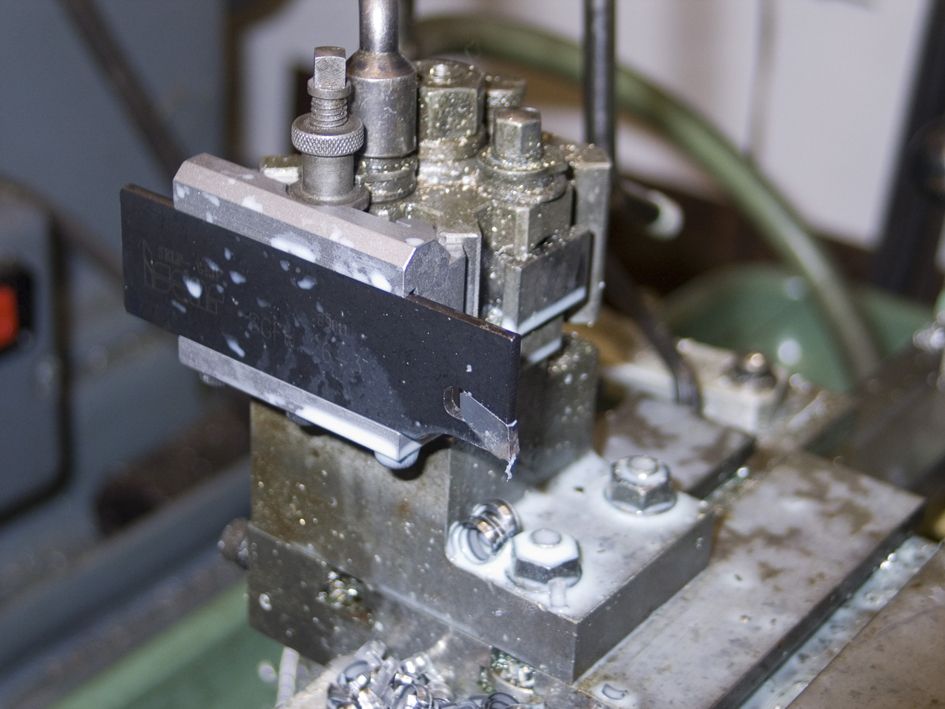
                      Here's a few rear tool holder ideas for you. Mine is a small QC toolpost that I had spare, but the blade clamping can be applied to whatever style of holder you want.

                      The first one is for insert style blades, the bottom one is for solid HSS blades and uses a wedge pulled sideways to grip the blade.

                      Phil

                      insert tool holder.jpgParting Tool Holder 2Parting Tool Holder 2Parting Tool Holder 1

                      Edited By Phil P on 03/05/2020 11:46:34

                      Edited By Phil P on 03/05/2020 11:46:47

                      #468992
                      thaiguzzi
                      Participant
                        @thaiguzzi

                        june - nov 2014 183.jpg

                        june - nov 2014 176.jpg

                        You can get the idea what Clive was mentioning on these two parting tool holders made on the shaper for my Dickson QCTP.

                      Viewing 10 posts - 1 through 10 (of 10 total)
                      • Please log in to reply to this topic. Registering is free and easy using the links on the menu at the top of this page.

                      Advert

                      Latest Replies

                      Viewing 25 topics - 1 through 25 (of 25 total)
                      Viewing 25 topics - 1 through 25 (of 25 total)

                      View full reply list.

                      Advert

                      Newsletter Sign-up