Symptoms of worn plain bearings on ML-7

Advert

Symptoms of worn plain bearings on ML-7

Home Forums Manual machine tools Symptoms of worn plain bearings on ML-7

Viewing 8 posts - 1 through 8 (of 8 total)
  • Author
    Posts
  • #12637
    Simon Collier
    Participant
      @simoncollier74340
      Advert
      #226654
      Simon Collier
      Participant
        @simoncollier74340

        Almost a year ago I got (for a song) a Myford ML-7 as a second lathe. It has proved very handy, more so than I would have predicted, helped by the fact that its chuck is very accurate. How would I know if the spindle bearings are worn? I have no reason to believe there is a problem, but what would the symptoms be?

        #226655
        John Fielding
        Participant
          @johnfielding34086

          The usual test for bearing slackness is to fit a DTI between the bed and the lathe spindle and then try to deflect the spindle. Another simple test is to see if it causes chatter when taking a deep cut. Many plain bearing spindles will give long service as long as you heed the lubrication needs. The ML7 bearing have shims between the bearing caps to set the clearance. When all the shims have been removed the bearing is basically finished and it needs to be re-metalled and rebored. If your lathe doesn't appear to have a problem it is best to leave well alone!

          I hope this helps?

          #226815
          Simon Collier
          Participant
            @simoncollier74340

            Thanks John. I put the DTI on the bed with the needle on top of the chuck and tried to pull the chuck upwards. Got about 0.04 mm with some effort. I tried a facing cut on largish stainless, but the original sprung single toolpost started bouncing.

            #226821
            Hopper
            Participant
              @hopper

              You need to put the dial indicator plunger on the collar of the actual spindle if you can get into it. Or else at least on the threaded section of the chuck backplate as close to the locating collar as possible.

              Then put a piece of stout bar about 12" long gripped firmly in the chuck. Then pull it upwards and check the dial gauge reading.

              .04mm is a bit on the loose side for precision work. You may need to take a shim or two out of the bearings. But before you rush in, make sure your cutting problems are not due to the toolpost etc.

              Stainless and facing are both problematic on small lathes if conditions are not just so. Try normal turning on a piece of 1" diameter bright mild steel bar and see how much chatter you get, up close to the chuck with no tailstock centre.

              #226824
              John Fielding
              Participant
                @johnfielding34086

                Hi Simon,

                I agree that 0.04mm is a bit sloppy but that is the static reading. It is in old money about 1.6-thou but when the spindle is spinning around the oil tends to support the spindle better. A simple test is the remove the chuck and put the DTI plunger on the chuck register so the DTI is measuring the horizontal movement. Then insert a large 2MT drill into the headstock and try and waggle the spindle around. Then put the DTI on the top of the register and do the same again.

                Chatter can be caused by many sloppy things on a lathe. The top slide adjustment and the cross slide adjustment as well as any spring in the tool can all cause chatter. Also the saddle gib adjustments are made with peelable (laminated) shims and can be a mission to get right, especially if a little wear has occurred on the lathe bed ways.

                To check if these are a problem then nip up the gib strip adjustments so they are a little tight but can still be moved and try another big facing cut. If things have improved then you have narrowed down the possibilities. Another test is the end float of the spindle. Put the DTI onto the front of the chuck and use a bar to try and lever the spindle backwards and forwards. Any end float can also cause chatter. Not sure how the end float is adjusted on the ML7, on the Super 7 it is done with the rear angular contact ball bearings and the adjusting nuts, but the ML7 probably has simple shims to take up the end float.

                If all else fails then there is no serious harm in removing the front bearing top cap and taking a look at the white metal surface to see if it is scored or showing uneven contact. You will also be able to see if any shims are still present. If the wear is even then a heavier oil might be all you need.

                #226833
                Martin Kyte
                Participant
                  @martinkyte99762

                  A Myford is not that rigid a beast. Tom Walshall suggested that if you were taking tiny final finishing cuts you really should really not lean on the tail stock. You will deflect the bed. Similarly, I have always suspected, that if you are attempting to test bearing wear, the indicator should perhaps be attached to the headstock casting not just gripped in the toolpost. What you would be measuring in that case is a combination of the bearing slop and the deflection of the bed.

                  Food for thought?

                  regards Martin

                  #226847
                  Ajohnw
                  Participant
                    @ajohnw51620

                    Worn spindle bearings can cause chatter.

                    A more sensitive test is to just turn something with various depths of cut, Start heavy and then go lighter. The heavy cut will hold the spindle firmly up in the bearings and should give a decent finish if everything else is ok. This DOES need a very even feed otherwise the the spindle will drop down and leave a ring on the work. The same thing will start happening at some point as the depth of cut is reduced however even the feed is. The best material to try this one would be circa 2" dia free cutting mild steel with a a couple of inches sticking out of the chuck. It's a very severe test. If perfect the same finish would be produced what ever the depth of cut.

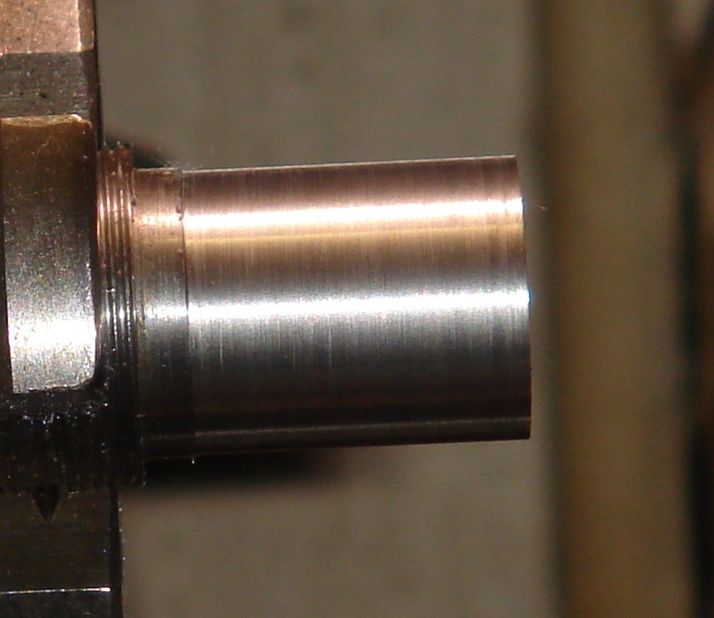
                    The other thing with sizes like this is gradually increasing re cuts as the tool is wound back to the start. Often a cut being taken several times each time the tool is run down the work. Deflection of other parts might give a minute cut more like scraping but a so so finish if the bearings are pretty good rather than perfect. Generally few lathes will give an excellent finish with super fine cuts and that can be just down to vibration. The marks on the work might only be a micron or so deep. This sort of thing for instance

                    siversteeldrylathewarmedup.jpg

                    A band can be seen periodically along the work caused by a wobbly large countershaft pulley. This was after the bearings had warmed up so everything is tighter than when they are cold which makes this sort of thing a lot more apparent. Junk silver steel in this case. There was a bit of tearing on the actual cut. It's very very shallow though.

                    If 2" of 1" dia was sticking out and a cut say 60 thou deep was taken the bar is likely to bend a bit due to the cut so the same cut will remove more material. More noticeable on the end of the work. If the work is lifting in the bearings a noticeable cut will be taken right from the start when the tool is wound back as the work will be evenly tapered. Loose bearings will also cause the lathe to turn a taper over and above it's inherent alignment.

                    People are inclined to put this sort of thing down to deflection when it's mild. I'm inclined to say really and leave it at that. What it boils down to is the most lathes need a certain cutting load to give the best finish they are capable of. This can be a wide variety of feed and depth combinations. The state of the bearings then determines what happens if the tool is just wound back or the same cut run again. The tool withdraws slightly when wound back on some lathes. It depends on the saddle fit and where the nut or rack gear is applying force to the saddle. that can cause some strange accuracy problems unless the saddle is wound back until the tool is way past the end of the work or enlarged diameters right at the end.

                    ML7 bearings can be replaced but Myford supply phos bronze now rather than white metal. I have heard of people casting them in place. I could run through scraping them if any one is interested.

                    John

                  Viewing 8 posts - 1 through 8 (of 8 total)
                  • Please log in to reply to this topic. Registering is free and easy using the links on the menu at the top of this page.

                  Advert

                  Latest Replies

                  Home Forums Manual machine tools Topics

                  Viewing 25 topics - 1 through 25 (of 25 total)
                  Viewing 25 topics - 1 through 25 (of 25 total)

                  View full reply list.

                  Advert

                  Newsletter Sign-up