It's me again!!
Thank you, Clive, for your advice.
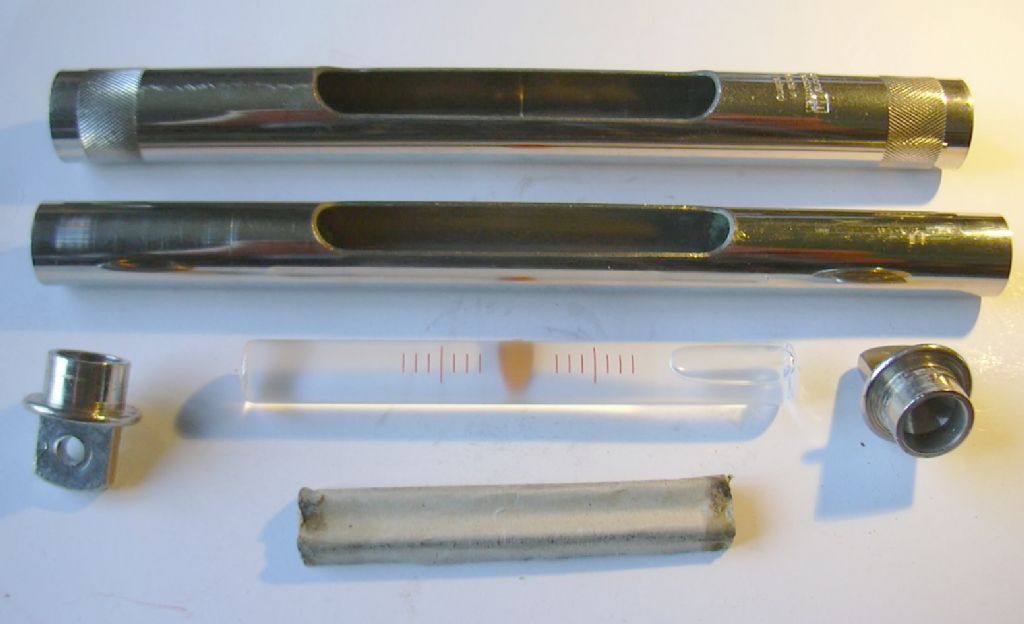
I made a trial mix of the plaster of Paris to get a feel for the stuff. I then started the reassembly. Here is a photo of all the parts of the level, including the new vial and the original paper 'pressure pad' :

You can see the two end plugs – not a screw thread or grub-screw in sight!
My first step was to insert the vial and the pressure pad into the inner metal tube and position them as accurately as I could with respect to the window aperture. I then secured the vial temporarily with Sellotape, hoping that it wouldn't pull the coloured filling from the vial graduations when removed later.

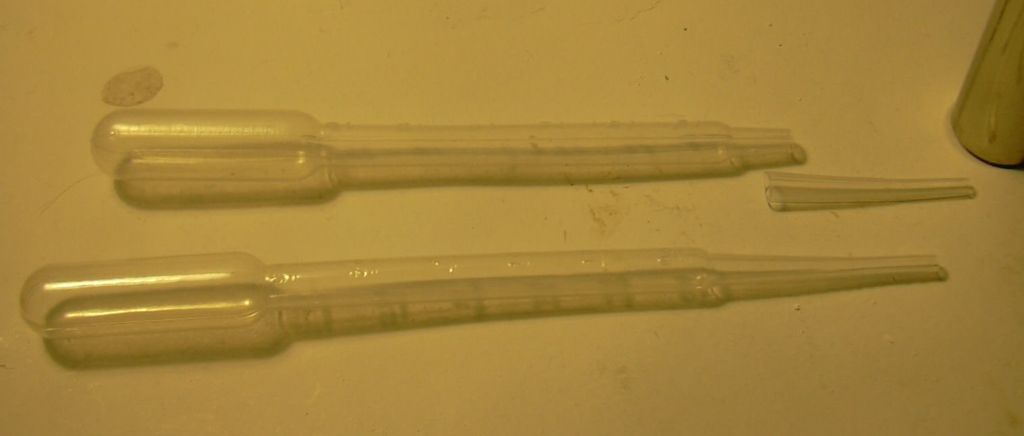
Inserting the plaster in the non-pip end was messy but simple. I let that harden for 24 hours. In view of Clive's cautions regarding the pip, I considered and rejected several methods of inserting the plaster in the pip-end. The method I chose was to cut off part of the tip of a disposable plastic pipette (my wife uses them to handle her pond-life microscopy specimens). Here's a photo of a complete pipette and the pruned one I actually used:

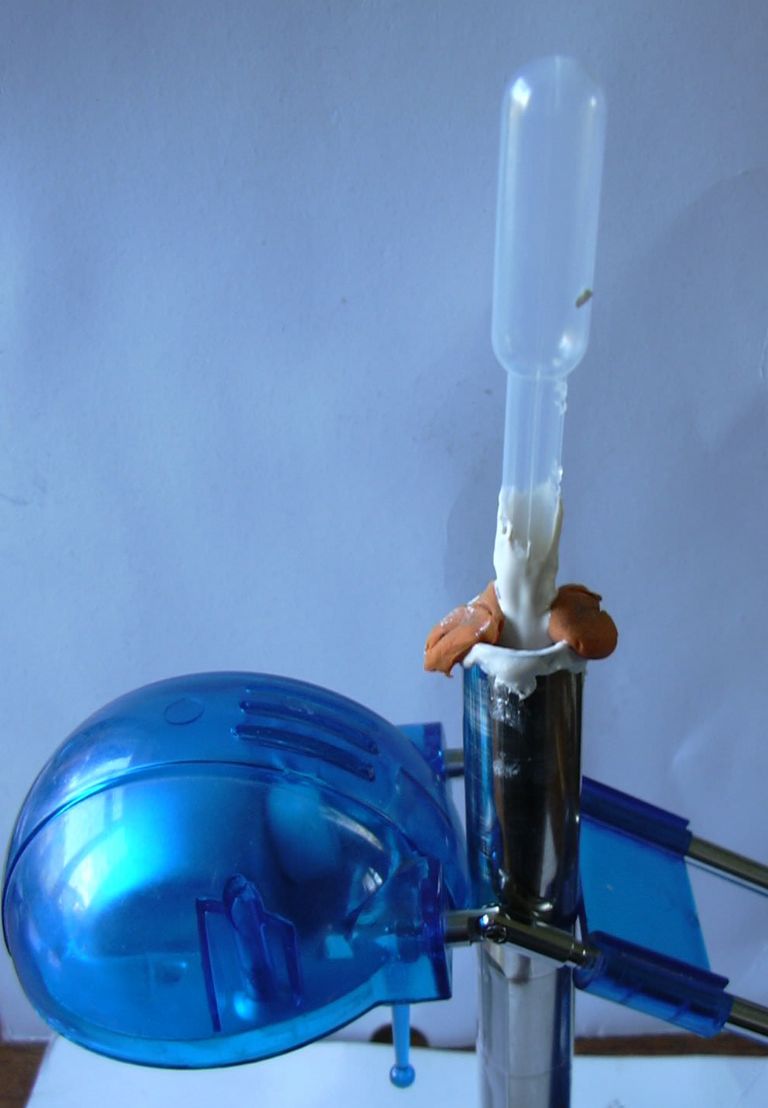
I positioned the metal tube and vial, end-up, supported by a quartz halogen desk lamp (it was to hand and saved me the bother of going to the workshop for the retort stand and clamp! ). Then, holding the pipette with its cut end over the vial's pip with one hand and holding the pot of plaster with the other hand, I spooned the plaster into the open end of the metal tube (with the other hand  ). I 'broggled' the plaster down into the tube with one of those wooden coffee stirrer sticks. When I thought I'd inserted enough plaster, I applied a couple of lumps of Plasticene to keep the pipette in position until the plaster had set.

The plaster sets in about 20 minutes, I left it for a couple of hours and then fettled the plaster from the rim of the tube end and then removed the pipette. The pipette has raised graduations which the plaster was reluctant to release but perseverance prevailed.
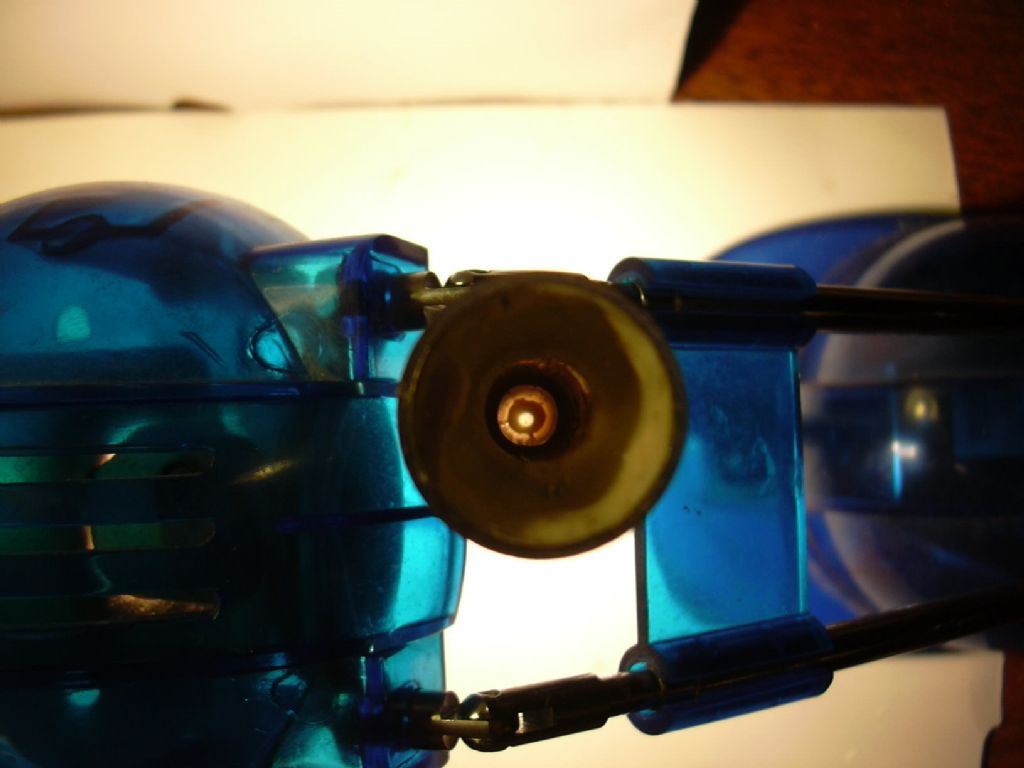
I was eager to see whether I'd adequately protected the pip, here's a photo looking down the open end of the tube, the bright central spot is the pip.

Not the easiest thing to photograph but I think you can see I was fairly successful (except that I've put in too much plaster and it's going to be a b***h to remove the excess) . I have to do that to make room for the end caps.
I'm going to make some sort of a fixture to help press the end caps into the tube with their lugs in line with each other and in correct relation to the window in the tube.
Best regards,
Swarf, Mostly!
Edited By Swarf, Mostly! on 26/03/2015 20:01:05
ianj.


