Colchester Student Mk1 Won’t Start

Advert

Colchester Student Mk1 Won’t Start

Home Forums Help and Assistance! (Offered or Wanted) Colchester Student Mk1 Won’t Start

Viewing 25 posts - 701 through 725 (of 797 total)
  • Author
    Posts
  • #490065
    Herman van der Merwe
    Participant
      @hermanvandermerwe76509

      You said: "The shaft is actually very tight in the hole, so a very good alignment is required."

      Look at how this guy uses the angle iron to align the two pieces and you will get the alignment. You can also add another piece of angle iron on the top if you like and make four holes in the angle to allow you access to the shaft where you can do the initial four brazing spot joints.

      **LINK**

      Do not look at how he smooth it out. Use your lathe to do that!

      Yes, blinging wants a smooth surface to start from…. So I use the single cut file to remove all the dings, then onto the 180 grit up to 800 grit wet sanding paper. Or you can use a non-woven abrasive wheel on a pencil grinder for the very hard cast iron of the hand wheels.

      Advert
      #490137
      Richard Kirkman 1
      Participant
        @richardkirkman1

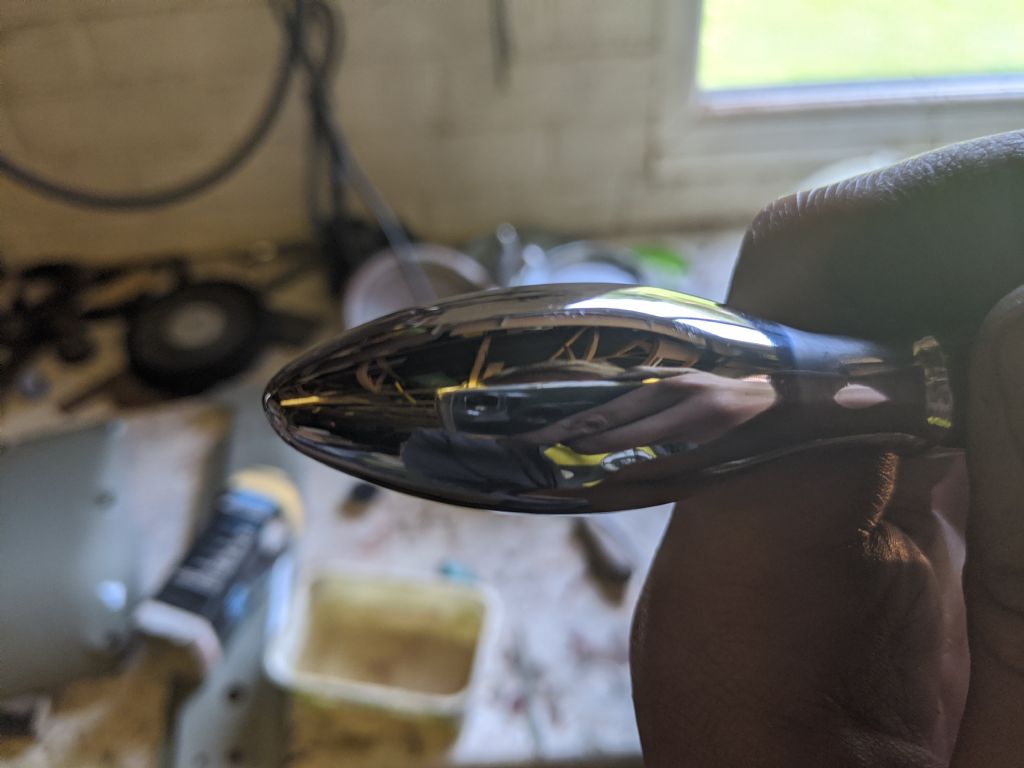
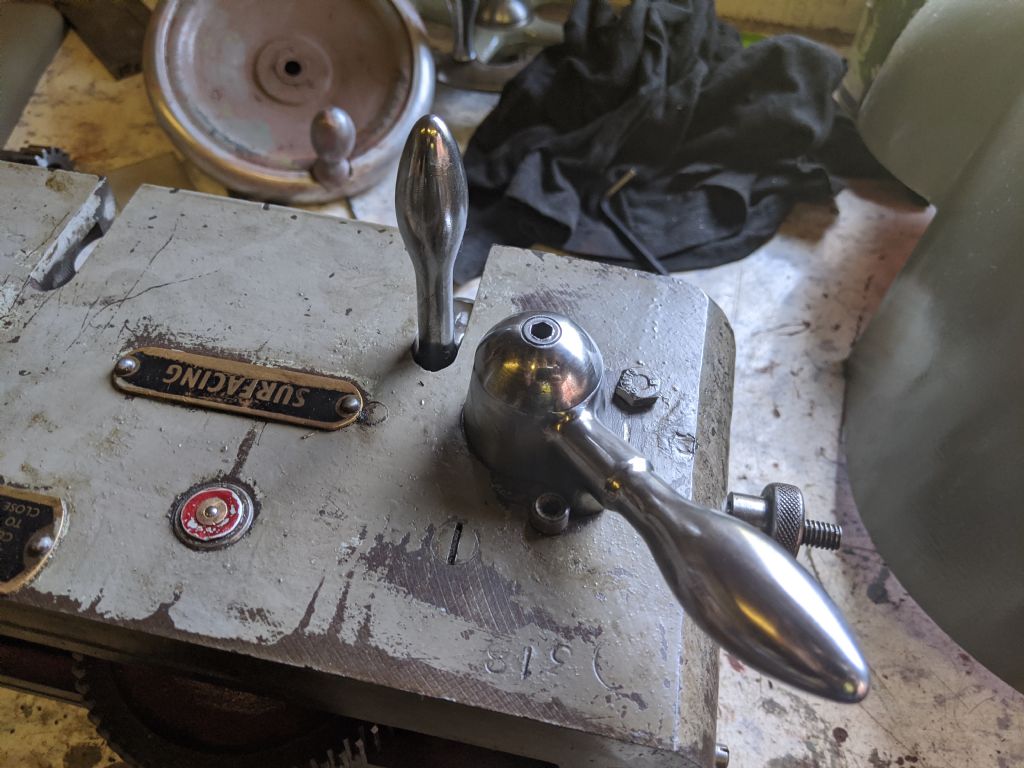
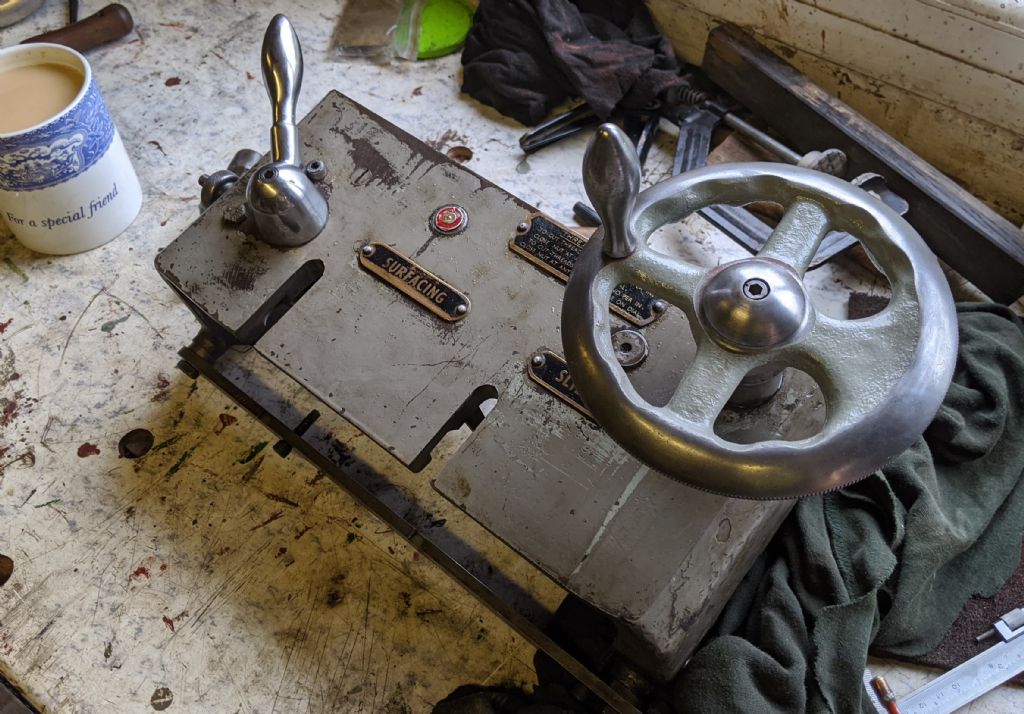
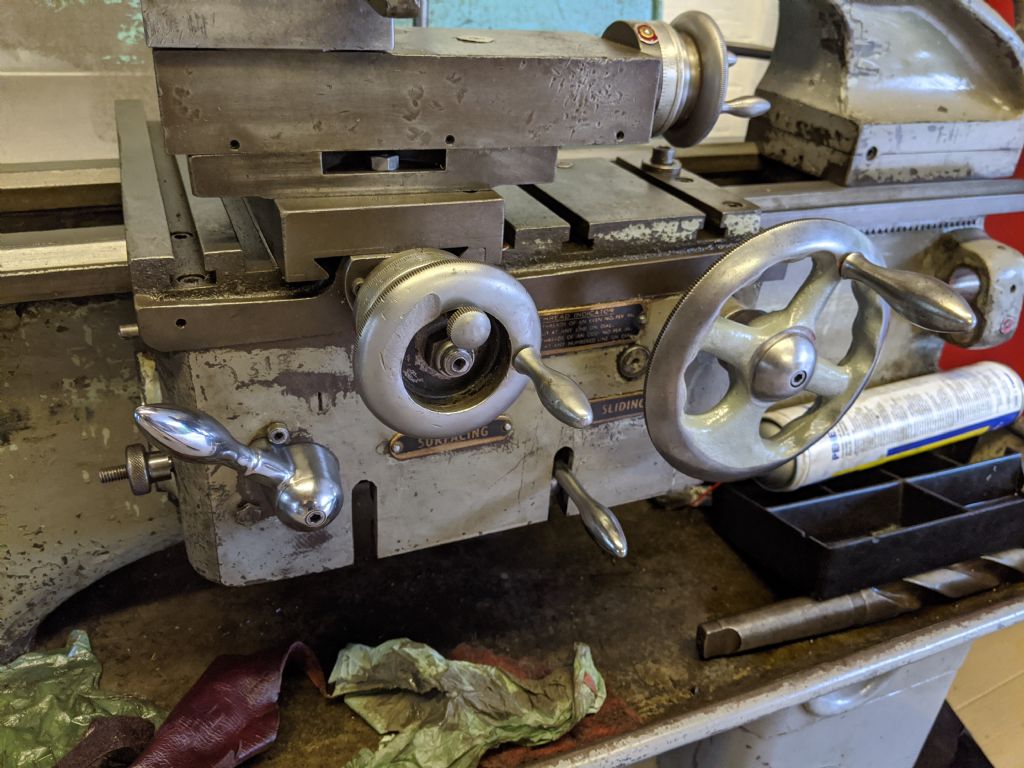
        Blinging complete for the apron. Not immaculate, but more than good enough bling for me

        img_20200811_125729.jpg

        img_20200811_130609.jpg

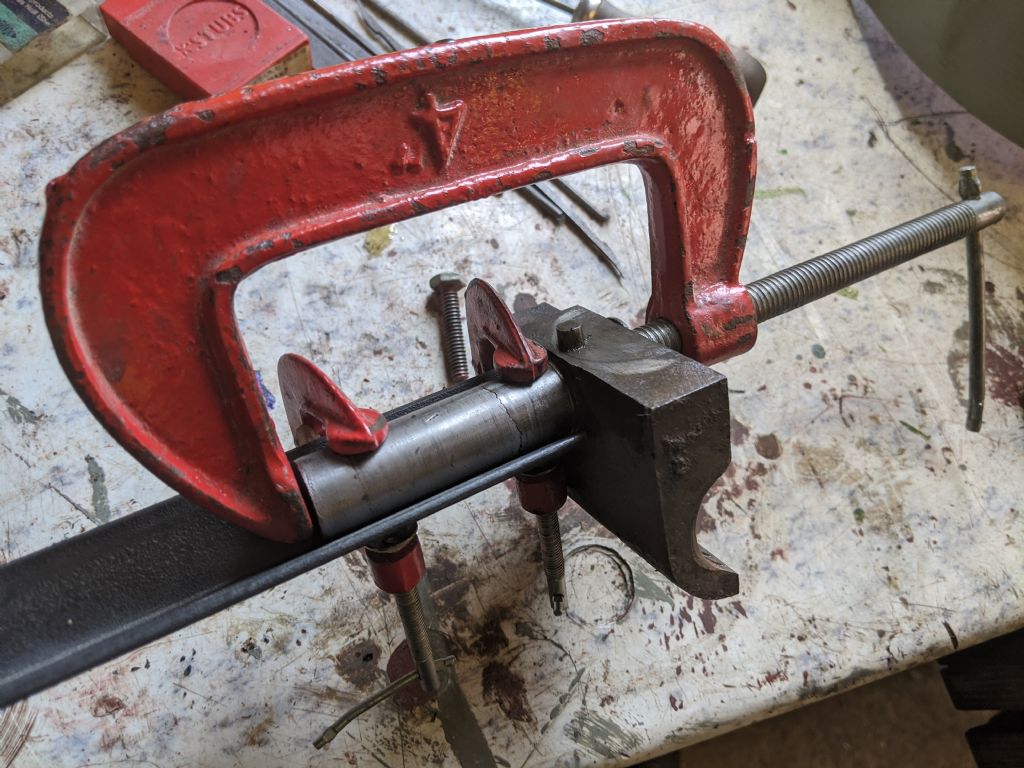
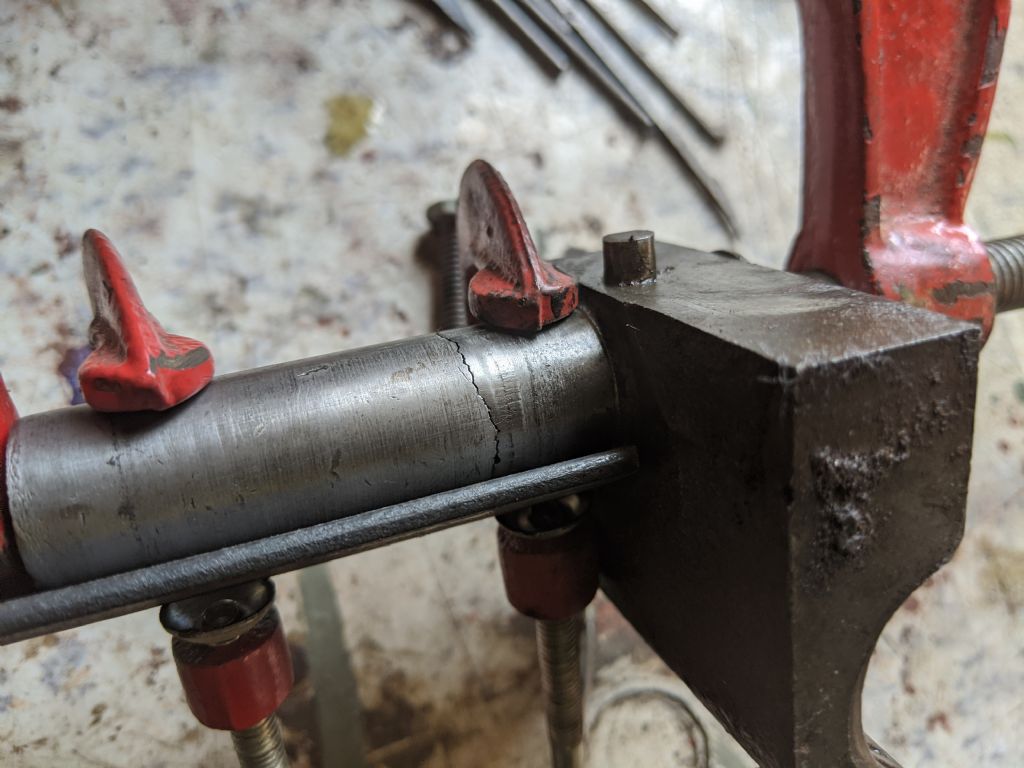
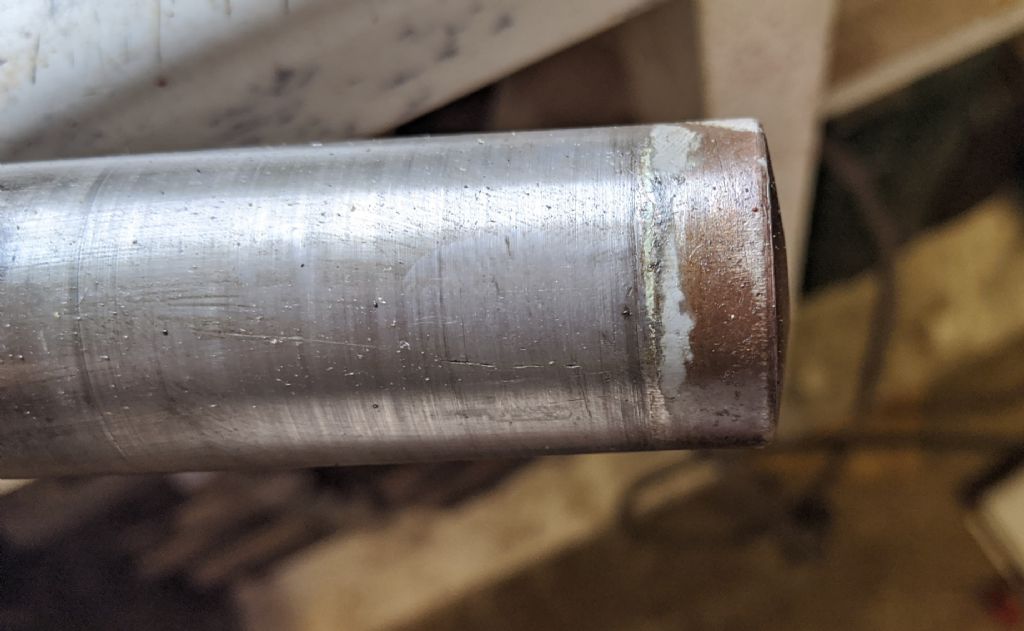
        I did an example brazing joint set up. This is how it will be clamped when it is being brazed. It still needs chamfering of course, but as you can see the break lines up very nicely and should provide good registration. But it depends how far I chamfer it. As if I chamfer it too far, I will lose some of the broken grain so it will not register as nicely.

        img_20200811_131252.jpg

        img_20200811_131255.jpg

        I'm not too sure what to do next. The pieces I have painted are good enough to put back on the machine, but not final finish quality. They need sanding down and spraying, but It could save time as they are useable now. Then I could spray more next summer when I do the rest. Then I have more time this summer. Only 4 weeks or less till uni now! So I need to get on with some actual production!

        Oh yes I nearly forgot. I need to get a replacement spring before I can reassemble too. And clean the leadscrew and feedshaft till I can see myself in them

        #490146
        Richard Kirkman 1
        Participant
          @richardkirkman1

          Okay so I'm looking at spring and I'm really struggling to find any companies or anything that will send me just one spring, without a minimum spend of about £15 inc postage, which seems a bit much for one spring as I don't need any more.

          So I've resorted to finding one of a similar size on ebay, however, that's also very tricky for me.

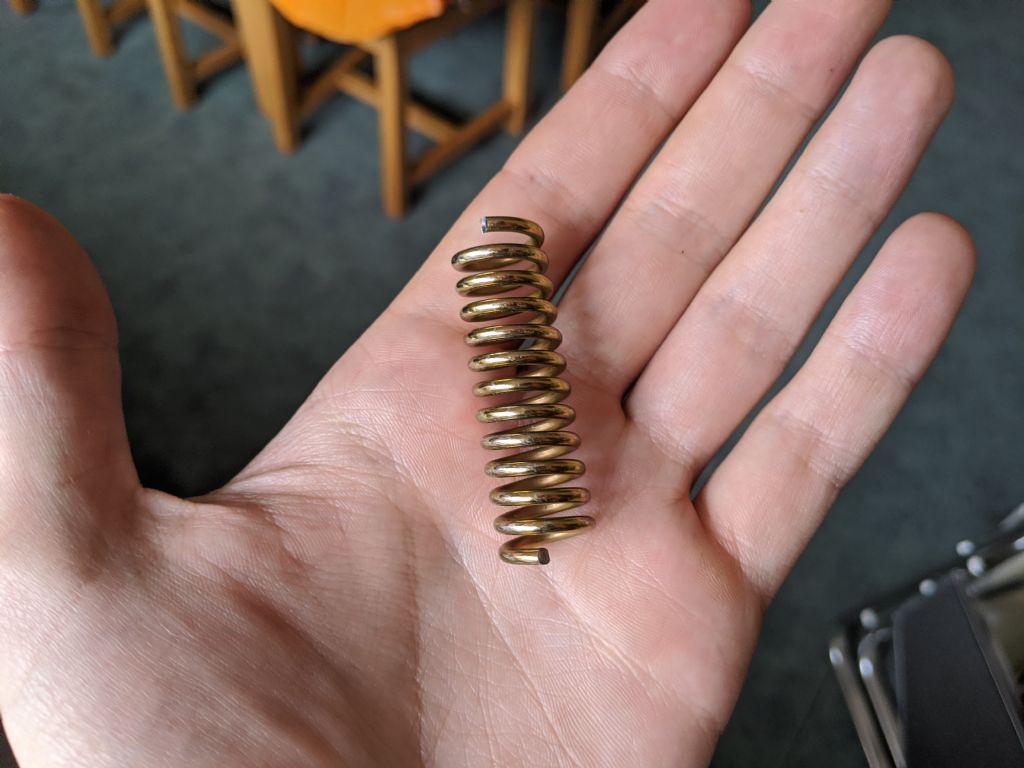
          Looking at springs I've managed to find a listing for some compression die springs, which seem to be of a size that would fit. (i got my sizes from my current spring then used Hermans pictures for scale) So I know it needs to be around 15.5-16.5mm OD, and about 38mm long

          So, could I use one of these springs, and if so, what colour iso standard would be appropriate?

          I have a choice of light, medium, heavy or extra heavy. And I have no idea! Even Rs doesn't have what I need

          Spring link

          #490156
          Herman van der Merwe
          Participant
            @hermanvandermerwe76509
            Posted by Richard Kirkman 1 on 11/08/2020 13:44:04:

            img_20200811_131252.jpg

            img_20200811_131255.jpg

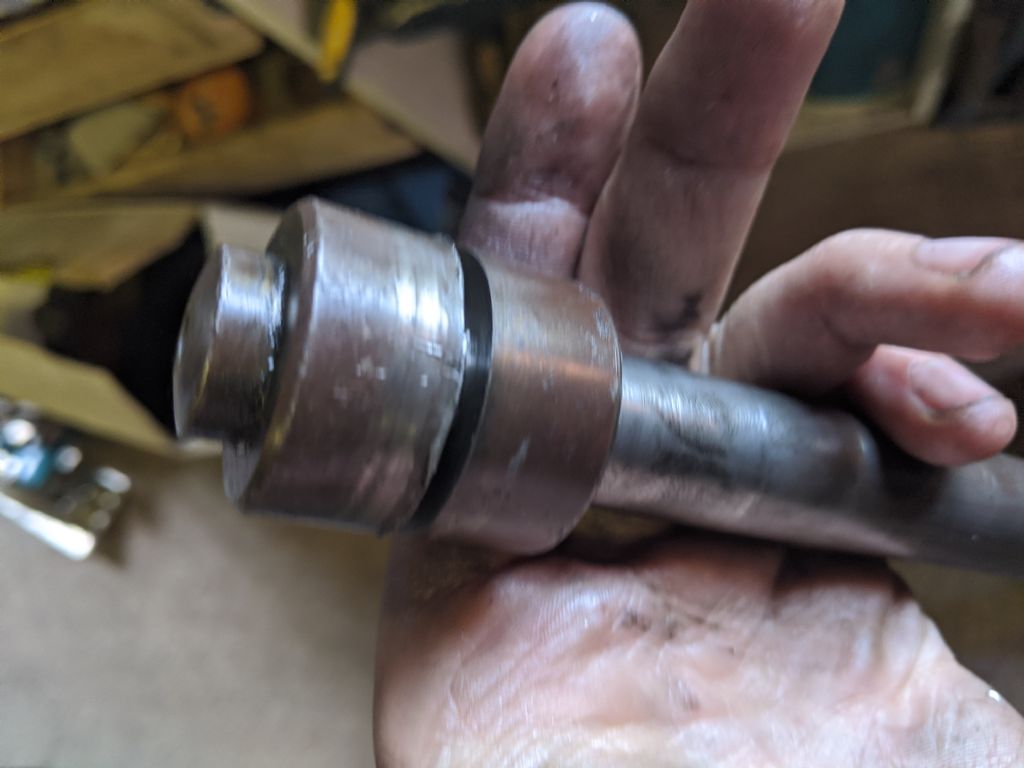
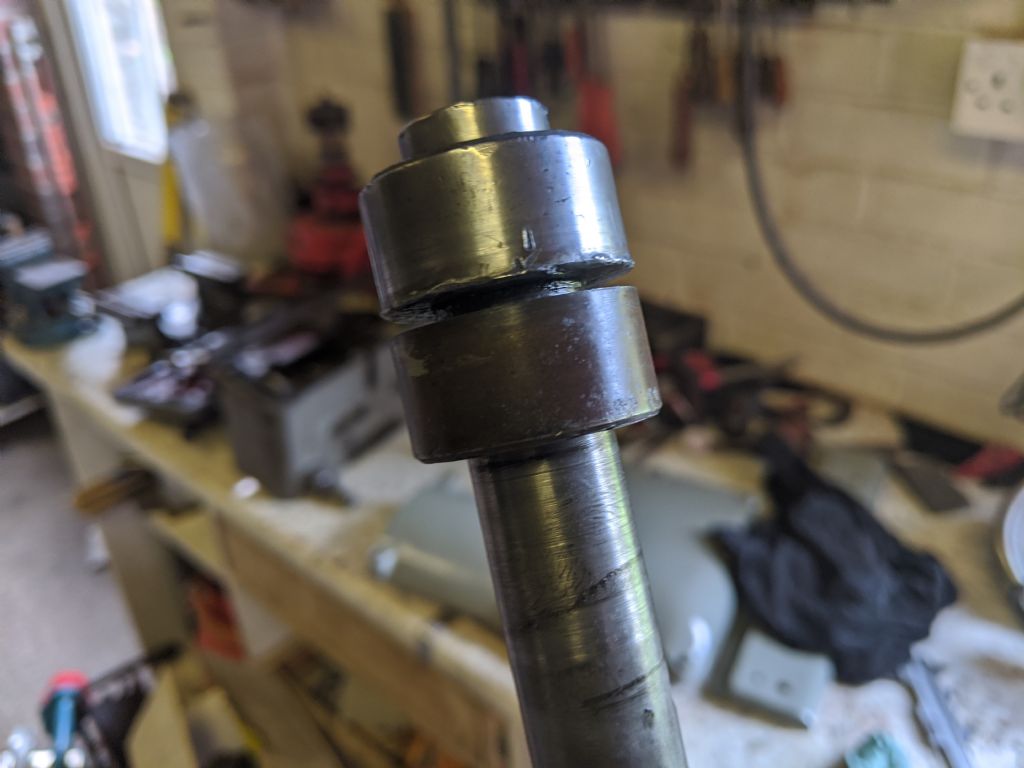
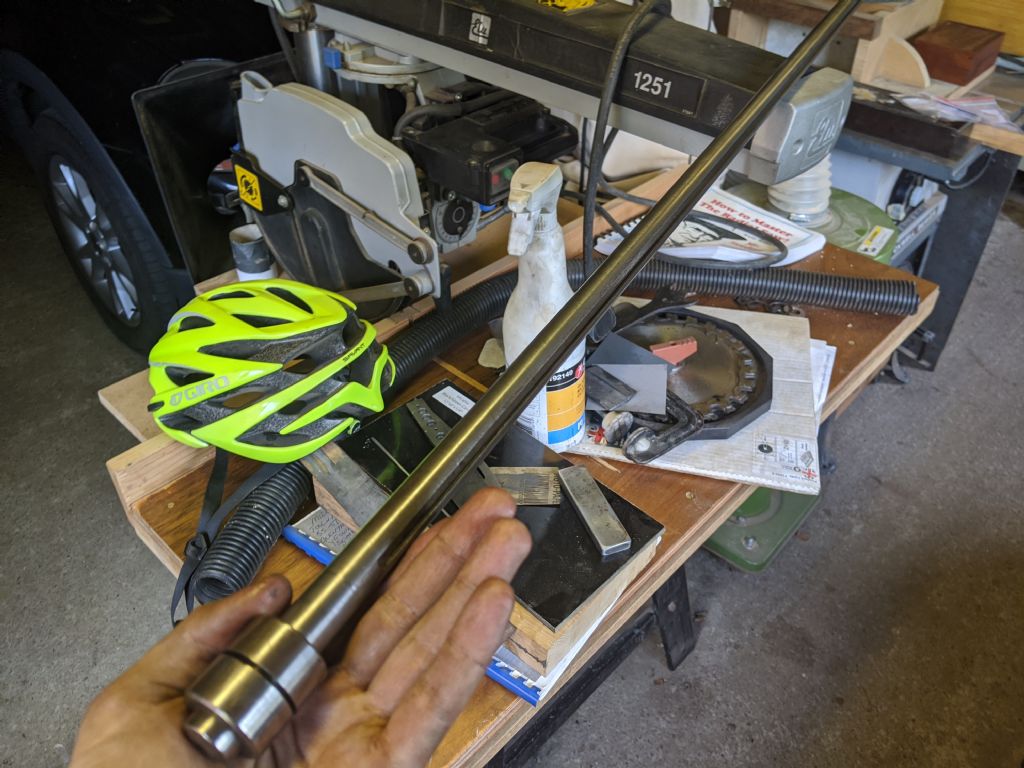
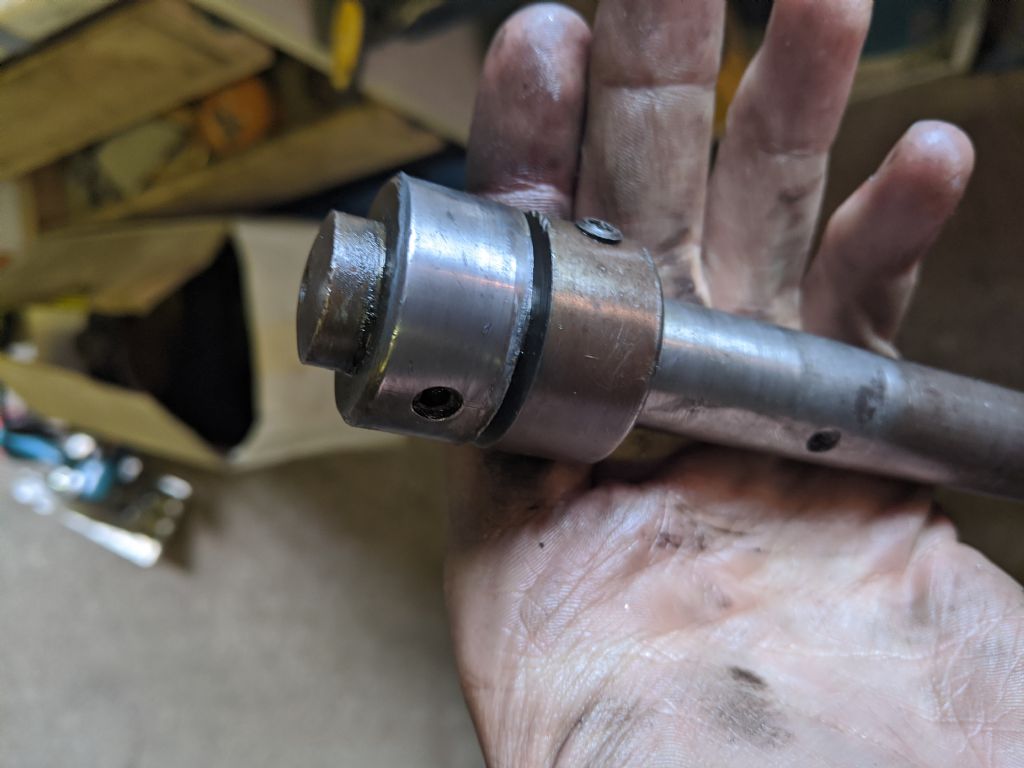
            I spoke to Brian today when I collected the new bolt assembly he made form me for the travelling steady. He said the only way to do the brazing is with the angle iron. He can guarantee you that your idea with a central rod will not work.

            You will need to add an extra clamp between the two smaller G-clamps pulling in the opposite direction.

            Brian also said the sequence of brazing is as follows:

            1. Chamfer down to maximim. Do not worry about the ends registering on the broken bit as this does not matter. Your alignment is on the external face of the rod(s). Make sure these are super clean and the inner face of the angle iron as well.
            2. Heat all pieces up till it is red hot. Not cherry hot.
            3. Tack in four places.
            4. Heat and tack, rotate
            5. Heat and tack, rotate
            6. Do so until your level of brazing is at least 1/4" above the surface and a constant smooth equal width brazing.
            7. Heat till red.
            8. Let it cool down slowly. You should wrap it in a welding blanket if you can and leave till it is cold. If you do not have a fire or welding blanket you can cover the hot part in ash or fine warm sand. Warm the sand in an oven till about 180C before using. A steel drum or bucket with a layer of sand in the bottom, then the part and then more sand. You will need about 300mm all round the part.
            9. Turn the shaft to size.
            10. Drink a beer.
            11. Toast yourself.
            12. Drink another beer.


            Edited By Herman van der Merwe on 11/08/2020 16:30:40

            #490157
            Herman van der Merwe
            Participant
              @hermanvandermerwe76509

              I will measure my spring. I could not find it this morning.

              My gut feeling is that you can wind your own spring from piano wire. I will check what the K factor is of the one I have.

              #490187
              Herman van der Merwe
              Participant
                @hermanvandermerwe76509
                #490201
                Jeff Dayman
                Participant
                  @jeffdayman43397

                  Knowing the wire diameter would be useful to someone making a new spring.

                  #490219
                  Herman van der Merwe
                  Participant
                    @hermanvandermerwe76509
                    Posted by Jeff Dayman on 11/08/2020 22:09:10:

                    Knowing the wire diameter would be useful to someone making a new spring.

                    This dimension is dependent on the K-factor of the wire used. For that reason the wire diameter it is almost never specified.

                    #490269
                    Richard Kirkman 1
                    Participant
                      @richardkirkman1

                      I don't think I particularly have the facilities to make a spring right now. But maybe in the future, I will

                      Anyway, I did the calculations, just like in first year A Level Physics. Bad memories. I'm having flashbacks

                      I was a little confused as I wasn't sure how to do this in imperial values such as pounds and inches, so just went for the metric I'm used to

                      Hooke’s Law

                      F=K*X

                      Pounds to kg

                      10/2.205=4.53592Kg

                      15/2.205=6.80389Kg

                      20/2.205=9.07185Kg

                      Kg to Newton

                      4.53592*9.81=44.4973752N

                      6.80389*9.81=66.7461609N

                      9.07185*9.81=88.9948485N

                      X values

                      38.44-30.1=8.34mm=0.00834m

                      38.44-28.02=10.42mm=0.01042m

                      38.44-26.02=12.42mm=0.01242m

                      K=F/X

                      K=44.4973752/0.00834=5335.41N/m

                      K=66.7461609/0.01042=6405.58N/m

                      K=88.9948485/0.01242=7165.45N/m

                      Average of 6302.14N/m

                      Now, my only thought is that it's meant to be a spring 'constant'. And if I have to make an average, then it definitely isn't constant. Thank you for the spring measurements Herman, even if I may have butchered the calculations. I did get a D in physics…

                      I have made some progress with the lathe, I polished the feed shaft yesterday, not mirror, but got rid of all the surface gunk and it's made a big difference(I'll post pictures tonight). Onto the leadscrew today. But I need to sort out some spare parts for some people on the Colchester forum.

                      #490343
                      larry phelan 1
                      Participant
                        @larryphelan1

                        Posted on 25/11 2019, this is now 12/08 2020 and it,s still on the Forum ??

                        Should get a medal for long service.

                        Would it not be about time to either get it working or scrap it ?

                        Just asking ?cheeky

                        #490346
                        Herman van der Merwe
                        Participant
                          @hermanvandermerwe76509

                          And there your spring appears …

                          C5516350

                          #490371
                          Richard Kirkman 1
                          Participant
                            @richardkirkman1
                            Posted by larry phelan 1 on 12/08/2020 19:40:48:

                            Posted on 25/11 2019, this is now 12/08 2020 and it,s still on the Forum ??

                            Should get a medal for long service.

                            Would it not be about time to either get it working or scrap it ?

                            Just asking ?cheeky

                            Looking at all I have learned from this forum in the last (almost) year, I'd say that this has been a well worth endeavor. I may not be as close to the finish line as I would like to be, but all progress is good progress.

                            So this isn't just a thread on a forum to me, it's learning and teaching. Albeit in a very long format, possibly too long for anyone to catch up at this point!

                            I'm not sure you've read all of this forum (It's too long, I don't blame you! ) but the machine definitely works and will work in the near future. Or at least I hope…
                            But if you're looking for medal titles, perhaps longest and slowest thread going… yet it is useful to me! I assure you I will document it concisely one day. Besides, I'm not sure what I'd do with myself if I wasn't posting updates on here! Thanks Larry!

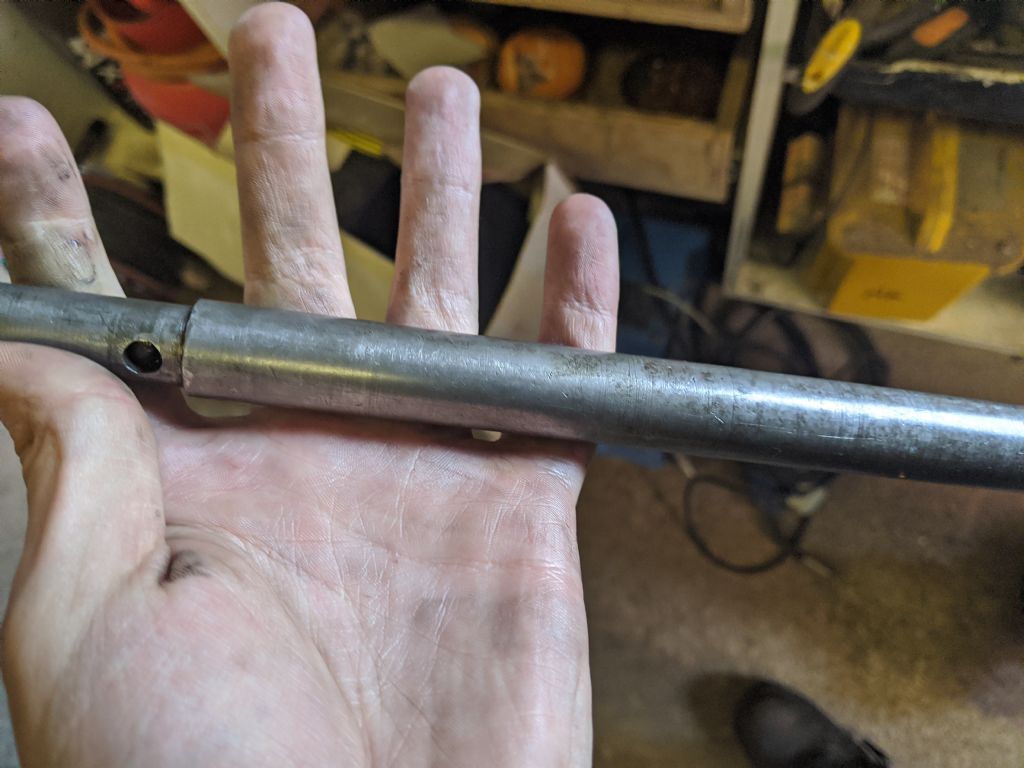
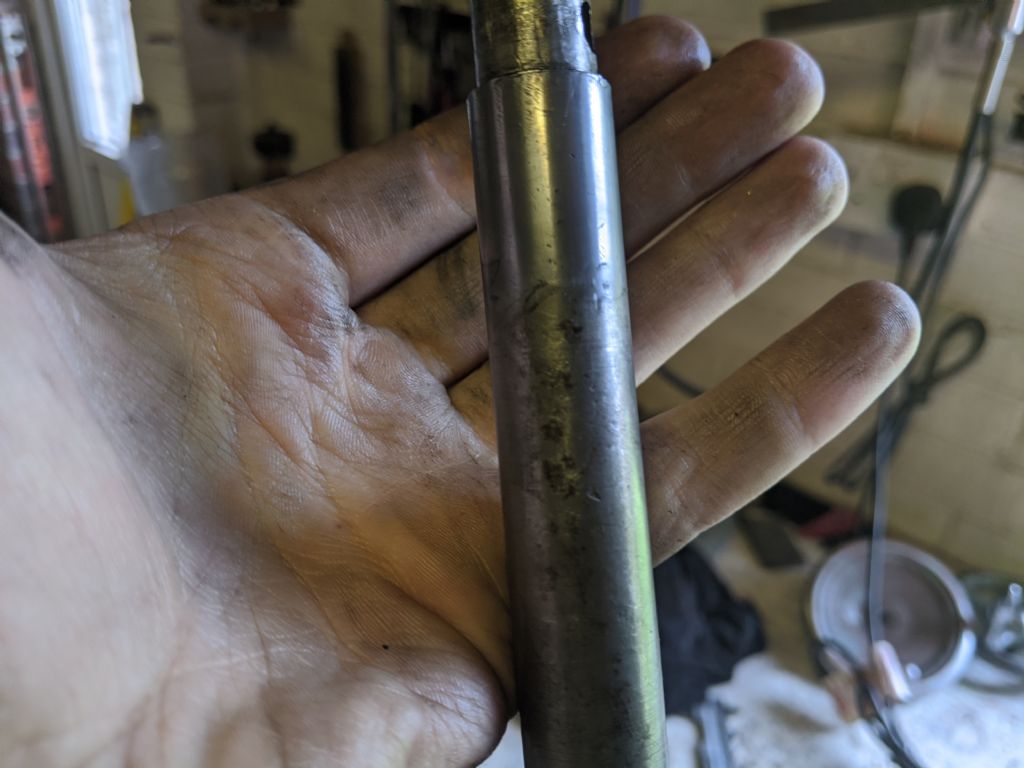
                            Anyway, back to the task at hand. I didn't get onto the leadscrew today, so here's some pics of the polished feedshaft. Potentially in the wrong order, but pictures are pictures.

                            img_20200811_145647.jpg

                            img_20200811_145736.jpg

                            img_20200811_150131.jpg

                            I did clean up the two disks from all the burrs and knocked up edges. Couldn't find any pictures of it though!

                            img_20200811_150352.jpg

                            img_20200811_154723.jpg

                            mvimg_20200811_150136.jpg

                            A significant improvement, especially considering the colour of the rings, they've gone from brown to polished.

                            Next time on Bling My Lathe we'll be looking at the leadscrew!

                            #490374
                            Richard Kirkman 1
                            Participant
                              @richardkirkman1
                              Posted by Herman van der Merwe on 12/08/2020 20:12:41:

                              And there your spring appears …

                              C5516350

                              Out pops the spring, but once again, with a minimum order of £15+post and packaging and vat

                              £28.80 for one £1.45 spring!

                              Which is ridiculous to me. My wallet simply will not allow it. I will find a way around it!

                              I do appreciate the effort though! So thank you Herman

                              #490386
                              Herman van der Merwe
                              Participant
                                @hermanvandermerwe76509
                                Posted by Richard Kirkman 1 on 12/08/2020 23:23:59:

                                Posted by Herman van der Merwe on 12/08/2020 20:12:41:

                                And there your spring appears …

                                C5516350

                                Out pops the spring, but once again, with a minimum order of £15+post and packaging and vat

                                £28.80 for one £1.45 spring!

                                Which is ridiculous to me. My wallet simply will not allow it. I will find a way around it!

                                I do appreciate the effort though! So thank you Herman

                                Me? I would buy some music wire and simply make my own. This Old Tony has a video on how to do this.

                                Otherwise look at an engine's valve spring from a scrap pile at a repair shop. A Jeep engine I think has more or less the same springs.

                                #490403
                                Richard Kirkman 1
                                Participant
                                  @richardkirkman1

                                  It's pretty hard to make springs using a lathe when the lathe is in pieces. Meanwhile here's one I made earlier…

                                  img_20200813_102356.jpg

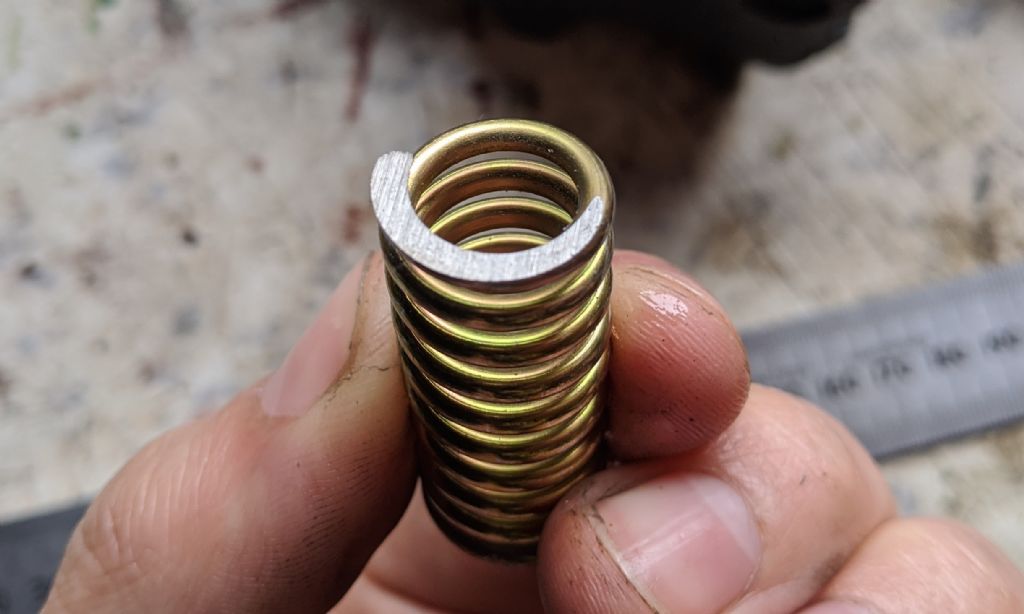
                                  It's currently at 50mm, so I will cut it to the correct length and bend the ends to be flat(ish) then grind some flats so it fits and mates nicely. No complaints from me, that's what I'm doing. It's only a spring.

                                  #490406
                                  Herman van der Merwe
                                  Participant
                                    @hermanvandermerwe76509
                                    Posted by Richard Kirkman 1 on 13/08/2020 10:31:15:

                                    It's pretty hard to make springs using a lathe when the lathe is in pieces. Meanwhile here's one I made earlier…

                                    img_20200813_102356.jpg

                                    It's currently at 50mm, so I will cut it to the correct length and bend the ends to be flat(ish) then grind some flats so it fits and mates nicely. No complaints from me, that's what I'm doing. It's only a spring.

                                    Good plan. Just cut and grind to 40mm length. Hmmm, maybe rather cut it to the imperical length of 1 37/64" as this an imperical lathe …

                                    #490410
                                    Richard Kirkman 1
                                    Participant
                                      @richardkirkman1

                                      Of course! Must appease the lathe gods!

                                      #490422
                                      Richard Kirkman 1
                                      Participant
                                        @richardkirkman1

                                        Successfully cut and ground to exactly 1.578125 inches, to the nearest 0.00001. It is absolutely imperative that this measurement is met perfectly. Otherwise, the lathe will refuse to turn on and you will be left with a pile of scrap

                                        img_20200813_111619.jpg

                                        I managed to fit this quite easily. It was much stronger than the old spring, so hopefully, the lever should engage with a stronger click and feel even more satisfying. Only time will tell, but from first impression it seems better

                                        Now onto the leadscrew cleaning, I'm not looking forward to this, but it should make a big difference

                                        #490424
                                        Howard Lewis
                                        Participant
                                          @howardlewis46836

                                          Richard,

                                          Spring design is a bit of a black art, With every iteration, there seems to be some parameter where you exceed the maximum!

                                          If your home made spring doesn't work out, if you send all the dimensions of the spring to Vincent Springs Ltd, they may be able to help.

                                          Have had no dealings with them, but fellow club members seemed to be happy with them.

                                          Howard

                                          #490426
                                          Herman van der Merwe
                                          Participant
                                            @hermanvandermerwe76509
                                            Posted by Richard Kirkman 1 on 13/08/2020 12:30:06

                                            I managed to fit this quite easily. It was much stronger than the old spring, so hopefully, the lever should engage with a stronger click and feel even more satisfying. Only time will tell, but from first impression it seems better

                                            Yes, it must click with a resounding click. Like opening a can of cold Guinness …

                                            #490457
                                            Richard Kirkman 1
                                            Participant
                                              @richardkirkman1

                                              I think the new spring is going to work well. It's thicker than the old one and actually the right length. I look forward to trying it out one day…

                                              Anyway, back onto progress, the leadscrew

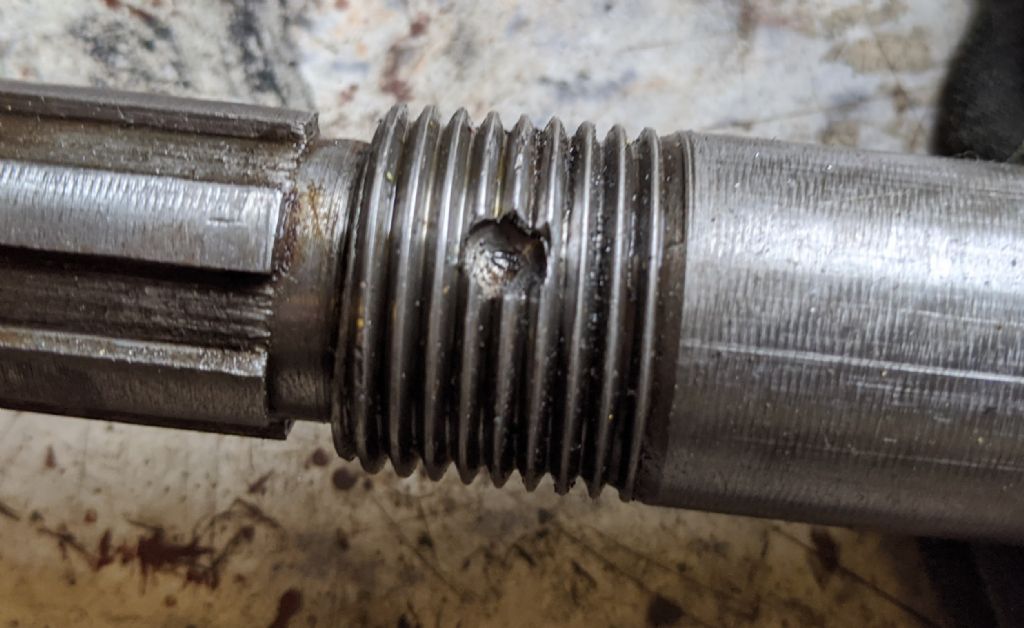
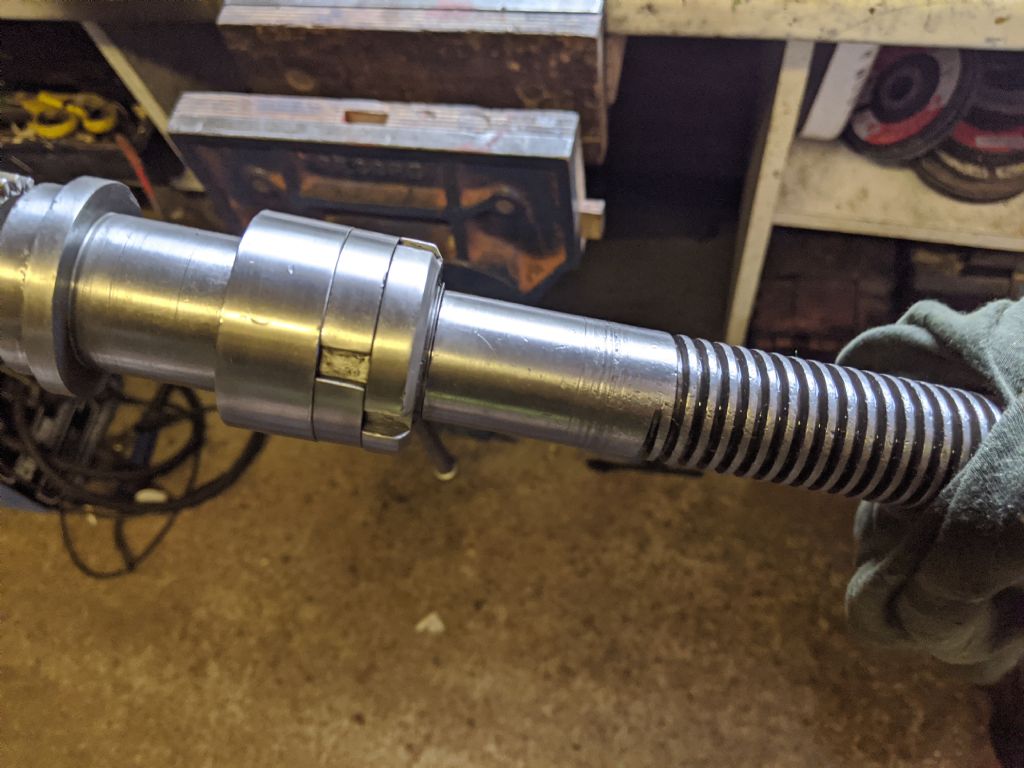
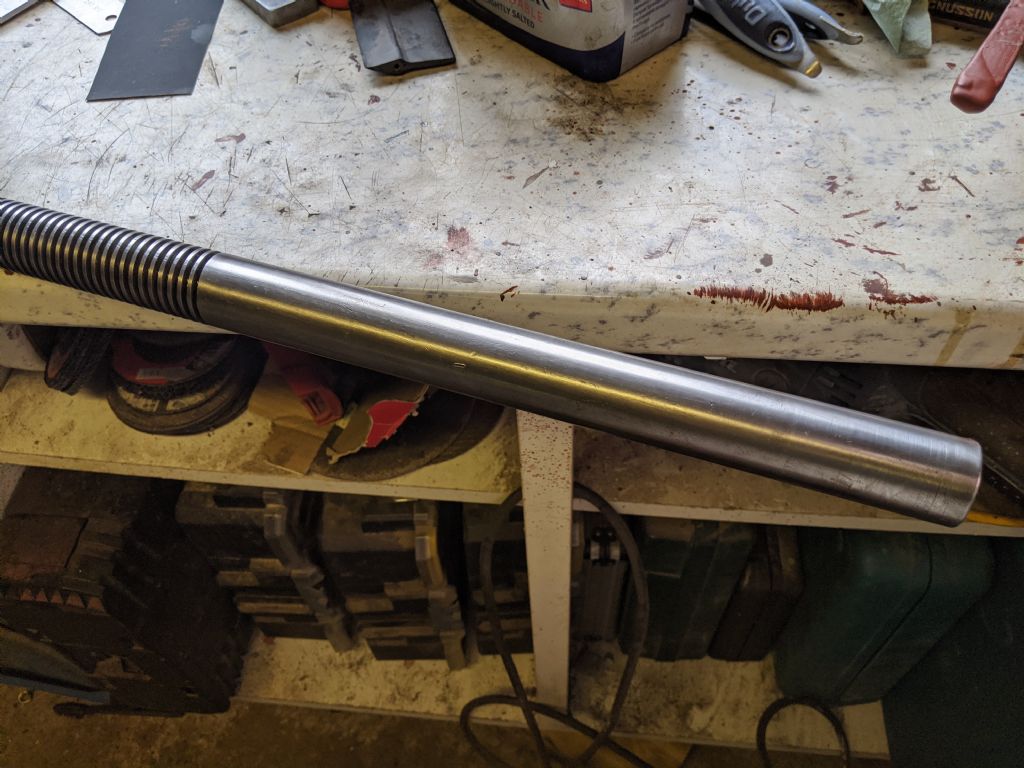
                                              I started by taking all of the parts off and filing down all of the burrs and knocked up edges, so all of the edges that have been abused look nicer. Then I went over everything with a very fine satin lap mop on a buffing machine, then used a rough buffing wheel. I didn't see any point buffing any of this to a mirror.

                                              The brown on the end was how it all started

                                              img_20200813_124130.jpg

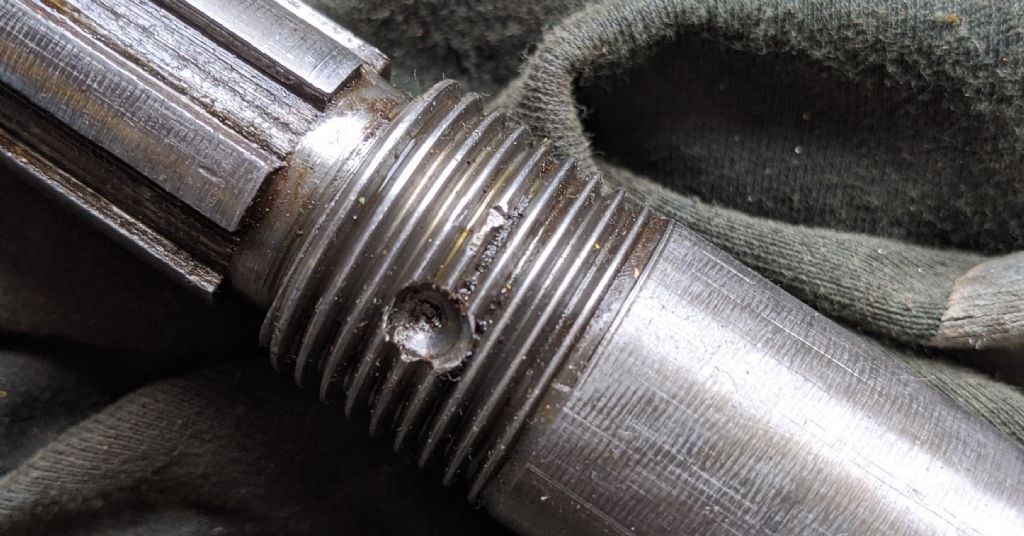
                                              There are two threaded sections, and they both did not run smoothly, so I took a triangular file and knocked down any lumpy bits, then i just used my hands to turn the nut on back and forth until it ran smoothly once again. Should make reassembling and future disassebling much easier.

                                              img_20200813_124359.jpg

                                              img_20200813_124816.jpg

                                              The collars cleaned up nicely. Although they were quite banged up, filing took care of it and it blended very well. No more abuse for them, apart from my use

                                              img_20200813_140518.jpg

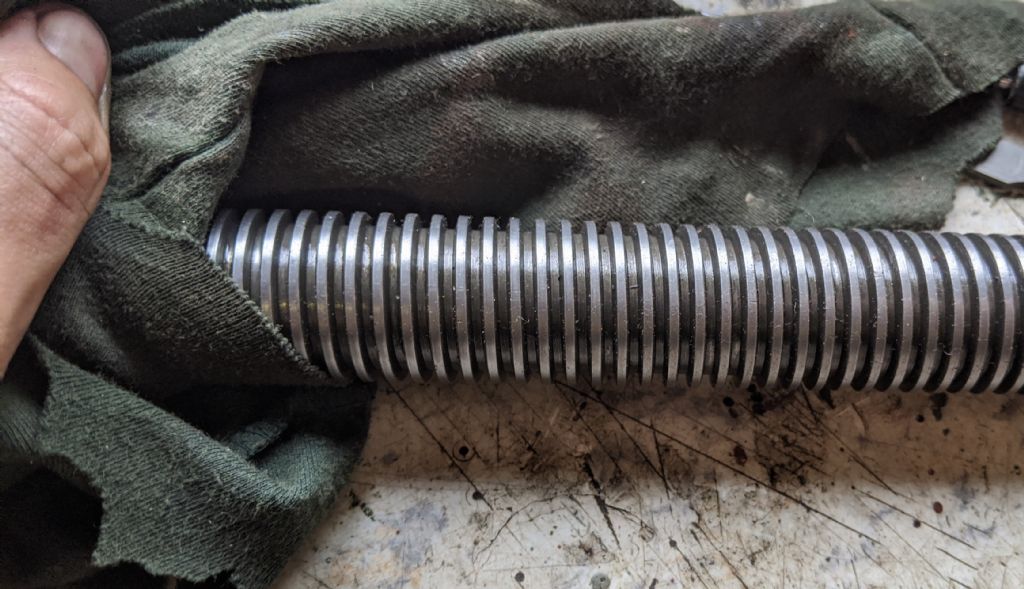
                                              The satin lap mop was fantastic for cleaning all of the gunk out of the leadscrew. It would have taken a long time with a toothbrush. I couldn't think of anything better, it made the job very easy. Hopefully this will help with wear

                                              img_20200813_140529.jpg

                                              Much shinier than before, but not quite bling

                                              img_20200813_140533.jpg

                                              I also put the hand wheel on, and it looks much more fitting than the old one.

                                              img_20200813_151430.jpg

                                              I'm pretty much ready to reassemble now, but I can't until I have the half nut repaired! Once that's done, it can all go back together

                                              #490505
                                              Herman van der Merwe
                                              Participant
                                                @hermanvandermerwe76509

                                                Great job! Especially the cuppa .. Brain loves it. He thinks he is the special friend!

                                                #490581
                                                Richard Kirkman 1
                                                Participant
                                                  @richardkirkman1

                                                  No coffee for me, only tea. Much better. Brain is picky

                                                  A man who wants the topslide and QCTP from the colchester forum has a spare half nut lying around somewhere, so if he can remove that from his lathe then I can get an unbroken one!

                                                  However, I'm not sure that will happen before I go back to uni, so I will just continue with the braze operation for next week and use that as a potential temporary fix!

                                                  No one else seemed interested in any parts, so I may try ebay next.

                                                  #490796
                                                  Richard Kirkman 1
                                                  Participant
                                                    @richardkirkman1

                                                    Been busy with other things today, but I did get some of the lathe assembled!

                                                    I'm liking how it looks, polished is nice. Bling is best

                                                    Looks like I'm brazing on Wednesday. And James says he'll try to get me the spare half nut asap. Ideally I wouldn't even use mine anymore.

                                                    The apron may be back on, but it's just to give me some more workspace as I seem to have lathe parts everywhere. No feed shaft or leadscrew installed since that'll be a pain to put in and out again just to get the half nut back in when finished. So I may be able to reassemble the rest of the lathe and use it without feeds/threading

                                                    The worm box was just placed for show, since there's nothing to hold it in!

                                                    Also, colchester spares does not have the right motor cover for me, so it looks like I'm going to have to make one from the old splash back that was on the lathe when I got it. It's just a sheet of steel so should be fine. Not louvered though…

                                                    img_20200815_174919.jpg

                                                    Edited By Richard Kirkman 1 on 15/08/2020 19:02:38

                                                    #490811
                                                    Phil Whitley
                                                    Participant
                                                      @philwhitley94135

                                                      Richard, If the deal doesnt go ahead on the QCTP and topslide, let me know, as I wouild love one! Cash waiting!!

                                                      Phil

                                                    Viewing 25 posts - 701 through 725 (of 797 total)
                                                    • Please log in to reply to this topic. Registering is free and easy using the links on the menu at the top of this page.

                                                    Advert

                                                    Latest Replies

                                                    Viewing 25 topics - 1 through 25 (of 25 total)
                                                    Viewing 25 topics - 1 through 25 (of 25 total)

                                                    View full reply list.

                                                    Advert

                                                    Newsletter Sign-up