Technique Required to Make Accurate Backplate

Advert

Technique Required to Make Accurate Backplate

Home Forums Beginners questions Technique Required to Make Accurate Backplate

Viewing 4 posts - 26 through 29 (of 29 total)
  • Author
    Posts
  • #255035
    James Alford
    Participant
      @jamesalford67616

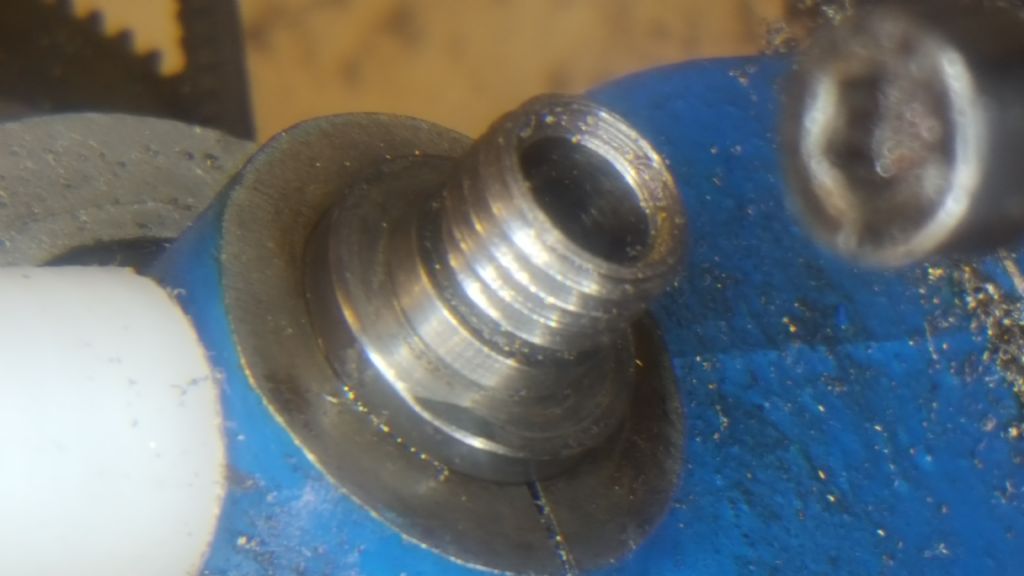
      Thank you for the replies. I had a more careful look tonight and confirmed that the spindle seems to be running true except for the dark spot at the bottom in the picture below, which stands proud by 2 thou. I shall have a go at flattening it today, using the ideas suggested or, perhaps, a hard rubber point in the Dremel.

      20160909_210406.jpg

      Advert
      #255046
      Ajohnw
      Participant
        @ajohnw51620

        Don't turn up the face. The best option is probably a slip stone but a fine diamond lap or a bit of emery cloth and finger or stick should do as it does't matter if the damaged area finishes up a little lower than the rest. Or Hopper's suggestion. With the stone, lap or file it's possible to feel that it's flat onto the work. If it sticks up for instance it will rock a little. The Dremel wont be so controllable.

        Test the result lightly with a finger. It's possible to feel micron step changes that way.

        smiley Just one more thing noticing a comment. Male threads in female threads that have tapered flanks tend to centralise themselves as they tighten so have that off centre and it can interfere with a back plate running true. Same problem if the thread is out of square.

        John

        Edited By Ajohnw on 10/09/2016 09:45:19

        Edited By Ajohnw on 10/09/2016 09:45:36

        Edited By Ajohnw on 10/09/2016 09:50:32

        #261617
        James Alford
        Participant
          @jamesalford67616

          Well, I have tried again, but still have a run-out.

          This time, I managed to hold the blank for the back-plate in the three jaw chuck, face it off, drill, bore and tap the thread and then cut the register all in one setting on the Flexispeed. I then span it on to the spindle the correct way around and faced it off.

          Using a DTI, I then checked the turned face for run-out. Immediately after facing it, I had zero run-out on the face at the edge (it is about 70mm in diameter. However, when I removed it and replaced it, I measured approximately 2.5 thou run-out at the periphery of the disc.

          I do know why I cannot get a zero run-out: perhaps I am expecting too much. However, I shall persevere to see how truly a 1/8" milling cutter runs when the holder is finished.

          James.

          #263883
          James Alford
          Participant
            @jamesalford67616

            Success at last!

            I have now finished the back plate and mounted the collet chuck. Measured on the shank of a 1/8" slot drill, I have a run-out of 0.0005". Most pleasingly, the run-out is the same each time I remove and replace the chuck, the run-out is the same.

            Thank you all for the help.

            James.

          Viewing 4 posts - 26 through 29 (of 29 total)
          • Please log in to reply to this topic. Registering is free and easy using the links on the menu at the top of this page.

          Advert

          Latest Replies

          Home Forums Beginners questions Topics

          Viewing 25 topics - 1 through 25 (of 25 total)
          Viewing 25 topics - 1 through 25 (of 25 total)

          View full reply list.

          Advert

          Newsletter Sign-up