Sliders too tight

Advert

Sliders too tight

Home Forums Beginners questions Sliders too tight

Viewing 9 posts - 26 through 34 (of 34 total)
  • Author
    Posts
  • #394349
    Clive Foster
    Participant
      @clivefoster55965

      Chris

      Doesn't need springs. Just very careful setting so the dovetails are dead parallel and at exactly the right spacing. You will have to pull the pins. I've never seen this sort of thing go back in exactly the same position. We are talking probably sub tenths thou precision set purely by feel. Any drag from the pins makes it impossible for the floating dovetail to settle into place.

      I'm so glad HerMajesty paid me to learn how to set this sort of thing up. Probably took over a day's worth of time in fits and starts to get a ball bearing type behaving perfectly and they are much easier to do being just that vital bit more tolerant of small errors.

      Clive.

      Advert
      #394353
      Chris R 1
      Participant
        @chrisr1

        What I'm saying iis it is the right spacing at one end, but not the other….

        #394898
        Chris R 1
        Participant
          @chrisr1

          I had another clean- there were some traces of dried grease left which I thought were out of the way – they may have been doing a little. I gave it a hard rub with a dry cloth which appeared to polish the Al.

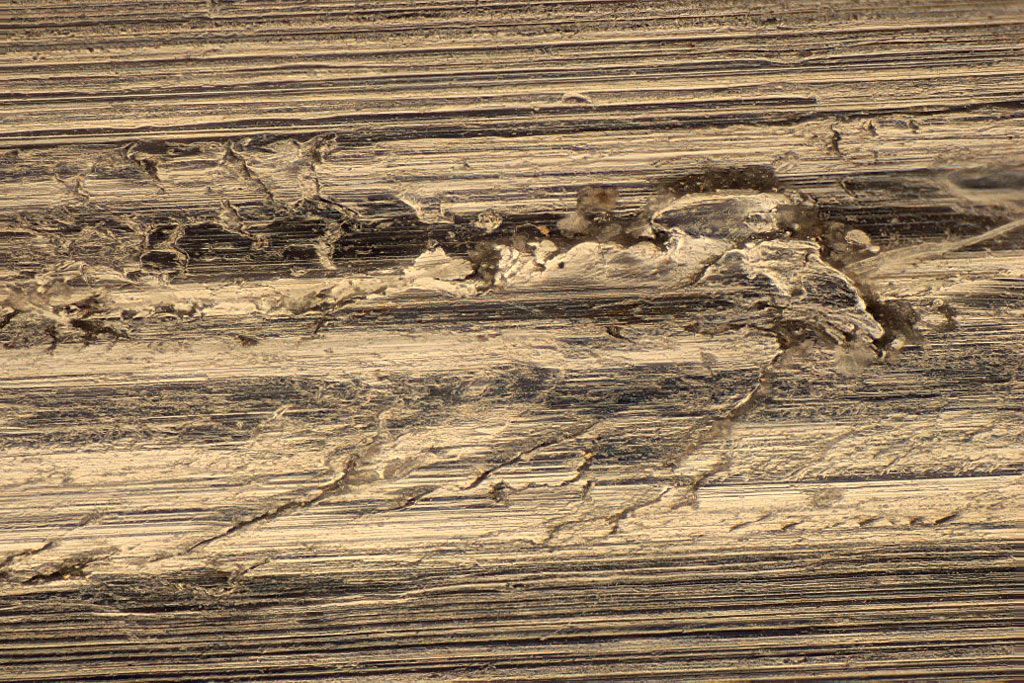
          There are the two carriages running on the dovetail. One is tight, the other is tighter. The tighter one started to bind again. I could just about see smething so I took a picture of it:

          Ignore the colour, it's "grey". The colour balance is off, but I found when I made it grey the relief didn't show up as well.

          Frame width is about 1mm. Focus depth is about 60µm. How galling, eh?

          frame-c+1.jpg

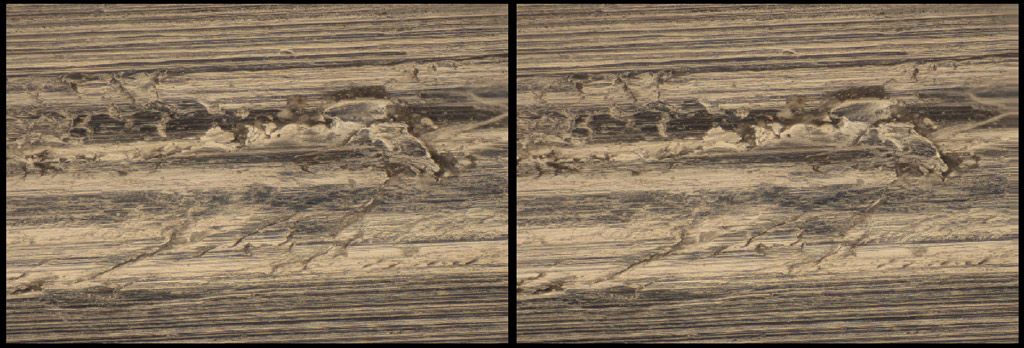
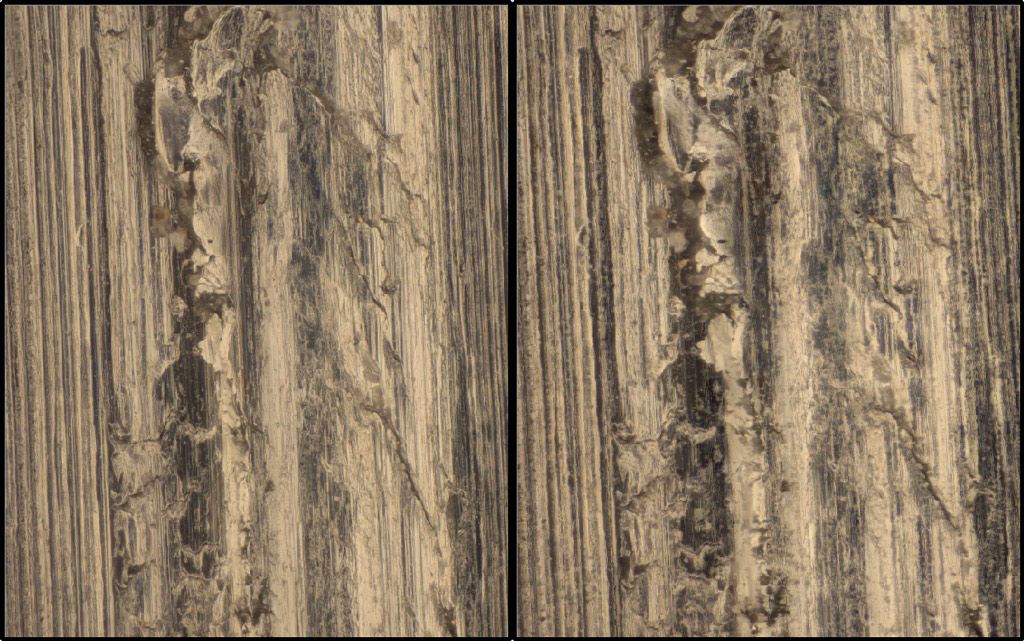
          If you can cross your eyes a bit, try these:

          ( you have to make it so you can "see" three boxes, with the middle one being one from each eye.)


          st-h1.jpg

          st-v1.jpg

          I expect most WON't see those as 3D – it's not hard but it takes practice:

          If you download this (~4MB) it should help

          **LINK**

          Edited By Chris R 1 on 06/02/2019 01:15:46

          #394901
          Michael Gilligan
          Participant
            @michaelgilligan61133

            Vey effective 3D images, Chris yes

            May I suggest you proceed [carefully], as discussed in our exchange of PMs

            MichaelG.

            #394958
            Chris R 1
            Participant
              @chrisr1

              Thanks.

              I clearly have to get rid of the raised metal!

              There's then a question of what grease to use. It's clearly not a critical application, but I'm wondering whether to get something with "anti-seize" properties.

              I need also to look at the metal items to see if there's alumin(i)um deposited on the brass/bronze. as that will have to go too.

              The type of microscope objective which macro photographers use, has a long working distance. Therefore they can be used as hand lenses. The one I used above (20x) has a field of view of a couple of mm, but 20mm working distance, so it's quite good for inspecting things.

              Even the 100x is available (2mm focal length) with a 13mm working distance.

              #394977
              Chris Trice
              Participant
                @christrice43267

                If you go the gentle abrasion route, try a very fine diamond coated lap rather than abrasive paper. Used with a little oil, it's unlikely to shed any abrasive particles and it's a rigid flat surface that should take off any high spots.

                #394983
                Chris R 1
                Participant
                  @chrisr1

                  Thinking of the 4 surfaces, I think it'll have to be paper supported by a knife blade – washed down well.

                  I'll start with P3000 and see if it's enough. (Highly tempted to use 00000 wire wool!)


                  Edited By Chris R 1 on 06/02/2019 12:56:56

                  #394986
                  Chris Trice
                  Participant
                    @christrice43267

                    Or use thin double sided tape to stick the abrasive paper to something thin and flat.

                    #394988
                    Simon Williams 3
                    Participant
                      @simonwilliams3

                      Well, I know it was me that said don't start cutting metal YET, but I think the time has come, it's pretty clear that the slides are not as original, and the way forward is to subdue some of those mountainous looking peaks.

                      I'm going to raise a fire storm by saying that I think the dangers associated with embedding particles of grit/abrasive are overstated. Whether they are or no it doesn't seem you have any alternative. Go for it, particularly now you have it all in bits and can clean it afterwards. I feel you want something more aggressive than 3000 grit, though that may be a knee jerk reaction to an awful lot of magnification. If it was me I'd glue a bit of 800 grit wet or dry silicon carbide paper to a lollipop stick of the right shape and try scuffing over the rough bit, though rather gingerly to start with. Use it wet to keep it cutting cleanly, say paraffin or something like that though water will do. Once you've got the worst of the damaged surface under control polish it with say 1200 or 1500 grit. It's a sliding surface so it doesn't have to be mirror finish and a bit of surface scoring will carry the lubricant better.

                      I also feel that once it is re-assembled almost any lubricant will suffice – it's only got to slide so a bit of best lithium axle grease is as good as any.

                      I'm guessing wire wool won't tackle the peaks preferentially to the troughs in the same way a flat abrasive surface will.

                      Like the idea of a fine diamond coated lap if you can find something suitable.

                      Good luck , do keep posting the updates.

                      Best rgds Simon

                    Viewing 9 posts - 26 through 34 (of 34 total)
                    • Please log in to reply to this topic. Registering is free and easy using the links on the menu at the top of this page.

                    Advert

                    Latest Replies

                    Home Forums Beginners questions Topics

                    Viewing 25 topics - 1 through 25 (of 25 total)
                    Viewing 25 topics - 1 through 25 (of 25 total)

                    View full reply list.

                    Advert

                    Newsletter Sign-up