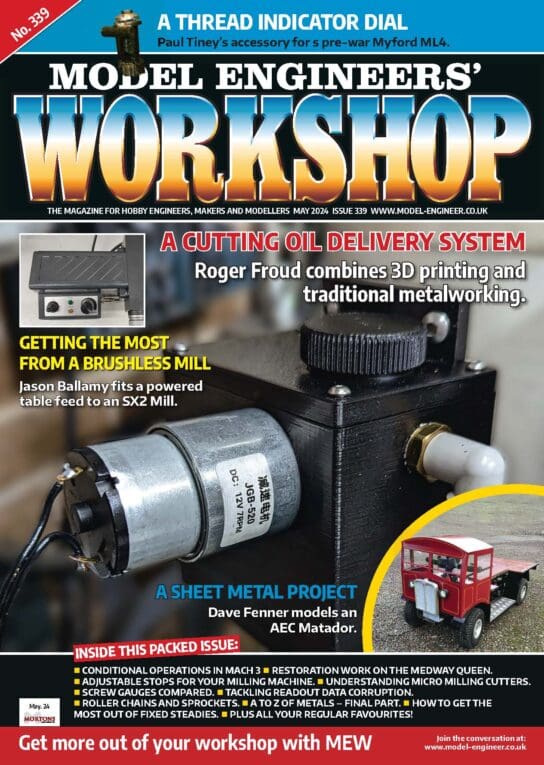
ML7 MOD?

Advert

ML7 MOD?

Viewing 12 posts - 1 through 12 (of 12 total)
  • Author
    Posts
  • #706106
    Malcolm Timmis
    Participant
      @malcolmtimmis62417

      I bought my 1947 ML7 six years ago, and having no experience, started on a long learning curve. Eventually, I realised that the lathe needed some critical attention and had it reground. Since then, and now doing more work on the lathe I find the gib strip adjustment is require more often than I think is normal?. Moving the saddle to the tailstock end shows a significant tightening, and at the spindle, somewhat free. Although most work is done within six to eight inches of the spindle with the gib strip set accordingly, longer items involving a steady mean that the saddle becomes quite tight. Some time ago I read in the ‘Workshop mag’ a reference to a ‘Wide Bed Modification’ for an ML7, and now having read through many back issues without finding the reference to the Mod’ can anyone offer advice as to the Mod’ or where details can be found.

      Thanks in anticipation.

      Mac


      Advert
      #706111
      Martin of Wick
      Participant
        @martinofwick

        Cant give a ref to ME, but google may be your friend.  You should see a link to this very organ to article reprint  1 nov 1974

        The basic version is simple.

        Slacken of gibs completely push saddle fully forward against front shear and see how much room there is between back shear outer and saddle vertical.

        Find some piece of material of a corresponding thickness less some small amount to allow for gib adjustment, material is usually MS, but I doubt it is a hanging offence to use brass etc.

        Just hoik the saddle off and clean up the back edge of saddle, checking the bearing surface is not convex (ok if plane or concave), and attach your piece of material with epoxy, superglue or whatever you wish to use , reset saddle against well oiled back shear and tighten up front saddle gibs while adhesive cures.

        That’s the basics, depending on circumstances, you may want or need to mill the back shear inner saddle bearing to allow a thicker strip,  likewise the front shear saddle bearing for more clearance (better if you don’t do the latter as you can restore saddle to original if you don’t like the mod).

        There are all sorts of permutations and combinations to suit your fancy if you trawl about on the net. From personal experience, I don’t recommend Turcite, it doesn’t last and eventually tears up causing jams. Steel is the real deal.


        #706113
        mgnbuk
        Participant
          @mgnbuk

          This modification is basically inserting a shim to fill the gap between the saddle and the rearmost face of the bed to move the guiding of the saddle to the full width of the bed rather than just the front shear. The advantage is that the saddle is guided over ithe full length of the wings, rather than the short surface on the inside of the saddle that currently runs against the front shear inner face. As the gib strip is longer than the inner saddle guiding face (and the RH gib adjusting screw is outboard of this face) it is very easy to adjust the gib such that there is more wear on the saddle. Myford did change over to this “wide guide” arrangement at a later date, so by doing the mod you will only be updating your machine to later factory standard. The mod is reversible by simply removing the shim should you wish to do so.

          I used a piece of gauge plate for my S7B (1/16″ thick x 1/2″ deep x length of saddle IIRC – it has been a while ! ) & used Loctite 638 to secure it to the saddle.  I determined the shim thickness with feeler gauges into the gap between bed & saddle & “rounded up” to the nearest standard Imperial fraction on the assumption that the machine would have been initially designed to have a defined clearance here. I do not recall having to adjust the saddle gib after the initial set-up following the conversion. I did mine as the inner saddle guide face was worn to such a degree that the lathe cut very convex when facing – following the insertion of the shim it cut correctly (very slightly concave). Mine was an ex-school machine & appeared to have suffered from a technician who didn’t read the manual – everything had been greased & the outer saddle gib screw had been overtightened, causing the excessive saddle face wear.

          You can check your bed for wear by measuring across the total width of both shears at various positions with a micrometer (if you have one large enough) or a caliper.- as the rear shear rear face is currently untouched it will not have worn, so any measured wear should be in the front face of the front shear. When I checked my S7 last year there was around a thou and a half wear and, suprisingly, it was worn more in the middle of the travel with both ends measuring much the same. That is on a standard, not reground, bed on a 1968(ish) built machine.

          HTH

          Nigel B.

          #706149
          Dave Wootton
          Participant
            @davewootton

            There are some good articles in MEW by Peter Barker, who used to be on the forum as Hopper, on the wide guide conversion, and on measuring bed wear. Very well written and practical.

            Wide conversion MEW Nov 2019 No 287

            Measuring bed wear MEW autumn special 2019 No285

            Tailstock bedway rework MEW Jan 2020 No 289

            Carried out the bed conversion on my 1965 super 7 exactly as described in the articles and very pleased with the result.

            Dave

            #706154
            ChrisLH
            Participant
              @chrislh

              There’s articles by Peter Barker in MEW 285 and 287 on the subject of Myford bed wear and what to do about it.

              #706917
              Malcolm Timmis
              Participant
                @malcolmtimmis62417

                Hello Chris.

                Just to say thanks for your help with reference to my lathe ‘Wide bed’ modification. Fortunately the issues you listed were among the very first ones that I received when I first subscribed to the ‘Workshop’. Having recovered them from the ‘pile! I find that I had attached ‘post it’s’ referring to the modification for further attention?, about which I had completely forgotten until now. I have now attached a ‘post it’ ‘For immediate Attention’! (when I have time!)

                Many Thanks for your Help

                Al the Best

                Mac

                #706922
                Malcolm Timmis
                Participant
                  @malcolmtimmis62417

                  Hello David.

                  Thank you for your response to my plea for ML7 wide bed modification information. Now having gone through all the help supplied by three others I feel confident to give it a try, and I think my late will feel relieved to be free of the mild butchery it has been subjected too.

                  Many Thanks.

                  All the Best

                  Mac

                  #706923
                  Malcolm Timmis
                  Participant
                    @malcolmtimmis62417

                    Hello Nigel.

                    Thank you for your help regarding Myford ‘Wide Bed Modification’. I have printed off your description and added it to the Issue of the ‘Workshop’ Nos 285, 287, 289 suggested by others. I am hopeful now that my percentage of errors in machining will fall to single figures rather than the previous figure of ?? to many!.

                    Many Thanks.

                    All the Best

                    Mac

                    #706925
                    Malcolm Timmis
                    Participant
                      @malcolmtimmis62417

                      Hello Martin.

                      Thanks for information regarding ML7 ‘Wide Bed Mod’. I have printed it off and added it to the other items of information received from others including, relevant Workshop issue numbers, 285, 287, that describe the method used to achieve a more usable machine.

                      Many Thanks

                      All the Best

                      Mac

                      #706975
                      AStroud
                      Participant
                        @astroud

                        I did the mod on my elderely S7, the carriage started tightening up halway down the bed. Not a problem most of the time but annoying the few times I needed to move the carriage right out of the way. I would be too lazy to slacken off the gibs but always worried about overstressing the carriage.

                        The write up in ME was a little off putting with the work involved, then I read here of someone who simply slacked the gibs, inserted a shim and re adjusted the gibs again. I did the same and it has worked extremely well ever since. I was a bit worried about the half nuts losing alignment with the lead screw but it has not been an issue.

                        #707051
                        Malcolm Timmis
                        Participant
                          @malcolmtimmis62417

                          Hello ?

                          Thanks for your response to my ‘Wide Bed query’. I have had three others detailing, where to find, and describing how to, carry out the modification. Two made no mention of problems with ‘Half Nut’ engagement, but the description in the ‘Workshop’ issue 285 by Mr Barker raises some concern when he details machining the backs of the two lead screw bearings to move it closer to the bed. I don’t understand how this can be, as any lateral movement of the lead screw would automatically affect its engagement with the attached sprocket in the gear train. However, I intend too at least try the mod’ to see what effect it may have on the ‘Half Nut’/ Lead screw relationship.

                          Many Thanks for your help.

                          All the Best

                          Mac

                          #707059
                          Martin of Wick
                          Participant
                            @martinofwick

                            You do have to be mindful of a possible effect on the relationship of clasp nut and lead screw. Rather depends on machine, amount of wear on gib etc etc. Being a myford, there is usually quite a lot of ‘slack’ available for small adjustments so that particular problem can be a bit overstated.

                            The trick is to get away with the least ‘reasonable’ thickness of shim sufficient to move the small inner saddle bearing off the back of the front shear, for the whole length of the bed.

                            I would proceed by checking current condition by moving saddle to middle of bed engaging nut and giving a turn or two on the leadscrew, then get some sort of pointy thing, referenced to the front shear and check if there is much difference between lateral measurement of pointer to leadscrew at headstock end and again where the saddle is. If no significant bowing measurable then you can:

                            Slack off the front saddle gib to allow 5 to 10 thou clearance at the mid saddle bearing, then measure the gap on the saddle back bearing surface. With luck you may find this is 1 to 1.5mm or there about, but total apron re-positioning will be about 10 thou.

                            Alternatively, measure the gap on the saddle back bearing surface which will be your shim thickness, then mill 10 to 20 thou off the mid saddle bearing surface. In this case there is practically no change to the lateral position of the apron.

                            In my slapdash world, neither approach would result in a significant effect on the lateral position of the apron clasp nut. However, if this not acceptable you can mill the LS bearing blocks and readjust gearing on the quadrant or ease the saddle to apron bolt mounting holes, either approach is probably higher risk than a 10 thou displacement of the clasp nut ( have you noticed what an immaculate high precision hard wearing mazak unit myford chose to use for this component!).

                            If initial measurements reveal there is significant lateral bowing in the lead screw to start with, you need to determine what is required by setting the saddle at a lateral position that has no bowing effect  when the leadscrew is engaged and work your measurements from there. Who knows, you may be lucky and find any leadscrew bowing is away from the lathe bed!


                          Viewing 12 posts - 1 through 12 (of 12 total)
                          • Please log in to reply to this topic. Registering is free and easy using the links on the menu at the top of this page.

                          Advert

                          Latest Replies

                          Viewing 25 topics - 1 through 25 (of 25 total)
                          Viewing 25 topics - 1 through 25 (of 25 total)

                          View full reply list.

                          Advert