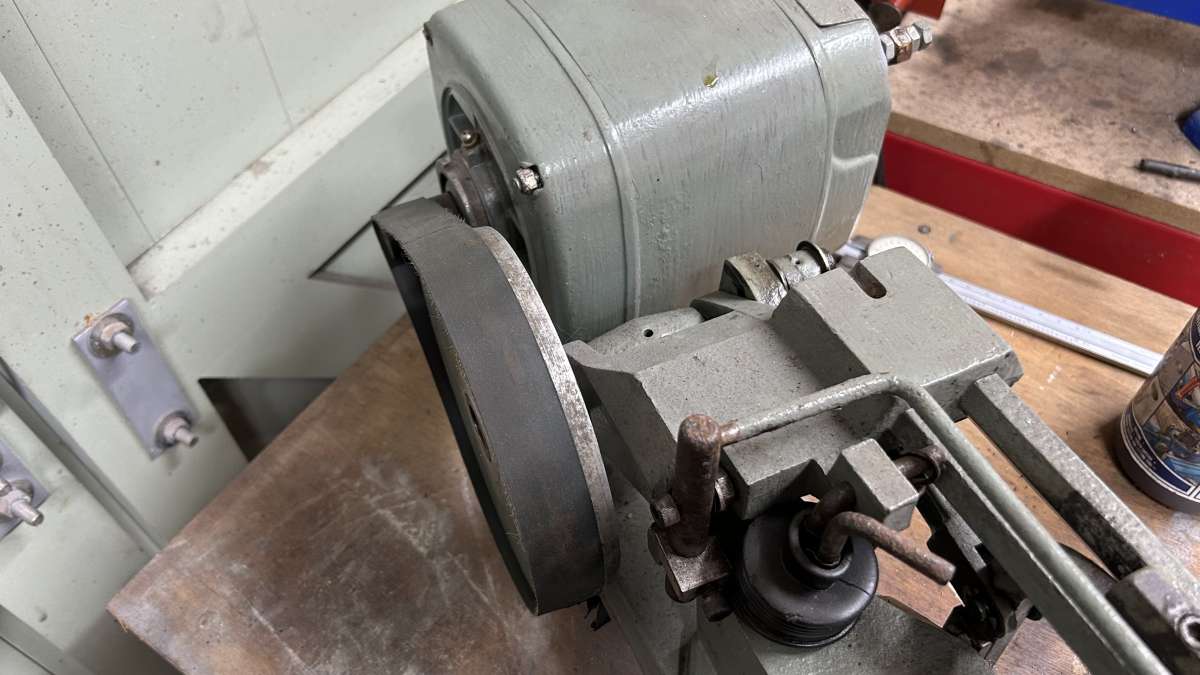
Kennedy Hexacut machine hacksaw
Kennedy Hexacut machine hacksaw
- This topic has 41 replies, 17 voices, and was last updated 5 May 2025 at 19:50 by
 Graham Meek.


- Please log in to reply to this topic. Registering is free and easy using the links on the menu at the top of this page.
Latest Replies
-
- Topic
- Voices
- Last Post
-
-
Rain Gutter Power
Started by:
Michael Gilligan
in: Suggested Online Resources
- 4
-
5 May 2025 at 23:09
Nigel Graham 2
-
Mill selection
Started by:
stephenh
in: Beginners questions
- 8
-
5 May 2025 at 22:42
Huub
-
Tweezers..
Started by:
Diogenes
in: General Questions
- 6
-
5 May 2025 at 22:18
John Haine
-
Clarkson T&C Grinder
Started by:
Ian Owen NZ
in: Manual machine tools
- 4
-
5 May 2025 at 20:55
renardiere7
-
Stuart Twin Victoria (Princess Royal) Mill Engine
1
2
…
50
51
Started by:
Dr_GMJN
in: Work In Progress and completed items
- 33
-
5 May 2025 at 20:43
Dr_GMJN
-
Sound effects
Started by:
duncan webster 1
in: Electronics in the Workshop
- 6
-
5 May 2025 at 20:31
Grizzly bear
-
Kennedy Hexacut machine hacksaw
1
2
Started by:
Leo F Byrne 1
in: Help and Assistance! (Offered or Wanted)
- 17
-
5 May 2025 at 19:50
Graham Meek
-
Half Scale 1/4HP A J Weed Engine
Started by:
JasonB
in: Stationary engines
- 4
-
5 May 2025 at 19:02
JasonB
-
Font size
Started by:
John Haine
in: Website Questions, Comments, and Suggestions
- 5
-
5 May 2025 at 15:55
Bazyle
-
Confusing motor connections – 240v motor
Started by:
ell81
in: Beginners questions
- 6
-
5 May 2025 at 14:29
old fool
-
Boiler Examinations: 7-yearly External Query
Started by:
Nigel Graham 2
in: Traction engines
- 9
-
5 May 2025 at 12:25
noel shelley
-
What Did You Do Today 2025
1
2
…
4
5
Started by:
JasonB
in: The Tea Room
- 27
-
5 May 2025 at 10:25
Bazyle
-
Leadscrew Handwheel Bore?
1
2
Started by:
kevian64
in: Beginners questions
- 11
-
4 May 2025 at 16:06
duncan webster 1
-
Lead-acid batteries
Started by:
Kiwi Bloke
in: The Tea Room
- 12
-
4 May 2025 at 16:03
duncan webster 1
-
Crank pin re fixing
Started by:
Ian R
in: General Questions
- 5
-
4 May 2025 at 15:50
duncan webster 1
-
supercharged V12 2 stroke
1
2
…
10
11
Started by:
dean clarke 2
in: I/C Engines
- 55
-
4 May 2025 at 08:10
Michael Gilligan
-
TALE OF TWO VIPERS
Started by:
dean clarke 2
in: I/C Engines
- 7
-
4 May 2025 at 04:56
dean clarke 2
-
Amadeal VM25L Uneven Motor Brush Wear
1
2
Started by:
Richard Kirkman 1
in: Help and Assistance! (Offered or Wanted)
- 13
-
3 May 2025 at 22:23
Macolm
-
Web Hosting
Started by:
Harry Wilkes
in: The Tea Room
- 9
-
3 May 2025 at 21:16
vic newey
-
Anyone know about wells and Victorian plumbing?
1
2
Started by:
Ian Parkin
in: The Tea Room
- 17
-
3 May 2025 at 21:05
Nigel Graham 2
-
My week this week! My workshop videos
1
2
…
11
12
Started by:
Phil Whitley
in: The Tea Room
- 14
-
3 May 2025 at 19:25
Phil Whitley
-
Boxford Cabinet Dims
Started by:
David Johnson 13
in: Model Engineer & Workshop
- 6
-
3 May 2025 at 14:36
David Johnson 13
-
Vickers Inverted Engine
1
2
Started by:
JasonB
in: Stationary engines
- 10
-
3 May 2025 at 14:30
Diogenes
-
Lady Stephanie
Started by:
Steve Huckins
in: General Questions
- 6
-
3 May 2025 at 10:19
Steve Huckins
-
Countersinking carbon fibre sheet with my Sieg CNC Mill
Started by:
Sarah F
in: CNC machines, Home builds, Conversions, ELS, automation, software, etc tools
- 6
-
3 May 2025 at 09:59
Michael Gilligan
-
Rain Gutter Power