What did you do Today 2018

Advert

What did you do Today 2018

Home Forums The Tea Room What did you do Today 2018

Viewing 25 posts - 126 through 150 (of 1,832 total)
  • Author
    Posts
  • #337025
    Mick Henshall
    Participant
      @mickhenshall99321

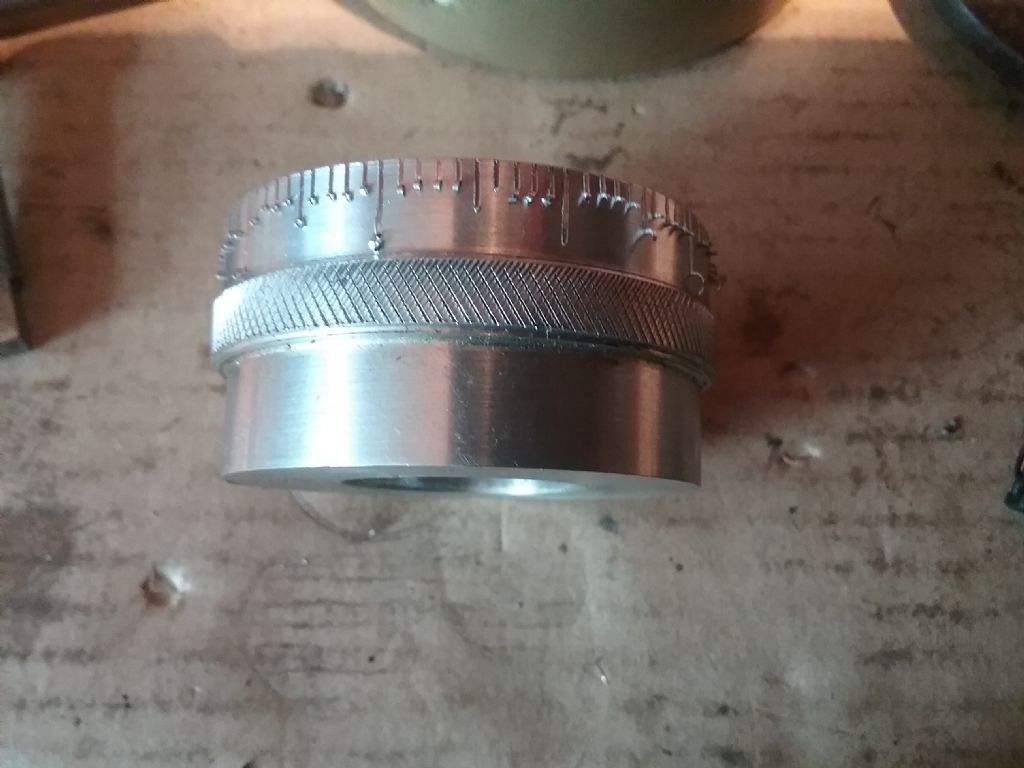
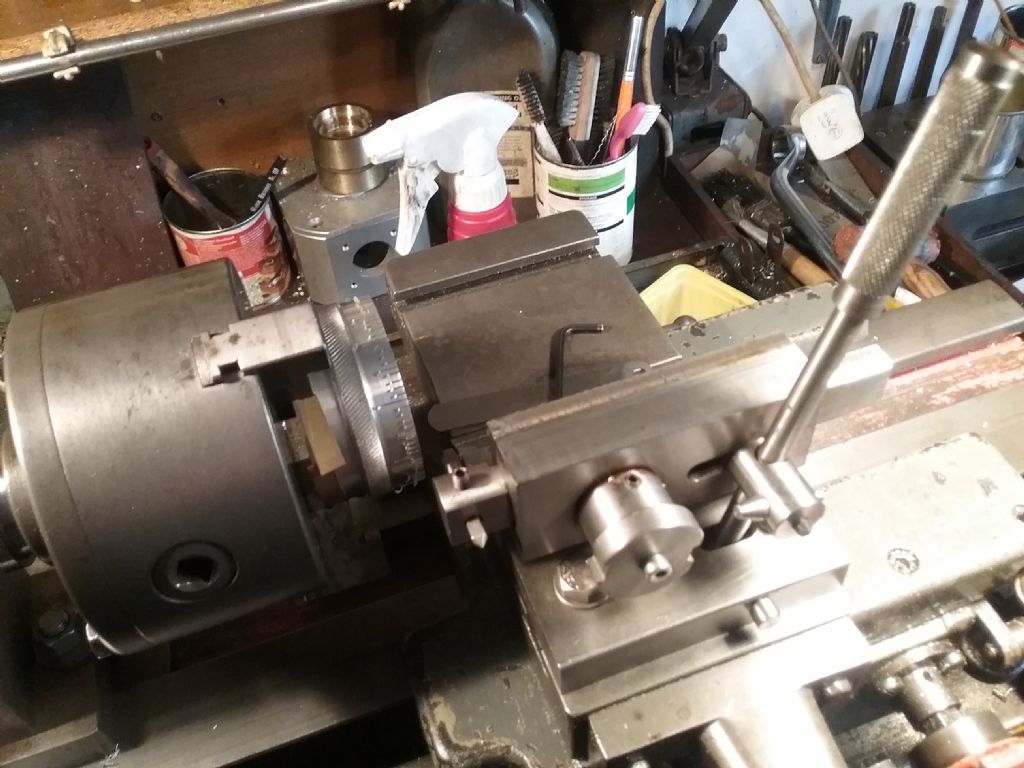
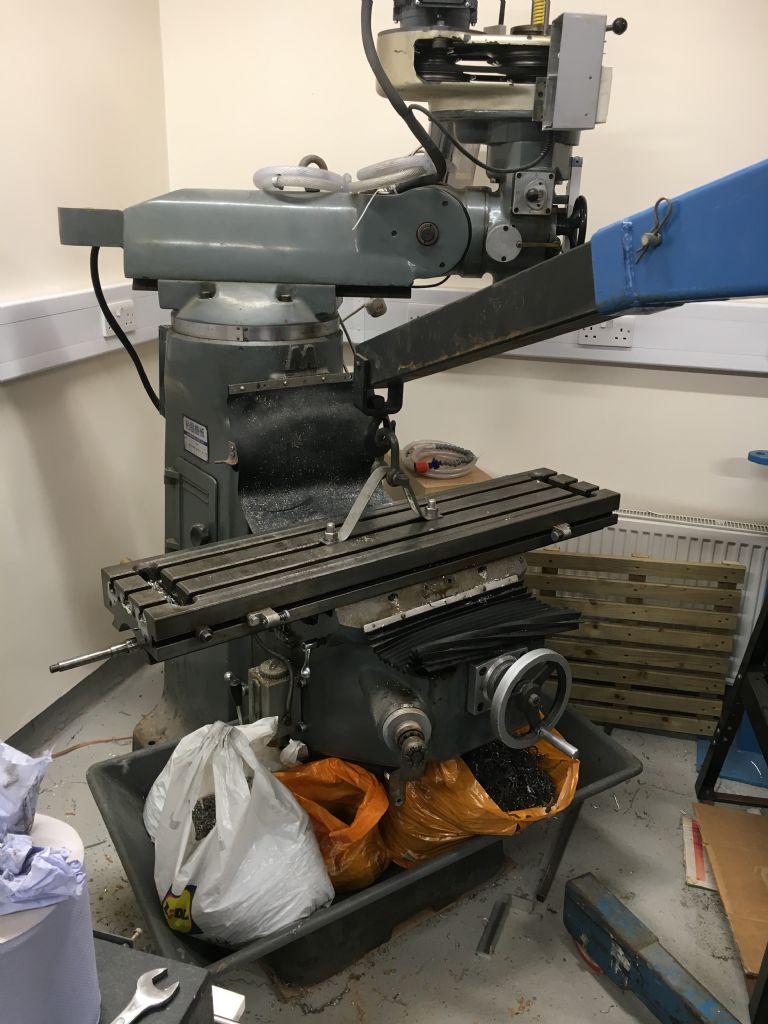
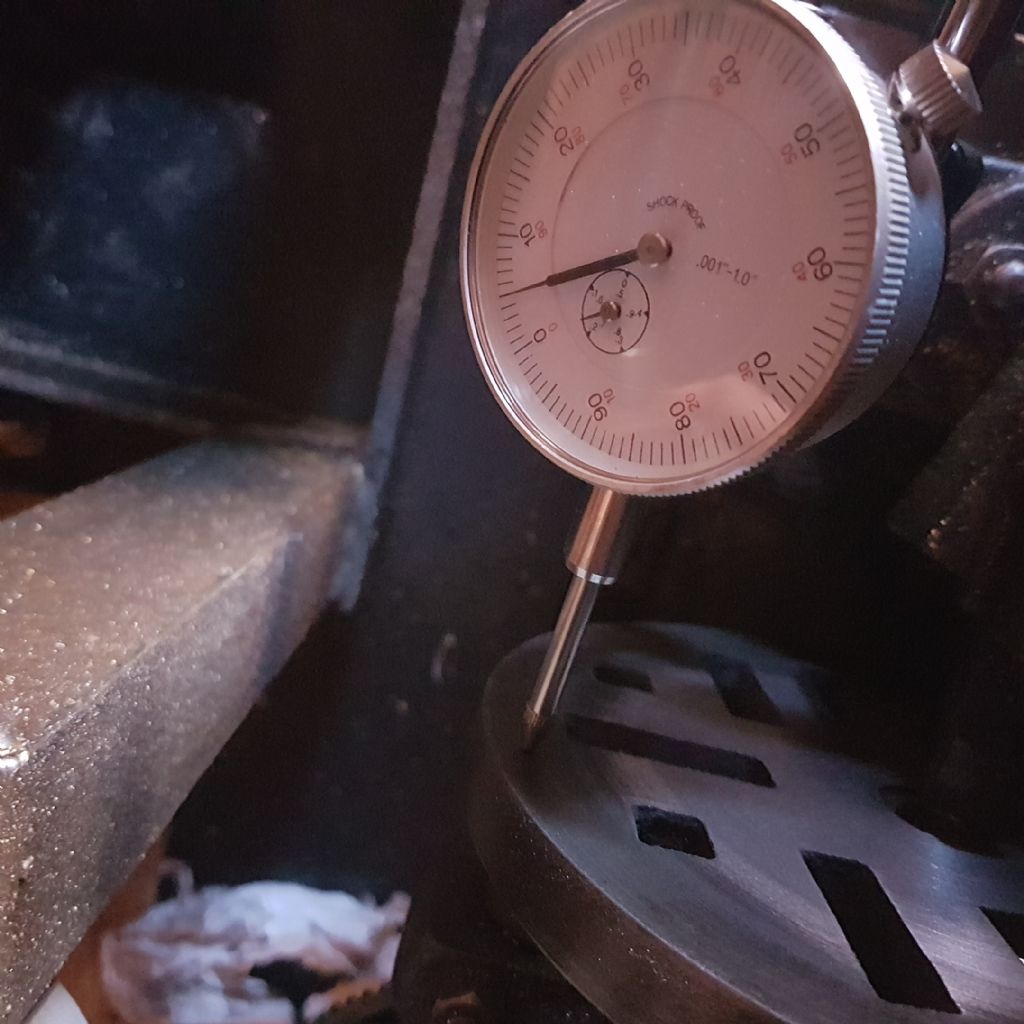
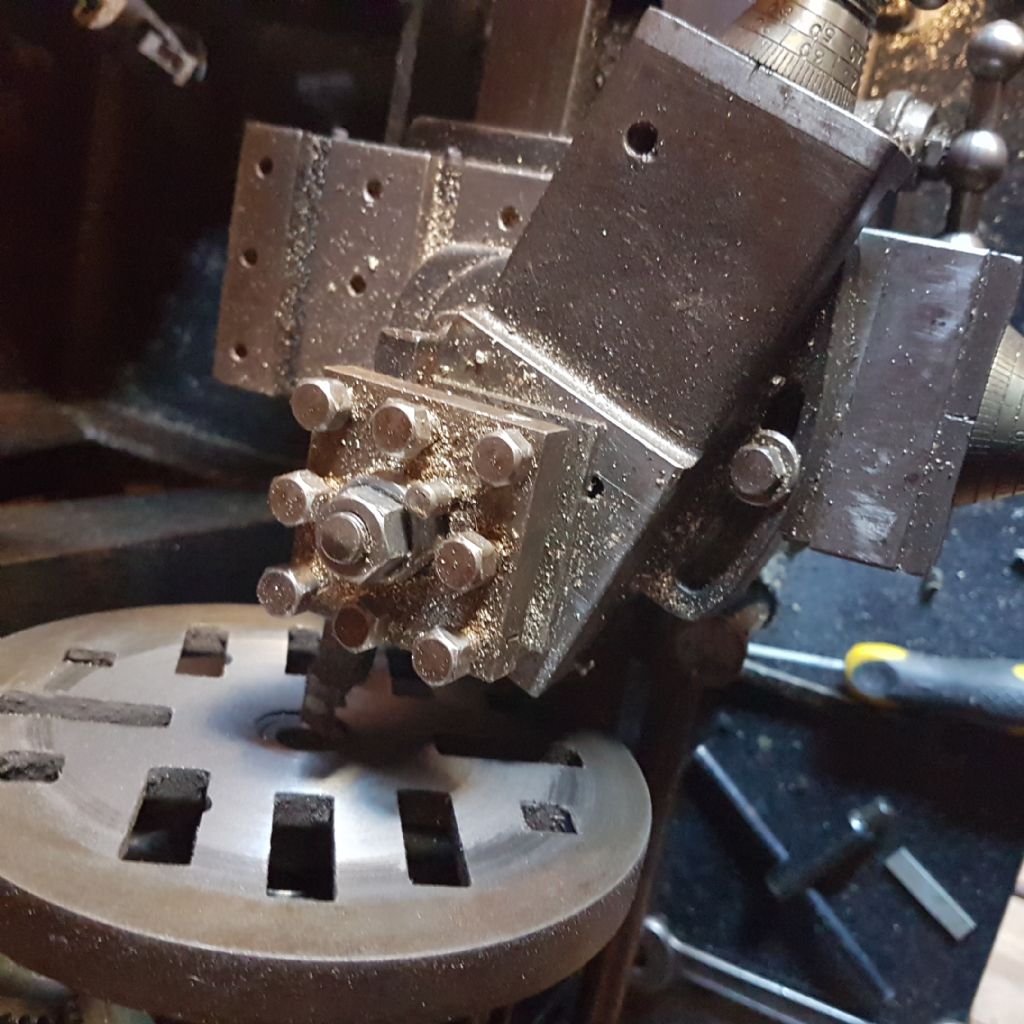
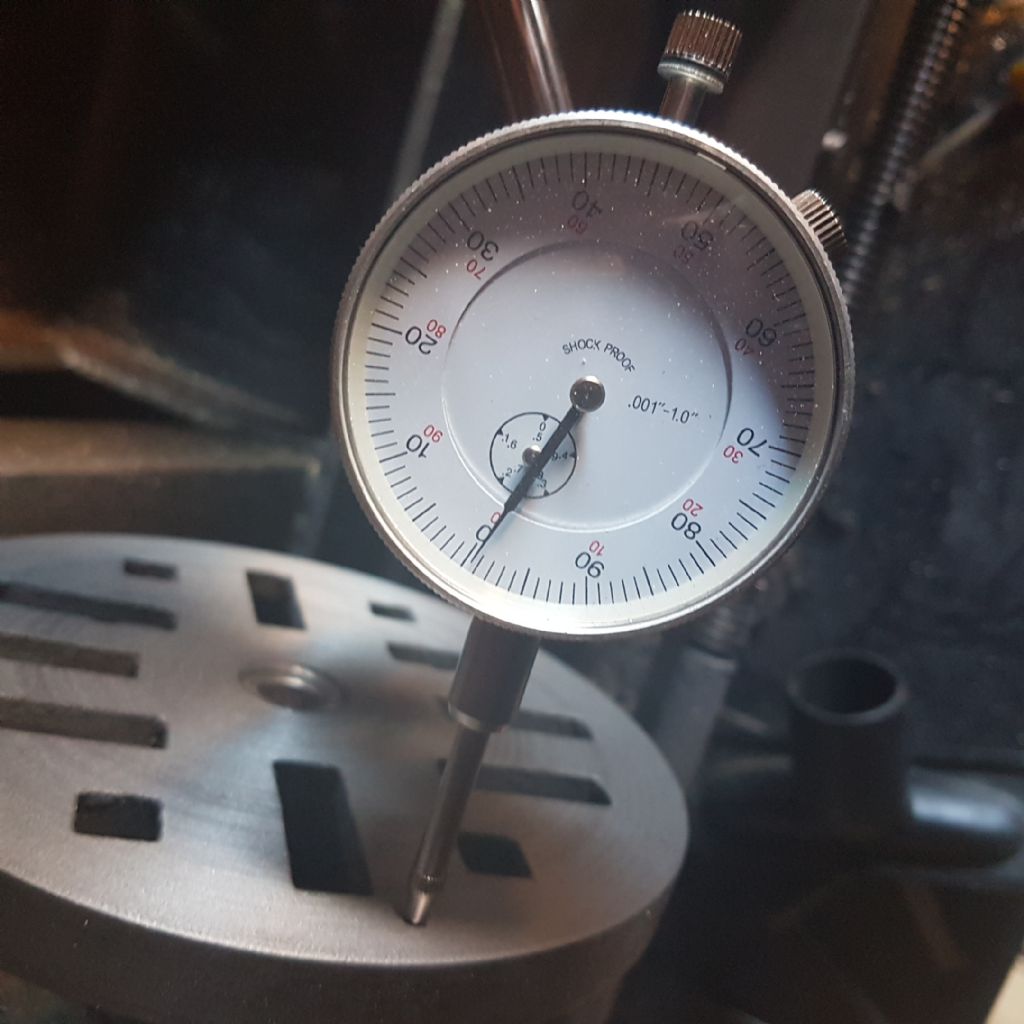
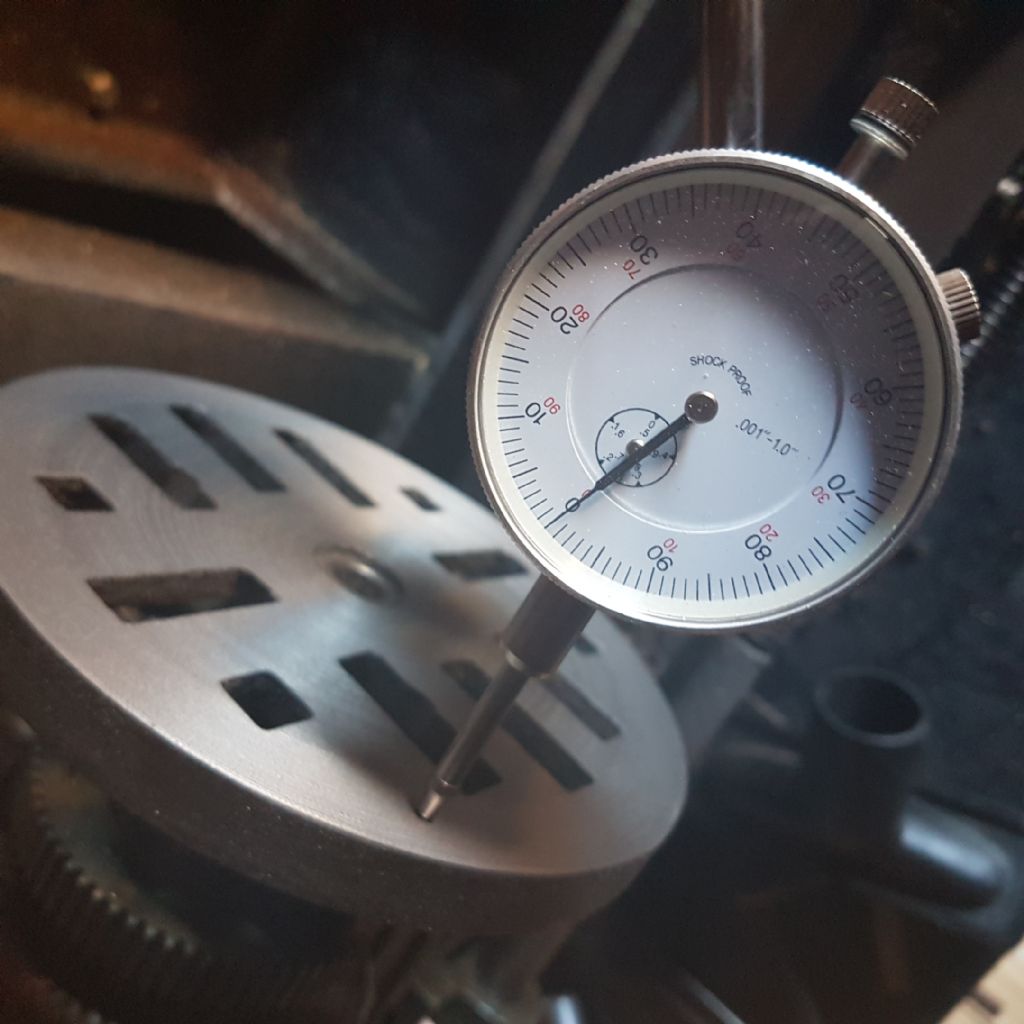
      20180116_124735.jpg20180116_125328.jpg20180116_124728.jpgEngraved divisions on 2 new dials for my very old Adcock & Shipley horizontal mill. Aluminium and next to clean burrs off and make a jig for stamping numbers  —Mick20180116_124835.jpg

      Edited By Mick Henshall on 16/01/2018 17:51:36

      Advert
      #337032
      J Hancock
      Participant
        @jhancock95746

        Made two stepped PTFE joint rings to replace the standard rubber rings which had rotted away either side of the central heating pump (see ten most useful items ).

        Surely, everyone who uses Fernox must have this problem eventually ?

        #337065
        Mark Rand
        Participant
          @markrand96270

          Cut the 48 holes for the first of three collet racks for the Hardinge HLV cabinet. Used a 32mm Rotabroach cutter held in a 19mm ER32 collet in the mill. Nice clean holes with minimal deburring required.

          #337066
          DrDave
          Participant
            @drdave

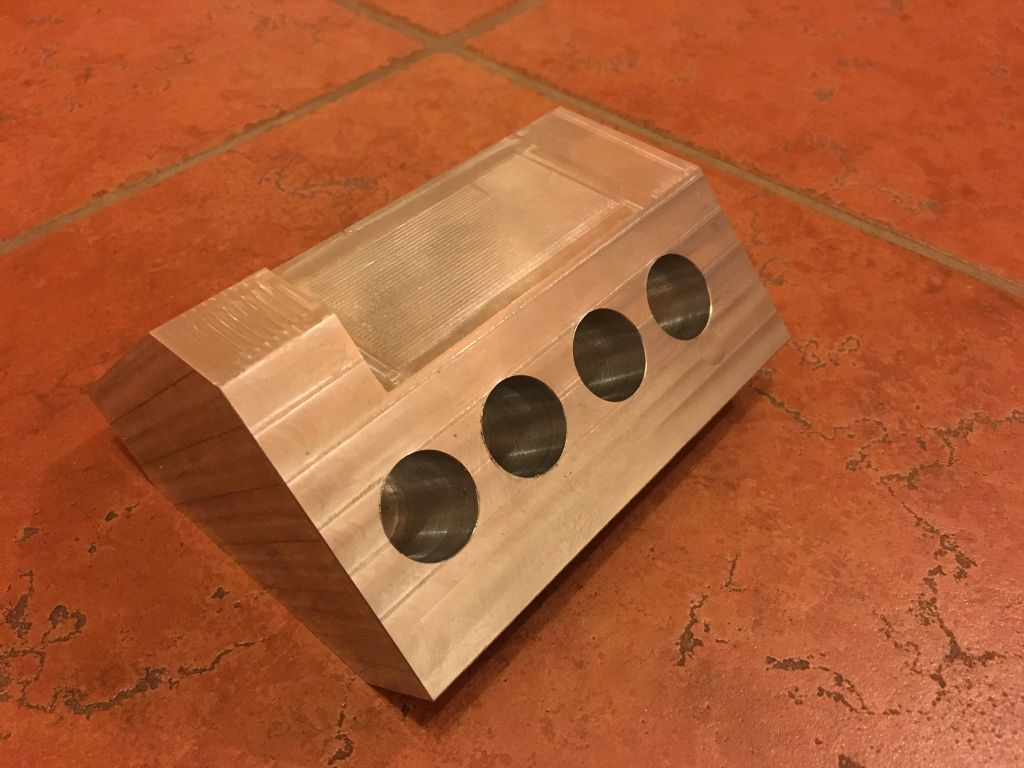
            I bought alength of 7075-T6 bar a couple of months ago because it looked like it had the block for a V8 engine buried inside. After making a considerable amount of swarf, look what I found. I have roughed it out to allow any built-in stresses to relax before machining to final size.

            Rough Block

            There is a lot more swarf still to be removed, but it is at least starting to look the part.

            #337068
            David Standing 1
            Participant
              @davidstanding1
              Posted by DrDave on 16/01/2018 21:54:07:

              I bought alength of 7075-T6 bar a couple of months ago because it looked like it had the block for a V8 engine buried inside. After making a considerable amount of swarf, look what I found. I have roughed it out to allow any built-in stresses to relax before machining to final size.

              Rough Block

              There is a lot more swarf still to be removed, but it is at least starting to look the part.

              I take it that is a 'small block' V8 wink

              #337070
              DrDave
              Participant
                @drdave
                Posted by David Standing 1 on 16/01/2018 22:06:17:

                Posted by DrDave on 16/01/2018 21:54:07:

                I take it that is a 'small block' V8 wink

                If I have done my maths right, it should come in at under 50cc. So yes, a very small block V8!

                #337113
                Neil Wyatt
                Moderator
                  @neilwyatt
                  Posted by Mark Rand on 16/01/2018 21:37:38:

                  Cut the 48 holes for the first of three collet racks for the Hardinge HLV cabinet. Used a 32mm Rotabroach cutter held in a 19mm ER32 collet in the mill. Nice clean holes with minimal deburring required.

                  You need room for 144 R8 collets? Blimey that's an investment!

                  #337132
                  Mark Rand
                  Participant
                    @markrand96270
                    Posted by Neil Wyatt on 17/01/2018 09:49:59:

                    You need room for 144 R8 collets? Blimey that's an investment!

                    5C collets, not R8. Current collection is 128 including imperial, metric, a few mixed hex and square ones and some emergency collets and arbors. One of the draws will have holes for the centres and drill chucks.

                    I'd planned do do this when I rebuilt the lathe 6 years ago, but hadn't got around to it. Then, while looking for a collet, I lifted one of the cardboard boxes full out of the filing cabinet draw they live in. Said box fell apart, spilling collets all over the floor…

                    The collet I was looking for was needed when working on the coolant pump.

                    The coolant pump was being finally fitted after I cleaned all the crap off the chip pan.

                    I'd cleaned all the crap off the chip pan because I wanted to move the lathe.

                    There was an old lady who swallowed a flylaugh.

                    #337141
                    David Standing 1
                    Participant
                      @davidstanding1
                      Posted by Mark Rand on 17/01/2018 12:55:04:

                      The collet I was looking for was needed when working on the coolant pump.

                      The coolant pump was being finally fitted after I cleaned all the crap off the chip pan.

                      I'd cleaned all the crap off the chip pan because I wanted to move the lathe.

                      There was an old lady who swallowed a flylaugh.

                      Oh, been there, been there………wink 2

                      #337731
                      Andy Carruthers
                      Participant
                        @andycarruthers33275

                        Today I mostly stripped a bench mount belt sander down to find the front roller had siezed and has badly worn bushings – next weekends project to fix

                        Seems there is always something to do before doing anthing productive!

                        Edited By Andy Carruthers on 21/01/2018 19:08:46

                        #337836
                        Philip Rowe
                        Participant
                          @philiprowe13116

                          Drilling some 1mm holes to pin cranks to axles I managed to break a drill, oh bother says I (Well something not quite as polite). Ok, not the end of the world but unfortunately it was a carbide drill that I was using as the axles are some nasty grade of stainless. Apart from scrapping is it possible to have the drill spark eroded in a hole this size? Spark erosion is not something that I have any experiences with, but I'm sure somebody here will know.

                          Before anyone queries the very small hole size, it is on a16mm garden railway tram loco that I'm currently building, if I do scrap the axle and crank I will remake it using ordinary mild steel as it's much easier to drill small holes in.

                          Phil

                          #338047
                          Martin Kyte
                          Participant
                            @martinkyte99762

                            Sourcing a replacement nut and washer for a SMA RF connector the thread was specified a 1/4" UNS which resulted in my curious mind finding thsi site

                            **LINK**

                            Amazing range of special duty threads. In fact I'm amazed at the number of threads period.

                            regards Martin

                            #338139
                            richardandtracy
                            Participant
                              @richardandtracy

                              I had intended to start tempering my sand for castings last Monday. Just as I was finishing the mug of tea before going to the workshop, the house RCD popped. And stayed popped when reset. It was a fault in the kitchen socket ring. Eventually traced it to a section of cable between a stud wall and a wall that had been very damp. This morning, replaced it and another section that looked as if it had been chewed by mice before we got the house.

                              So, by this evening I managed to get to where I'd intended to be at lunchtime on Monday. Probability of any casting this week: Nil.

                              What a complete & utter bloody waste of a week's leave.

                              Regards

                              Richard.

                              #338538
                              Howard Lewis
                              Participant
                                @howardlewis46836

                                Not Model Engineering as we know it!

                                Have just reinstalled the air compressor for the church door opener.

                                Last week it started "tinkling" instead of delivering air. Since replacement would be circa £800, a pal and I thought we had nothing to lose, and opened it up. Looks like a fridge compressor, but top is clamped on, rather than welded. The bolt holding a sort of welsh washer in place had broken; flush with the bottom of relatively small, deep, bore. To make matters worse, the bolt head was stamped "12.9". And it was HARD.

                                Turned up a tight fitting bush ready to start trying to drill out the remains. Disconnect compressor pipe and mains cable. Clamp to table of Mill/Drill and after two broken drills, (one a carbide tipped one!) finally removed the debris, at the cost of some damage to the casting. Once eventually out, progressively drilled the casting until it could be tapped 1/2" x 40 tpi ME, interspersed with repeated use of magnet and vacuum cleaner to remove the swarf. Turned a piece of BMS to 0.500" diameter and used a die to give about 0.300" thread length. (would have liked more, but frightened of breaking through casting).  Trial fit and mark top of bore. Part off to 0.250" less, face, drill and tap for 1/4 UNF, (to match existing hardware)

                                Trial fit to check that the blanking washer will be clamped. Clean rust and dirt off all everywhere. Loctite 1/2 x 40 thread, and screw hard into place with long 1/4UNF setscrew and nut. Remove the improvised stud box. Hylomar sealing face of plate and underside of head of new short setscrew, and tighten down. Test before connecting to reservoir, and it delivers compressed air!  Reconnect to reservoir, and return to the church door.

                                After correcting a minor leak, it will open the door four times on the contents of the small reservoir before cutting in again, for just under 10 seconds. Then find GRP cover is squashing the nylon delivery pipe; so butchered to make a slot for the pipe, and now the mains lead.

                                Come home and search for CDM to award myself! Still looking; but a satisfying end to two days of slow work.

                                Howard


                                Edited By Howard Lewis on 27/01/2018 17:43:09

                                #338570
                                Neil Wyatt
                                Moderator
                                  @neilwyatt

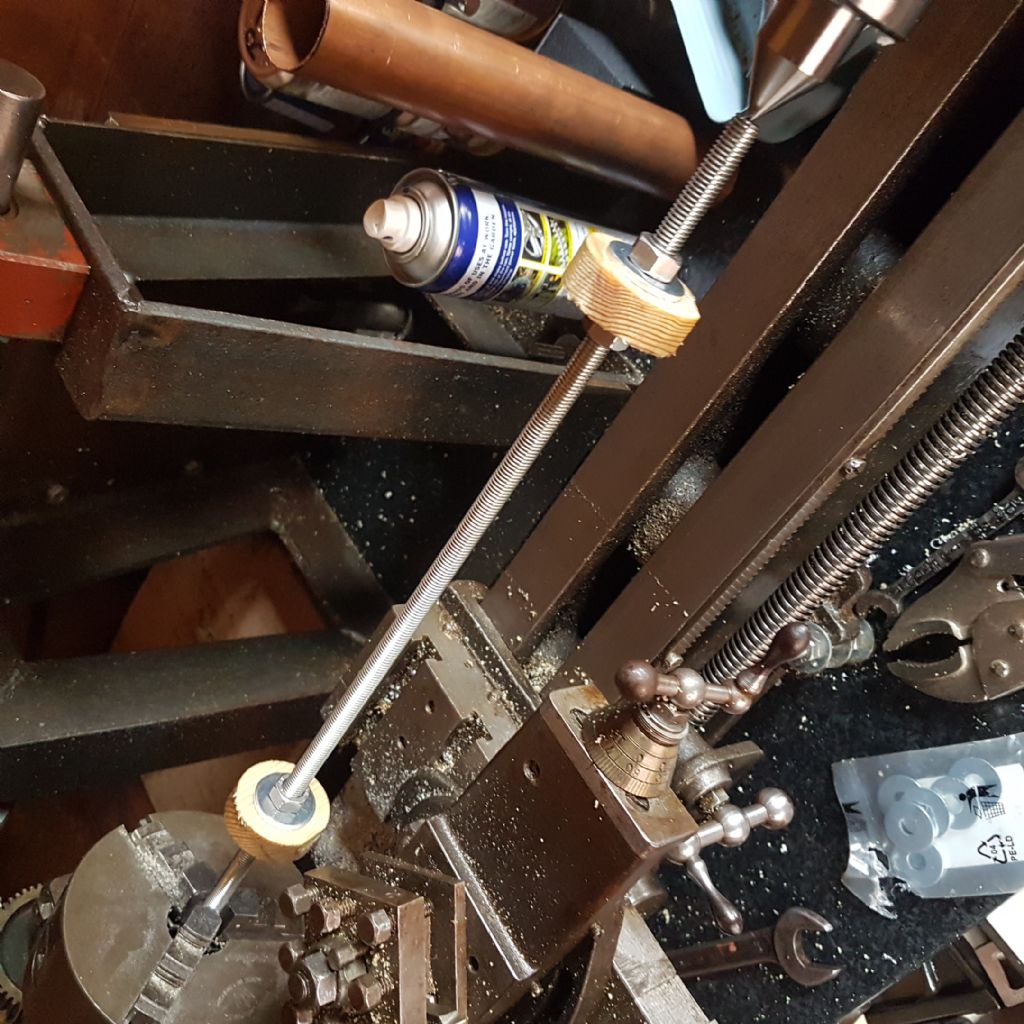
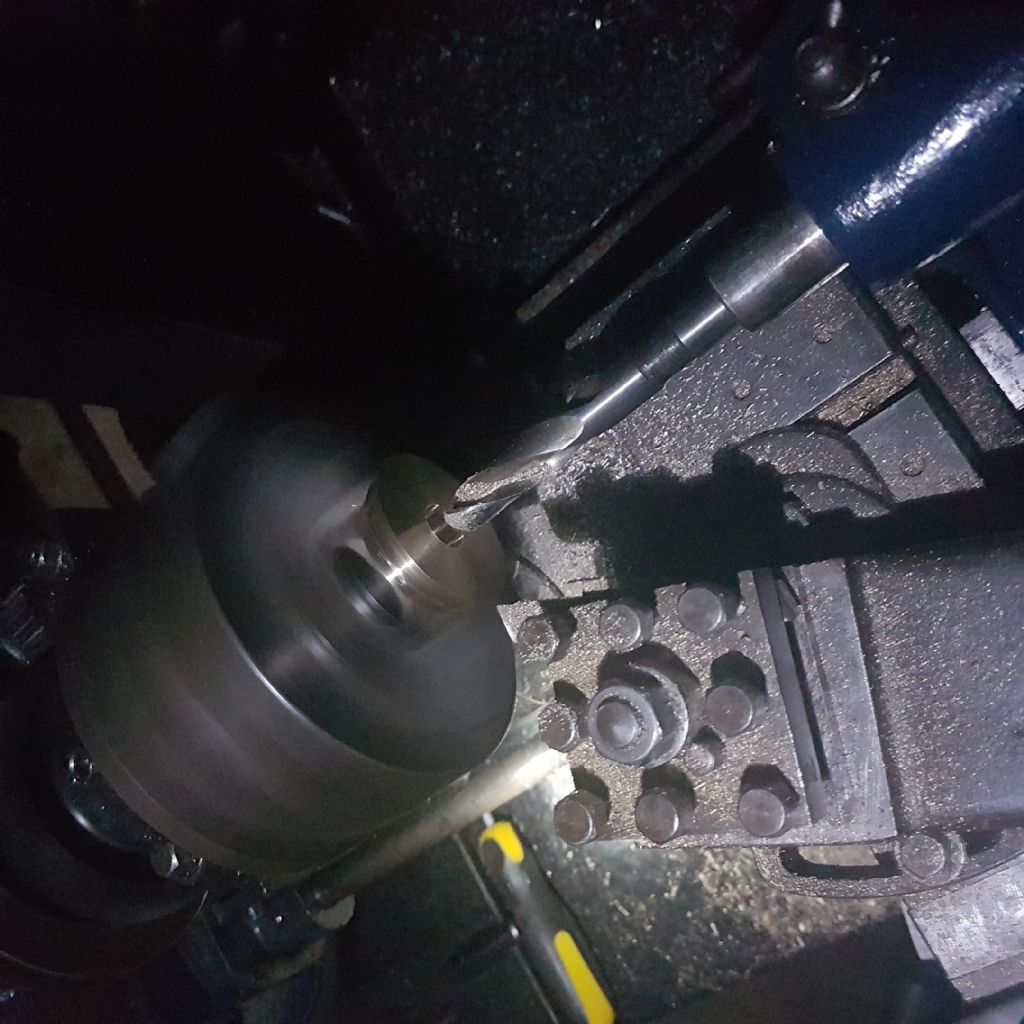
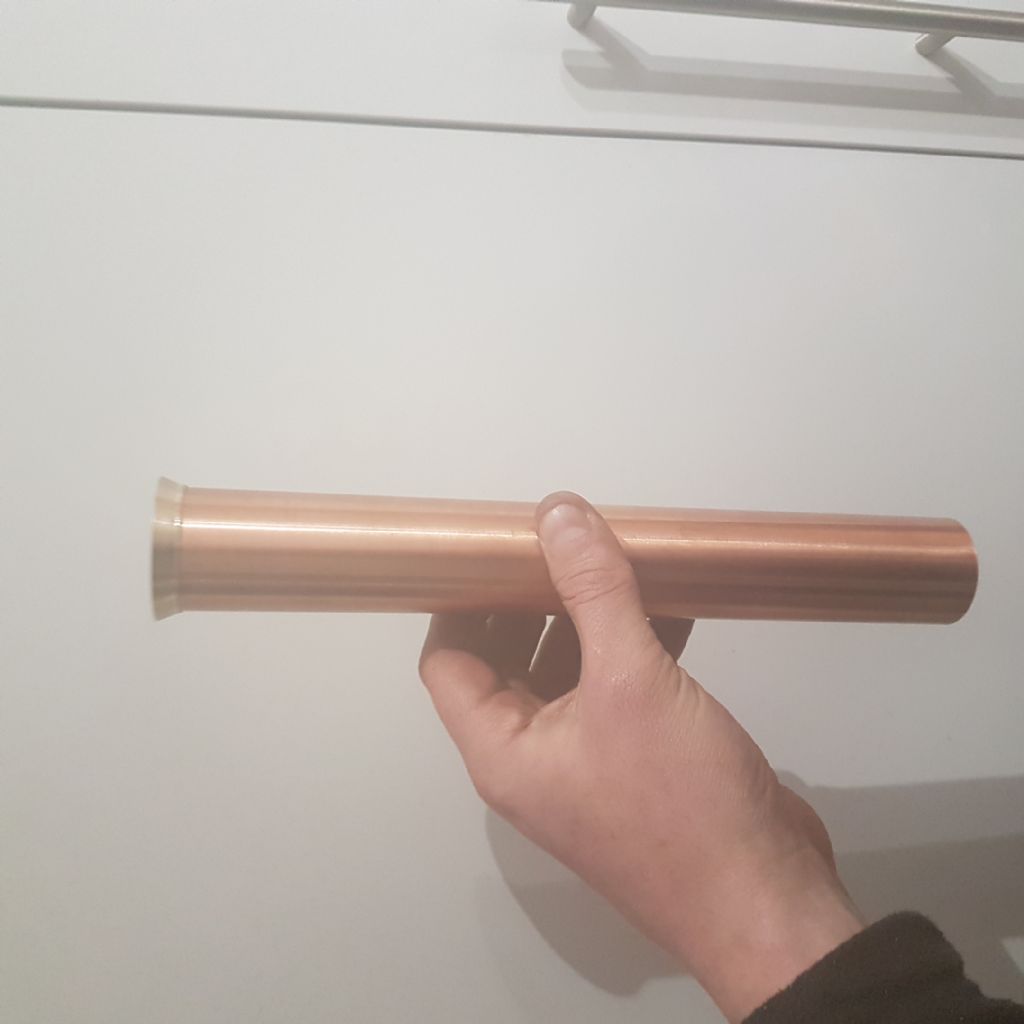
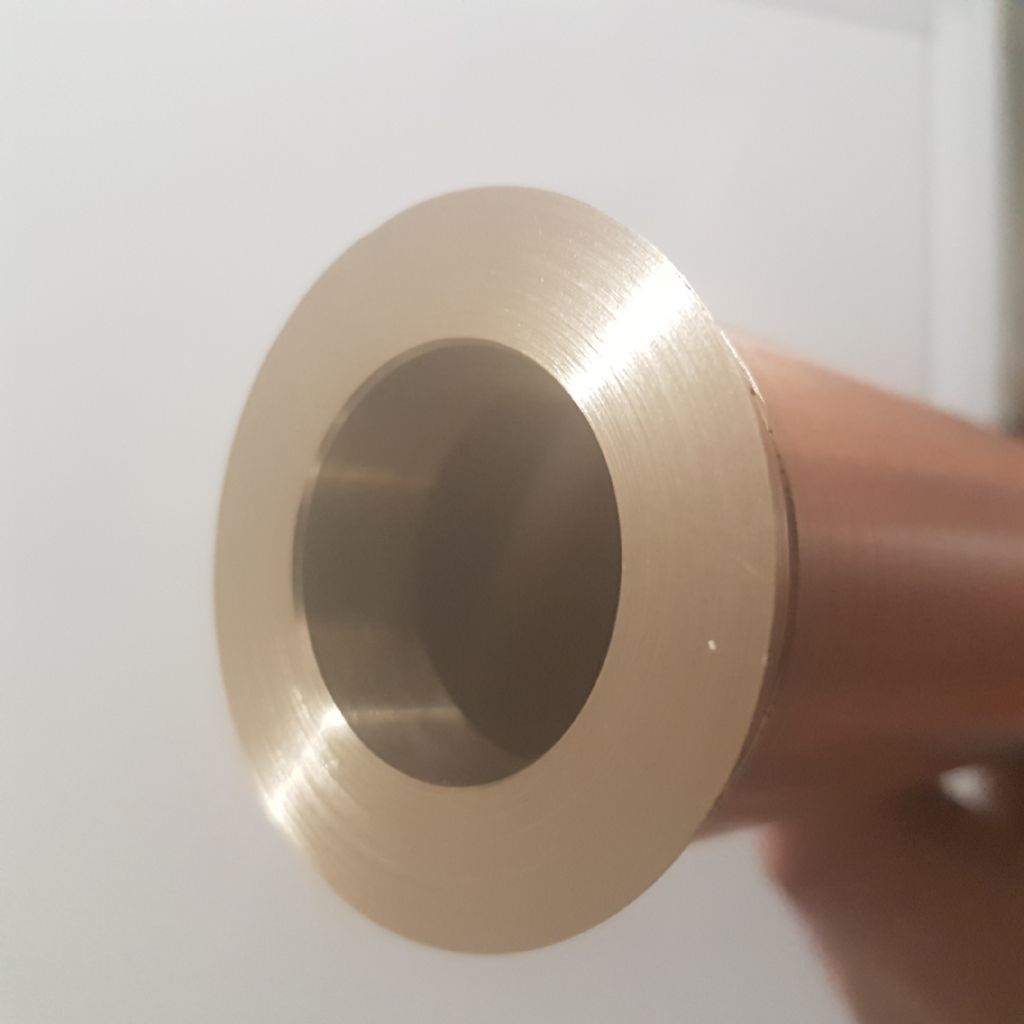
                                  Don't ever try and thread the end of an aluminium tube overhung by 7", it will bend away from the cutter and make it VERY difficult. i had to surrender and move the steady, even though it meant ruining the surface finish of the last 10mm so I had to rebore it 10mm deeper.

                                  Neil

                                  #338583
                                  Mark Rand
                                  Participant
                                    @markrand96270

                                    Could be worth turning up a top hat shaped plug to fit in the tube so you can use a tailstock centre to steady things.

                                    For Philip Rowe, If you haven't found a supplier of EDM hole shooting, is it worth breaking up the drill with a small punch? I had luck doing this when an M3 tap decided to glue itself into some stainless steel.

                                    My progress today was drilling and tapping all the mounting holes in the collet draws I'm making for the Hardinge. M4 thread forming tap in a battery drill was much faster than the coordinate drilling* in the milling machine. Tomorrow, I hope to drill and tap an emergency collet so I can slightly shorten the heads of the 36 Allen screws so they will fit into the drawer slides.

                                    * Had to shorten the 3.7mm tapping drill to be able to get clearance between it and the drawer sides in the mill. The Beaver mill has got 17" max clearance nose to table and 0" minimum. Given that a tool holder and tool generally uses up a minimum of 5" and a milling vice might use another 2-4" this is sillysad, since it reduces the maximum work height to less than 9". In this case there wasn't enough clearance with an 8.5" work height.

                                    Oddly enough, the next project will involve welding up an 8" riser out of bits and pieces that I've got. I'd already planned to make it for one specific job that needs doing, but I'm beginning to realise how useful it will be in general.

                                    #338625
                                    Muzzer
                                    Participant
                                      @muzzer

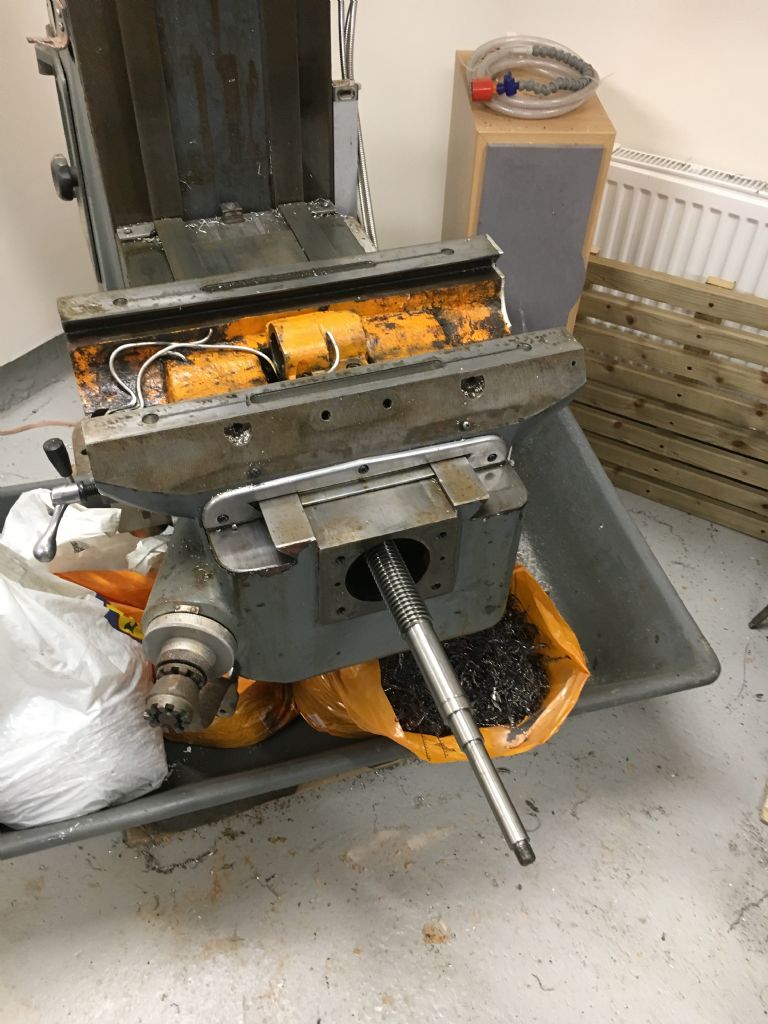
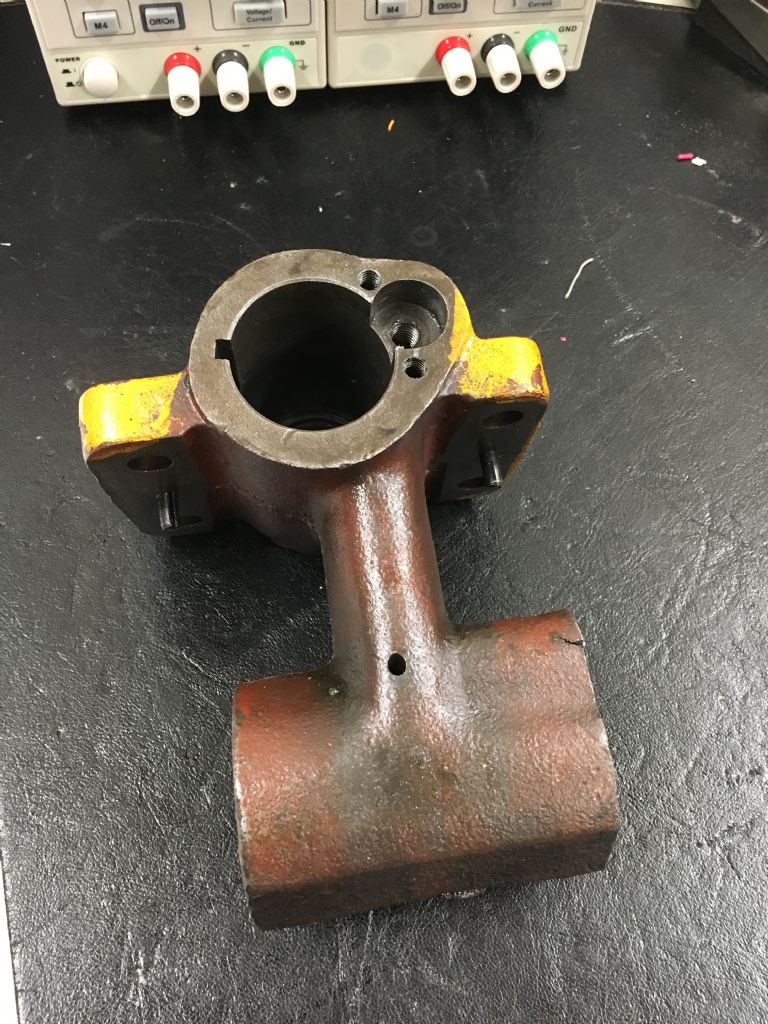
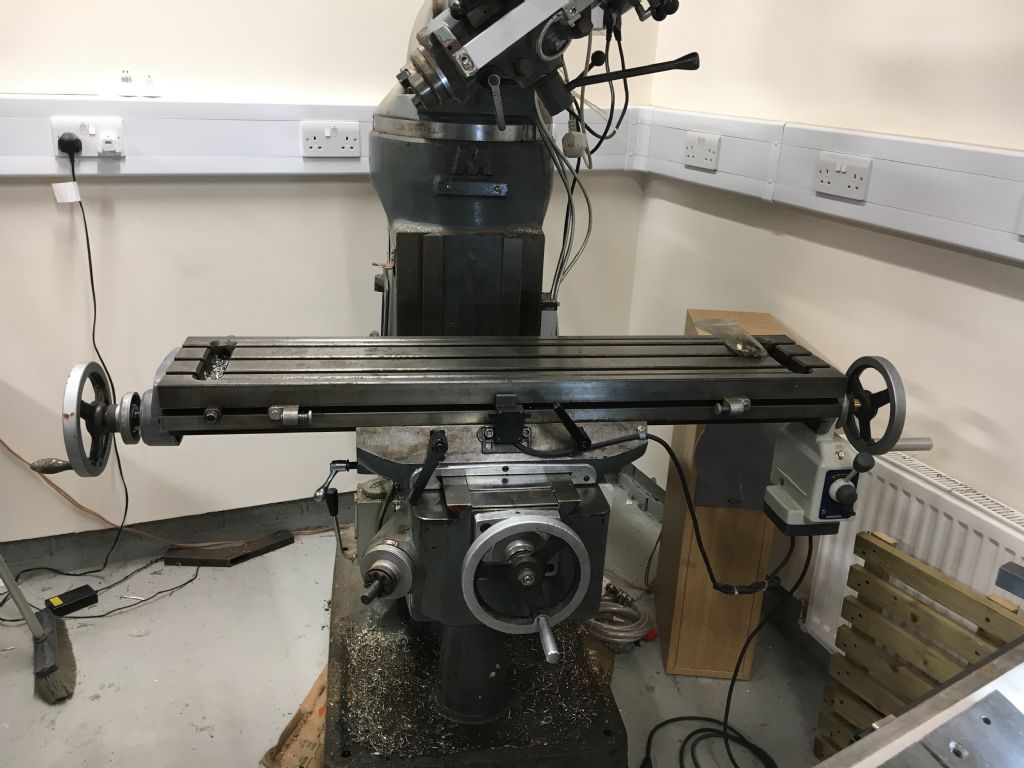
                                      Went out into the workshop last night and stripped down the table on the Bridgeport clone. I have had new ballscrews for the X and Y axes waiting to be fitted for several years now. The CNC conversion was delayed by our move back to the UK, then by the purchase of a proper CNC machine. I have 90% of the conversion parts made now and the original leadscrews have pretty much had it now. A DRO makes up for a lot of the backlash but surely the ballscrews will be a vast improvement and will allow me to make some progress with the conversion to CNC. I have to retrieve the "yoke" that holds both the X and Y axis nuts so I can machine it out to take the very slightly larger diameter ballnuts.

                                      Took almost exactly an hour to remove the DRO, power feed, handles, leadscrews, table and finally liberate the yoke. Biggest challenge was sliding the 42" table across to the left to disengage it from the dovetails, given the lack of space. I may move the machine out from the wall before refitting but for now it gives me more space to work.

                                      img_5858.jpg

                                      img_5862.jpg

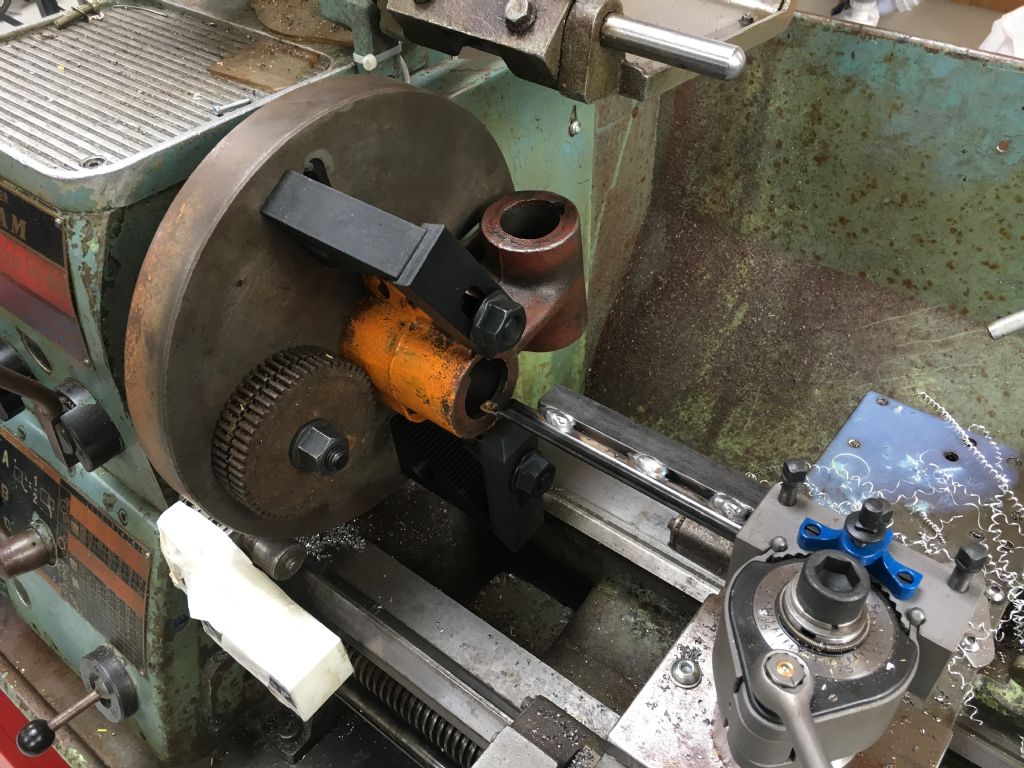
                                      Here it is. I checked previously that it is small enough to swing on the bantam faceplate. I need to bore both them out to 40mm bore, so annoyingly, that's only 1/4mm – so near and yet so far. But I need to add fixings for the flange of the ballnut anyway.

                                      img_5863.jpg

                                      Murray

                                      #338752
                                      Sam Longley 1
                                      Participant
                                        @samlongley1

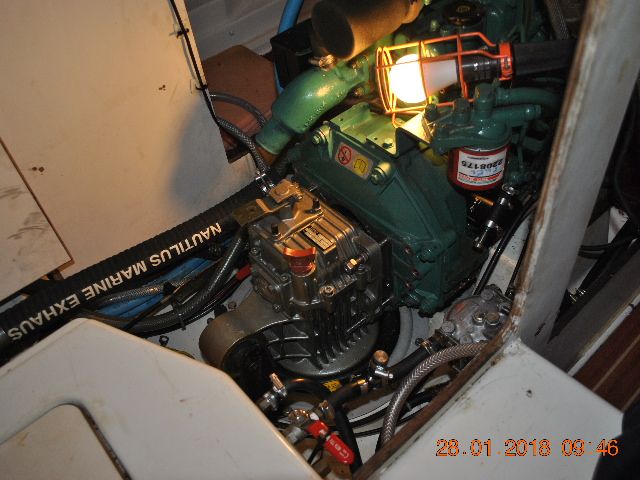
                                        Well it is not cars or motorbikes but it is engine related. Every 7 years the rubber seal that the saildrive sits in in the bottom of the hull has to be replaced. they do last for years but Volvo say 7 years so insurance Co's want to see it done if there is a problem. £ 225-00 for a rubber ring & a gasket!!!!.

                                        Today i got the saildrive back into my boat & finally managed to line the splines on the saildrive with the engine. The saildrive floats about all over the place because of the flex in the rubber seal. The engine drops down without the saildrive bolted to it to support it on the aft mounting of the sail drive when it is all bolted as one unit so lifting the engine & trying to waggle the saildrive is a nightmare.

                                        Finally lined the splined shaft into the engine up by rotating the flywheel then getting to the back & trying the fit then going to the front again & gradually sliding the heavy engine aft with a nail bar. bruised knuckles to match.

                                        Why is it that the bolts with the stiffest thread always come just under the engine where the spanner will not fit easily?

                                        But won in the end & torqued it up

                                        Now to fit all the fuel lines wires, exhaust & controls. Hope the electrics go back right !!!. Then the panelling & berths. Job done for another 7 years.

                                        saildrive

                                        #338763
                                        Jon Cameron
                                        Participant
                                          @joncameron26580

                                          Today I set about repaying my debt. I got given a bench grinder for free on the understanding that I would do a machining job for the person who gave me it. Little did I know it was to be a chimney for a Stuart 504 boiler. But this was my efforts today.

                                          20180128_145105.jpg


                                          20180128_170221.jpg


                                          20180128_173555.jpg


                                          20180128_173613.jpg

                                          Edited By Jon Cameron on 28/01/2018 20:49:47

                                          #338770
                                          Michael Horner
                                          Participant
                                            @michaelhorner54327

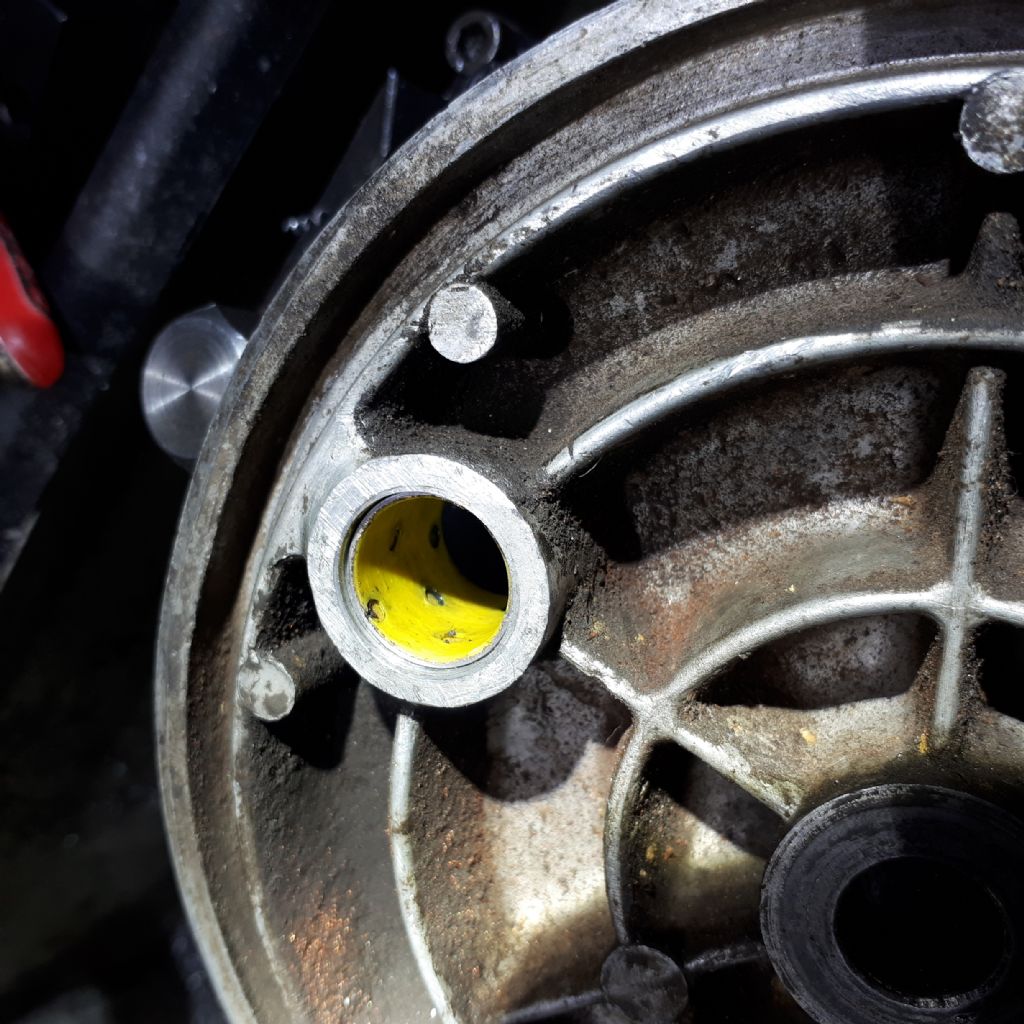
                                            20180127_120701.jpgNoticed there was a bit of slop in the brake arm shaft bearing, runs direct in the alloy. So fitted a bush. When I tested with a piece of 14mm SS bar there was no free play but when I refitted the brake arm shaft there is still a little bit of play. You can see the wear on the shaft. Thinking of getting a TIG welder with my 25 years of servitude money and have a go at TIG brazing!

                                            Cheers Michael.

                                            20180127_130716.jpg

                                            #338782
                                            Muzzer
                                            Participant
                                              @muzzer

                                              Machined out the bores in the yoke (see earlier post). Had to make up a long boring bar by welding one of my SCLCR bars onto a piece of 3/4" square BMS. Worked very nicely and I took them out to 40.1mm which gave a nice sliding fit.

                                              Long boring bar

                                              Refitted both ballscrews and reassembled the machine. No dramas or grievous cockups. I'll need to make up a spacer for the X axis handwheel, as I designed the ballscrew to accommodate a toothed pulley which isn't fitted yet. Although I haven't formally meassured it, the backlash on the Y axis has gone down from a large fraction of a mm to something of the order of 20um (~1 thou). That's a massive improvement.

                                              Back together

                                              I'll refit the DRO, way covers etc later. Been up since 7, so time to call it a night.

                                              Murray

                                              #338799
                                              Neil Wyatt
                                              Moderator
                                                @neilwyatt
                                                Posted by Mark Rand on 27/01/2018 22:05:33:

                                                Could be worth turning up a top hat shaped plug to fit in the tube so you can use a tailstock centre to steady things.

                                                Internal thread!

                                                A better approach would have been to thread it with support before turning that outside, which is effectively what I did, fortunately it was long enough to lose the last 10mm.

                                                #338884
                                                Mark Rand
                                                Participant
                                                  @markrand96270
                                                  Posted by Neil Wyatt on 29/01/2018 07:40:22:

                                                  Internal thread!

                                                  A better approach would have been to thread it with support before turning that outside, which is effectively what I did, fortunately it was long enough to lose the last 10mm.


                                                  Oops, wouldn't have worked very well with a tailstock centre in the way…

                                                  Then you have the problem that aluminium extrusions are never round, so you neeed to turn the outside to use a steady anyway. crying.


                                                  I finally got sorted out trimming the heads of lots of M4 allen screws 25 thou shorter. Then mounted the collet draws I've been mackling up for the HLV.


                                                  Makes it easy to find the right size collets. Also easy to spot which ones have gone missing.

                                                  Edited By Mark Rand on 29/01/2018 16:45:37

                                                  #338927
                                                  Neil Wyatt
                                                  Moderator
                                                    @neilwyatt

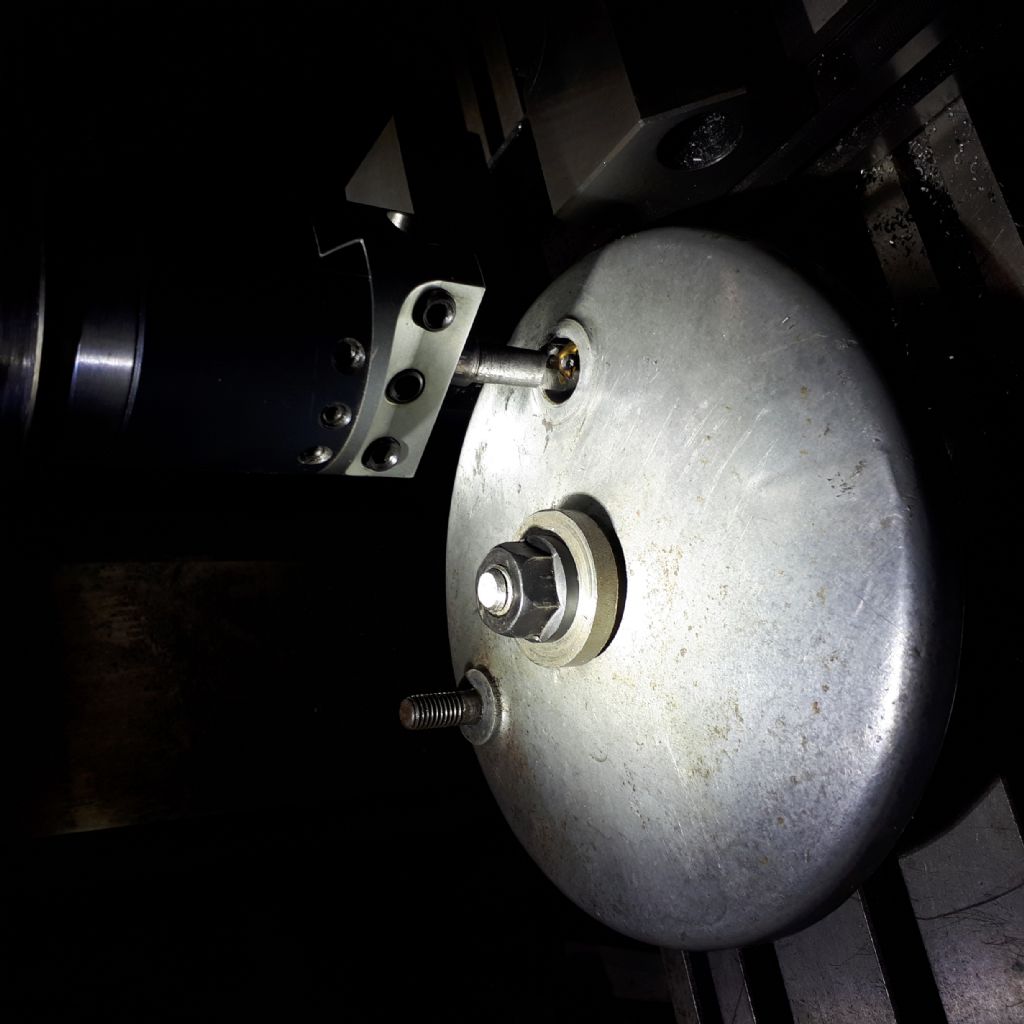
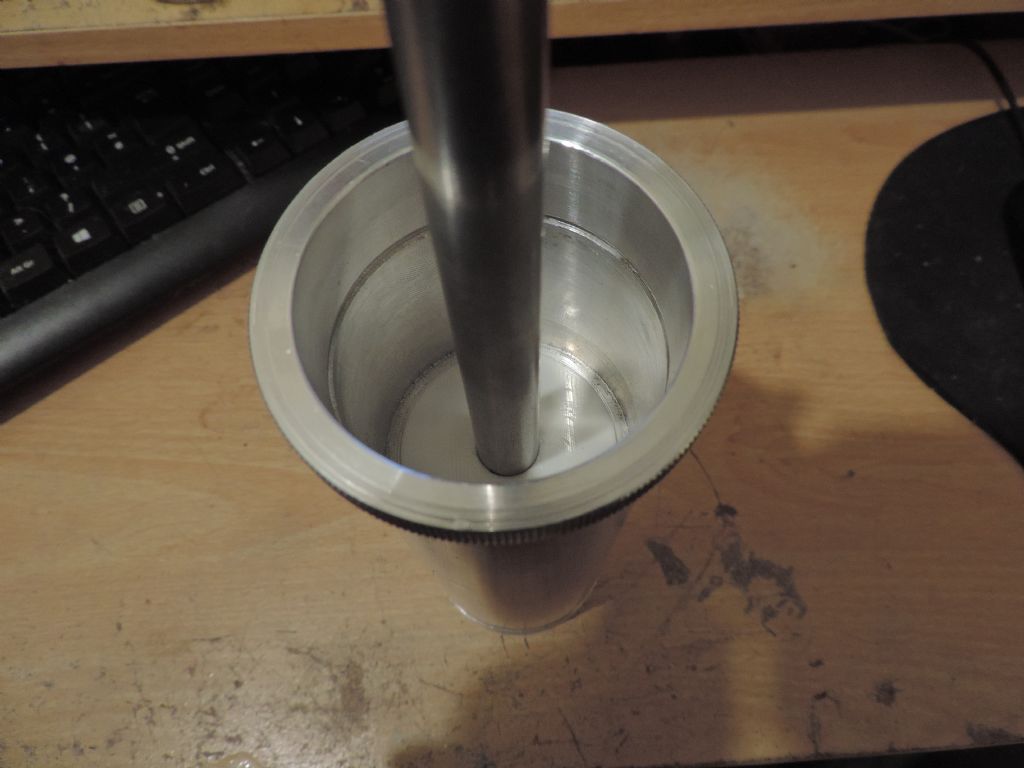
                                                    Special steady to allow me to skim 0.04mm off the inside of my drawtube – I made it too close a fit, it will jam up if I get it anodised as it is.

                                                    Ideal job for 3D printing, but also one where you need to know how much allowance to make. My printer is consistently 0.2mm oversize (or 0.2mm undersize on bores) most of which I put down to the surface texture.

                                                    Neil

                                                    special steady.jpg

                                                    #339197
                                                    Jon Cameron
                                                    Participant
                                                      @joncameron26580

                                                      Faced off my faceplate, the faceplate didn't look as though it had ever been skimmed.

                                                      Before

                                                      20180131_122801.jpg

                                                      During

                                                      20180131_122823.jpg

                                                      And after. Less than 1 thou out over the 7" faceplate. Not bad for a knackered old machine

                                                      20180131_142533.jpg

                                                      20180131_142604.jpg

                                                    Viewing 25 posts - 126 through 150 (of 1,832 total)
                                                    • Please log in to reply to this topic. Registering is free and easy using the links on the menu at the top of this page.

                                                    Advert

                                                    Latest Replies

                                                    Home Forums The Tea Room Topics

                                                    Viewing 25 topics - 1 through 25 (of 25 total)
                                                    Viewing 25 topics - 1 through 25 (of 25 total)

                                                    View full reply list.

                                                    Advert

                                                    Newsletter Sign-up