From a canibalised, abused and uncared-for rusty wreck purchased 18 months ago for £65 I now have a rather elegant and useful OMT microscope. Its been a challenging project at times but always a rewarding one. I only lost one small component, a mirror clip which was easily re-made. I have leant about painting, threads, mechanical and optical construction in the post war years and some interesting industrial history too. Good value for money, I think anyway.
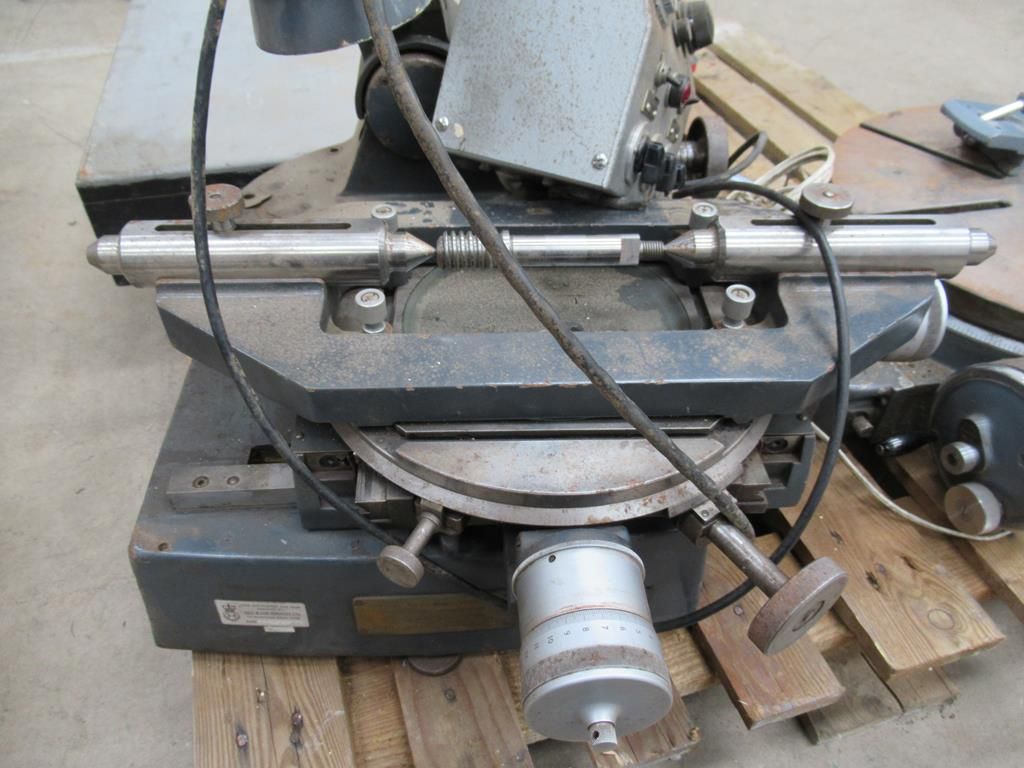
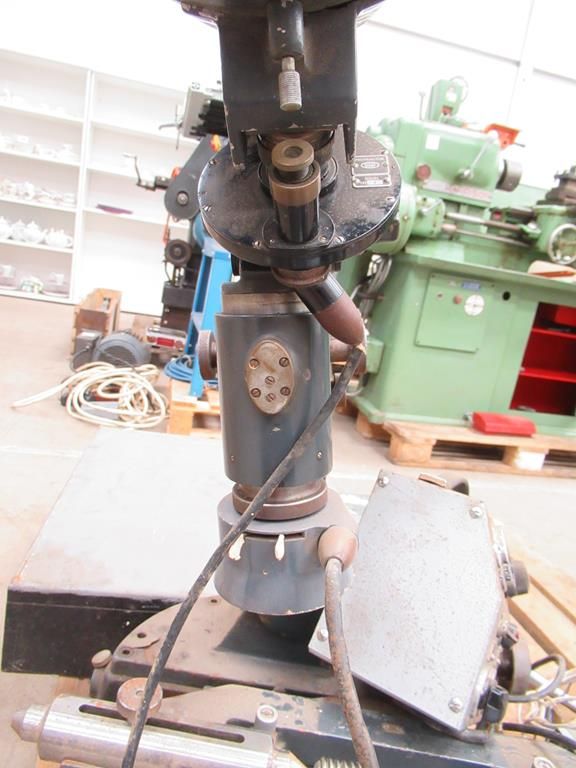
Here's the microscope when I bought it…..


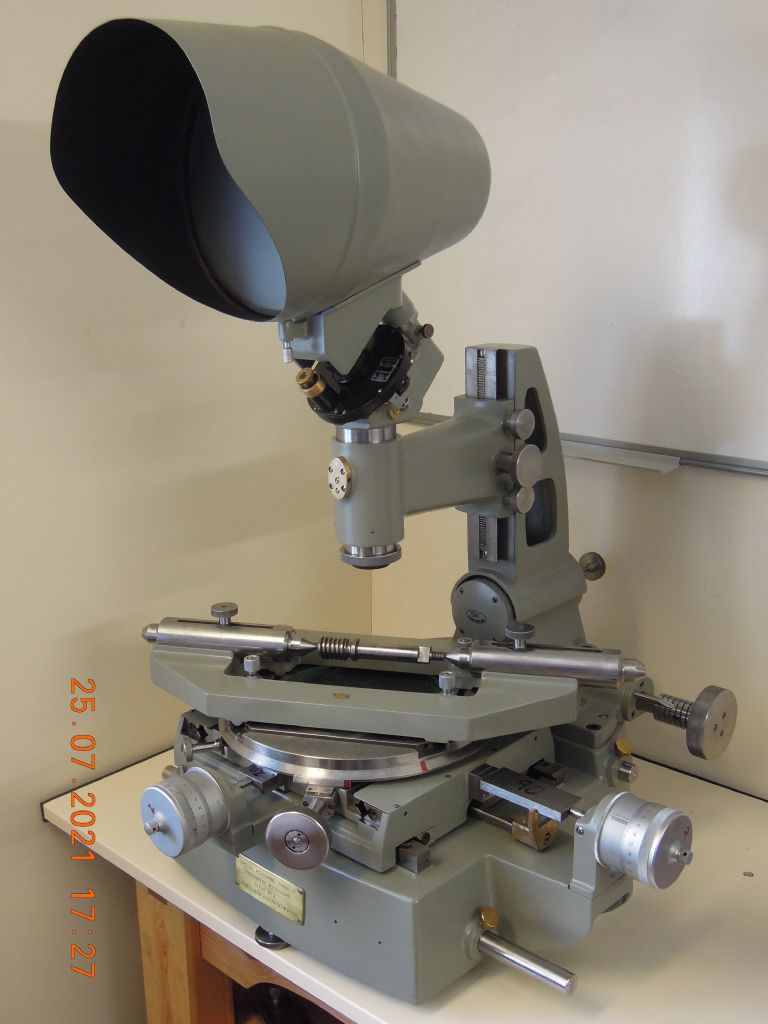
….and now fully operational clean and shiney…..

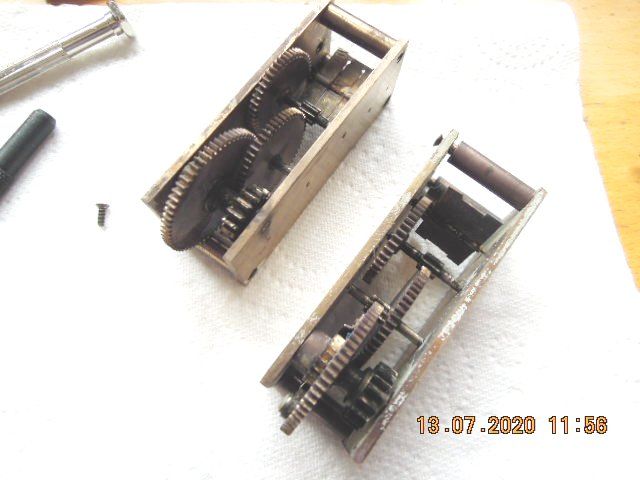
This particular microscope is serial no. 9. Sales literature for this product shows machines with serial numbers in the 20s so this is certainly an early one made in Slough as opposed to Maidenhead where the bulk of production took place. Technically many changes were made in subsequent models and serial numbers go up into the 700s. Whether these changes were made for cost reduction purposes as opposed to enhancement, I'm not sure, but I can only criticise this model in a few ways if I'm honest One feature I really don't like is the clock-work air-brakes to reduce shock loads on the micrometer heads if the spring-loaded slides are released accidentally against them. These things rattle, buzz and chatter regardless of what you do to them.

Later machines I believe had hydraulic dampers which would I'm sure be much smoother and quieter.
I'm not so impressed by the optics quality either. My 1970s elcheapo desk stereo microscope with Japanese optics is much sharper. I won't be too hard on the OMT yet though until I have completed the optics clean-up. Some lenses and mirrors are probably permanently damaged though as they have succumbed to the dreaded glass-etching fungus discussed on here previously.
One component this machine didn't come with was the back-light unit. I need to do some trials and investigate what I might needed here so I may be back to the forum for some guidance on this later.
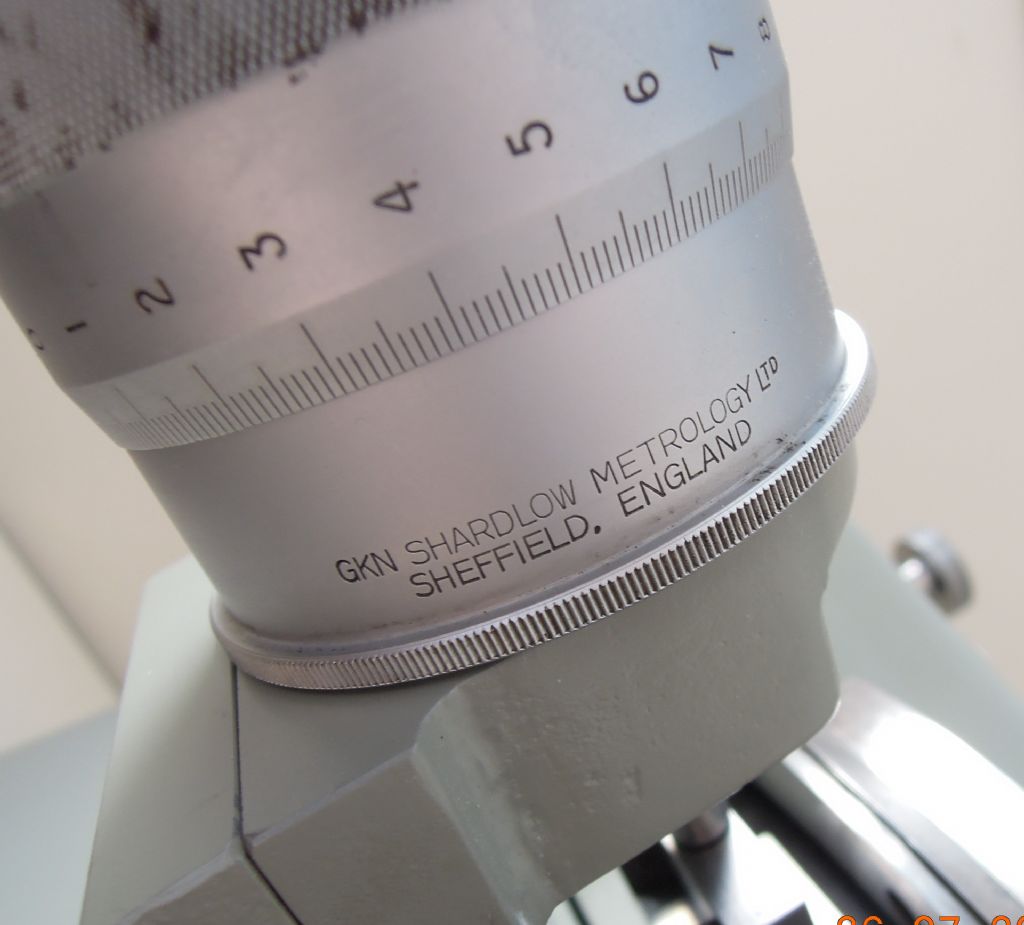
In terms of accuracy I did expect the machine would have lost some of this in its 70 year life due to imperfect ball guide surfaces giving stick-slip, and wear and impact damage to the micrometer heads. But all seems to be ok. Using the opto-mechanical bore measuring probe I have calibrated the X and Y heads in approximate 2mm increments over the 1" travel using slip blocks. Provided I take a mean of five measurements the head figures will never deviate from the slip-block values by more than a couple of microns anywhere along the full scale. In fact when making these precision measurements its always me that's the problem. The micro-heads on the finest circumferential scales can be interpolated to 0.000 03" Unfortunately its the 0.025" increments on the axial scale that keep catching me out. I have to use an eyeglass to be sure which side of the line I'm on. And if these things don't catch me out, the adding up and converting to mm usually does ! You also need to make sure the parts are properly secured to the table too. Its so easy to loose microns here!
Generally this is not a machine to measure with when you are tired or want to do something quickly. But its good fun nevertheless and satisfying to have saved another lovely bit of engineering from the scrapheap.
Gerry
 Michael Gilligan.

