Over the Christmas break I had to take my mini lathe apart. It seemed like a good opportunity to check and adjust the spindle alignment. I chose to use "Rollies Dads Method", as described by John Moran. This requires using a DTI to measure the out of truth of a suitable test bar.
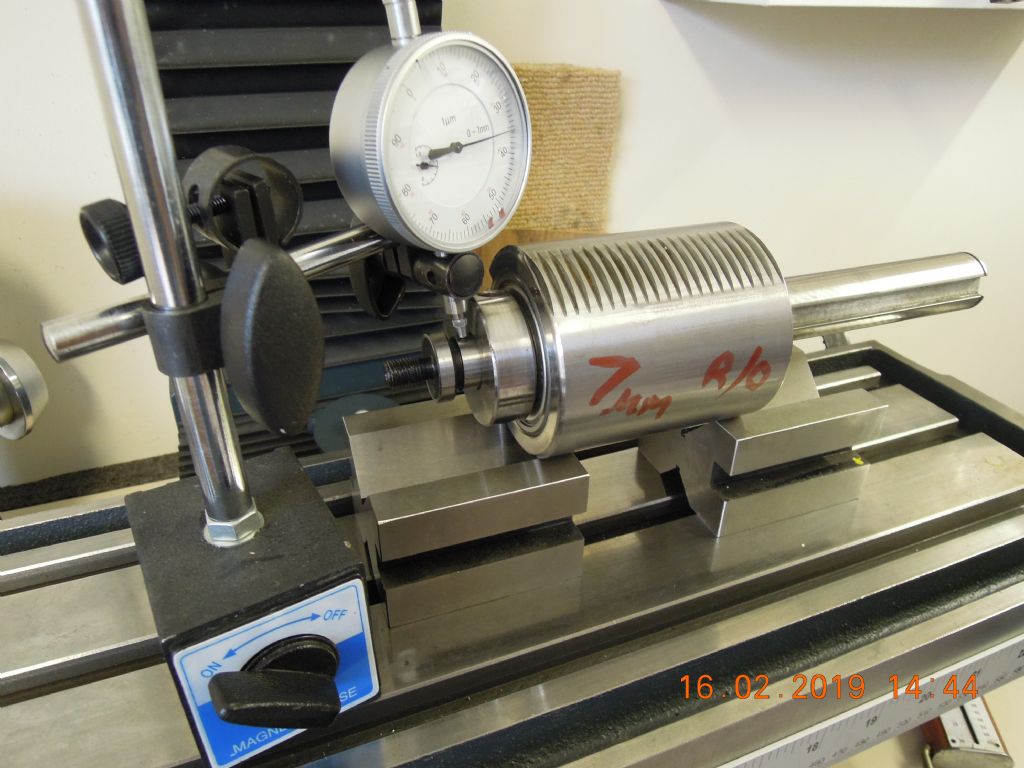
My initial setup used traditional, fair quality (mixture of MW, Mitutoyo, Starret) DTI holders etc. Well what a performance, I was thoroughly confused with conflicting and non repeatable measurements. I came to the conclusion that the problem was flexibility in the DTI holding system.
So I made a special DTI holder, with reamed holes to take the DTIs, mounted on top of the compound slide using the thread which normally secures the toolpost. Both Indicators could be mounted at the same time. What a difference!
No more conflicting measurements, all (well o.k….most) measurements were repeatable, within a very short time I had the out of truth of the spindle down to acceptable limits, approx 0.04mm over 300mm both vertically and horizontally.
The acid test of course was the cutting test, which showed an error of less than 0.01mm (graduations on my best micrometer) over a 100mm test length. The actual error, given the equipment to measure it, would probably be between 0.004 to 0.006mm. Pretty good I reckon for a 12 year old, much used Chinese pre assembled kit!!
All provided by a rigid system!!
Happy New Year
cheers
Bill
gerry madden.


