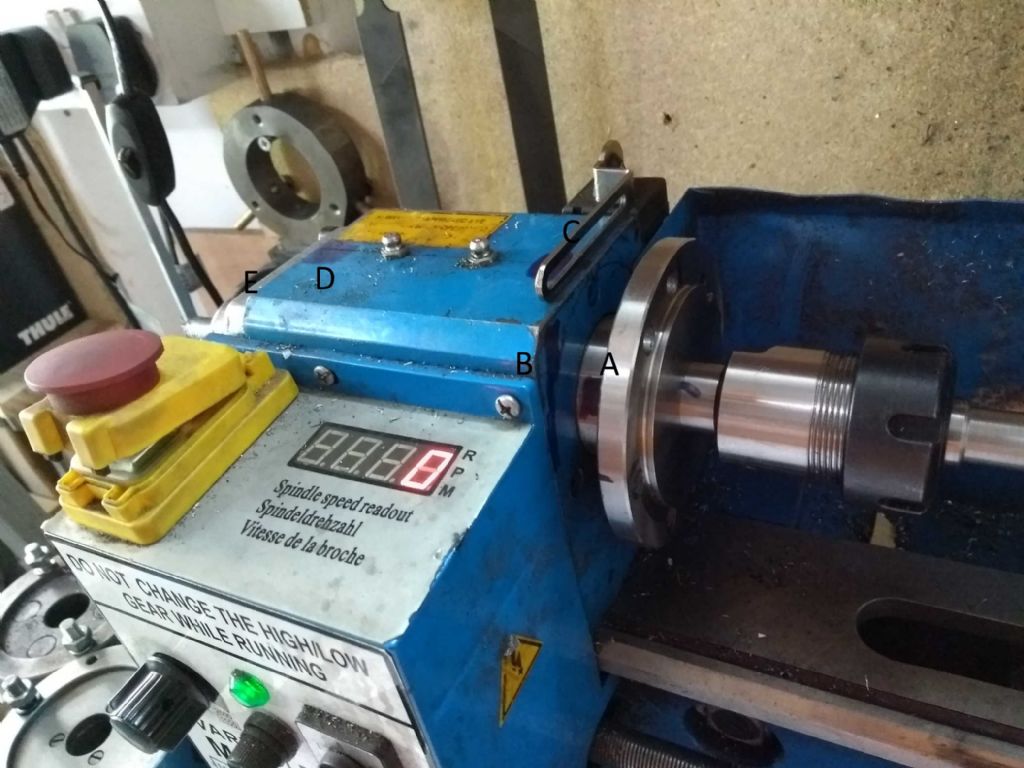
IN another post, I complained of my new (cheap) ER32 collets not being accurate.
The usual good advice was received and I decided to do some measurements.
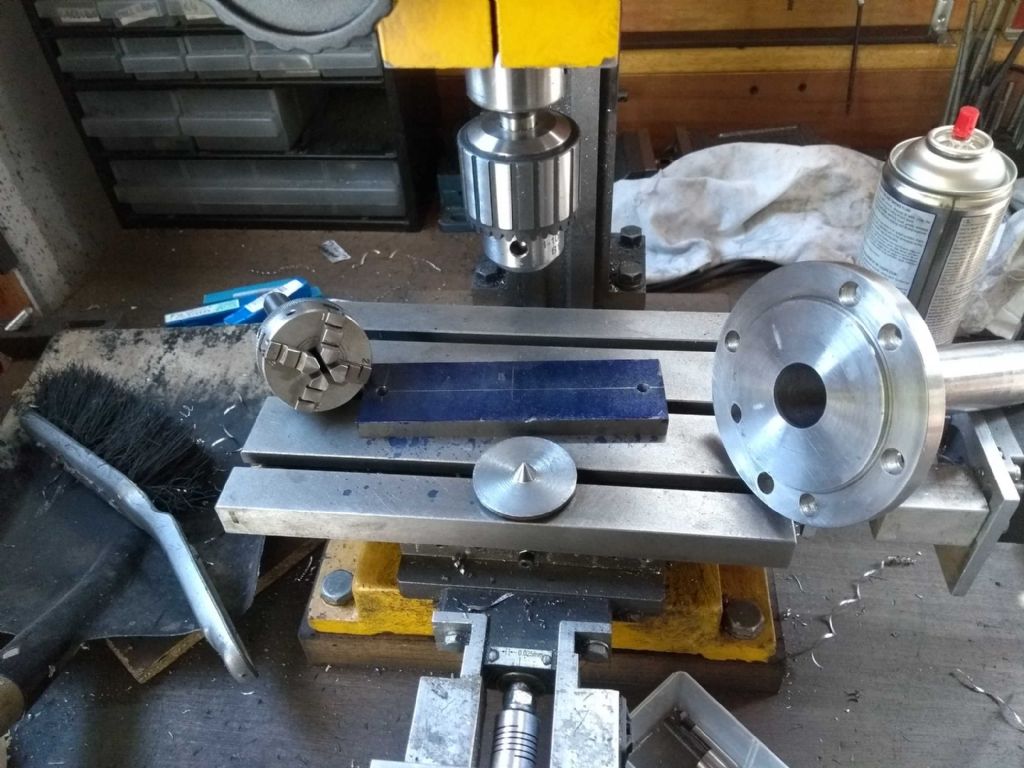
As practice I decided to use my micron indicator with a slide I've made to ensure alignment was spot on.
The original intent of the exercise was to see if I could use the outside of the collets to align the topslide to skim the collet chuck spindle. I've not quite got there, but some interesting results along the way.
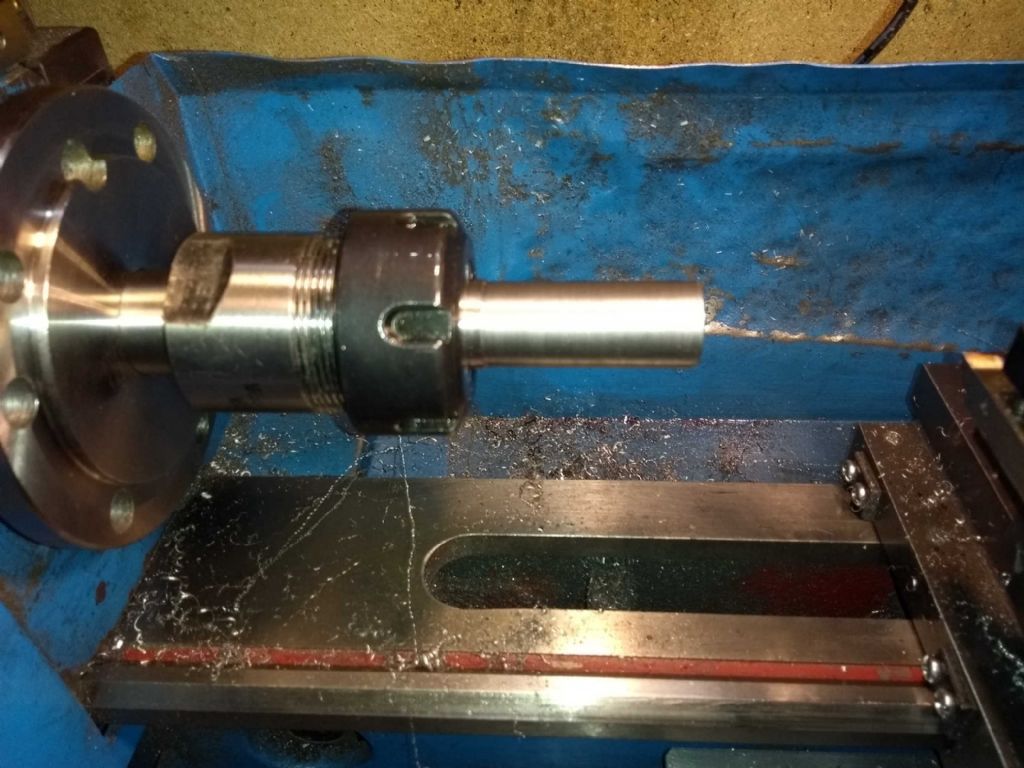
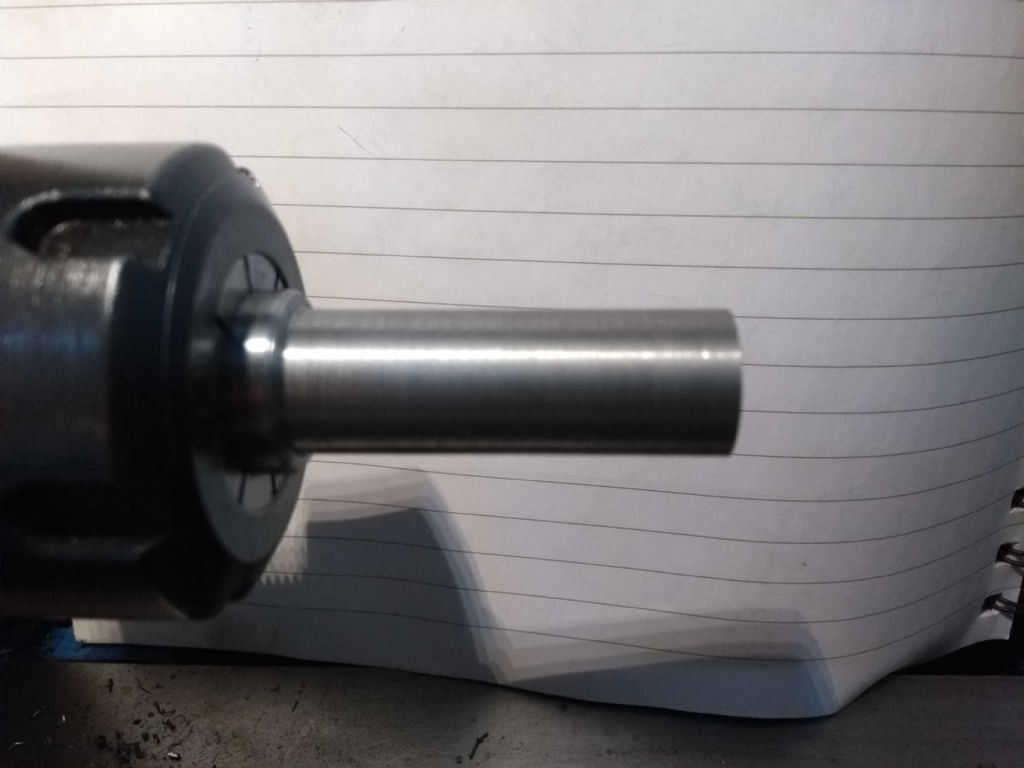
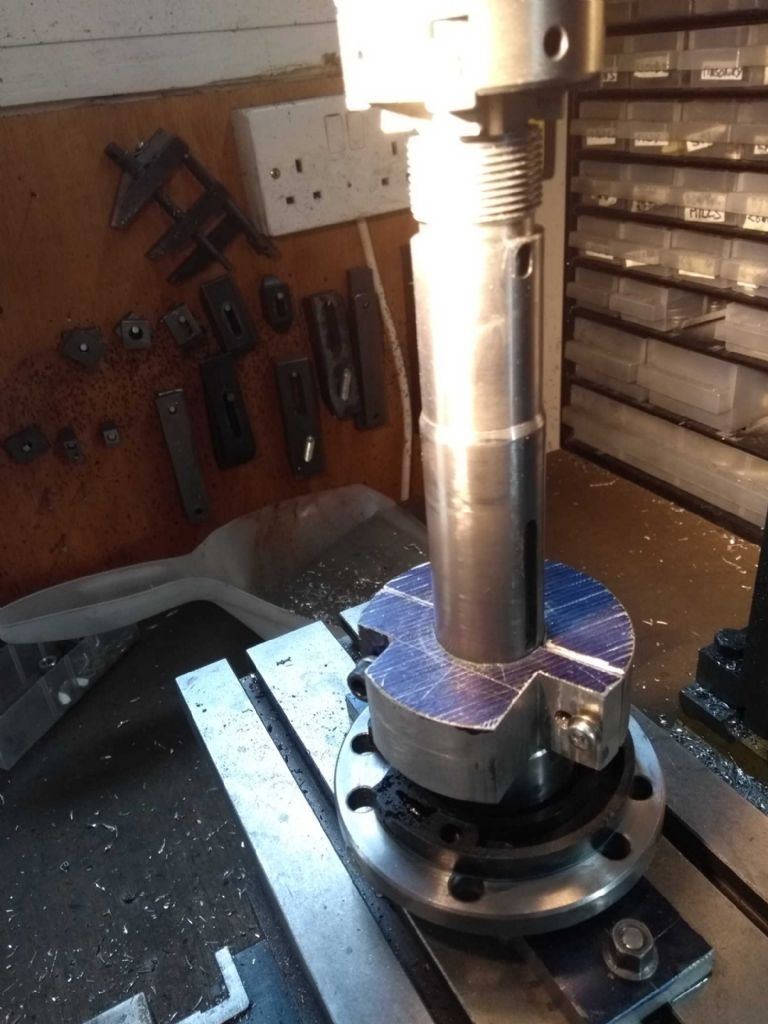
This is the set up with a 20mm silver steel bar mounted in the collet chuck and then turned down to 18mm.

The first thing I checked was the straightness of the bar.
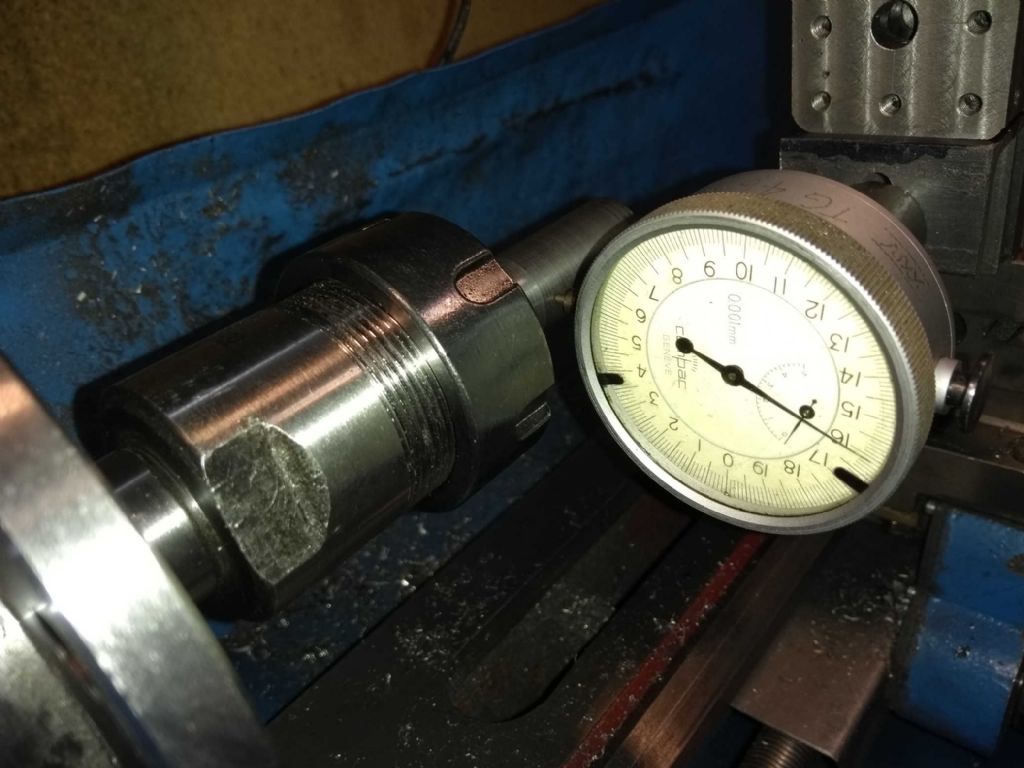
To do this, I set up my indicator and adjusted the height to get the centre of the bar.

This isn't a good photo actually as it shows a cylinder connecting the indicator to the slide. This reduced rigidity and I removed it for the actual measurements.
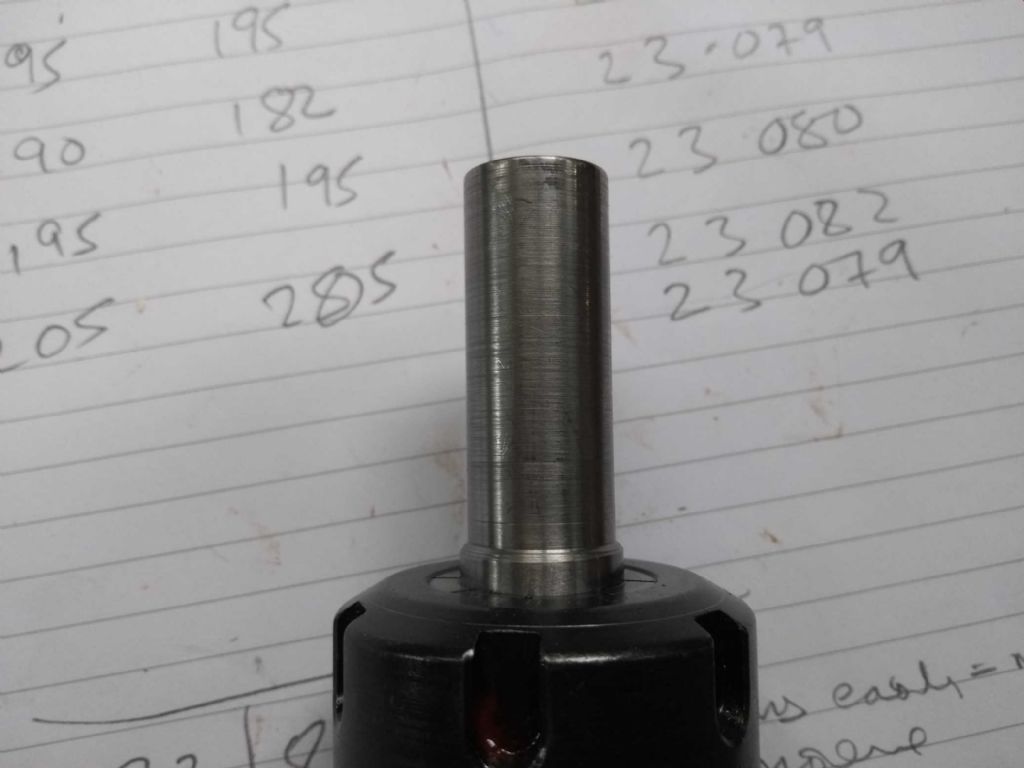
I measured the 'indent' (the depth the indicator was measuring) at 5mm intervals along the bar with the indicator and also took measurements of the diameter with a micron precision digital Micrometer.
Naturally, I took several sets of readings and found them to be surprisingly consistent (3 sets of indents, with a maximum spread of 8 microns, the micrometer was consistent within 2).
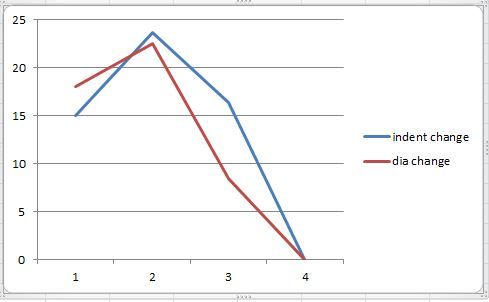
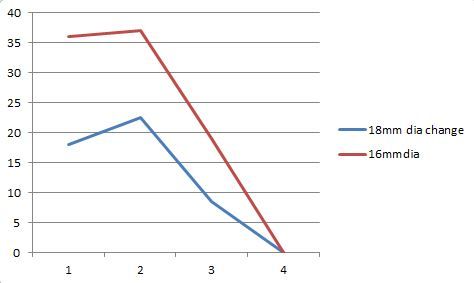
Here is a graph of the delta along the bar (the end of the bar at the start of the graph)

I think that the initial rise is because I took an extra cut on the first section of the bar, but for the rest it shows the bar being narrower near the chuck.
What's less clear is why the indent and the diameter are about the same. I would expect the diameter to have twice the variance of the indent. I have no explanation for this.
The bar was pretty round. Hard to tell how round because the roughness was significant, but to within a few microns (say 5).
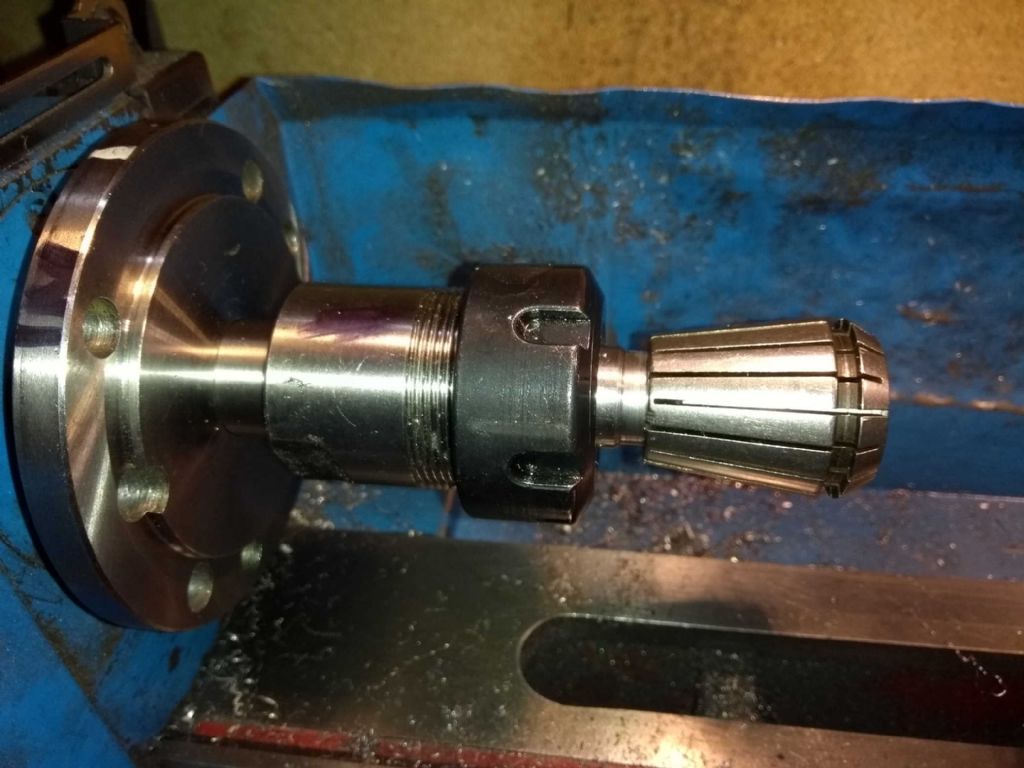
Next I set up the collet and measure the indent between each slit at the inner and outer edge of the taper.

Incidentally, when I took a measurement, I would pull the lever out with the button on the indicator, move the piece and gently allow the lever to touch down. If I wasn't careful, I would move the cross slide which has about 0.1mm of backlash, rather ruining the accuracy!
In this case, pleasingly, the 16th reading was close to the first – within a few microns, so I reckon I wasn't jarring it too much.
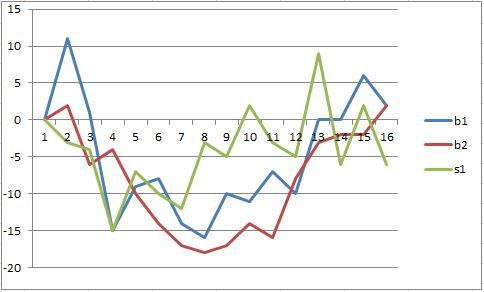
This is a graph of my findings. B1 and B2 were the thick end and S1 the thin end.

Again relative movements in microns.
What this seems to show is that the collet is offset from the centre by something like 15 – 20 microns ( a bit under a thou), but that there is a skew on it – that is the peaks for the thin end don't coincide with the peaks at the thick end. I'd attempted to deburr the collet prior to the measurements.
What I did notice though is that even a small pressure on the bar caused quite a bit of deflection.
I put the indicator near the end of the bar and a luggage weigher next to it. Applying 1kg of force would generate a 20 micron deflection and 2kg around twice that. Beyond 2kg there wasn't much more movement.
This led me to wonder if I've not settled the spindle in correctly. I replaced it a while back with Tapered roller bearings and a great deal of trouble with pressing the bearings into place. They were VERY VERY stiff fits in the headstock.
My thinking is that the deflection could be a cause for the taper on the mandrel. if it was being pushed off by a thou at the far end by the force of the cutter, that would create a taper.
Can any one comment on this? Also, if this is likely to be the case, how can I improve it? I have tried to tighten up the nuts on the back end of the spindle, but they really are tight and I guess I'm afraid to provide too much force.
Finally, I had some good news.
I put in my MT3 test bar which gave pleasingly good results.
I measure the indent (with the micron indicator) at 0, 90, 180, 270, 360 degree angles at 25, 20, 15, 10 and 5 cm from the spindle face.
The maximum variation was about 55 microns (two thou) across the entire set of readings. Naturally this happened at the far end.
As a practical pointer, if you try this at home make sure to tap the test par home with a soft mallet. My original set of readings were depressingly bad because the test bar was loose.
So a slightly floppy spindle. What should I do?
Iain
old mart.


