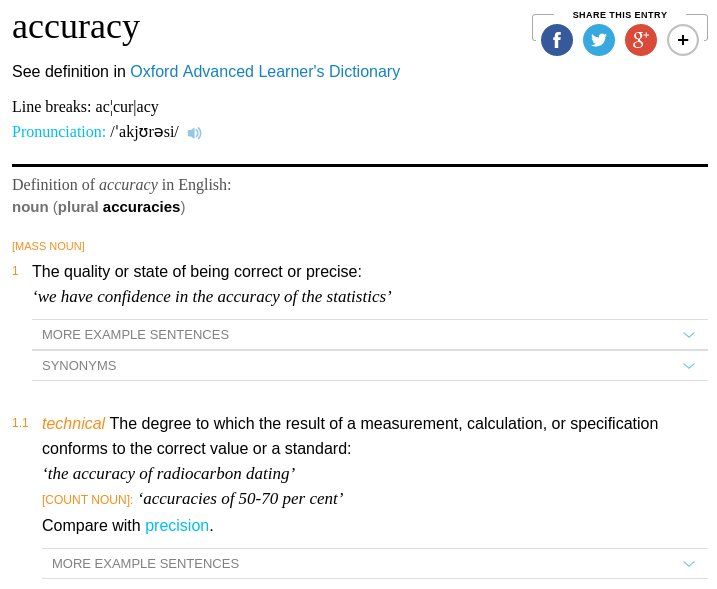
Perhaps what's most useful is thinking what these things mean in terms of ASSESSING and USING our own measuring instruments.
For practical use in the workshop, the most useful property is precision/repeatability. Why? because we usually make parts to fit each other rather a standard we can't measure.
If we use a device as a comparator then is absolute accuracy is irrelevant, all we need is for it to be repeatable and sensitive enough for our purposes.
Where we need accuracy is usually when we either (1) make parts to fit parts we cannot measure directly or (2) we have to measure mating parts with different tools.
Sometimes we can avoid (2) – for example, if making a shaft to fit a hole we can sometimes use a gauge inside the hole and make then measure both gauge and shaft using the same external micrometer. Of course the use of the gauge introduces another step and an another degree of inaccuracy.
The point is also well made that the skill/touch of the user or the mounting of the tool can have a significant impact on the readings obtained.
Other things can have an effect, I once compared two cheap digital calipers, allowing them to warm up and down over more than ten degrees C. One pair kept its reading rock solid, the other changed its reading up and down consistently with temperature (by much more than expansion of the scale could cause).
So a stab at a few practical suggestions, which others may choose to elaborate on/change:
1 – where possible use measurement tools as comparators.
2 – take repeat measurements ('blind' if possible) to get a fair idea of the repeatability/precision of a measuring tool AND the measuring process.
3 – if using two measuring tools, it's worth checking them against each other (e.g. use an inside micrometer between the anvils of an outside micrometer and see how well they agree).
4 – it's worth having a few 'standards' in the workshop. These can be the insulated bars supplied with larger micrometers, but a couple of gauge blocks or even bearings with accurately finished outer diameters. These can be used as a check on tool and technique before making critical measurements where absolute accuracy is important.
5 – Spend a while testing your equipment, ideally by measuring the same object or objects several times with each one. Your most precise and accurate devices should be come apparent rapidly – these may not be the ones you expect. If the ratty looking boot-sale mike turns out to be better than your £150 digital one, then keep it in a safe place!
6 – Be aware of the impact of temperature, especially on digital devices. Try and work at a consistent temperature (remember an industrial gauge room is kept at constant temperature and humidity).
Finally, cleanliness is very important. Just drawing a piece of paper between the anvils of a micrometer can make a big difference to accuracy and repeatability, especially if you are 'chasing tenths'. Keeping the scales of digital calipers clean and dry is vital (unless you have special inductive ones).
Neil
Howard Lewis.


 An approved person has to make the decision. Bit like using a mic really. Some people will get more precise actual real readings from them. The word accurate could also be used.

