Colchester Student Mk1 Won’t Start

Advert

Colchester Student Mk1 Won’t Start

Home Forums Help and Assistance! (Offered or Wanted) Colchester Student Mk1 Won’t Start

Viewing 25 posts - 401 through 425 (of 797 total)
  • Author
    Posts
  • #473733
    Herman van der Merwe
    Participant
      @hermanvandermerwe76509
      Posted by Phil Whitley on 21/05/2020 18:59:40:

      Hi Herman For bed seals I just used 3 O rings that were a good fit on the bolts, but you could easily use 3 leather washers, it is just to stop the coolant running into the cupboard and the electrics box.

      Colour as near as I can see is ICI/ Akzo Nobel dulux 30GY 23/232. I say as near as I can see because when I looked closely at the different areas of lathe , they are a slightly different shade, as some were painted on different days with different amounts of thinners, and some of the areas sprayed over primer look brighter than areas which were sprayed over flatted green paint!

      Phil.

      Thanks for this Phil. I will pass that code on to my paint guy. He should be able to make sense of it.

      Yes, the importance of a solid continuous layer of primer. But again, only you will know it is like that and see it. We will just look at all your other tools!

      Advert
      #473742
      Richard Kirkman 1
      Participant
        @richardkirkman1

        I'll take a clear picture of the spanner tomorrow, but I'd recommend you just design your own. What feels comfortable for me might not be comfortable for you. I'm not going to bother hardening it. It really shouldn't need hardening at all. It's a tight fit and it's not going to be abused. No hole for a chain required as it's going to stay on that nut permanently. I just hated reaching for a spanner every time, so this works best for me

        The lamp works fine now, I think. I didn't turn it on after cleaning the contacts but I can't see it having done any harm.

        Your lamp looks very nice, will you be painting it too?

        #473757
        Herman van der Merwe
        Participant
          @hermanvandermerwe76509
          Posted by Richard Kirkman 1 on 21/05/2020 21:39:31:

          No hole for a chain required as it's going to stay on that nut permanently.

          Your lamp looks very nice, will you be painting it too?

          Had a good chuckle now … yes it will stay there on the nut until the day it comes loose and falls on your foot. And that day will most likely be the one when you do a quick job and only have your slops on.

          I was taught no tools on a machine when it is in use. You get used to not putting a tool in its place after using it and before long you leave the chuck spanner in the chuck. It is the same as sawing on a table top saw and never leaving a squire or ruler on the table … just some good advice from years of making mistakes.

          Maybe I will leave the lamp old … some class you know

          #473761
          Richard Kirkman 1
          Participant
            @richardkirkman1

            I'm glad you find it amusing, I'm adamant it will never come off the nut and land on my foot, it's around the back of the lathe, and it would land in the chip tray. Actually, while I was just using a normal spanner I found myself dropping it into the chip tray quite often. Plus I never use the lathe or go in the garage without my steel toe caps on, so my feet will be fine.

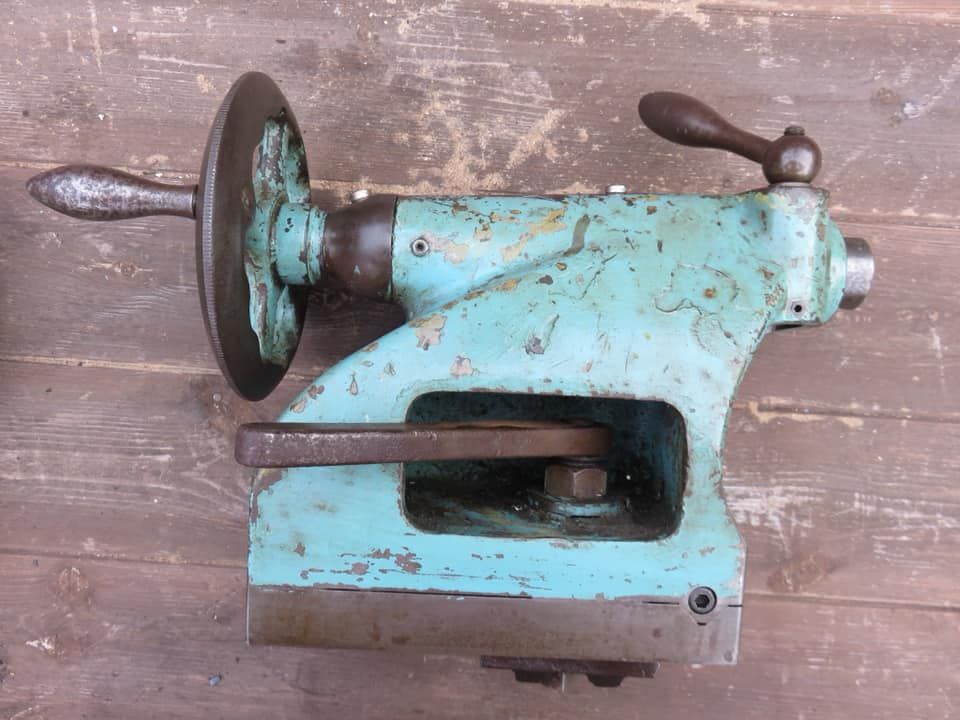
            I understand the rule and I do agree in most cases, however, in my opinion, the spanner is an integral part of the lathe that should never be removed. Looking at what is potentially an original spanner, it will not have been removed. Every other lathe I have used has had just a handle to lock the tailstock. Every model later than this of the students has one too. In fact, that could be an idea to add a sort of cam-operated lever to lock it down instead. It would be a good modification. However, I'm content with my foot smasherlaugh

            57534116_10218402967654504_8714519077722259456_n.jpg

            If I was going to put a new lamp on my lathe, I would have to paint it the same colour to make it match

            #473801
            Herman van der Merwe
            Participant
              @hermanvandermerwe76509

              Richard, we have this wicked sense of humour in South Africa so no offense intended regarding the spanner and your foot!

              Another lesson in life, we all think about something from our own experience and perception. The same in this case. My lathe has the opening on the front where yours is on the back. If I leave the spanner in my tailstock it will drop or get wedged by the carriage.

              You are giving me ideas about the lamp. While I am painting, I can paint it the same colour and I can just as well convert it to LED. Do you have a link to the bulb you decided on?

              #473875
              Richard Kirkman 1
              Participant
                @richardkirkman1

                No offence taken, I understood the joke, I just wanted to assure you that it is perfectly safe.

                Yours is on the front, which I think makes a lot more sense. Hence why reaching around the back of mine every time with a spanner is inconvenient.

                I'd still think a modification can be made to make a permanent handle, like the later models

                capture11111.jpg

                The bulb I used was the one Phil recommended, which I found to be the only supplier of that exact one in the UK. You might struggle in SA. However, it depends on the light and if you're going to run it from a separate plug, or wire it in with transformers as I did. I made mine to run from 12v since that's what the original was. I could have made my life a lot easier by just using a 240v Bulb and not putting in a low voltage transformer, might have been a lot brighter too! If you can't get that specific size of the bulb you can get an adapter so it takes more standard LED sizes. I'm sure Phil talked me through all the options earlier in the thread. I'm sure it's becoming tricky to find things in it now it's so long!

                BULB

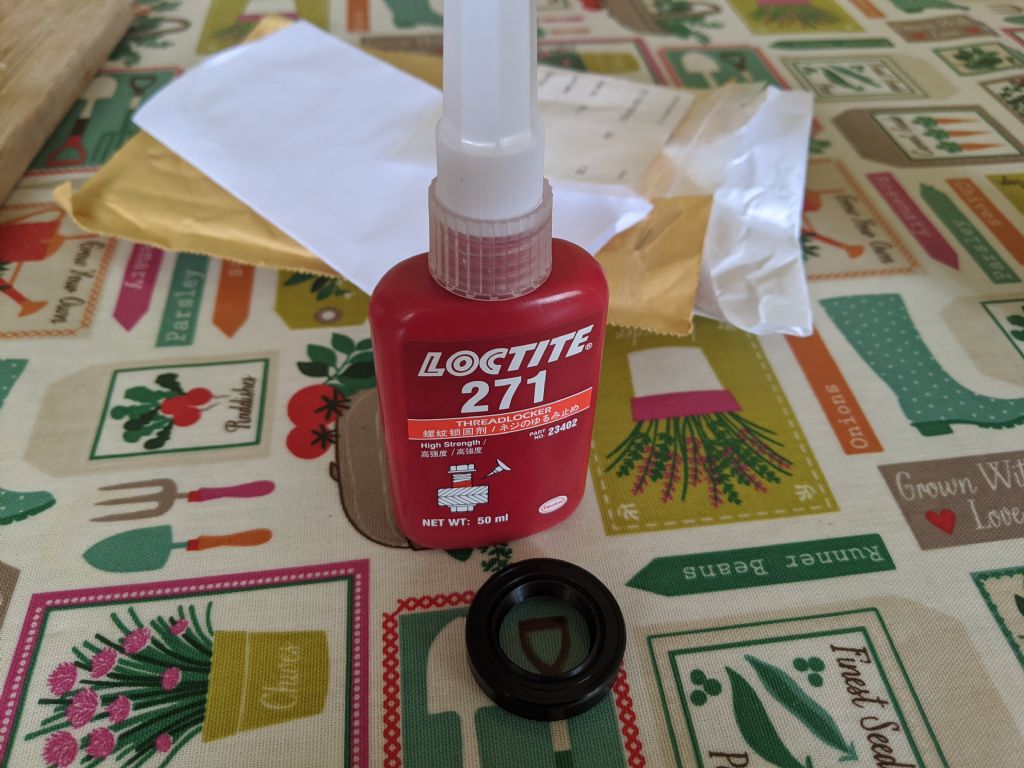
                On another note, Loctite and oil seal arrived this morning, so we will have a working lathe once again, Perhaps even new and improved with the spanner! Still waiting for a nice cheap Chinese boring bar to arrive so I can get on with making some die holders

                img_20200522_111529.jpg

                I didn't realise the Loctite was going to be pink. And it smells a bit like bubblegum? Or perhaps bubblegum smells like Loctitelaugh

                #473960
                Herman van der Merwe
                Participant
                  @hermanvandermerwe76509

                  I see no reason why you cannot make the clamping handle for the tail stock. You can even put the handle to be on the front. Try a lobe setup where you can get some leverage from the handle lobe to the clamp lobe.

                  Thanks for the light detail. I will see what I can get hold of over here and then make my voltage choice.

                  Yeah Loctite has all these weird smells. Some people do not know the number, but the colour and smell for each type required. Give me the yellow one that smells like tulips…

                  Have fun fixing your lathe. Here is where I am at.

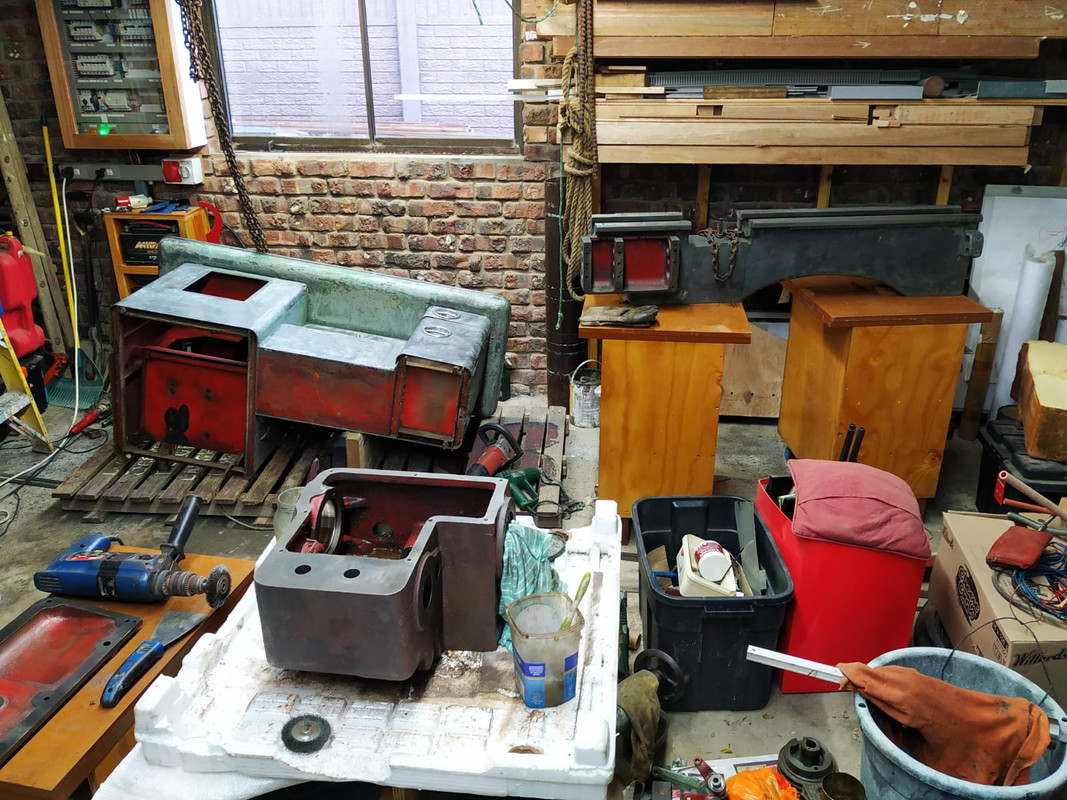
                  The bed is heavy, so I lifted it with the block & tackle and put it down on two of my workbench cabinets with wheels and rolled it to one side. The stand is not heavy at all.

                  Phil I will post pictures of the fees of this stand so that you can see where it should be located.

                  #474021
                  Richard Kirkman 1
                  Participant
                    @richardkirkman1

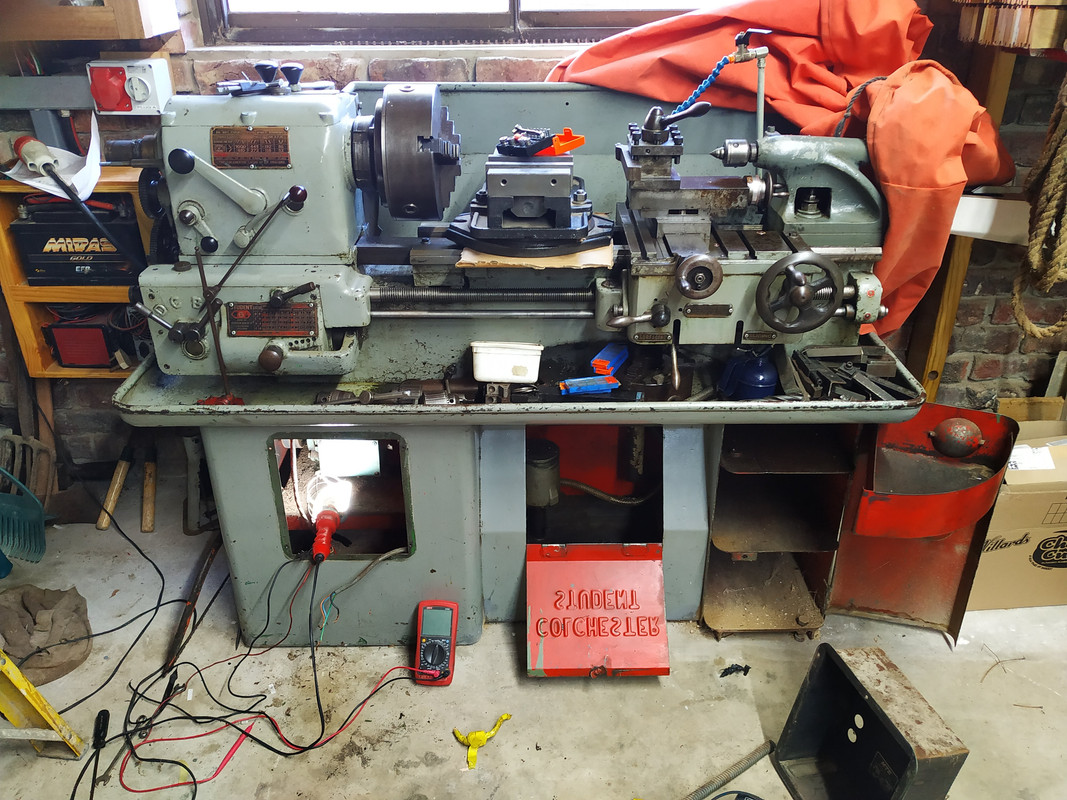
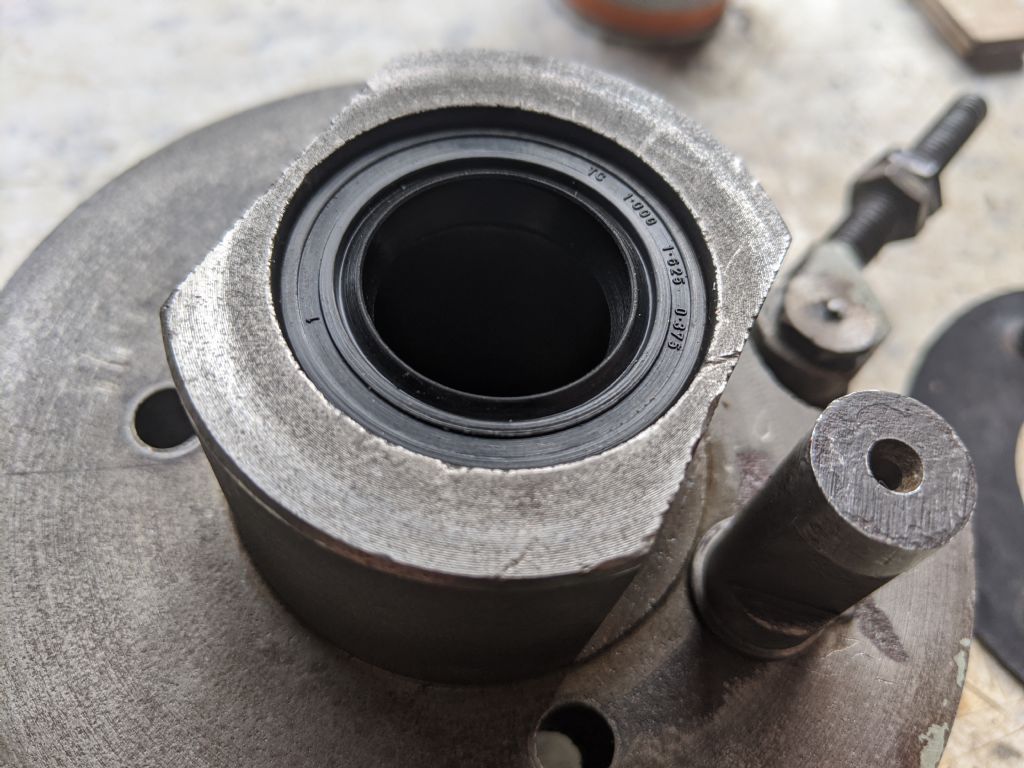
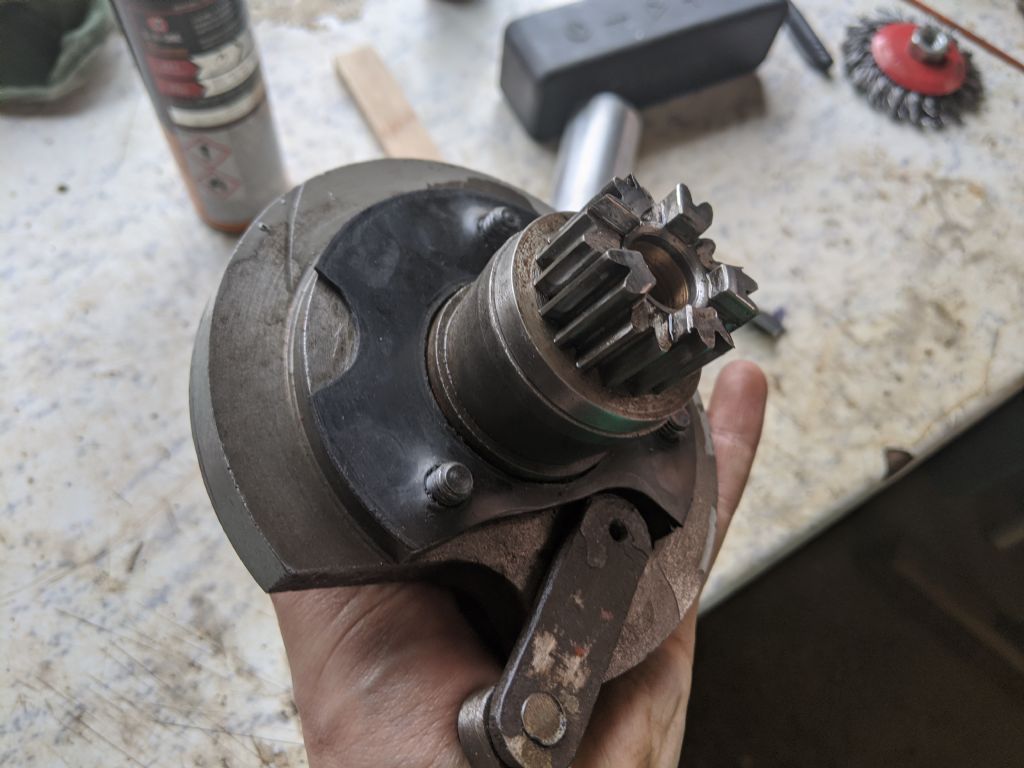
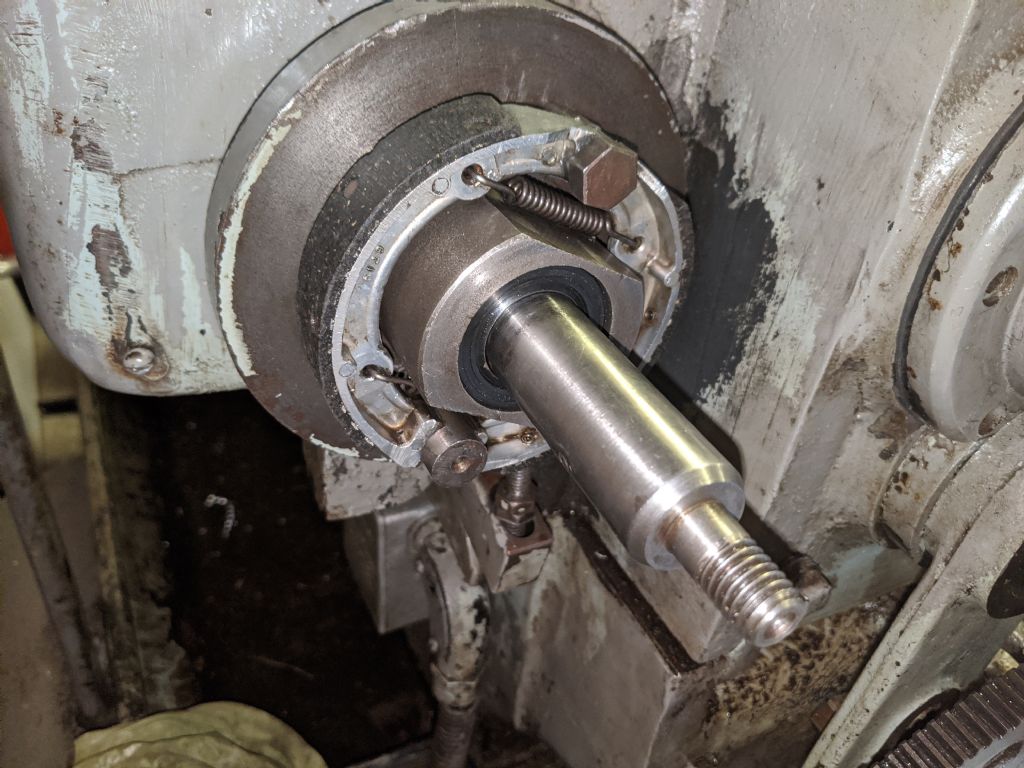
                    Lathe is all back together, loctited, tailstock handled and brake sealed nicely. Only time will tell if the seal is any good. Hopefully no more leaks!

                    img_20200522_123256.jpg

                    img_20200522_123522.jpg

                    img_20200522_125551.jpg

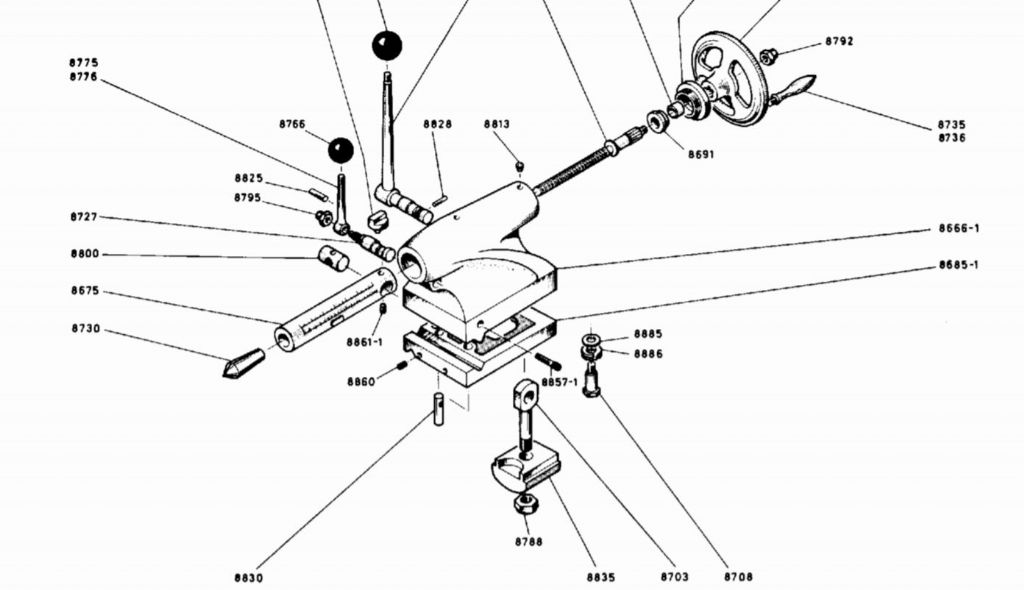
                    Getting the sprung bit back on was an absolute pain, but I managed eventually. May be worth getting the right tool If I plan on doing it again

                    So, all is well, or at least it was until I switched the lathe on. Since the lathe had been in bits when I was testing the bulb, I never tried it with the lathe running.

                    There was power to the lathe, the light was on, the 'off' 'on' 'on with coolant' switch was on 'off', so I turned the switch to 'on' and the light went out. Not a good start.

                    So I had a bit of a play with the brake. It's working much better than before. I'll take it back off in a couple days to see if there's any oil in there again.

                    As I was playing and trying different speeds, the light came on and flickered and did all sorts. It seems to work in some speeds and not at all in others. When I switched it back to 'off' the light did not come back on, so I think there must be a loose connection that is being shaken somewhere. Perhaps my switch is faulty. Or could It be due to the three phase being from a converter?

                    Anyway, here's a couple videos, two of brake and one of the light. Opinions would be very useful. Thanks

                    Brake

                    Without Brake

                    Light video


                    Herman, seeing your forum post on the write-up, I also need some of those button oilers. So I could do with knowing where to get them from too.

                    Also, reading your posts on the 4×4 forum, you're saying the gears are all mild steel. As far as I know, from the video of Colchester lathe company that Phil put in here a while back, the gears all had induction hardened teeth. So it's just the teeth that are hard and the area around them, so the main body of the gear is softer. However, your lathe is a funny one, so who knows. I would recommend flicking through the video 


                    Edited By Richard Kirkman 1 on 22/05/2020 18:54:06

                    #474039
                    Herman van der Merwe
                    Participant
                      @hermanvandermerwe76509

                      Your LED is picking up phase cycling. Sounds like one of the caps in your Phase Converter is on its way out. Put a normal wall plug top on the light's black transformer input lead and plug it into a 230V wall socket. Should burn solid. OK it still pulses but your eye cannot detect the on/off cycles. LEDs are not solid on light sources. LEDs are diodes and will pulse as they chop half the voltage cycle off and uses only the unrectified half.

                      IMHO you have a cascading pulse issue. First Phase Converter -> Isolation Transformer -> LED switch mode transformer -> LED rectification. That is 4 pulse alterations/variations.

                      My solution? Just plug the light into a wall socket and put a 230VAC LED bulb in. They cost like nothing and you can buy them anywhere.

                      I would load test the caps in your Phase Converter.

                      Edited By Herman van der Merwe on 22/05/2020 19:51:49

                      #474042
                      Herman van der Merwe
                      Participant
                        @hermanvandermerwe76509

                        Posted by Richard Kirkman 1 on 22/05/2020 18:50:35:

                        Herman, seeing your forum post on the write-up, I also need some of those button oilers. So I could do with knowing where to get them from too.

                        Also, reading your posts on the 4×4 forum, you're saying the gears are all mild steel. As far as I know, from the video of Colchester lathe company that Phil put in here a while back, the gears all had induction hardened teeth. So it's just the teeth that are hard and the area around them, so the main body of the gear is softer. However, your lathe is a funny one, so who knows. I would recommend flicking through the video

                        Will let you know once I have found a good source.

                        Looking at the state of the gears, I doubt it if these were hardened. A file test shows no hardening on any we tested.

                        #474079
                        Herman van der Merwe
                        Participant
                          @hermanvandermerwe76509

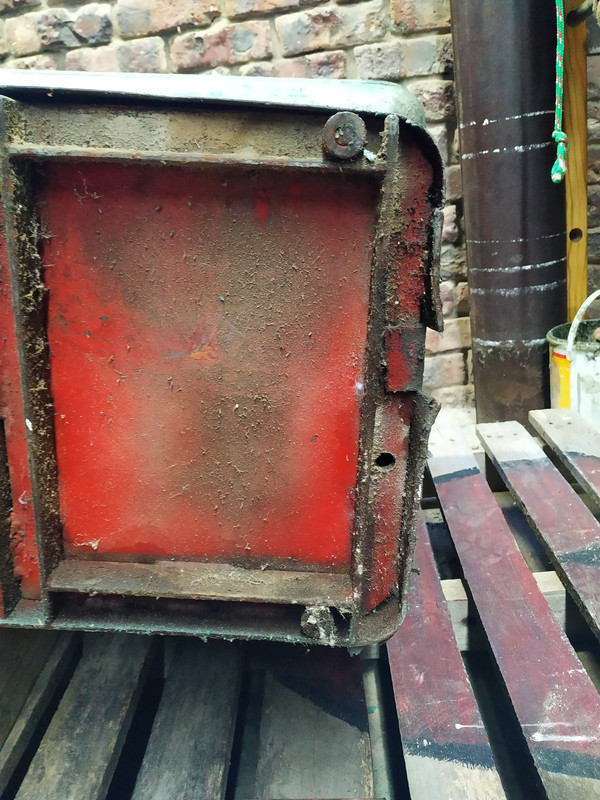
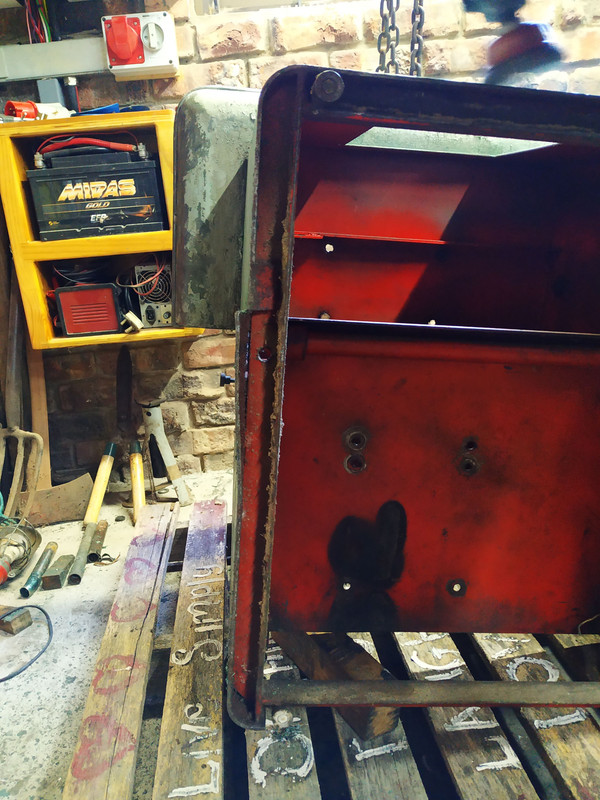
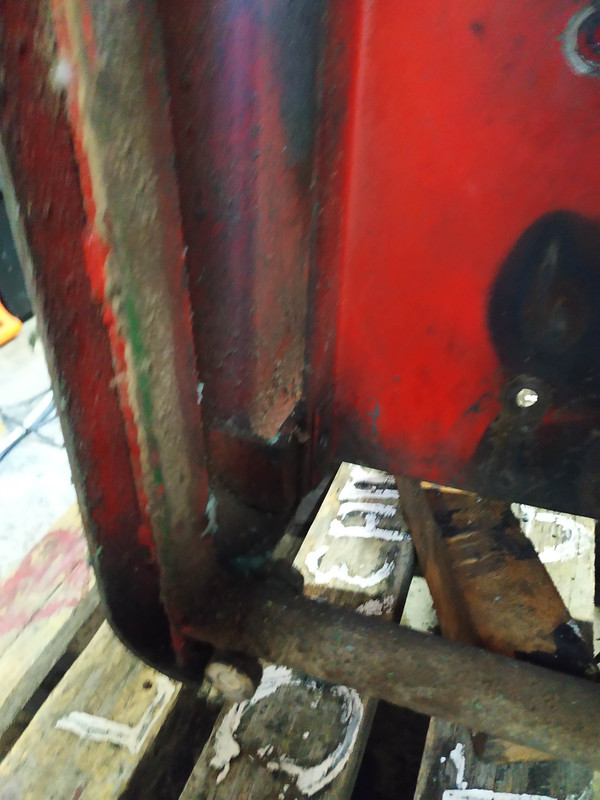
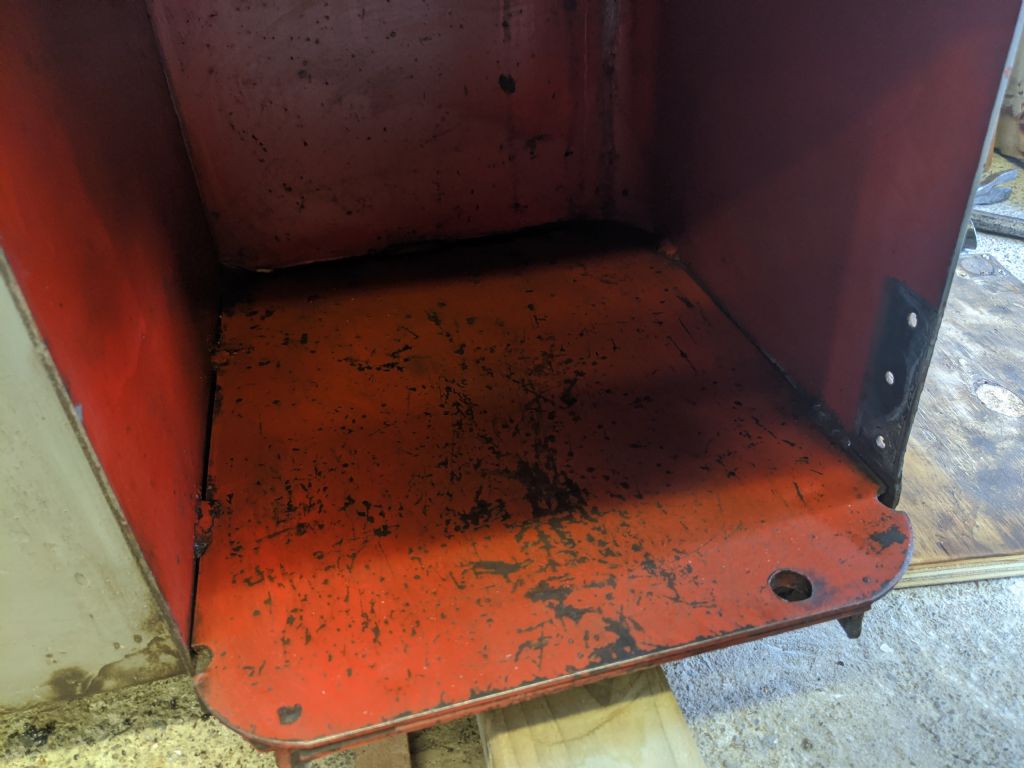
                          Phil, the adjustable feet. Hope it helps!

                          Right hand side. The one in the front fits onto the thick bottom shelf.

                          The left hand side. The back one is difficult to spot so another angle photo of it.

                          #474146
                          Richard Kirkman 1
                          Participant
                            @richardkirkman1

                            Hmm, adjustable feet? That makes me want to look under my lathe. Not quite possible while it's still together. However, I'm sure I had a hole in my lathe where your right foot is

                            img_20200413_162824.jpg

                            I've ordered a capacitance meter so I can check the capacitors in the rotary converter before ordering a new one and finding its not the issue *cough cough Phil*

                            Phil, what are your thoughts on the light issue?

                            And, since you're almost up to date with your jobs, I'll send you over that gasket material next week

                            #474194
                            Herman van der Merwe
                            Participant
                              @hermanvandermerwe76509
                              Posted by Richard Kirkman 1 on 23/05/2020 10:03:29:

                              Hmm, adjustable feet? That makes me want to look under my lathe. Not quite possible while it's still together. However, I'm sure I had a hole in my lathe where your right foot is

                              Make yourself 4 large wedges from 4×2 wood and then use a crowbar to lift the side bit by bit whilst pushing one wedge at either corner in. Stable way of jacking your lathe. Clean the floor while it is in the jacked position and remove all the lost tools, nuts and bolts. wink

                              #474209
                              Herman van der Merwe
                              Participant
                                @hermanvandermerwe76509

                                Question – How old are the caps in the Phase Converter? If more than three years, then they must be replaced.

                                Can you post the values and ratings of these caps?

                                #474212
                                Herman van der Merwe
                                Participant
                                  @hermanvandermerwe76509

                                  I had a look at you photo of the caps.

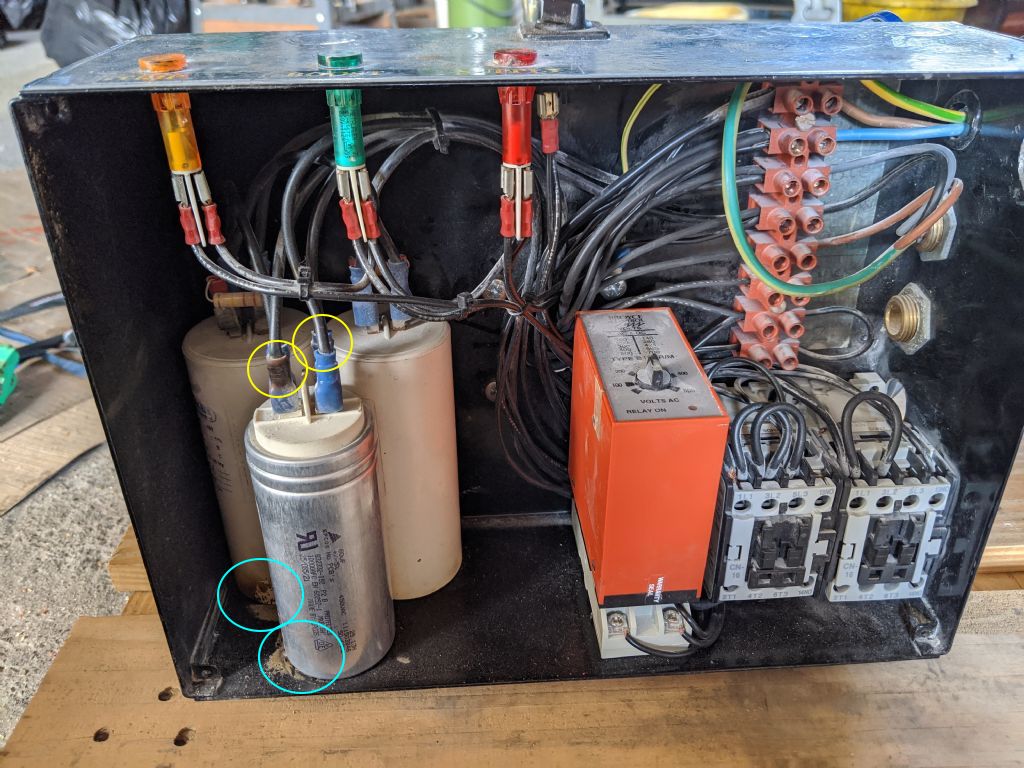
                                  The silver one definitely has overheated as indicated by the two yellow circles.

                                  The back left one leaked and maybe the front silver one as well. See the cyan circles.

                                  Check if those are starting or running caps. The white ones normally are starting caps and they cannot continuously give the rating required.

                                  The contactors are filthy and bridging can occur. You will need to remove these and clean them in an electrical cleaner.

                                  Also, clean and check the monitor relay. What is the existing setting?

                                  I also see a loose wire on T1 on the left contactor.

                                  Heck clean the whole thing. It is really dirty for an electrical system.

                                  Edited By Herman van der Merwe on 23/05/2020 13:44:09

                                  #474254
                                  Phil Whitley
                                  Participant
                                    @philwhitley94135

                                    Hi Richard and Herman! (cough cough) Don't worry! I have hay fever and sinusitis, and the constant draining pruduces a contant cough! When I was a kid my mum used to send me to school with a bottle of Gees linctus, which you can no longer buy, as it contained 16mg of morphine in every 100ml! Talk about happy schooldays!

                                    Richard, I think I concur with Herman, who probably has more experience of artificial three phase systems than I have. The behaviour of the lamp does seem to be caused by a fluctuating power source, you coul;d try it on the mains, and if that is ok then you have confirmed it. Gasket material will be gratefully recieved!

                                    Herman, I think that your lathe has feet where mine has just got holes, I gather they can be adjusted through the apertures in the sides of the cabinet, I will look to see of there are any threads there. I should have upended my cabinet when I had the chance, but I didnt!

                                    Phil

                                    Edited By Phil Whitley on 23/05/2020 16:06:44

                                    #474408
                                    Herman van der Merwe
                                    Participant
                                      @hermanvandermerwe76509
                                      Posted by Phil Whitley on 23/05/2020 16:05:39:

                                      Hi Richard and Herman! (cough cough) Don't worry! I have hay fever and sinusitis, and the constant draining pruduces a contant cough! When I was a kid my mum used to send me to school with a bottle of Gees linctus, which you can no longer buy, as it contained 16mg of morphine in every 100ml! Talk about happy schooldays!

                                      Herman, I think that your lathe has feet where mine has just got holes, I gather they can be adjusted through the apertures in the sides of the cabinet, I will look to see of there are any threads there. I should have upended my cabinet when I had the chance, but I didnt!

                                      I am having the same issue over here @Phil. I normally either flush my sinuses with salt water or steam them over a bowl of hot water with Friar's Balsam and a cloth over my head. Strongs your side as we say over here!

                                      I will take the feet out and post more pictures showing how these work so that you can do the same. I thing the simply adjust with a spanner fitting on the foot. Let's see!

                                      #474409
                                      Redpiperbob
                                      Participant
                                        @redpiperbob16487

                                        My dad had the same problem he swore by useing a pan of boiling onions to clear his nose

                                        Bob

                                        #474558
                                        Phil Whitley
                                        Participant
                                          @philwhitley94135

                                          Yer right bob, the onion vapour does work a treat, and I have also used both of Hermans methods. In the kitchen the other day, I also remembered that it is not a good idea to rinse the seeds out of chillies using hot water!! that made my eyes water! My condition has improved today, and the cough has almost gone, lets see what tomorrow brings.

                                          Phil

                                          #474575
                                          Richard Kirkman 1
                                          Participant
                                            @richardkirkman1

                                            I'll look at the capacitors when the capacitance meter arrives. If they turn out to be bad, I'll message the machinery company that I bought it from, as I might be able to get them to pay for replacement capacitors since I don't think that's acceptable.

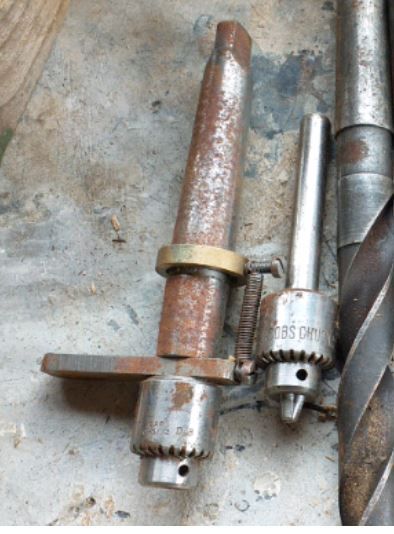
                                            I ordered a large selection of morse taper tooling for my lathe. In the package there was meant to be this micro drilling attachment to allow you to drill small hole with feel so you don't snap your bits. Anyway, long story short, the man mis-sold me and i didn't end up getting them, just the drills. So, I'd like to make one. I've seen oxtools video series on making his own, but this version here looks a lot simpler, however I'm not too sure how it would work. Any ideas? I couldn't find anywhere they're sold, but i'm not sure of the correct terminology to search.

                                            1010101010.jpg

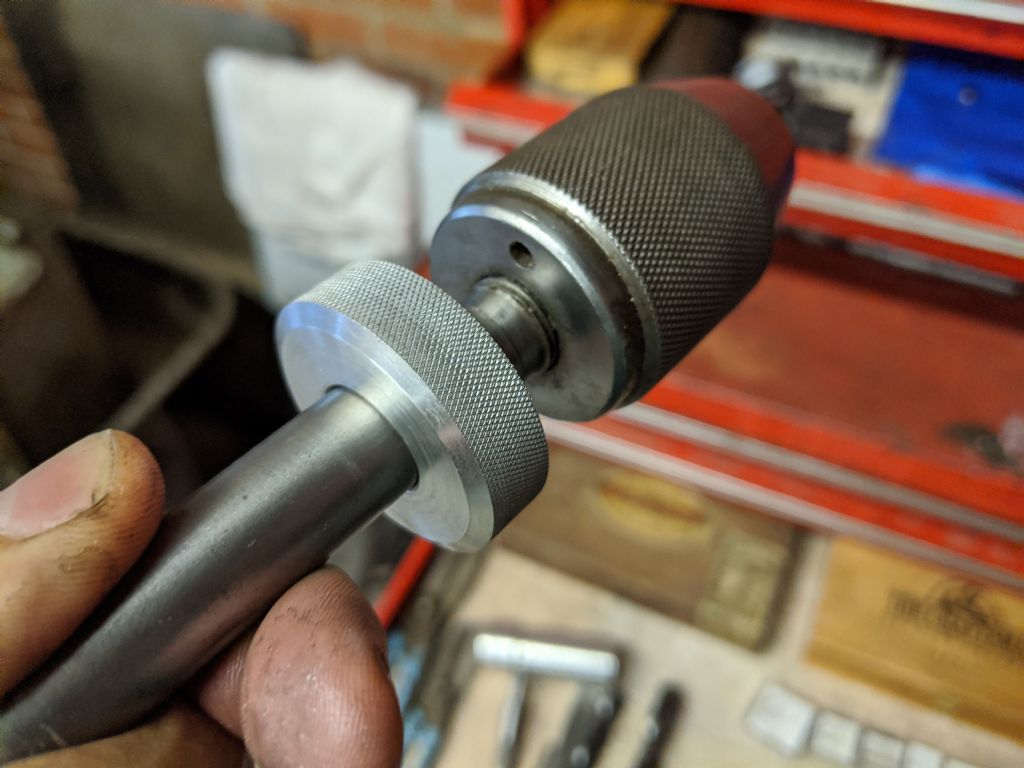
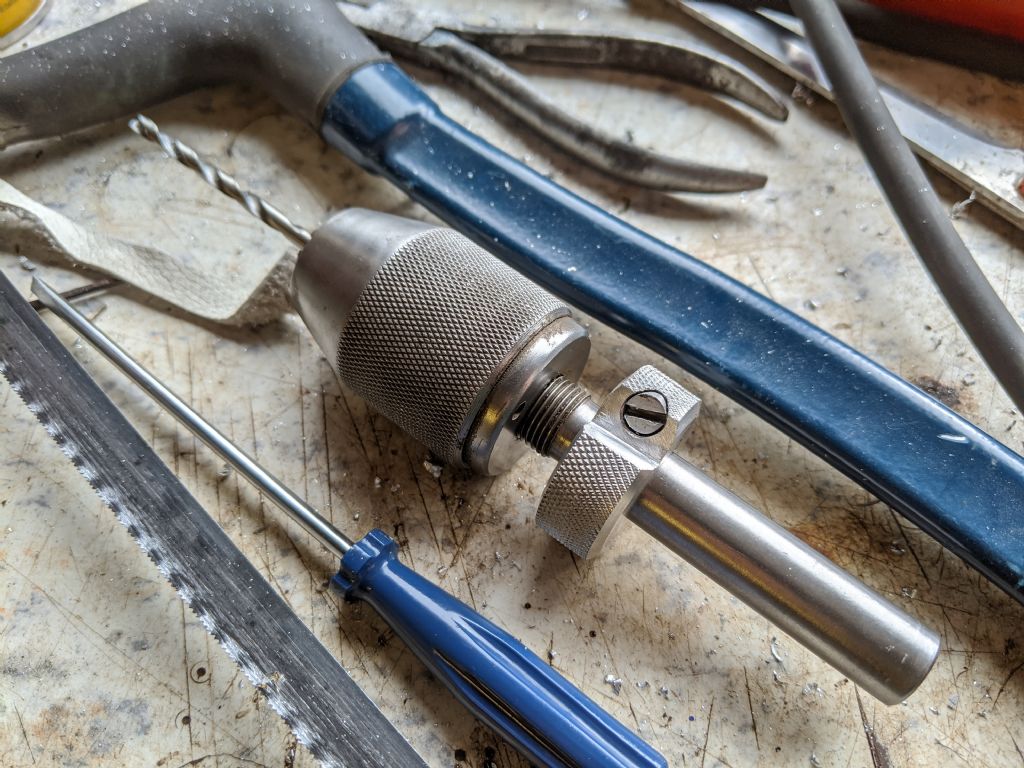
                                            After finding Joe Pieczynski's video and thought I could make a similar thing just from a little chuck I had lying around. So, I made a collar to go on the shaft this morning. Knurling is still very satisfying and I am finding parting off much easier after all of your tips. I can't make any more of the parts since I still don't have a boring bar, chinese post is slow.

                                            But, I even made my own screw. It's just the simple things that feel like big achievementslaugh

                                            img_20200524_115428.jpg

                                            img_20200524_151502.jpg

                                            Then I've been occupied photographing about 20 bowls which I need to sell. And refinishing a table for my aunt.

                                            Anyway, I hope someone can help with the micro drilling mystery. I have an idea, but I'd like to hear others as well.

                                            Thanks

                                            _mg_5716.jpg

                                            _mg_5760.jpg

                                            #474634
                                            Herman van der Merwe
                                            Participant
                                              @hermanvandermerwe76509

                                              @Richard, which capacitance tester did you buy? I do not want you to waste money as it is very simple to test a capacitor with a voltage meter, a stop watch and a battery (or other voltage supply).

                                              Please let me know the details of each capacitor so that I can check for you which is starting and which running caps.

                                              You will have to clean that cabinet and fix the wiring.

                                              Where did you buy the drill bits? I would simply do a charge back if you bought via e-bay or similar. If you paid with PayPal even easier. Just reverse the transaction.

                                              Your work looks good! Wish I could start turning.

                                              #474638
                                              Herman van der Merwe
                                              Participant
                                                @hermanvandermerwe76509

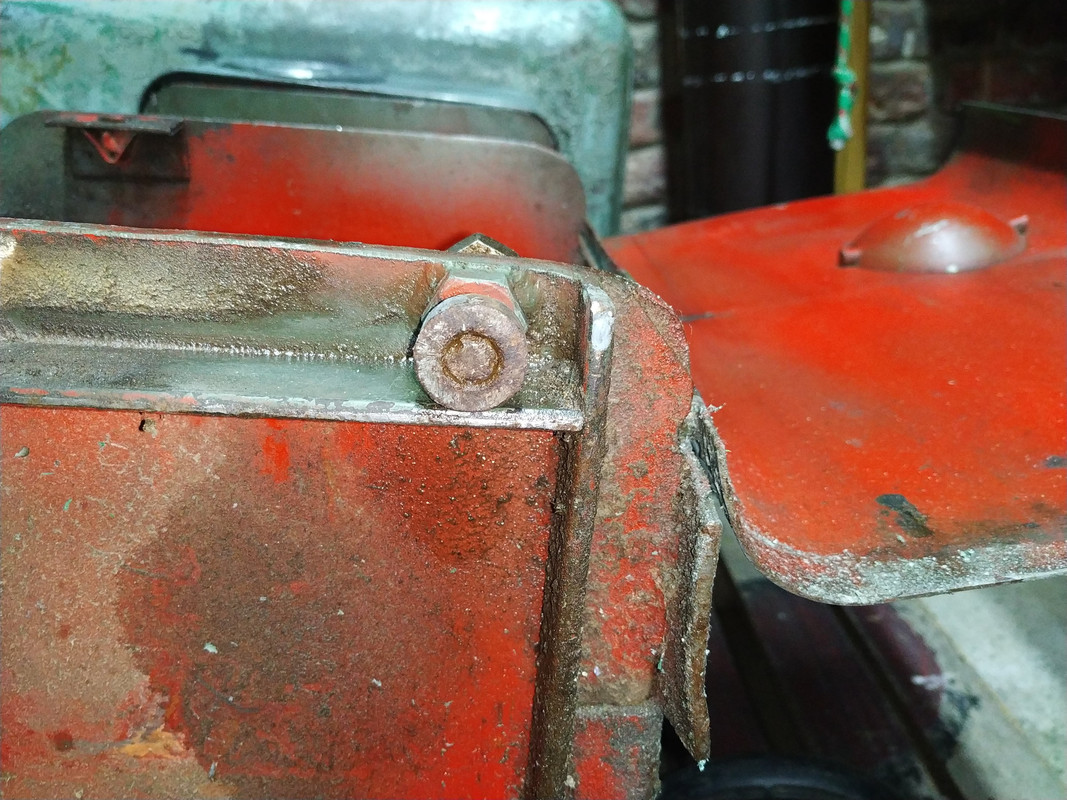
                                                Just a few photos of the feet. The bottom is some kind of bearing that fits onto the bottom of the bolt which was turned down to form a shaft for the bearing to fit onto. Then the end of the bolt was punched so that the bearing remains on the shaft.

                                                The nut is welded to the bottom of the plate and the bolt is threaded through it before fitting the bearing and punching the end.


                                                The diameter of the bolt is a half inch bolt.


                                                Here is a short video of the bearing spinning.

                                                Edited By Herman van der Merwe on 24/05/2020 22:05:27

                                                #474639
                                                Richard Kirkman 1
                                                Participant
                                                  @richardkirkman1

                                                  It was just a cheap £15 capacitance meter. I think it'll come in handy when I need it. I've needed one in the past and had to borrow one, so I'm sure it'll be fine

                                                  Tester

                                                  I'll open the converter up when the capacitance tester gets here

                                                  I will clean the cabinet and fix the wiring. Which issue with wiring are you on about though?

                                                  I bought the drills from Gumtree using Paypal. however I spoke to the man and I persuaded him to give me a partial refund, so that's all sorted. Ended up as quite a decent deal. although I ended up with a few spare drills. I just wanted the attachment, but I suppose making my own is better!

                                                  You'll be turning in no time. And it'll be well worth your effort

                                                  The feet are very interesting. looks like i have the hole for it, but no nut welded on or bearing bolt foot thing

                                                  Edited By Richard Kirkman 1 on 24/05/2020 22:13:30

                                                  #474747
                                                  Herman van der Merwe
                                                  Participant
                                                    @hermanvandermerwe76509
                                                    Posted by Richard Kirkman 1 on 24/05/2020 22:06:45:

                                                    II will clean the cabinet and fix the wiring. Which issue with wiring are you on about though?

                                                    The loose wire on T1 of the LH contactor and the two burnt wires on the caps and then in general just cleaning all the wires and redoing the screwing down of the wires. The terminal screws tend to work themselves loose over time due to heat expansion and cooling down contraction.

                                                    #474749
                                                    Phil Whitley
                                                    Participant
                                                      @philwhitley94135

                                                      Hi both, that is the same capacitance meter that I use Richard, dont forget to short out the capacitors before you test them, any residual charge will blow the meter! Now I have seen the bearings on the feet, I am even more jealous!! Herman has the feet, Richard has the holes where the feet should be, but I don't think I even have the holes, I will check today, photograph, and report back!

                                                      Phil

                                                    Viewing 25 posts - 401 through 425 (of 797 total)
                                                    • Please log in to reply to this topic. Registering is free and easy using the links on the menu at the top of this page.

                                                    Advert

                                                    Latest Replies

                                                    Viewing 25 topics - 1 through 25 (of 25 total)
                                                    Viewing 25 topics - 1 through 25 (of 25 total)

                                                    View full reply list.

                                                    Advert

                                                    Newsletter Sign-up