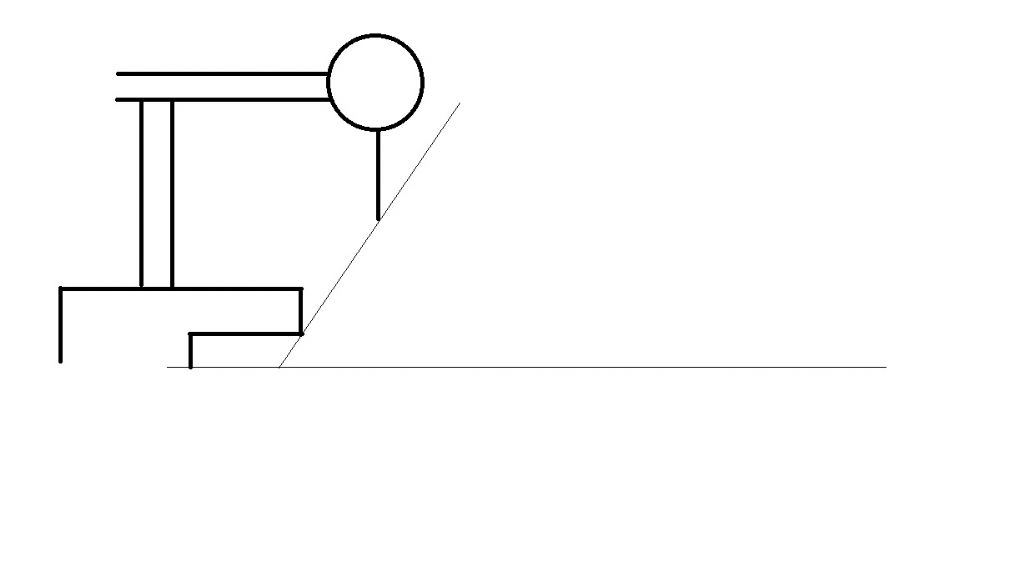
I'm in the process of making an accurate 55 degree prism, partly for the purposes of trimming up my micro mill dovetails, but mainly for the fun of it.
I've got the two surfaces scraped to the point where they are reasonably flat, but nowhere near bearing quality.
Before I put the finishing touches on it I want to get the angle accurate. I have a Lidl angle measuring tool which reckons it's a 0.1 / 0.2 degrees out, but it's quite hard to take an accurate measurement.
to be fair 0.1 degree out is more than adequate for the micro mill, but I'm treating this as an exercise is precision to see what I can overcome my natural hamfistedness.
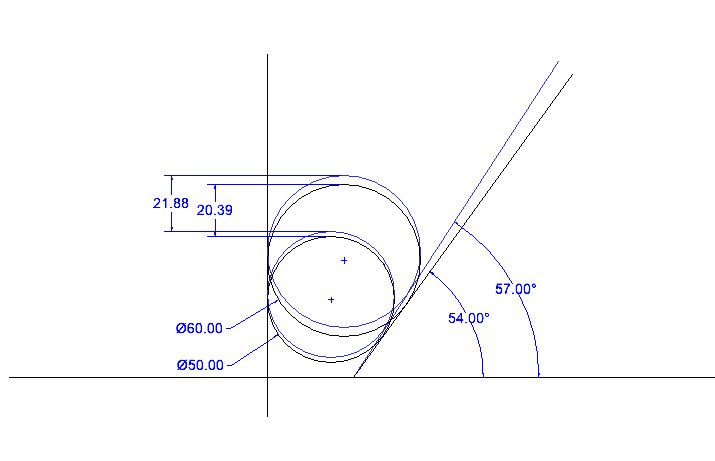
According to my back of an excel spreadsheet calculations, if I take a point 15mm in from the sharp bit, at 55 degrees it should be 21.422mm high. at 54.9 degrees it is .08mm (3 thou) lower and at 54.8 degrees .16mm lower.
Of course the edge is not knife sharp (I've softened it, to stop chipping) and I'm not sure how I would measure from it in any case.
I've found references that tell me how to get a 45 prism spot on (it's a variant of the whitworth 3 plate approach), but I'm not sure how to do other angles.
Thanks
Iain
SteveI.


 !
!

