I agree with gas_mantle, the tests themselves are suspect. (Close tolerance testing is rather difficult!)
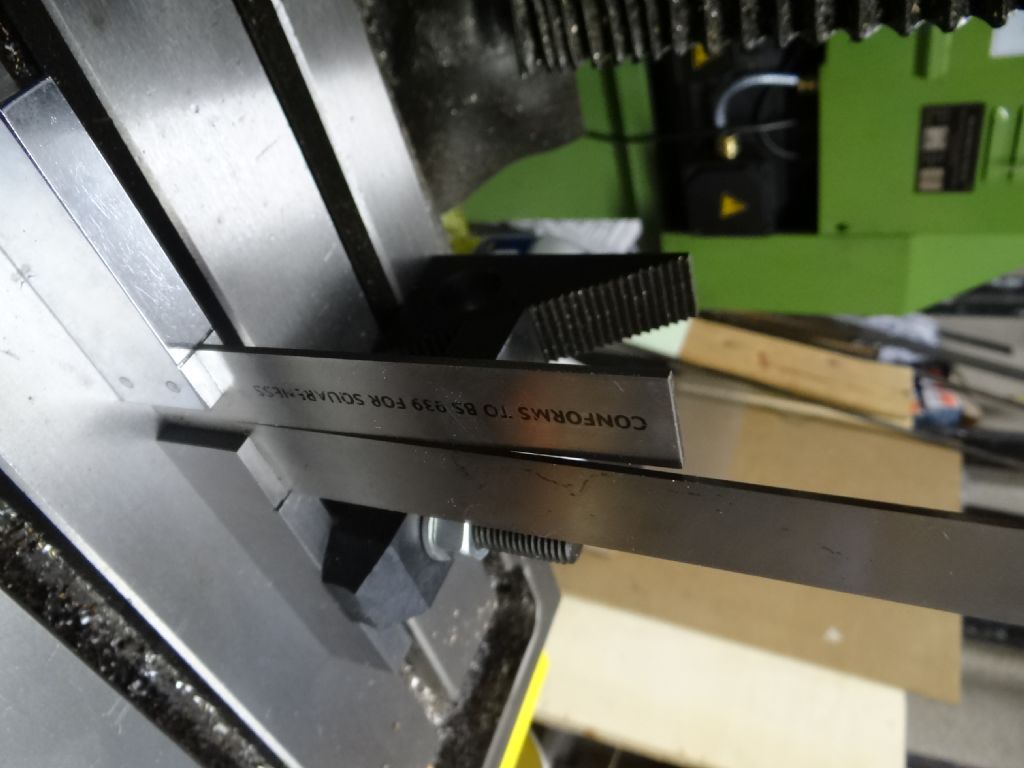
Have a look at this photo. Does it show that my table isn't flat, or does it show that one or both of my set-squares are untrustworthy in the sideways direction? (This might chime with MickB1's comment).

The answer is that my set-squares are only trustworthy in one plane. The one marked 'Conforms to BS939' is particularly bad. Sticking a DTI on the flat-side and running the quill up and down produces errors consistent with the blade leaning and flexing.
The test as performed by STK008 is better – he runs the DTI up and down the safe edge of his set-square, reducing the effect of a bent blade (if he has one), and eliminating any tendency to flex. But there's another issue: when you ramp the quill up and down, there is nothing to stop the quill rotating slightly. Trouble is that a tiny circular movement appears as a big error on the DTI. You can't tell if the error is due to the quill turning, or because it is misaligned in some way.
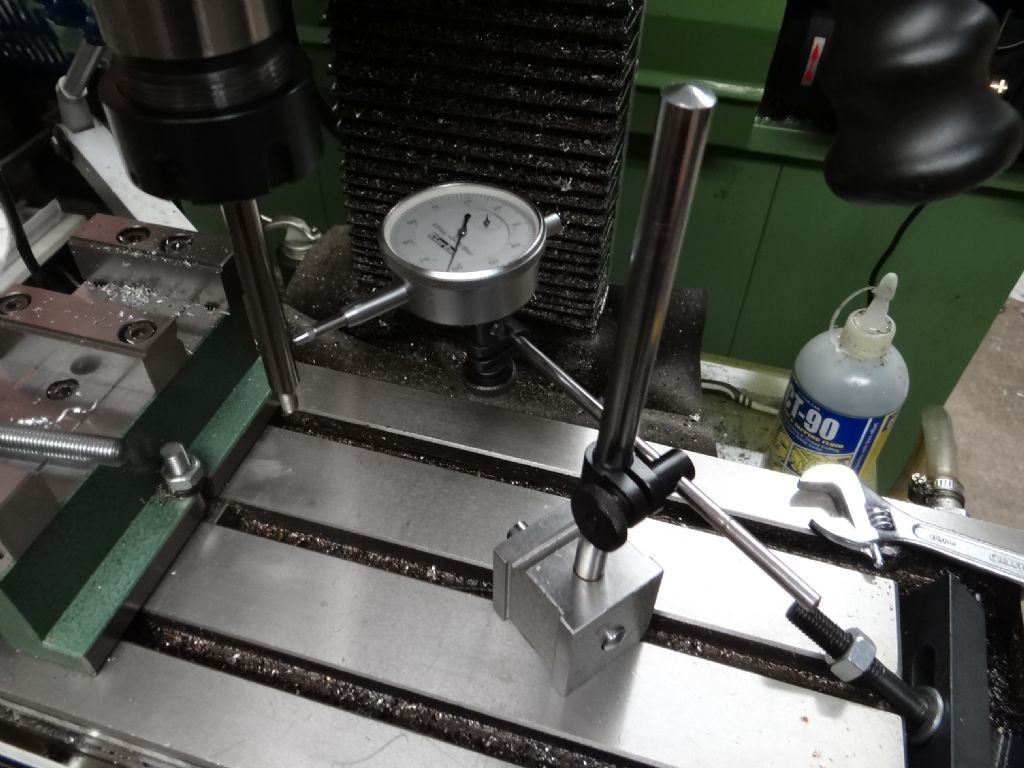
Next photo shows a slightly better set-up. The DTI is fixed and bears against a rod in the collet. This makes my quill look considerably better than when I tested it using STK008's set-square method.

A further improvement is gained when the measurement is taken with the spindle turning. It still bounces about but the effect tends to average out. There are still several sources of error; how straight is my test rod; are the collet and collet chuck in good condition; is the taper clean; why aren't I using the biggest diameter rod I can fit to the machine?
It's possible that STK008 has a faulty mill, I'm certainly not trying to prove otherwise. If it's wrong or you're unhappy, talk to Warco. But I agree with gas_mantle at this stage – I'd give the mill and yourself some practice cutting metal first.
Dave
David Standing 1.


 .
. so either the spindle is on the skew or the head is.


