Silver soldering GLR Kennions Boiler

Advert

Silver soldering GLR Kennions Boiler

Home Forums General Questions Silver soldering GLR Kennions Boiler

Viewing 9 posts - 1 through 9 (of 9 total)
  • Author
    Posts
  • #572265
    Baldric
    Participant
      @baldric

      I purchased the GLR Kennions boiler about 10 years ago, after a rather long pause I am now starting to build it, I have formed the flanges with no issue and I am looking at the sequence for soldering the fire-box. There appear to be several options.

      1. As described in the ME article that came with the kit, solder the tubeplate to the firebox, fit the tubes in the firebox tubeplate, make pallions and solder from above (water side)

      2. As described in another (old) thread by here, as above, tubeplate to firebox, then tubes, but invert the tubes/tubeplate and solder from the fire-side as described by "Fizzy" & others in one of the comments.

      3. Fit the tubes, invert, solder the tubes, then solder the tubeplate to the firebox.

      In all cases I was going to add a ridge to the tubes so that they can not fall through, and look to use the other tubeplate to align the tubes. Heat reflecting blocks & blankets to be used as required. I was going to use 3 rivets (not tightened) to locate the tubeplate in the firebox.

      Using option 3 I would not need a cyclone burner, but if I need one I will get it as I will probably need that in the future.

      Can anyone say which option is best & why? I am sure I will get a few contradictory replies, but if there are reasons at least I can then make an informed decision.

      Also, as silver-solder re-melts at a higher temperature than it first melts at, all items previously soldered will be located with something other than silver-solder & I can use kaolin to protect them, do I need to use a higher temperature solder for the first joints?

      Thanks in advance.

      Mark

      Advert
      #28448
      Baldric
      Participant
        @baldric
        #572278
        Martin Kyte
        Participant
          @martinkyte99762

          Just one comment. Do not forget to silver solder the rivets. They are so easy to overlook (I did) and you only discover the omission once you have complteted the boiler and done an initial leak test.

          regards Martin

          #572280
          HOWARDT
          Participant
            @howardt

            Blondihacks is in the process of building a small vertical boiler, with all the mistakes thrown in, worth a watch.

            #572419
            Keith Hale
            Participant
              @keithhale68713

              Hiya Mark,

              The key to successful silver soldering is capillary flow of the alloy into and through the joint.

              So determine what you need to do.

              Why you have to do it.

              How to do it.

              Then do it.

              This knowledge will also enable you to evaluate any "advice" offered and further enhance your prospects of success.

              Best wishes

              Keith

              #572448
              Weary
              Participant
                @weary

                Mark,

                With your 'option 1.', applying heat from water side it will be difficult to heat the tube-ends and tubeplate in the middle of the 'nest' of tubes as they will be sheltered from the direct flame. The advantage of this approach is that you can check penetration of solder easily from the 'firebox side' after soldering and the finished article is perhaps going to look neater. However, who will look inside your firebox??

                If you prefer this approach you could get-round the issue of heating the tube-ends etc., if you soldered the tubes in stages/groups, soldering and subsequently inspecting those in the middle first and then adding the next layer outwards, etc. making sure at every stage that the flame could easily reach the unsoldered tube-ends. This would of course involve a number of re-heats with the issues around that. As a precaution it may be worth covering those tubes already soldered with flux.


                With your 'option 2.', when applying heat from the firebox side it is far easier to heat the whole end, including the tubes uniformly. There is a risk of 'burning' (overheating) the tube-ends, however, in my opinion this risk is overstated – let's face-it, once you see the solder flow you will remove the heat.


                Your option 3., soldering the firebox sides in a separate operation merely involves cleaning and a re-heat of the job after soldering the tubes to the firebox top. The advantage is that it will be a little easier to heat the tube-ends and firebox end and see what you are doing without the side 'in the way', and subsequent inspection and any additional repair of poor penetration at tube-ends will be easier.  Heating the sides and firebox-top (with tubes attached) should be relatively easy with good flame access to locations needing soldering from the 'outside' of the job/structure. So, easy flame access throughout the job.

                Downside of the separate operation to attach firebox sides is time and gas used in reheat and risk of re-melting some previous soldering of tube-ends to firebox roof. However, a layer of flux around the tube-end soldering should mitigate this eventuality provided that you are sensible.


                For any of your options above you would not need different melting-point solders – unless that is an approach that you prefer, nor any heat protection beyond perhaps a few pieces of scrap metal strategically placed to protect tube-ends etc., from direct flame during reheats.


                Ya pays yer money and takes yer choice. I would (probably – not having seen the boiler in detail) take option 2 as recommended by Fizzy (he has a lot of experience and knows what he is doing!) = heat tube-ends/firebox top from firebox side with (structural) firebox side in position. One heat for whole job.


                Regards & best of luck!

                Phil.

                Edited By Weary on 22/11/2021 11:54:34

                Edited By Weary on 22/11/2021 12:15:56

                #573074
                Baldric
                Participant
                  @baldric

                  Thanks for the replies, especially Phil, very clear with reasons, I will proceed with option 2 or 3, just got some decorating to do first.

                  I will spend some time looking at the Blondihacks videos, for those interested they are **LINK**

                  Looking at these videos has made me consider checking the tube supplied was cut square, if not sort that out sooner rather than later.

                  Mark.

                  #583159
                  Baldric
                  Participant
                    @baldric

                    I have made some progress over the last couple of months, between doing other things.

                    20211119_160637.jpg

                    Plates flanged, using wooden formers.

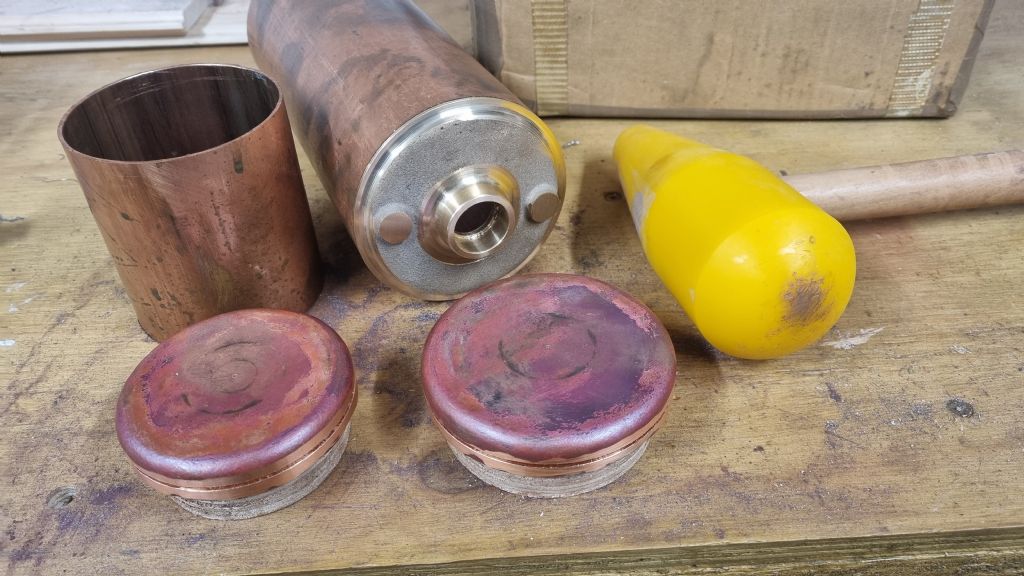
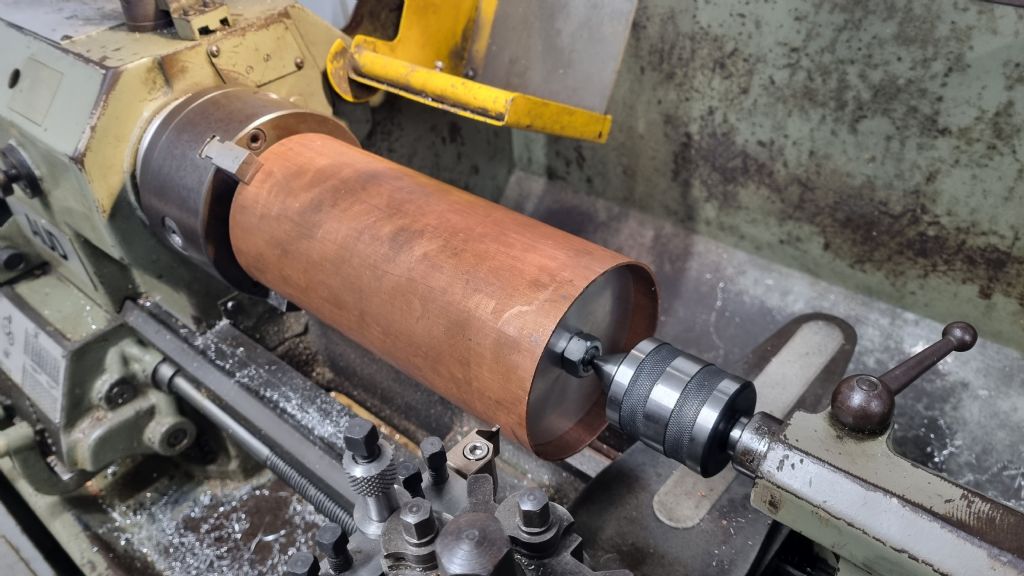
                    The outer shell & firebox were fitted on to aluminium end-caps on studding, with one end in the 3-jaw chuck, the other end supported with a centre, the ends turned.

                    20211230_112226.jpg

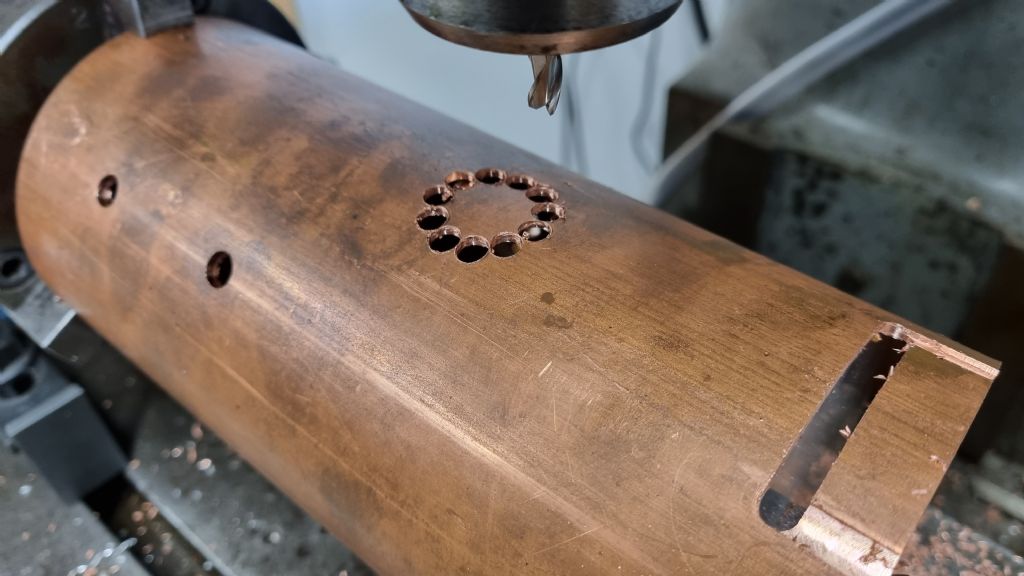
                    The same setup was used on the mill with a dividing head to put all the holes in.

                    20211231_122125.jpg

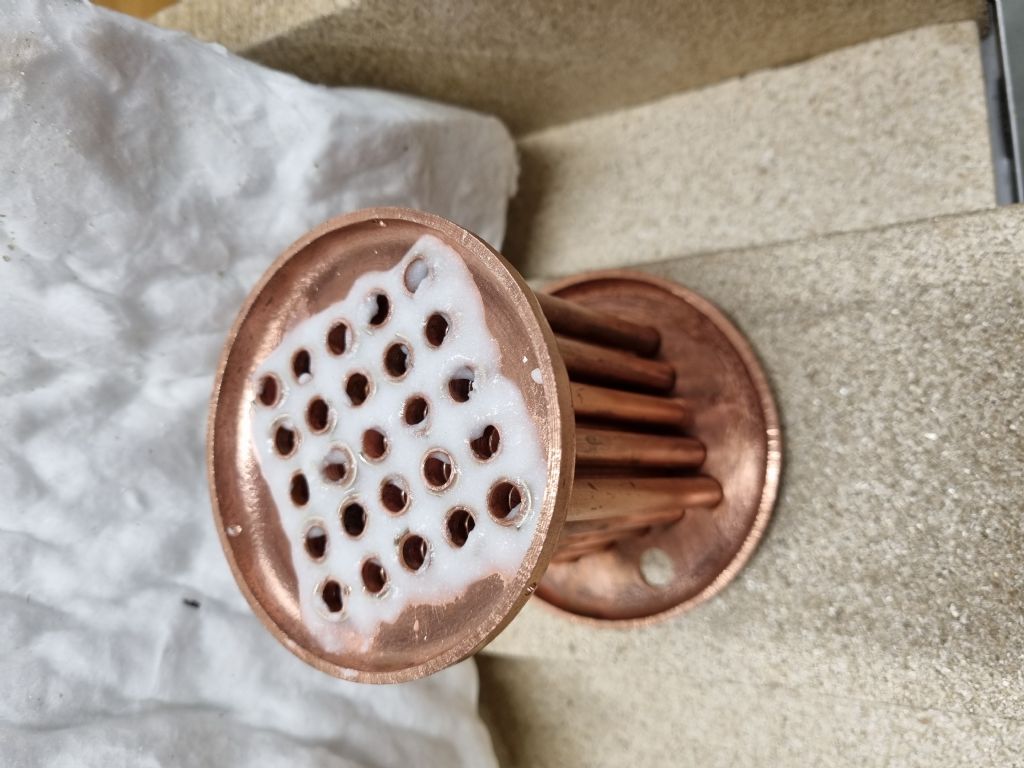
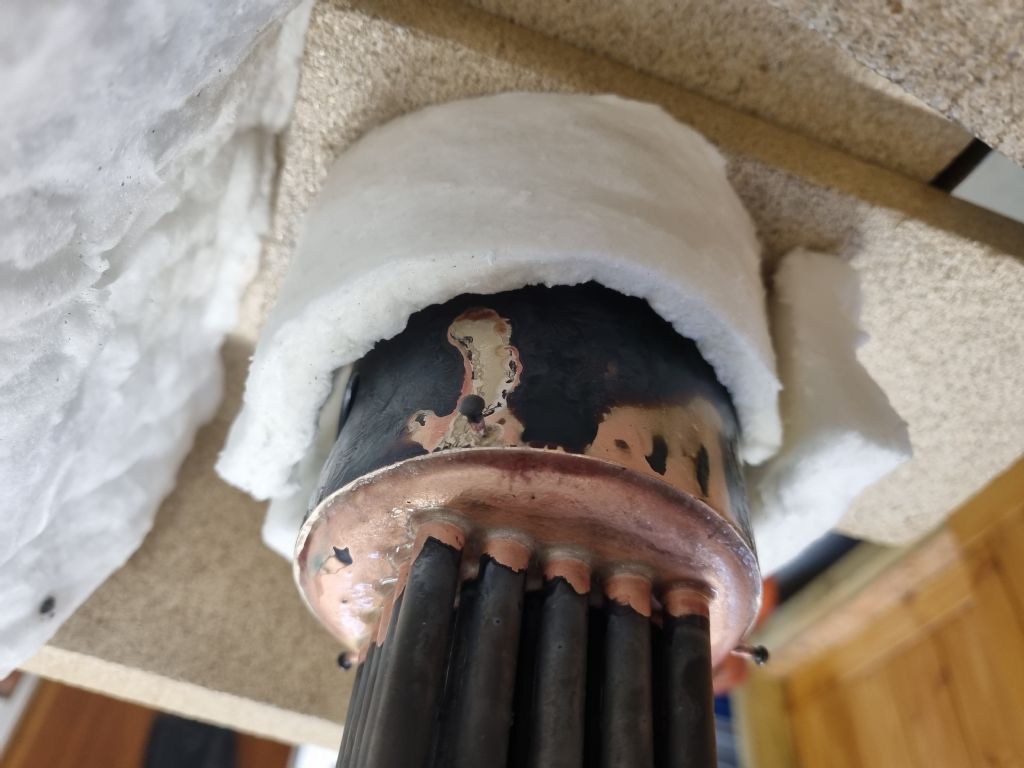
                    I decided to go with option 3, just as I could then access the tubes easier, I did have 1 tube I needed to revisit. This photo shows the tubes ready for soldering.

                    20220122_102909.jpg

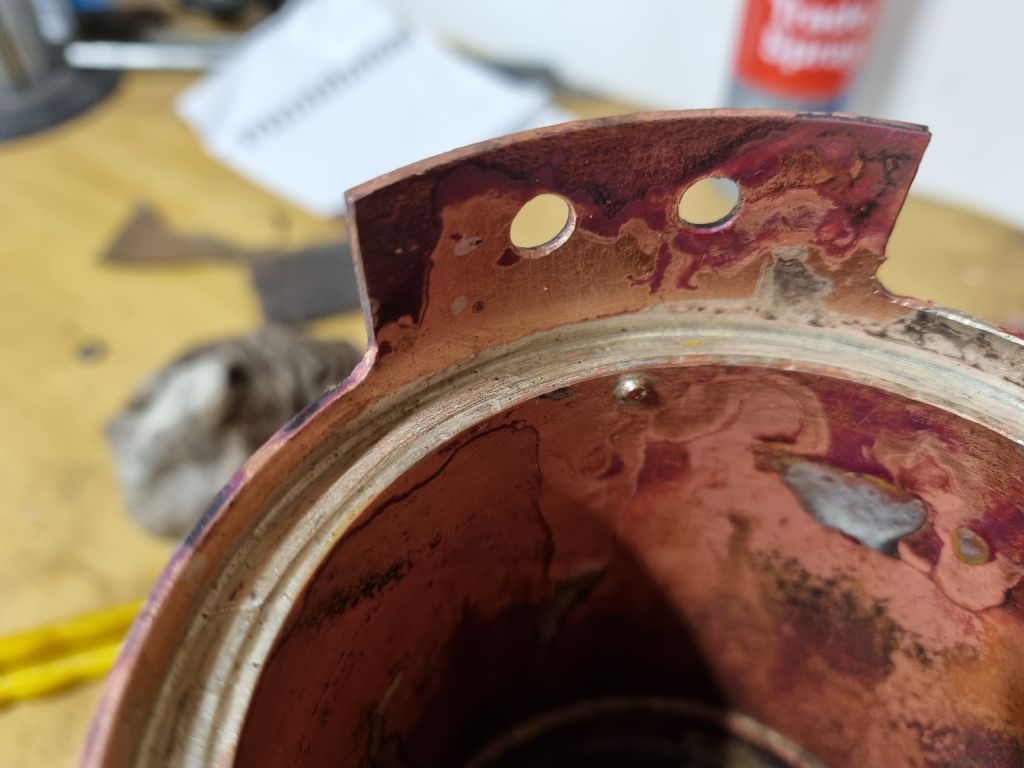
                    The firebox was fitted, making sure the rivets were soldered.

                    20220123_110048.jpg

                    Then the inner was fitted to the shell, again making sure that the rivts were soldered, the solder flowed through the joint and came round the rivet.

                    20220129_174511.jpg

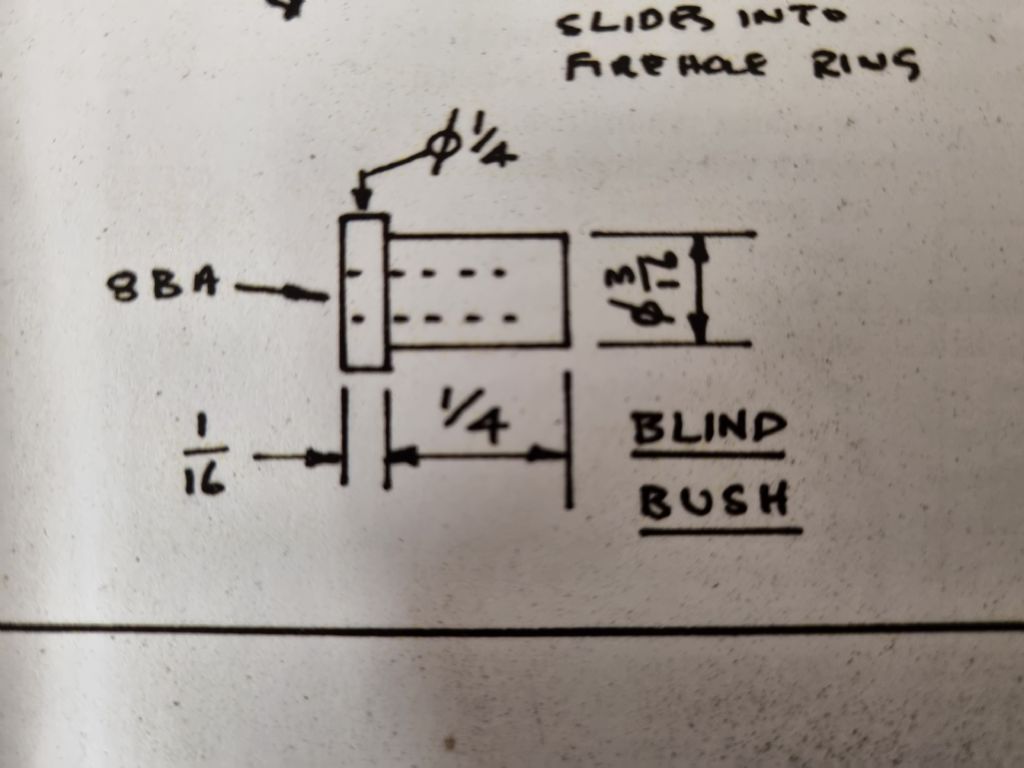
                    One issue I have is that the notes with the kit have a drawing for bushes to hold the fire-hole door, as drawn they are so long they will touch the inner, I only realised this after I made them, so will re-make them shorter with less thread, not that they need 1/4" depth, I will grind an older tap so it has a flat botton.

                    20220130_104821.jpg

                    I now need to get some more solder, so there will be a pause until next weekend.

                    Baldric.

                    #601475
                    Baldric
                    Participant
                      @baldric

                      I realised I have not updated this in a while.

                      20220204_173602.jpg

                      I soldered the top tubeplate quite happily, and then all the bushes for the fittings. I gave the shell a hydraulic test and a steam test, with no leaks in the boiler.

                      20220320_121037.jpg

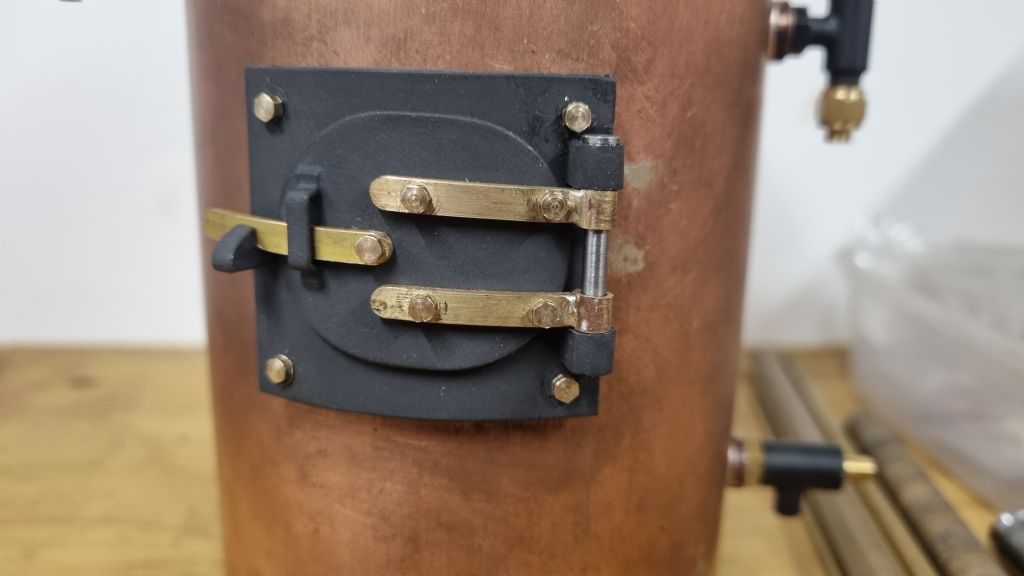
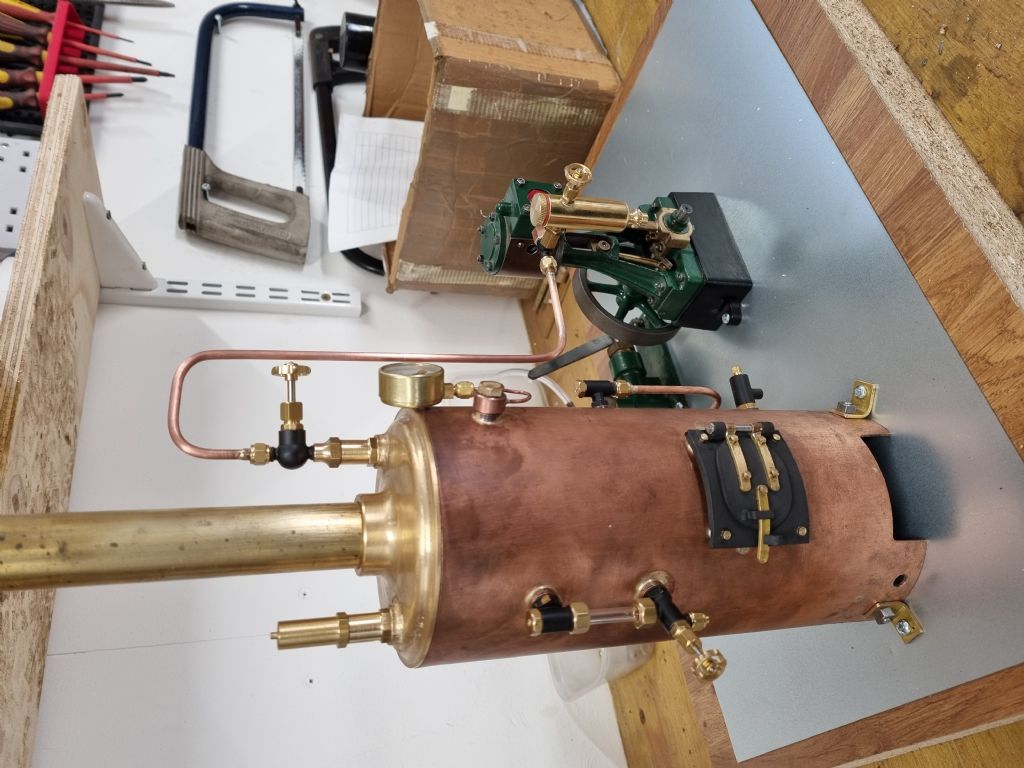
                      A firehole door & grate were made, then it was mounted on a board to connect to a pump and engine.

                      20220327_164714.jpg

                      Sorry about the picture on it's side, it looks fine on my PC.

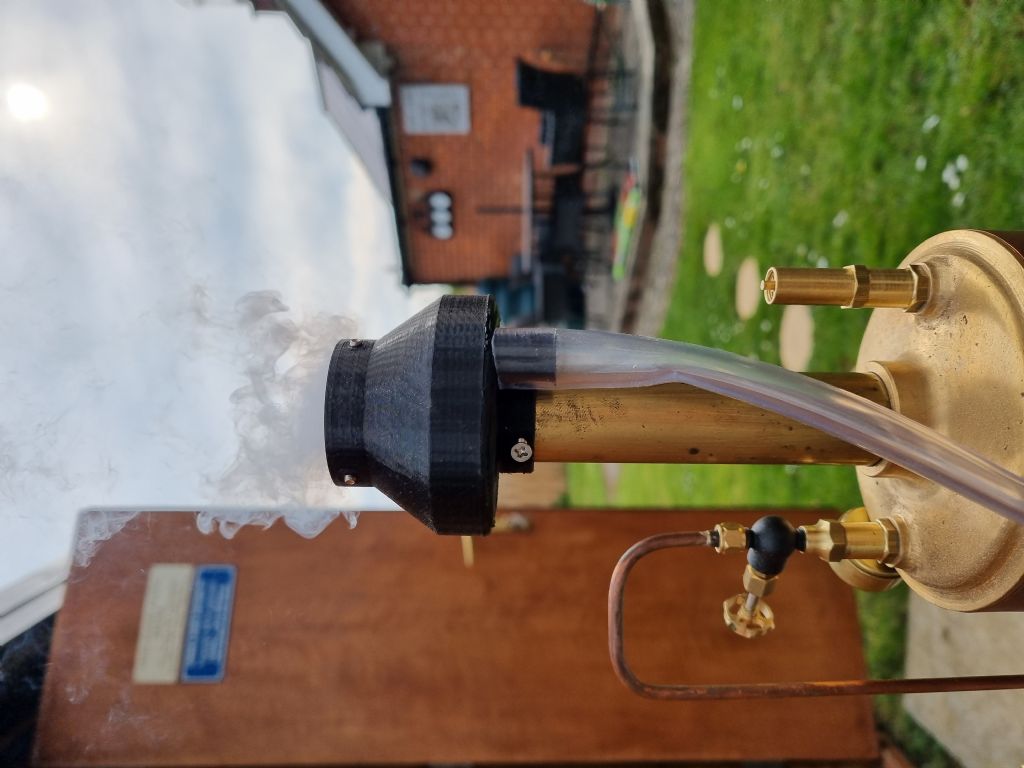
                      I have steamed on coal it, but decided I need to add a blower for it keep the fire going, I created a blower to get it going from a centrifugal PC fan run off a USB power supply piped to a ring that goes round the chimney, this seems OK for raising steam, even though it is printed in PLA, it actually hangs on 3 bolts & has 3 more at the bottom to keep it off the chimney. The picture doesn't show it working well, but it is adequate.

                      20220419_164241.jpg

                    Viewing 9 posts - 1 through 9 (of 9 total)
                    • Please log in to reply to this topic. Registering is free and easy using the links on the menu at the top of this page.

                    Advert

                    Latest Replies

                    Home Forums General Questions Topics

                    Viewing 25 topics - 1 through 25 (of 25 total)
                    Viewing 25 topics - 1 through 25 (of 25 total)

                    View full reply list.

                    Advert

                    Newsletter Sign-up