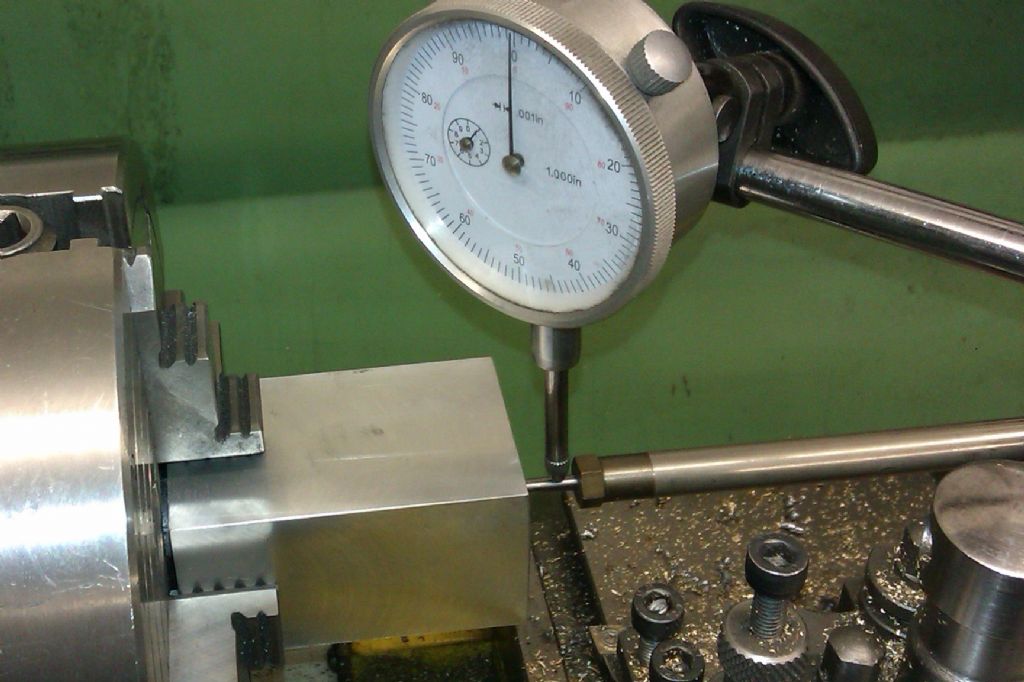
Geo. H.Thomas says " For setting up purposes I regard the plunger type indicator as little short of an abomination". He is kinder than I.
For setting concentricity of rotation the lever type Dial Indicator is the proper device to use. Ideally with the direction of surface movement parallel to the lever. Unfortunately only possible on outside surfaces.
The proper home of the usual type of Dial Test Indicator with its plunger poking out radially sideways is on some sort of solid test stand with a component carrier beneath indicating deviations of a pile of parts from the nominal size, hopefully all within tolerance. After using slips to calibrate the relevant range of course. It also suits similar applications where the movement is inherently parallel to the plunger. The geometrical and mechanical infelicities involved in scraping a rotating surface across a tiddly ball point don't bear thinking about. Hopeless in bores too. If you use a 4 way or similar shim to centre tool post and fit an elephants foot it would be ideal for measuring the tool tip height over base off the machine so you can simply select the shims needed.
If you really must have a dial for set-up then the short travel back plunger instrument is the one to use. I have a full Starrett "Last Word" kit based around this sort of device which includes a pivoted arm especially for reaching down into bores.
Although I have a good selection of all varieties of indicators, including a triplet of Heidenhain moire fringe based probes, the shop workhorse is a basic small dial ± 15 thou Verdict. I purchased the Verdict at the first Model Engineer Exhibition I visited when a special offer price proved just within reach if I ignored trivialities like buying lunch for the rest of the month! Frankly I could probably still get by with it alone but the other toys make life so much easier.
The common terminology for these devices always seems odd to me. I was taught that the lever type was called a Dial Indicator because the dial indicates deviations from concentricity and calibration beyond a basic functional check is not needed. The plunger type was said to be called a Dial Test Indicator because its proper use is to test a deviation from standard having previously been calibrated in situ to relate the dial indications to the job. The plunger type also finds its way into various other instruments (such as bore gauges) and, so I was told, can be called Dial Gauges in such applications with the proviso that the calibration marks may not be assumed congruent with the measurement made by the instrument so prior calibration is essential. Common use often seems to be opposite but even textbooks can't agree.
Clive
Nobby.


 [Sorry … I couldn't resist that.]

