Colchester Student Mk1 Won’t Start

Advert

Colchester Student Mk1 Won’t Start

Home Forums Help and Assistance! (Offered or Wanted) Colchester Student Mk1 Won’t Start

Viewing 25 posts - 676 through 700 (of 797 total)
  • Author
    Posts
  • #488928
    Richard Kirkman 1
    Participant
      @richardkirkman1

      My friend has no experience brazing, he's a bit of a brutish butcher, but he has his uses.

      I will order some 2.4mm as you suggest, I'll make sure to chamfer heavily.

      I've watched quite a few videos about brazing in the past, but doing it yourself is a very different thing.

      What about safety? Do I need to be wearing any eye protection?(darkening stuff I mean, clear safety glasses go without saying)

      It probably will be a while before I can actually go to his and braze, so I have a bit to learn as much as I can. I have an old wood lathe faceplate that snapped which I can use for a practice piece too!

      Advert
      #488953
      Herman van der Merwe
      Participant
        @hermanvandermerwe76509

        Definitely dark brazing glasses! Welding long length gloves is a must. No alcohol to calm the nerves!

        You can cold braze anything steel for practice. Maybe take some off cuts and make an artwork.

        Then once you get the flow right with the flux and rod, move onto cast iron. Buy the correct and best quality flux and rods you can find for the metal you are brazing.

        Also make sure you have enough light on you work.

        #489052
        Richard Kirkman 1
        Participant
          @richardkirkman1

          My friend says he has some goggles so hopefully he will be able to find them for next week or whenever it is.

          A little bit of progress today, although now I'm stuck

          Getting the leadscrew out proved a bit more difficult. There's a step that Herman missed in his post so I didn't think to undo a screw and it left me just scratching my head for a while. Until I'd had a cup of tea and thought about it properly

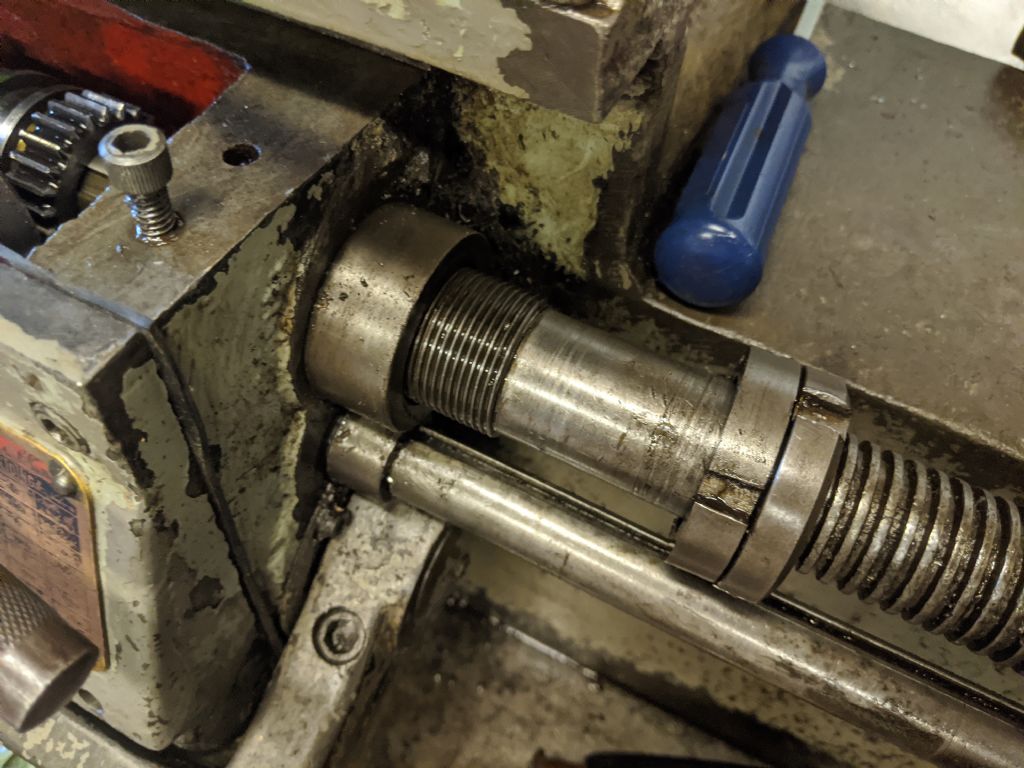
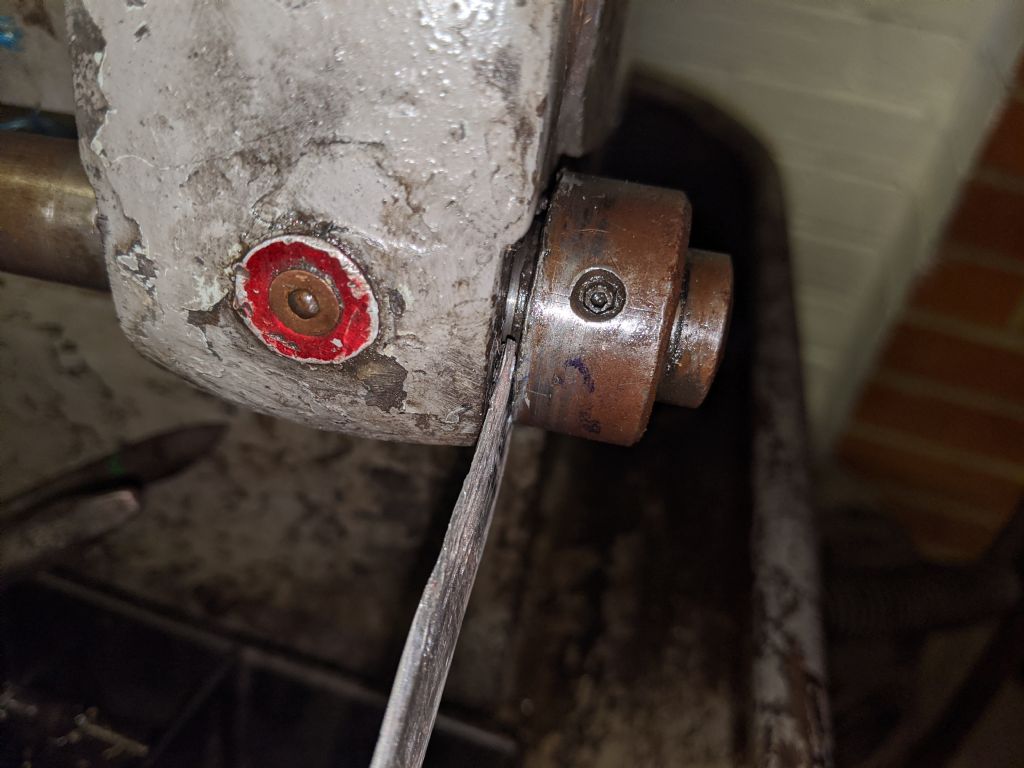
          So the first step was to undo the collars. They came off quite easily, although I will clean the thread out and make sure they fit better when they go back on, as they were stiff in certain places and slacker in others.

          img_20200803_161640.jpg

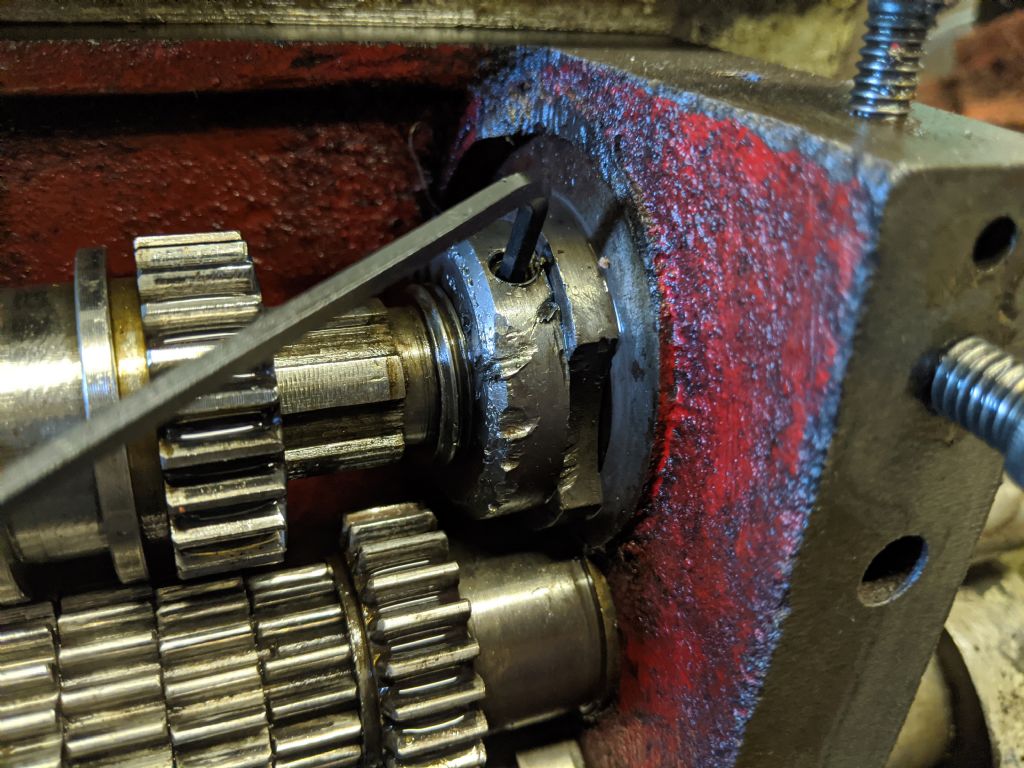
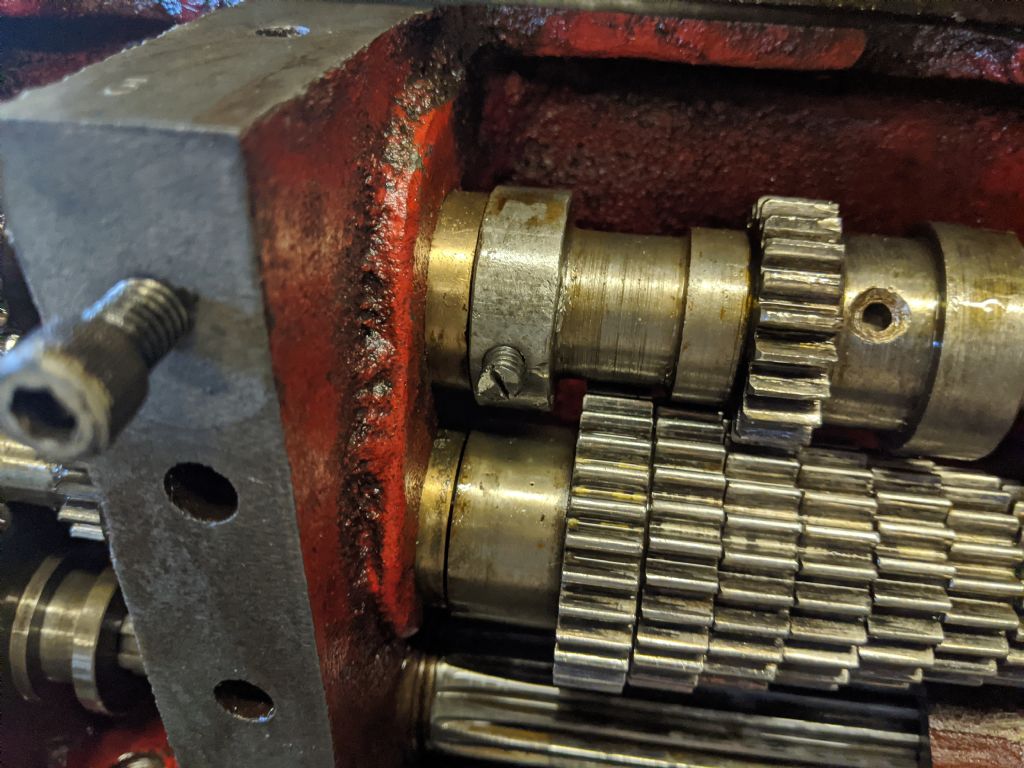
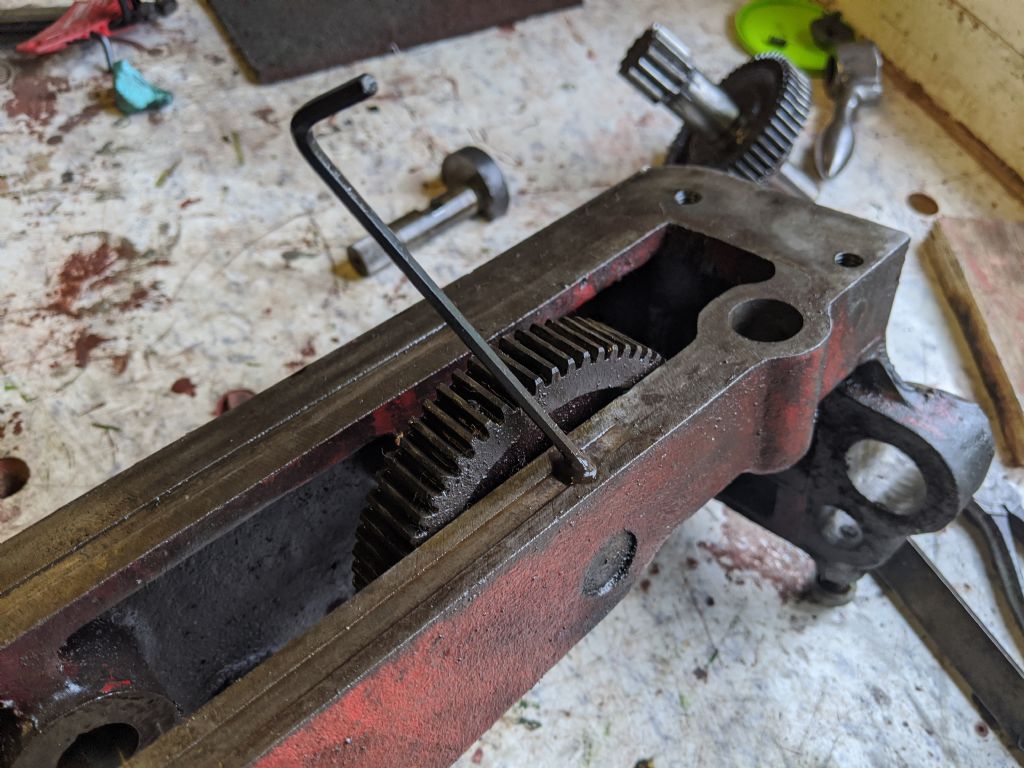
          Then my inner collar had a set screw instead of having slots like Hermans. I put a bolt in and used that to turn it a bit. The marks were already on the collar, so someone must have been in here before me. That's not to say I didn't leave some more…

          Nothing I can't clean up before reassembly

          img_20200803_162642.jpg

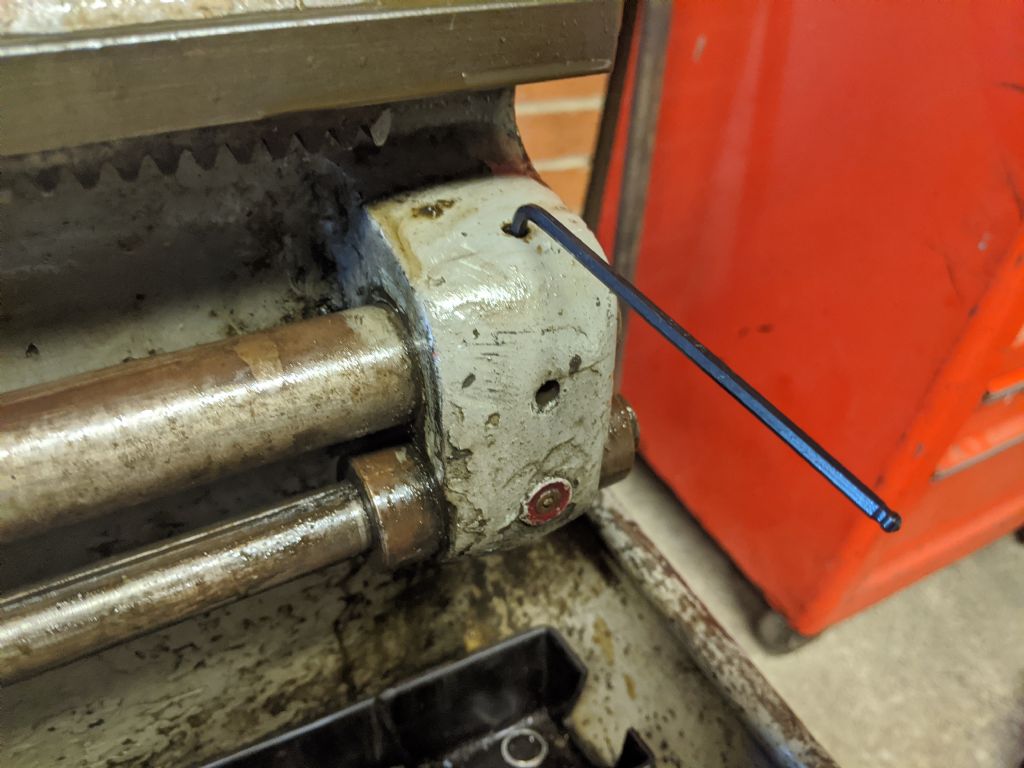
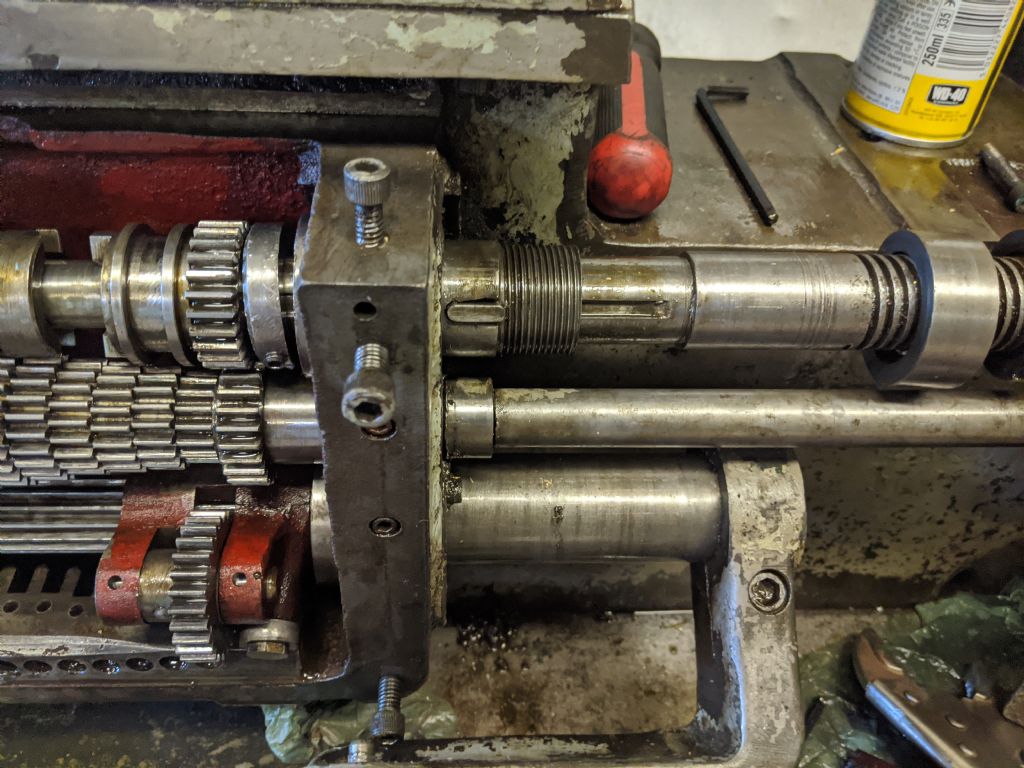
          At that point I went to the end and looked at the set screws down there. Thinking about this further, the grub screw only holds in the bushing, so shouldn't effect the leadscrews removal.

          img_20200803_164255.jpg

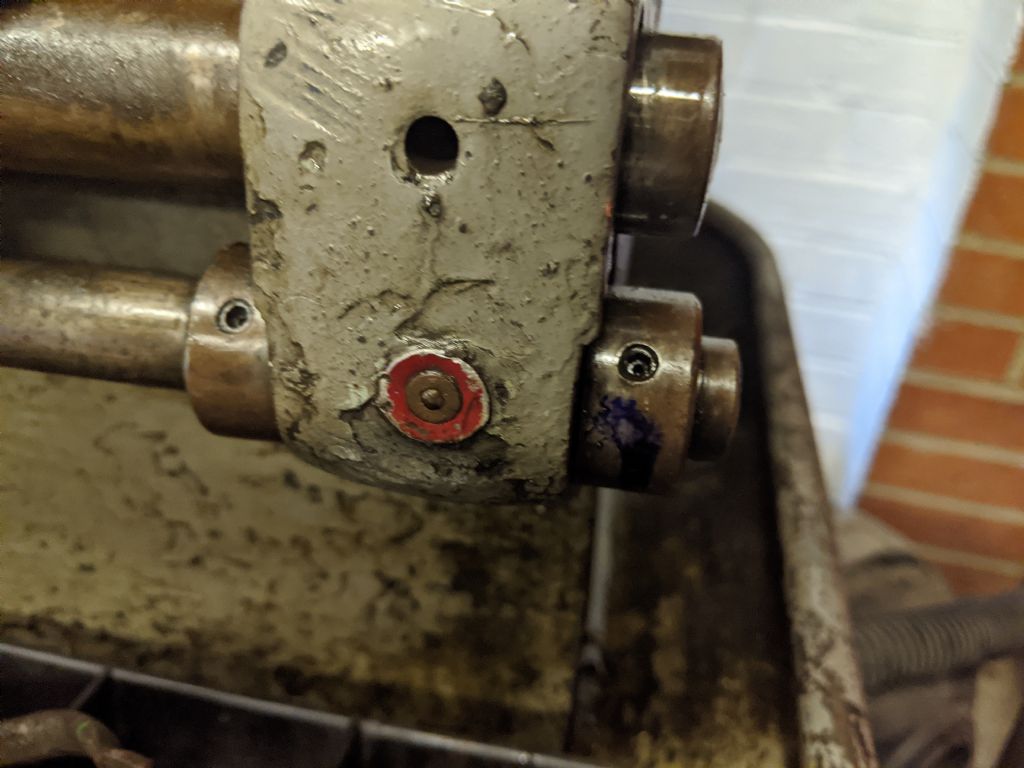
          While I was down there I also removed the grub screws from the collars on the feed shaft. But, the outer one's set screw is stuck and the Allen key just spins. No good, but at least its the outside one rather than the inside one. The inside one came loose very easily

          img_20200803_165755.jpg

          At that point I thought the leadscrew should have been free to move along a bit, but it would not move far. So I took a look at the shaft and thought that it was a bit dirty so I cleaned all the muck off. I plan to sand down the leadscrew for 370 hours to remove all the imperfections and then polish it until I can hang it in the bathroom and use it as a very small cylindrical mirror, as that's how all functional lathe parts should look! Bling must make it work better!

          img_20200803_172007.jpg

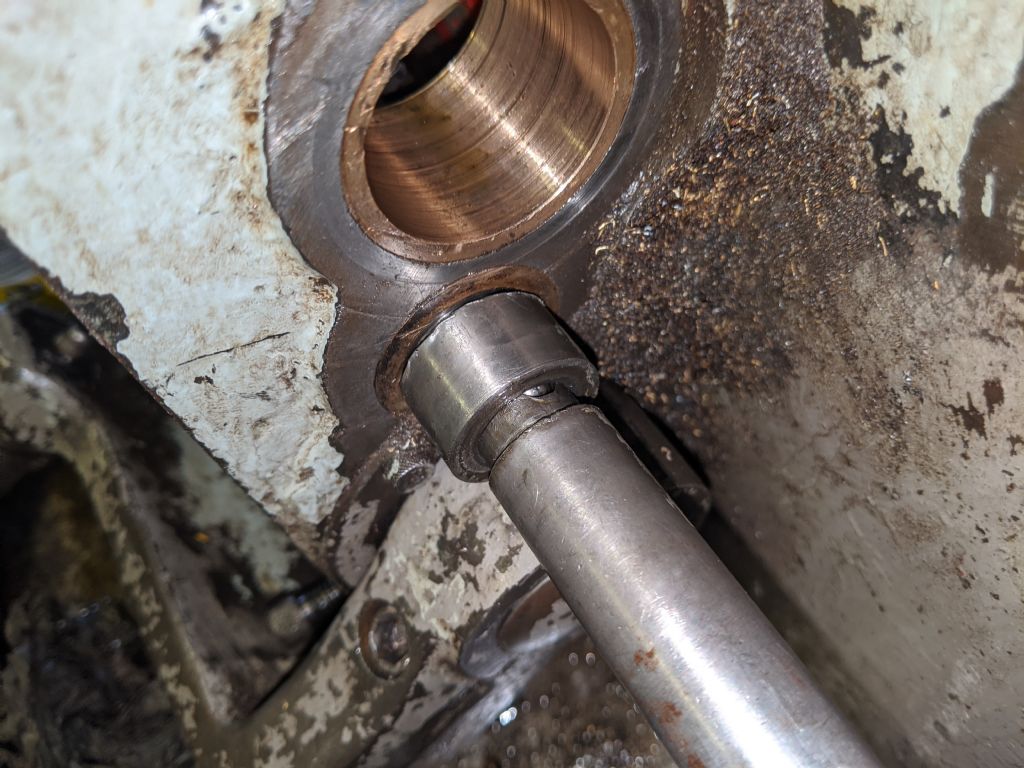
          Anyway, joking aside, then I sat around for a while and had a break. I came back with a fresh perspective and tried to remove the screw in this gear first, resulting in the leadscrew coming out a bit, then i could unscrew the collar some more, then get the leadscrew out further and so on until the leadscrew was free!

          img_20200803_182845.jpg

          img_20200803_182848.jpg

          img_20200803_183849.jpg

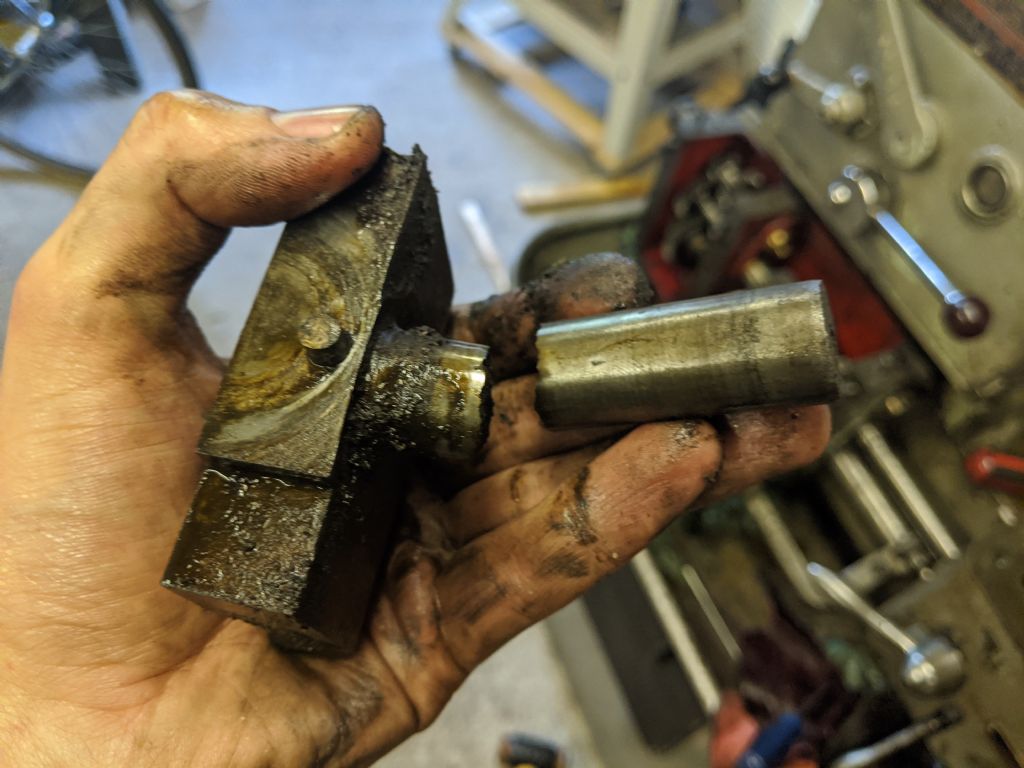
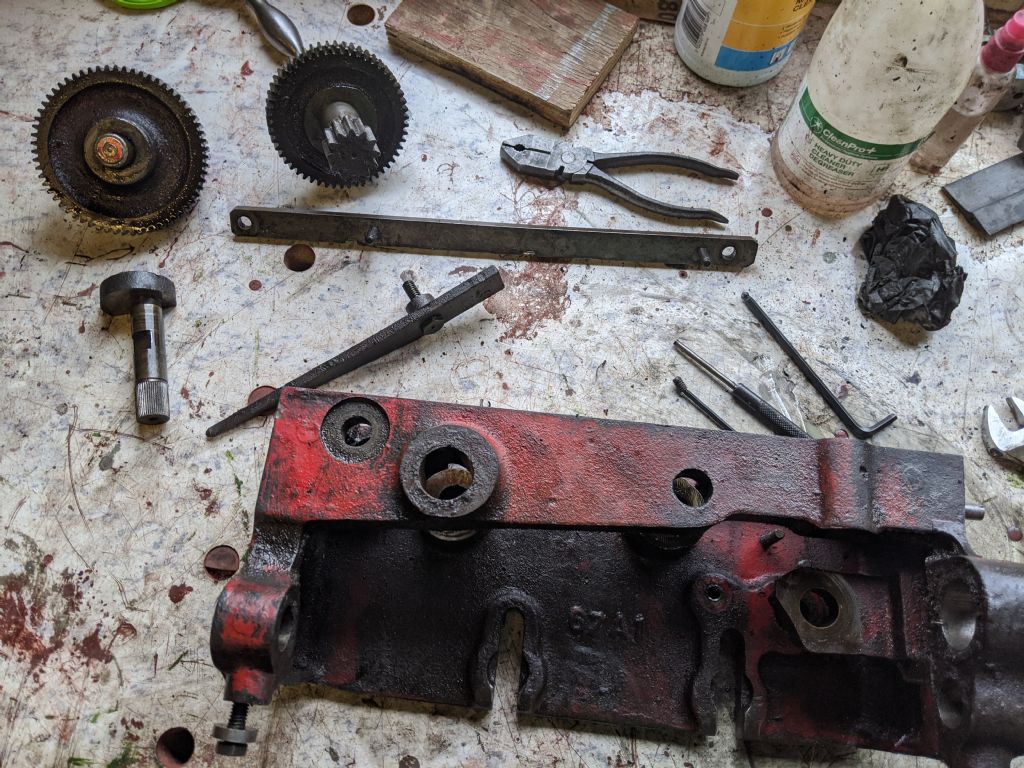
          Having the leadscrew out allowed the half nut to drop out, since the shaft is shorter and broken. The feed shaft needs to come out to allow it to be reinstalled once fixed. The break lines up perfectly when its aligned

          img_20200803_183957.jpg

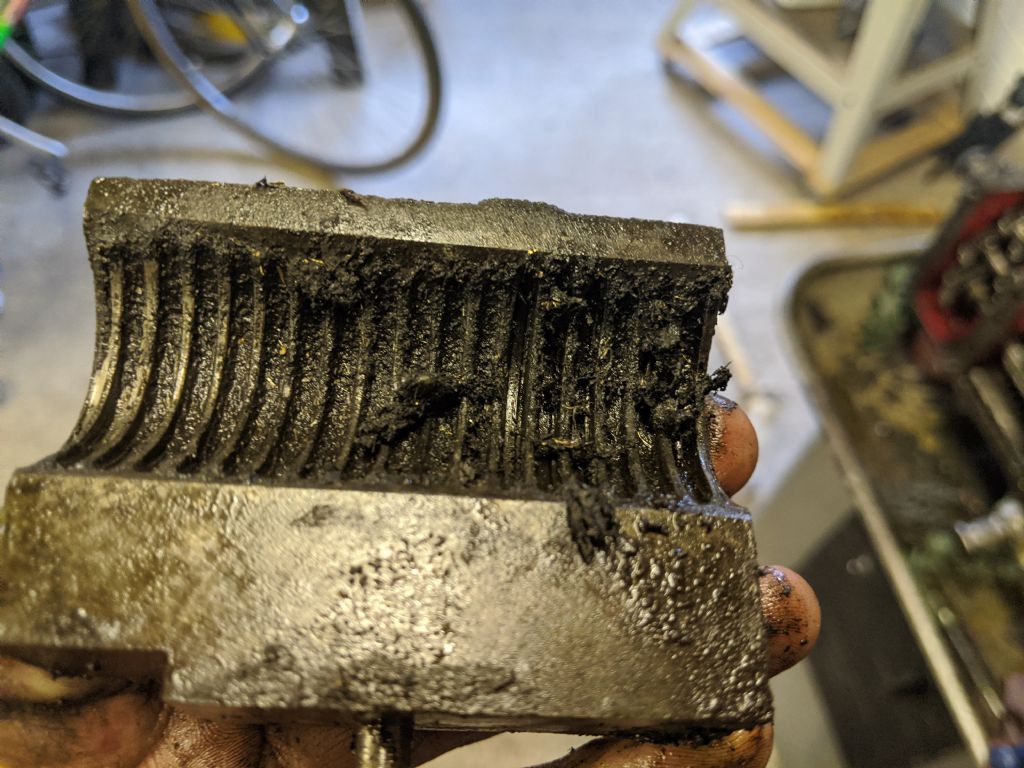
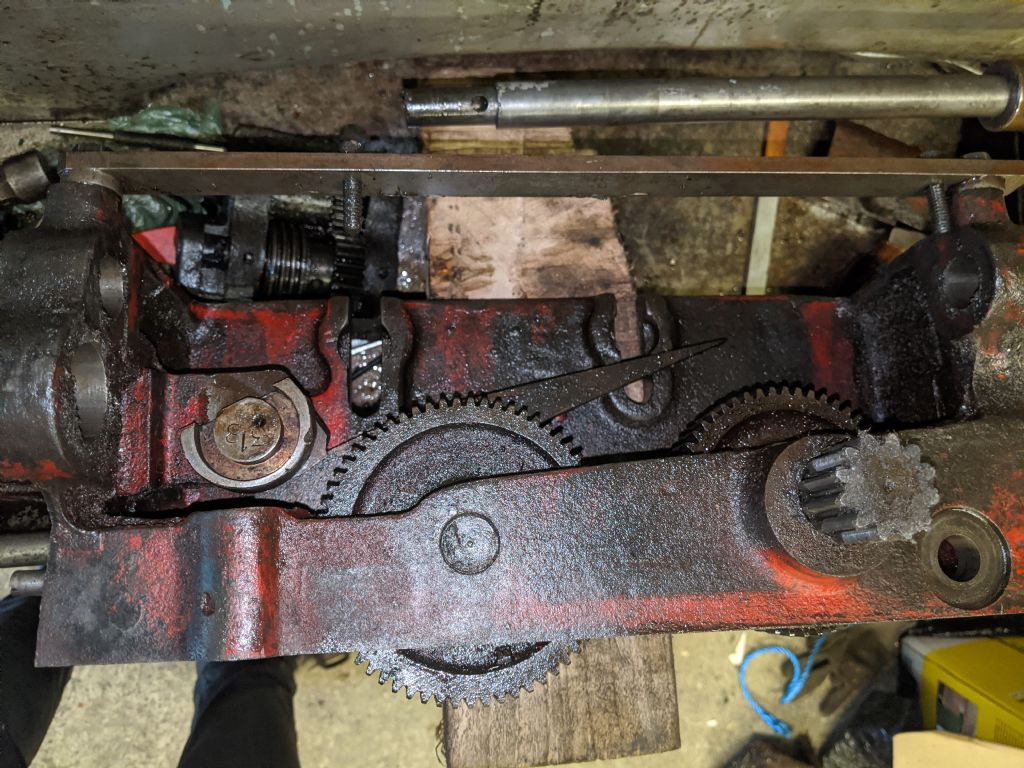
          Definitely worthwhile taking it out, especially for a clean. Probably 2mm thick gunk at the bottom. Not good

          img_20200803_184219.jpg

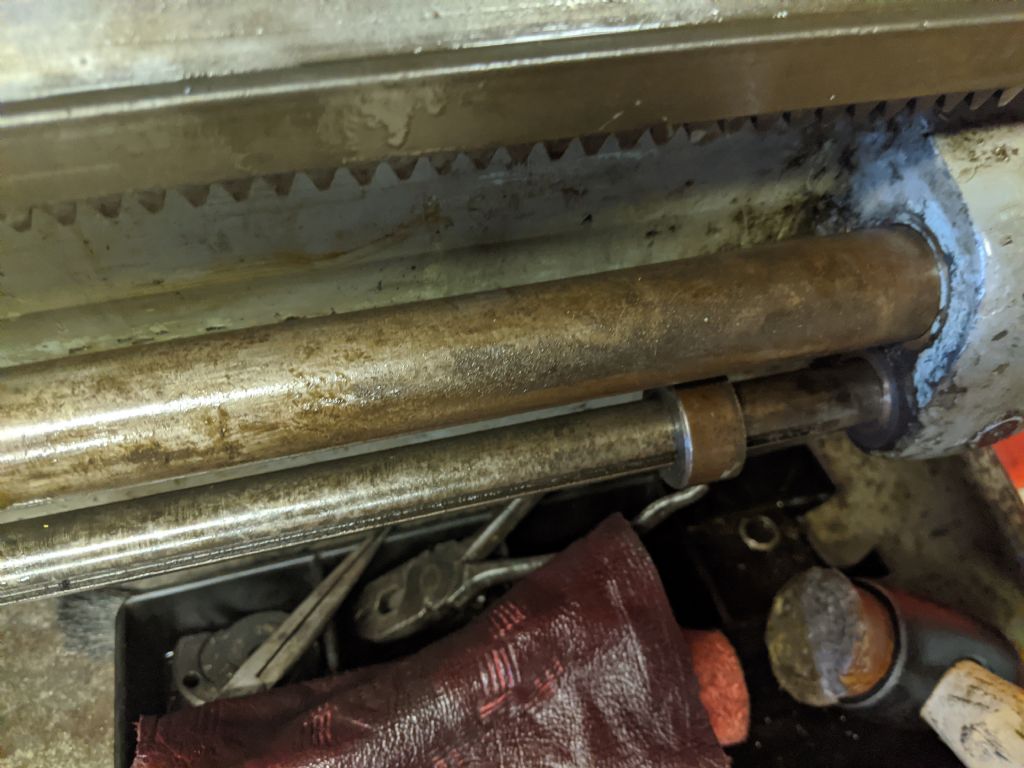
          Anyway so now I'm stuck. I cannot get the feed shaft out. It should just slide out. It will move about 2mm and then it just stops. It definitely feels spring-loaded like Hermans should have been, but I gave it a very good tug and I can't get it to budge. Any ideas? I've checked for pins and things like the later models have, but I haven't found anything.

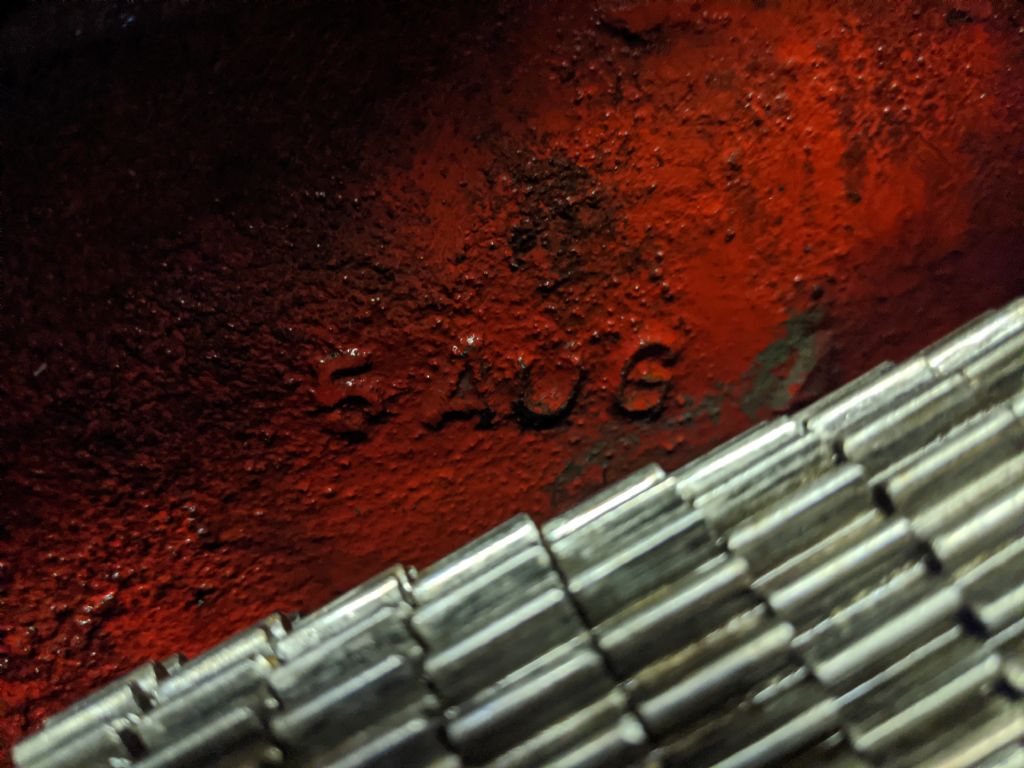
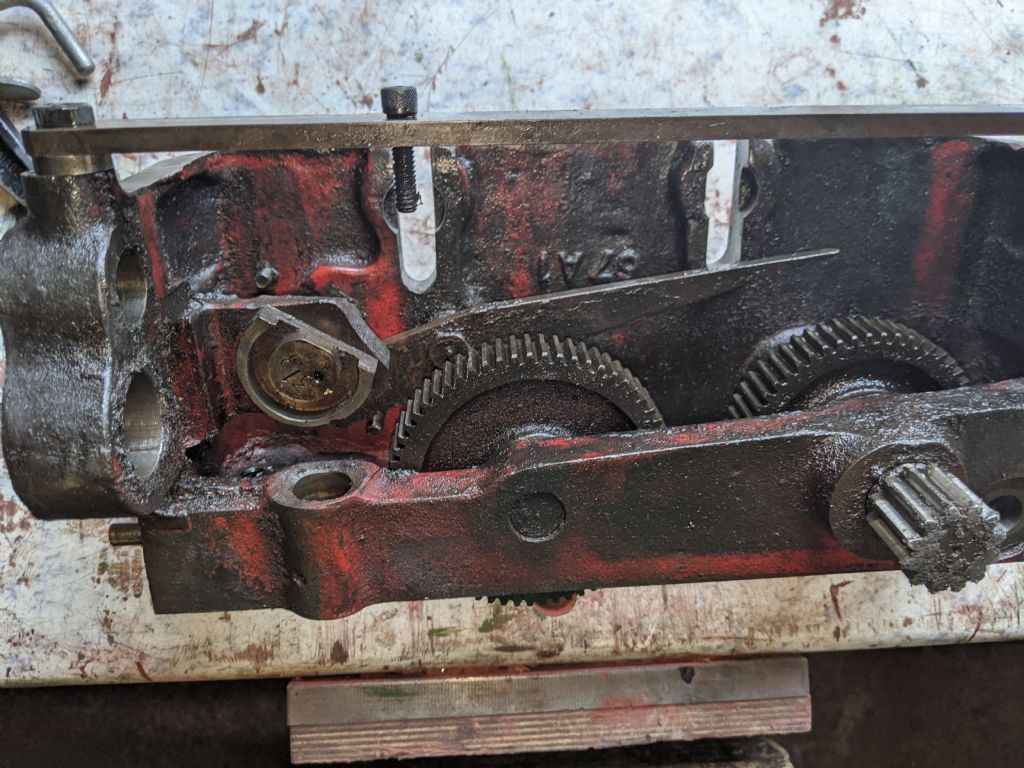
          However, I did find something coincidental. At the back of the gearbox, since the gears have been removed, I can now see that it says 5 AUG. Which may refer to the 5th of august, which happens to be my birthday. It probably doesn't mean that really, I can't imagine they'd date all their parts like that. In which case, what does the 5 AUG mean?

          img_20200803_193622.jpg

          Edited By Richard Kirkman 1 on 03/08/2020 20:18:04

          #489055
          Phil Whitley
          Participant
            @philwhitley94135

            It is surprising how many differences there are between our two Mk1 students! I think my feed shaft is just a taper pin, I remember being surprised at how easy it was to get the lead screw and feed shaft off! Keep up the good work Richard!

            Phil

            Edited By Phil Whitley on 03/08/2020 20:33:52

            #489060
            Herman van der Merwe
            Participant
              @hermanvandermerwe76509

              Try and do what I did with the feedshaft: "So I put the external end collar back onto the feedshaft, but left enough room between it and the support to allow me to insert an aluminium bar in the gap. Applying a bit of leverage made the feedshaft move to the right."

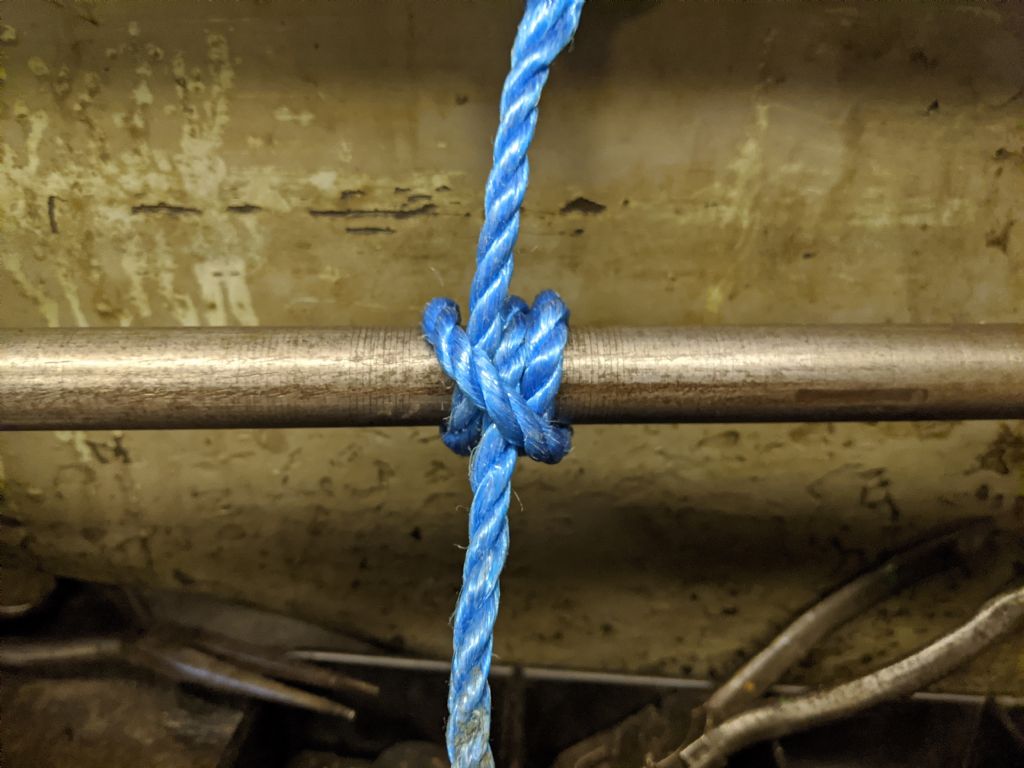
              Your feedshaft clutch look exactly the same as mine did, so it will be stuck badly. You can also add a strap around the shaft with a rolling hitch knot and pull the shaft to the right with a pulley or block and tackle.
              On the apron, clean the selector handle. I think that it will be filthy and will not move freely and that allowed the half nut to only engage partially and snap under rotation. Also look at the wormbox holes and check if these are not oval as mine was.

              #489077
              Richard Kirkman 1
              Participant
                @richardkirkman1

                I don't have any aluminium bar lying around, so I may try the rolling hitch, to begin with.

                I cannot remove the end collar right now since the grub screw is ruined. I will try again if all else fails.

                The apron is all going to receive a thorough clean once it is off. I had given it a clean before, but never with full access. Yes, completely it definitely has snapped under rotation, but I did get the full movement of the handle before, just bad engagement and disengagement due to the shaft not being long enough to run in the slot vertically.

                I'll check for oval, but even if it is there I don't think I have the time to deal with it right now. But I do want this lathe to last me a life time, so perhaps one day I'll do it.

                Thanks for the tips

                #489137
                Richard Kirkman 1
                Participant
                  @richardkirkman1

                  Result!

                  After an hour of fiddling, one good pry and it just popped out.

                  However, I started off by trying the knot method. This worked better than expected and it did hold the shaft, but even with me pulling it, there wasn't enough force to get it out

                  img_20200804_105512.jpg

                  I did find a small bit of aluminium, but it was only 1-2mm thick, so didn't do much

                  I spent a while struggling and thinking what to do, pulling on the shaft occasionally, to no avail

                  img_20200804_110908.jpg

                  Then suddenly I had a fantastic idea that I don't regret in the slightest. Not ideal, but i decided to get a nice screwdriver and stick it in the end collar and give it a gentle pry. And there was a quick pop and it came out. I didn't have to apply much force at all. I was quite surprised. I had tried with a smaller screwdriver but I wasn't applying much force at all as I am aware of the damage they can do. Luckily it worked out this time.

                  img_20200804_111859.jpg

                  Then I carefully held a bit of leather around the collar as I pulled the shaft out, for one of the balls to still land in the chip tray. I have them both, so no loss yet.

                  I was interested to see that there isn't just a spring in there. Well there is, but it's not just a spring, looked different. Not quite sure. I don't want to mess with it as it worked before.

                  Took a bit of effort, but it slid out eventually

                  img_20200804_112611.jpg

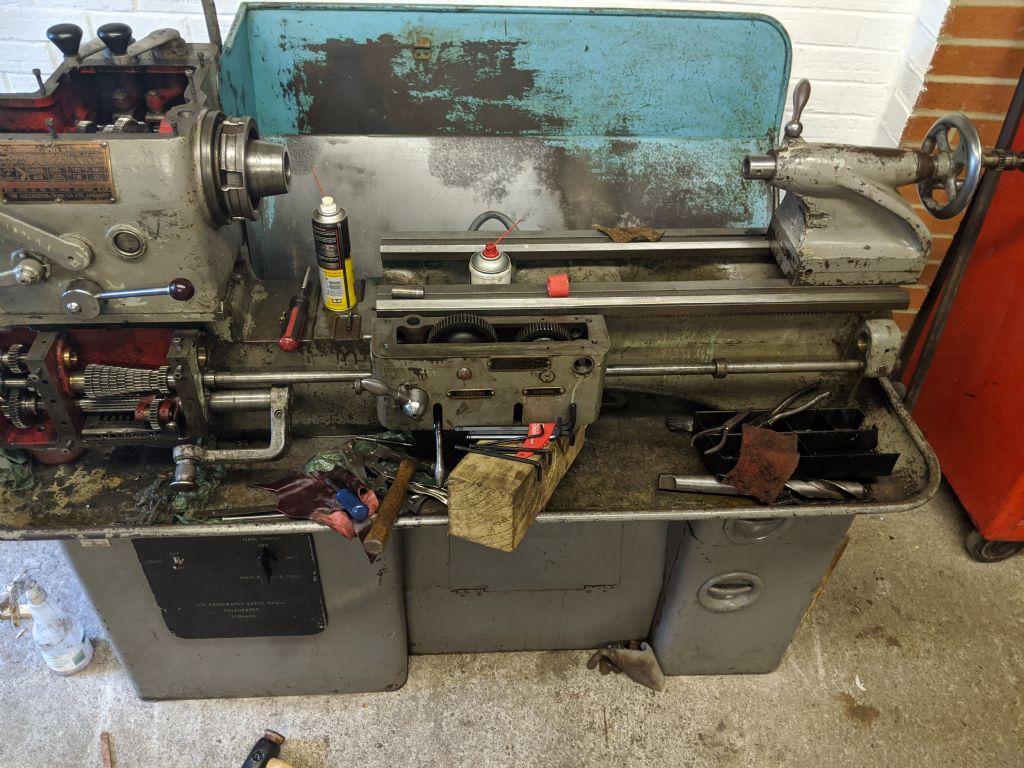
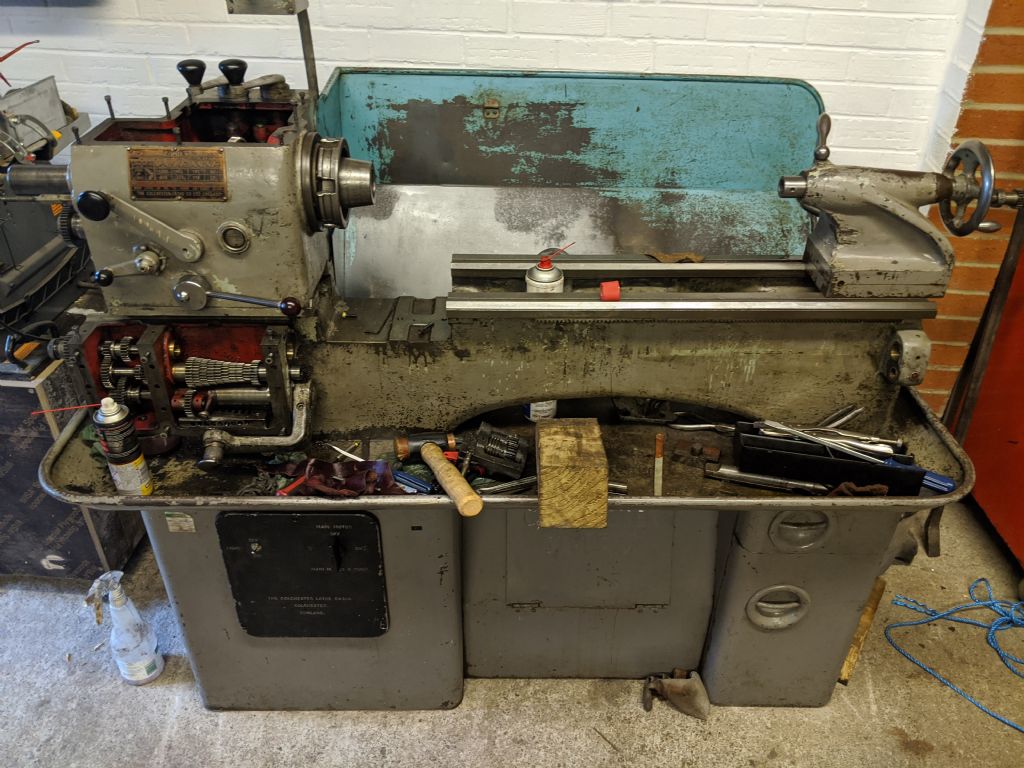
                  And now I have a very bare lathe. I could put it back together and have a lathe without feeds

                  img_20200804_113050.jpg

                  Whatever this bit is called, is very dirty

                  img_20200804_113656.jpg

                  In fact the whole thing is dirty. I will be cleaning for a long time

                  As for the holes, they are not as oval as yours Herman, but they are ovaled by less than 0.5mm, so I think that's good enough for my use. Maybe by the time i'm 50 I'll re do them. But Hopefully this lathe will have an easy life with me.

                  img_20200804_114522.jpg

                  More gunk under, followed by more gunk

                  img_20200804_114533.jpg

                  img_20200804_114544.jpg

                  Anyway, time to get on. Apologies for the screwdriver sin, but it couldn't be helped and it got the job done!

                  It's bling time

                  #489190
                  Donovan Kaardal
                  Participant
                    @donovankaardal43990

                    You'll be able to sell your services as a Colchester Student Lathe Rebuilder after this Richard!

                    #489207
                    Phil Whitley
                    Participant
                      @philwhitley94135

                      the two balls and spring are an overload clutch designed to let the shaft slip if the feed gets jammed, there should be, or at least there is on mine, a screwed plug that goes in the end of the shaft which adjusts the tension on the clutch.  actually I think there should be three balls, one pops partway out of each of the two holes, and the third one is between the spring, and the other two. now you have the lead and feed shafts off, good time to degrease the front of the bed, and get some paint on it!!

                      Phil

                      Edited By Phil Whitley on 04/08/2020 19:51:26

                      #489211
                      Herman van der Merwe
                      Participant
                        @hermanvandermerwe76509

                        I am glad you got the shaft out. You can achieve anything with brutish force.

                        The dunno part is the wormbox. Check the holes in the sides for ovalness.

                        I agree with @Phil. Paint while everything is open.

                        #489218
                        Richard Kirkman 1
                        Participant
                          @richardkirkman1

                          Very long post ahead. But with good progress so I'll dive in

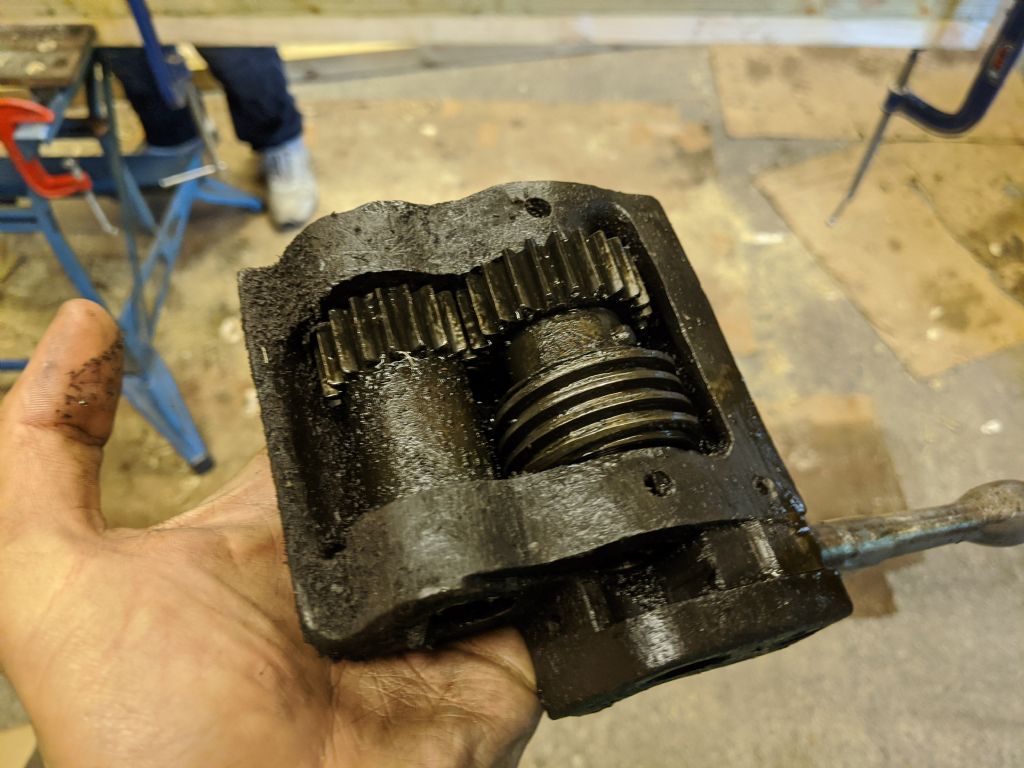
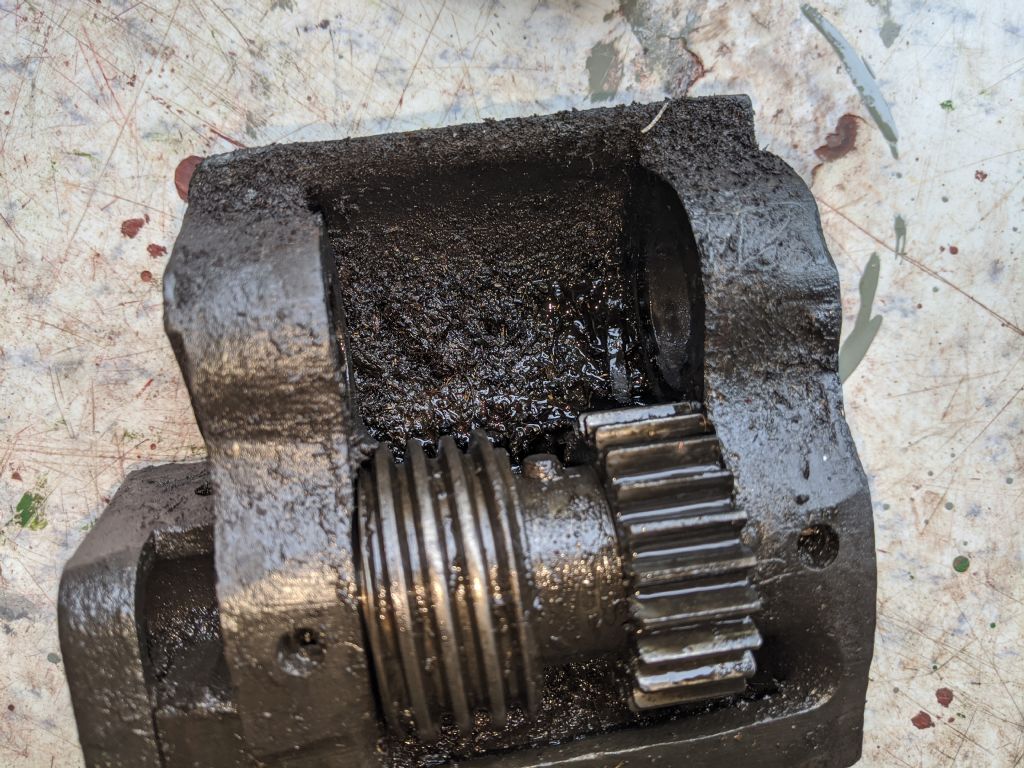
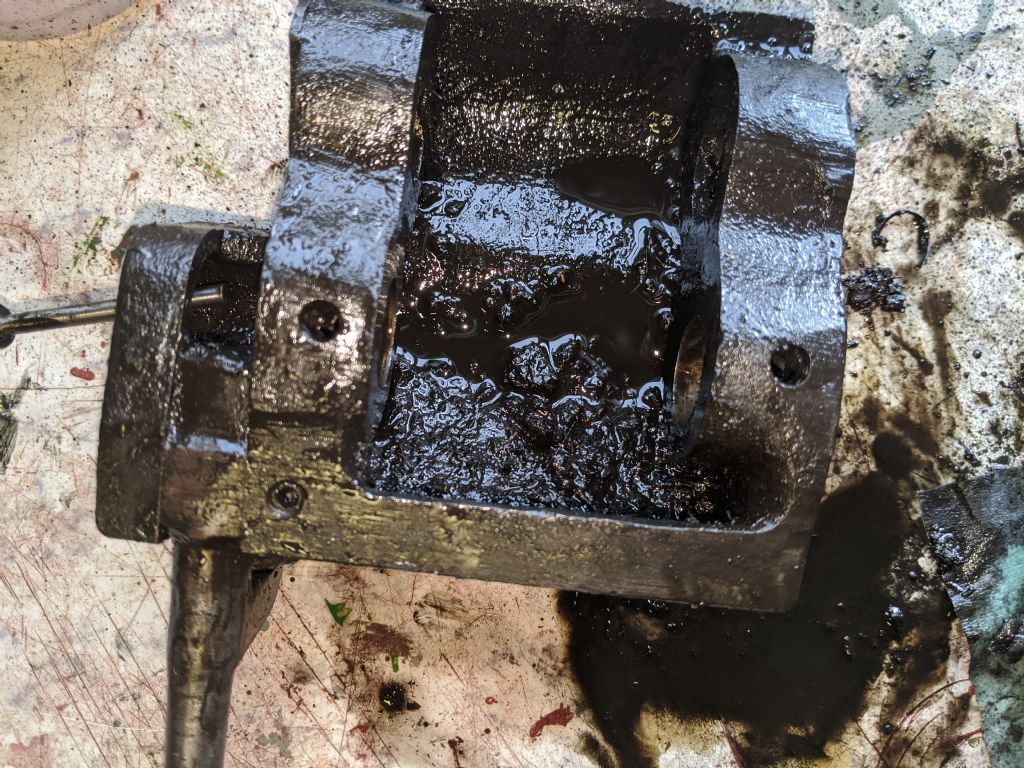
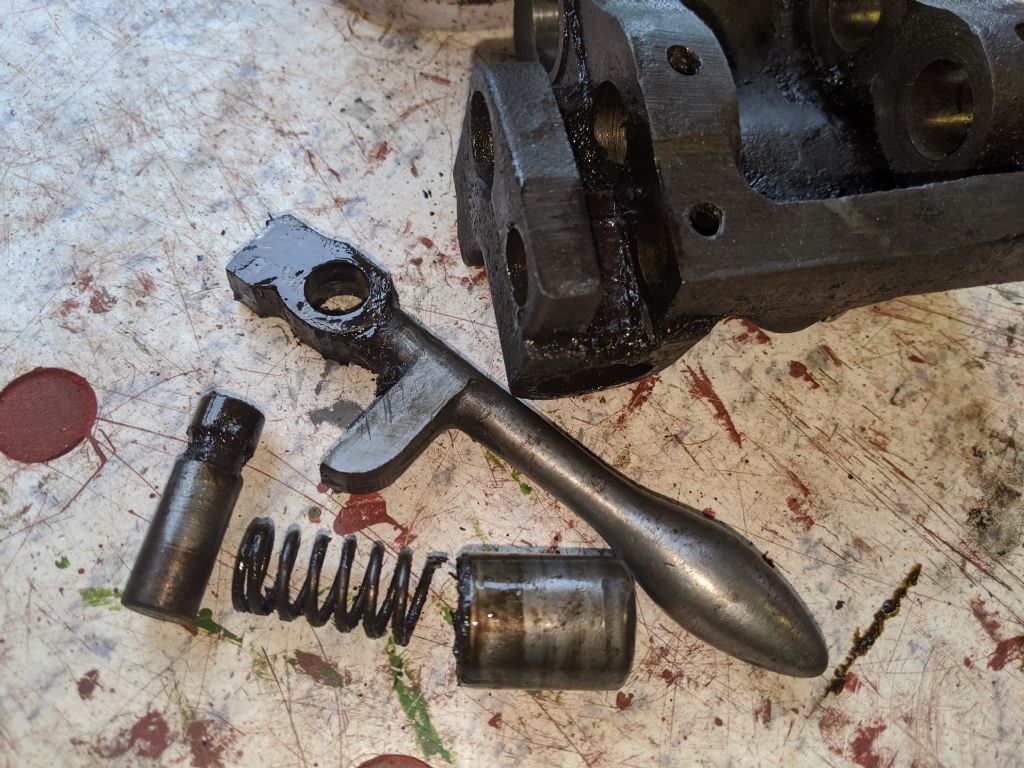
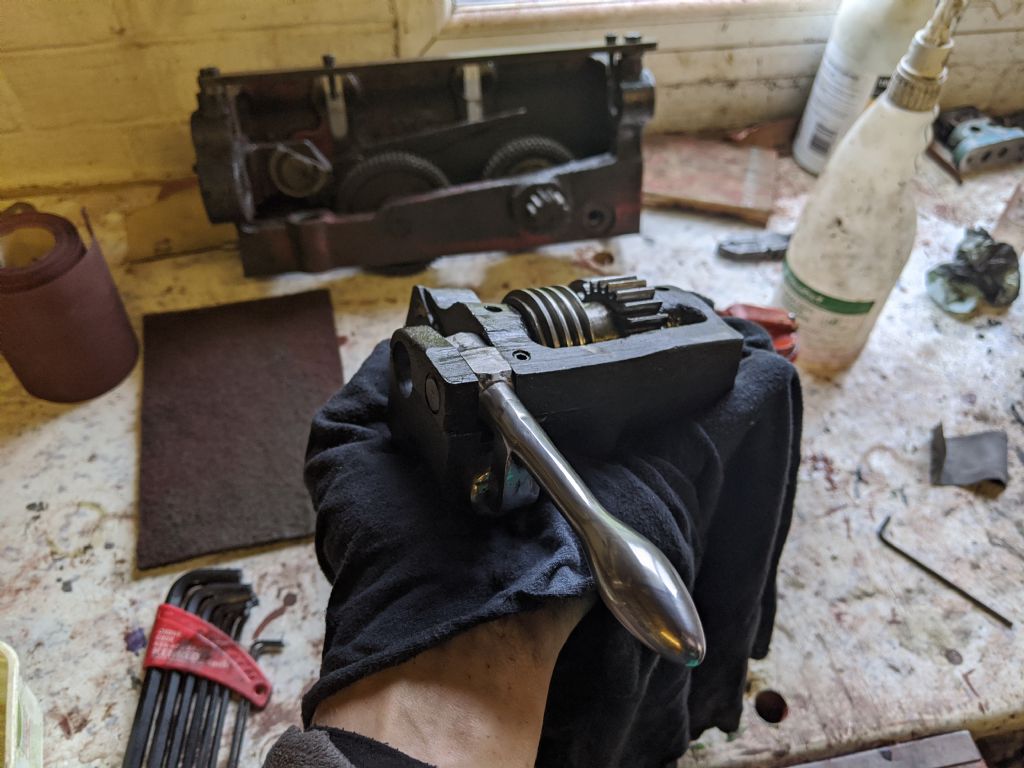
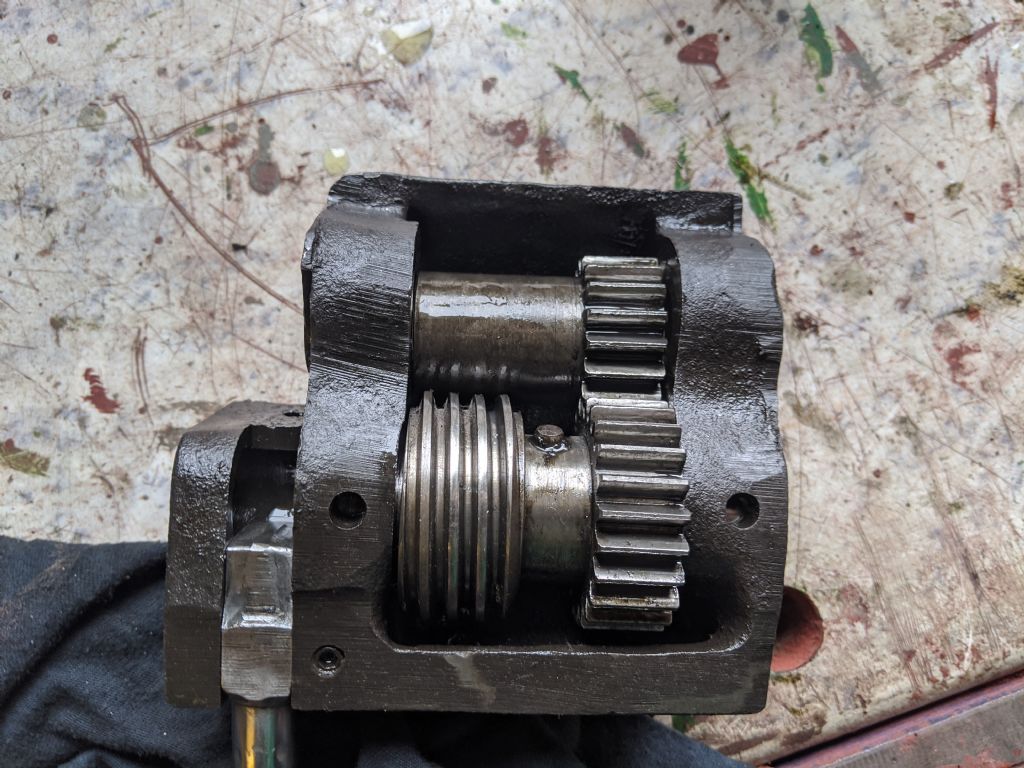
                          Started off by taking the Wormbox(thanks Herman) to pieces. I was a little scared by the spring, but it wasn't as strong as I thought it would be. So good news.

                          img_20200804_130853.jpg

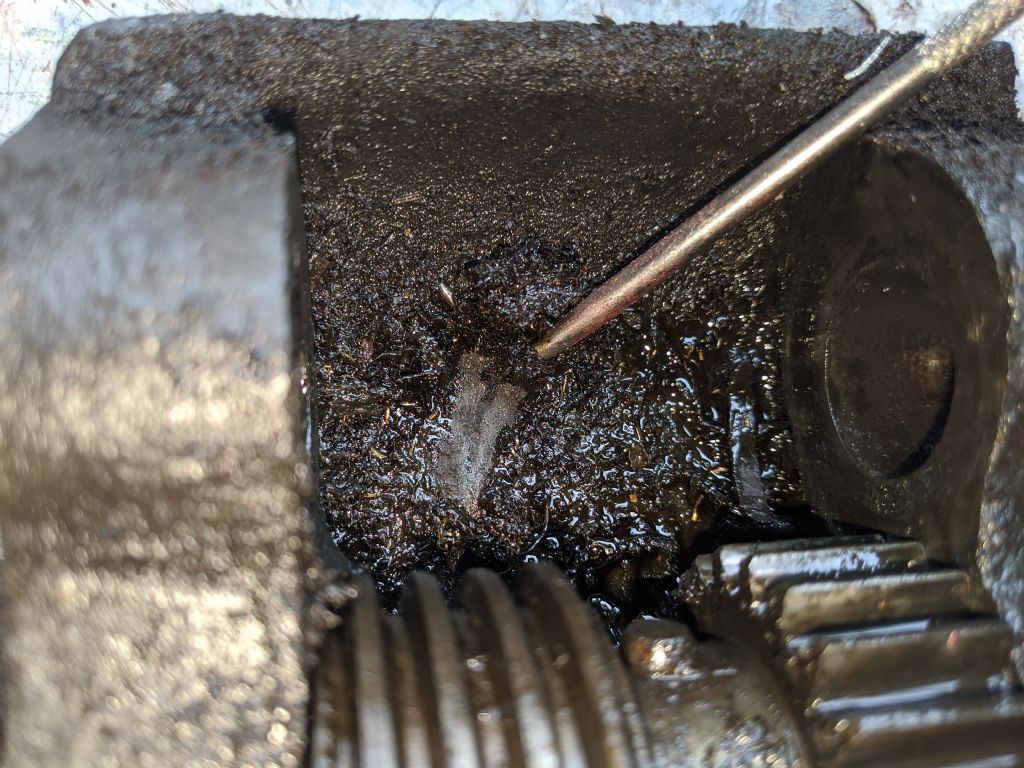
                          Absolutely filthy

                          img_20200804_132123.jpg

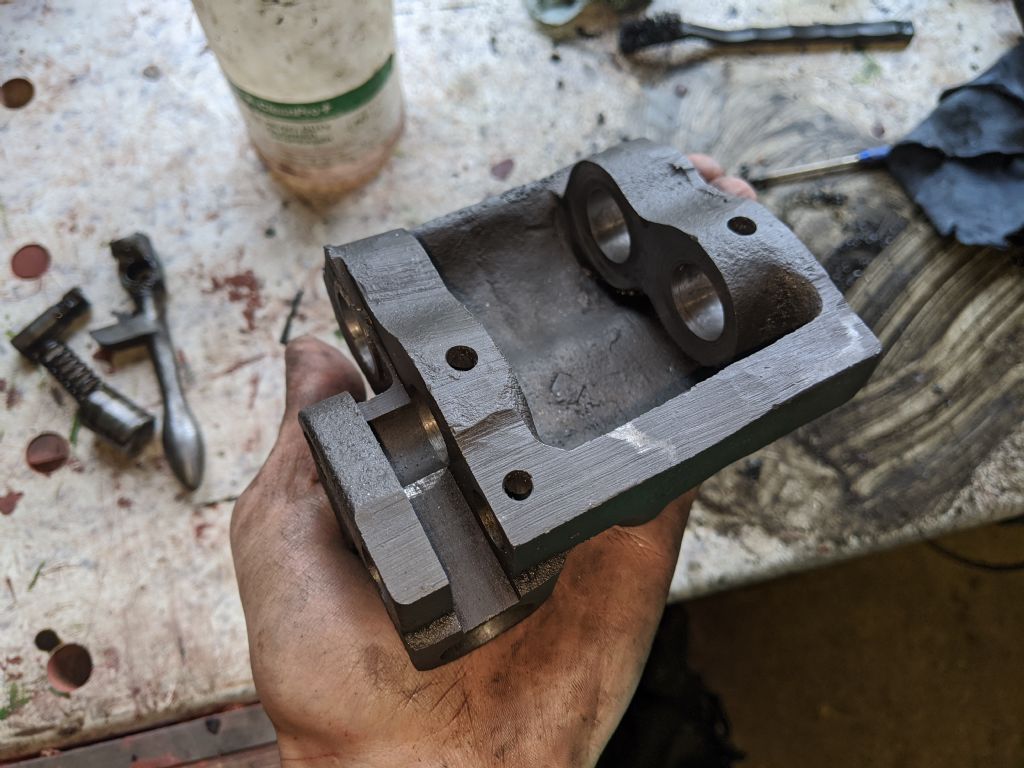
                          Cleaned up the body

                          img_20200804_133203.jpg

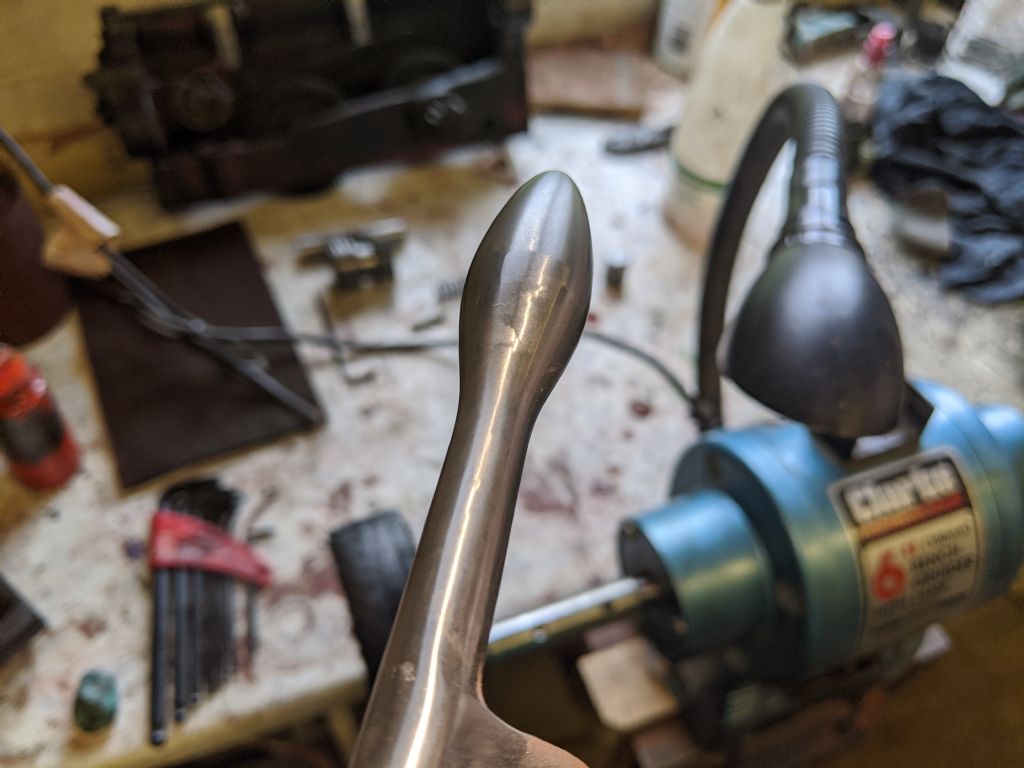
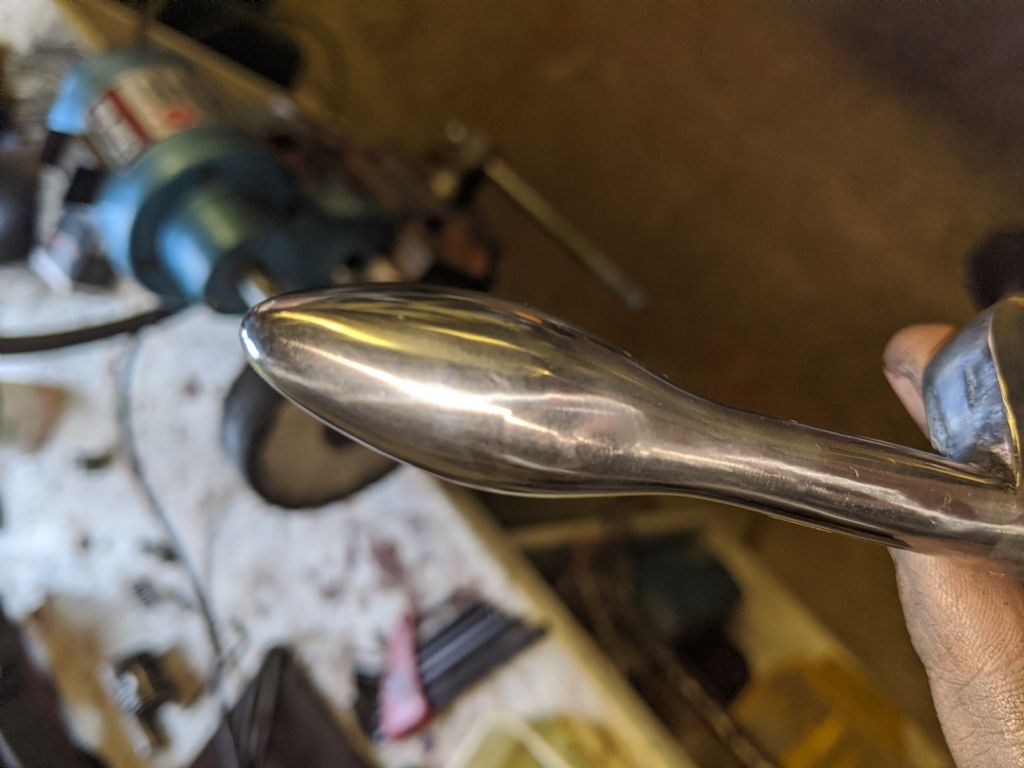
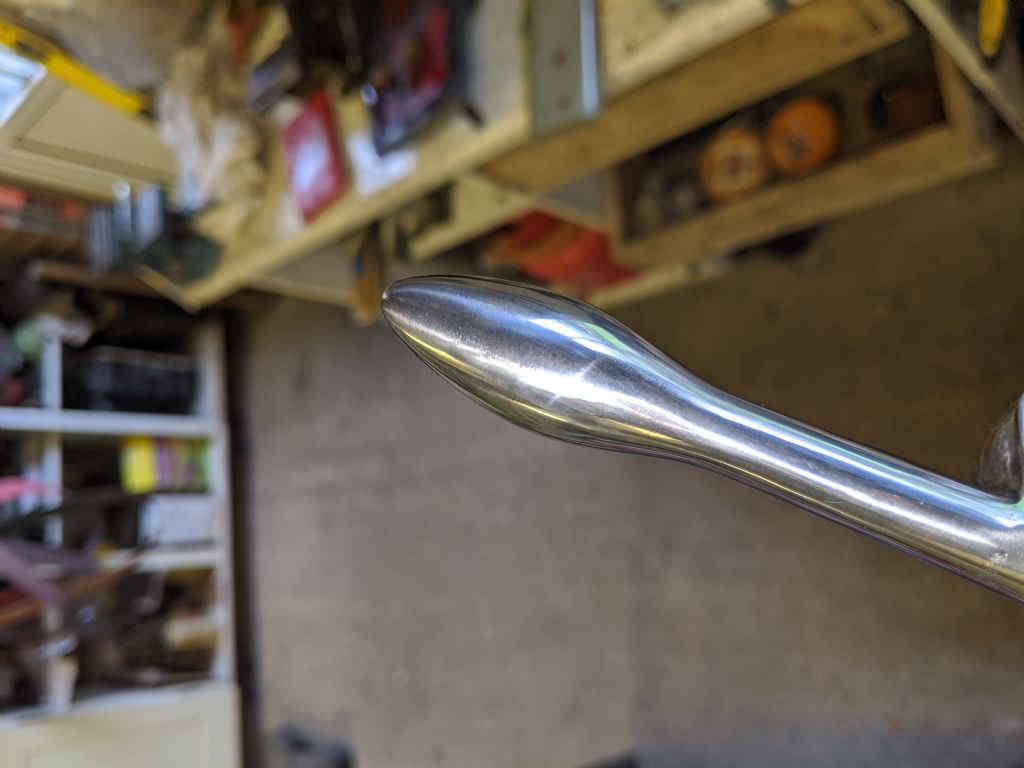
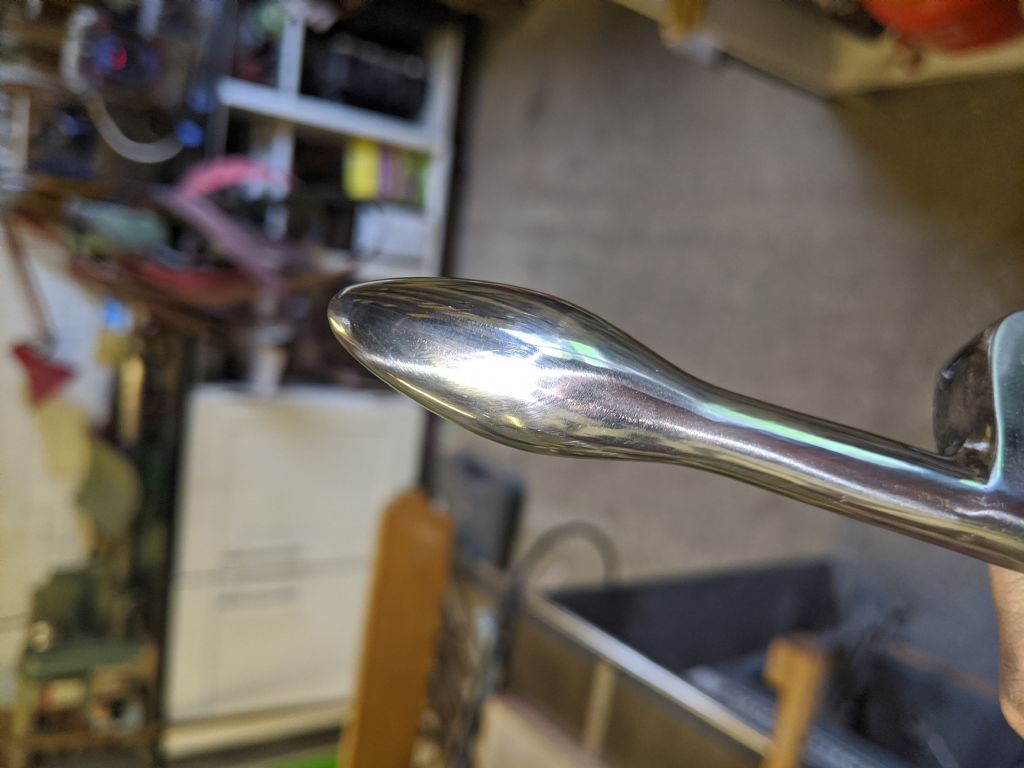
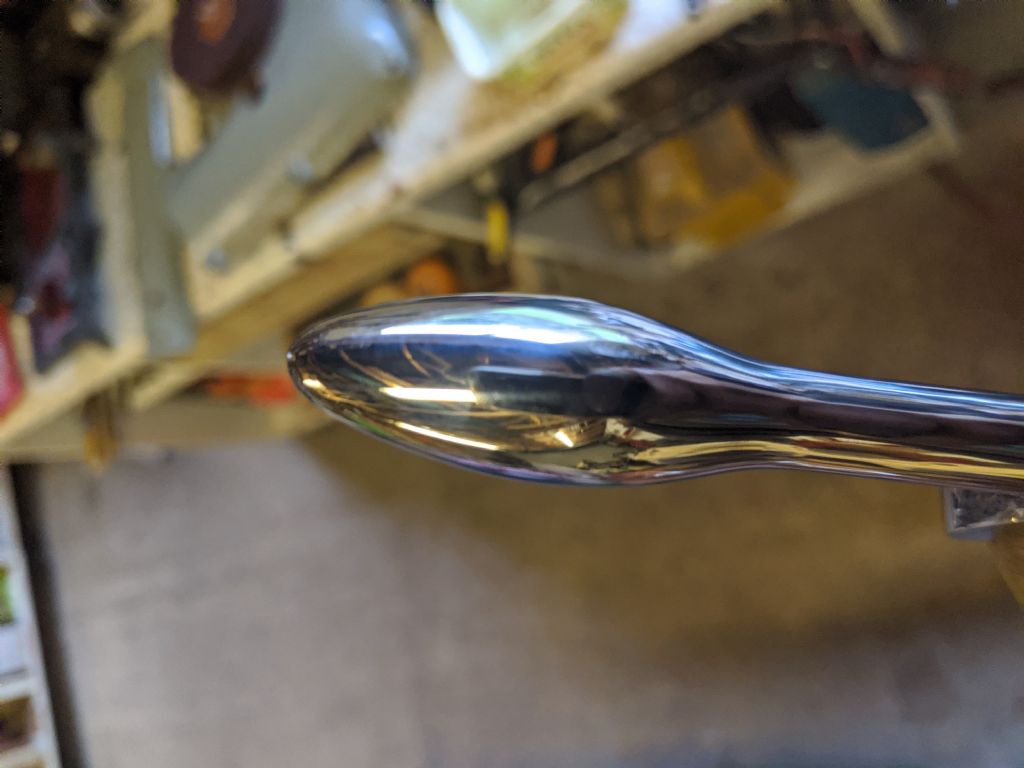
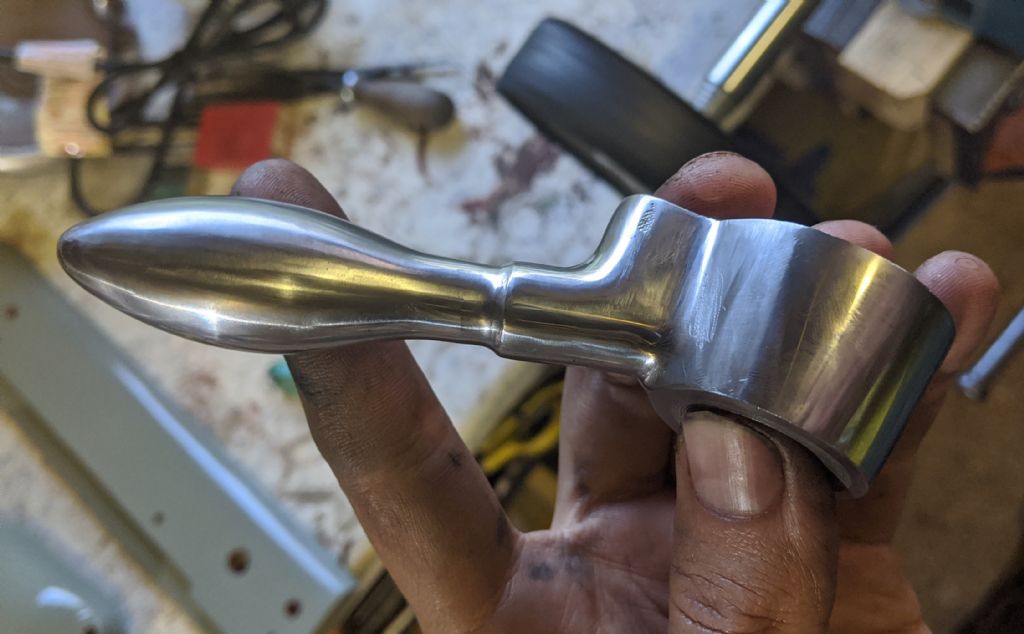
                          I decided that the lever at the bottom was very dinged up and not very nice to hold. And its about time I did some BLING. Got to show Herman how it's really done…

                          So I started off using a 600 grit belt on my belt sander, but using the unsupported belt section so it was slack and conformed to the shape. I used this to remove all the dings, then blended lots of surfaces.

                          img_20200804_141455.jpg

                          Then I went to my standard green compound on a standard buffing kit wheel as a prepolish. This left a buffed surface, but not a nice shiny mirror surface like true bling should be

                          img_20200804_141955.jpg

                          So I moved onto my proper buffing kit, starting with a Green 439T compound with a white close stitched polishing mop. If anyone wants a good source of polishing and bits, I find The Polishing Shop To be extremely useful for all my abrasive needs

                          img_20200804_142239.jpg

                          From there I moved to a Blue P164 Compound with a Loose G quality mop

                          img_20200804_142502.jpg

                          And finally, to finish it off, I went to a P175 compound with a Loose WDR quality mop.

                          img_20200804_142628.jpg

                          So you tell me Herman. Do I BLING? laugh

                          It took me possibly 20 mins, so not too bad, and I'm very happy with how it turned out. I may be tempted to do a few more handles.

                          So I stuck it all back together. I spun the little spun plug 90 degrees so that its using the less worn area now. It's now very clean, and I oiled everything

                          img_20200804_143600.jpg

                          img_20200804_143613.jpg

                          img_20200804_143620.jpg

                          Then onto the rest, lots more cleaning. I have made more progress, but I'll finish the update later

                          img_20200804_151506.jpg

                          #489219
                          Herman van der Merwe
                          Participant
                            @hermanvandermerwe76509

                            Good blinging!! I am impressed!

                            I think that spring is broken and will not offer the correct stiffness, therefore locking force.

                            #489231
                            Richard Kirkman 1
                            Participant
                              @richardkirkman1

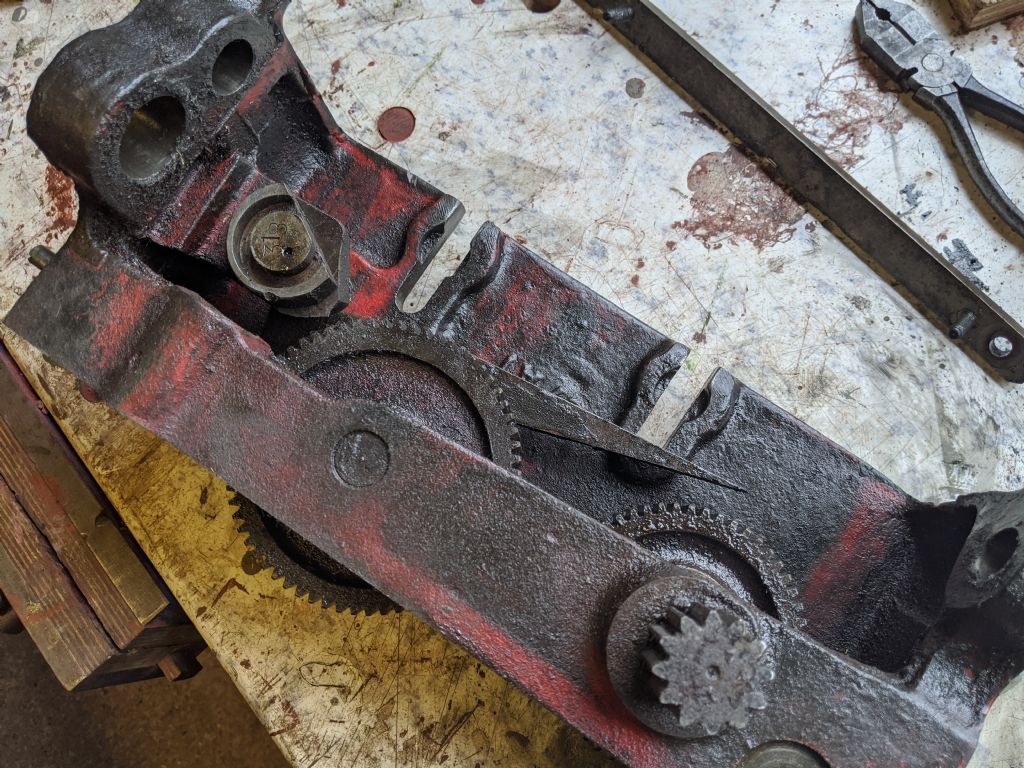
                              Anyway, back to cleaning. I was happily surprised how easily the whole assembly came to pieces

                              I started by cleaning a section just to see how easily the dirt came off, and I was happily surprised once again!

                              img_20200804_151527.jpg

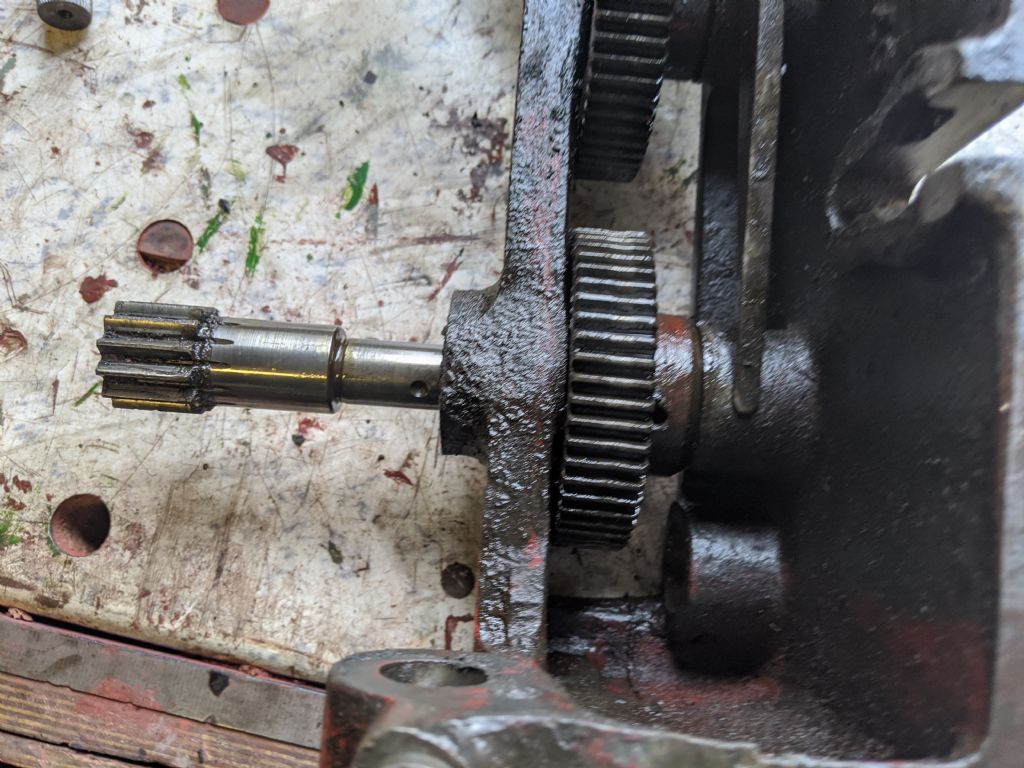
                              This shaft was held in with a set screw, which was easily removed with little effort

                              img_20200804_152032.jpg

                              Then the next shaft was removed through a set screw that I thought was just an oiling hole for a bushing. Clearly not. This was very gunked up, but all clear now!

                              img_20200804_152256.jpg

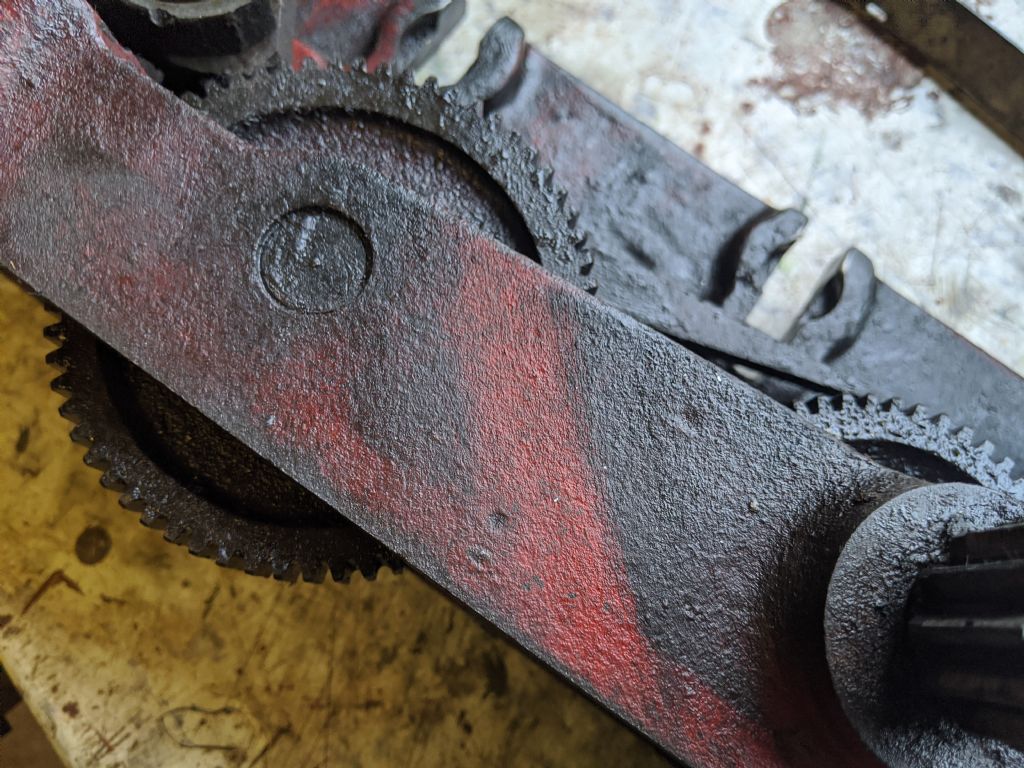
                              Here we have a few of the parts, still missing the handwheel shaft and the broken half nut, but as far as I'm concerned, a very simple apron. Only made less daunting through reading Hermans forum posts. So lots of appreciation there.

                              img_20200804_152651.jpg

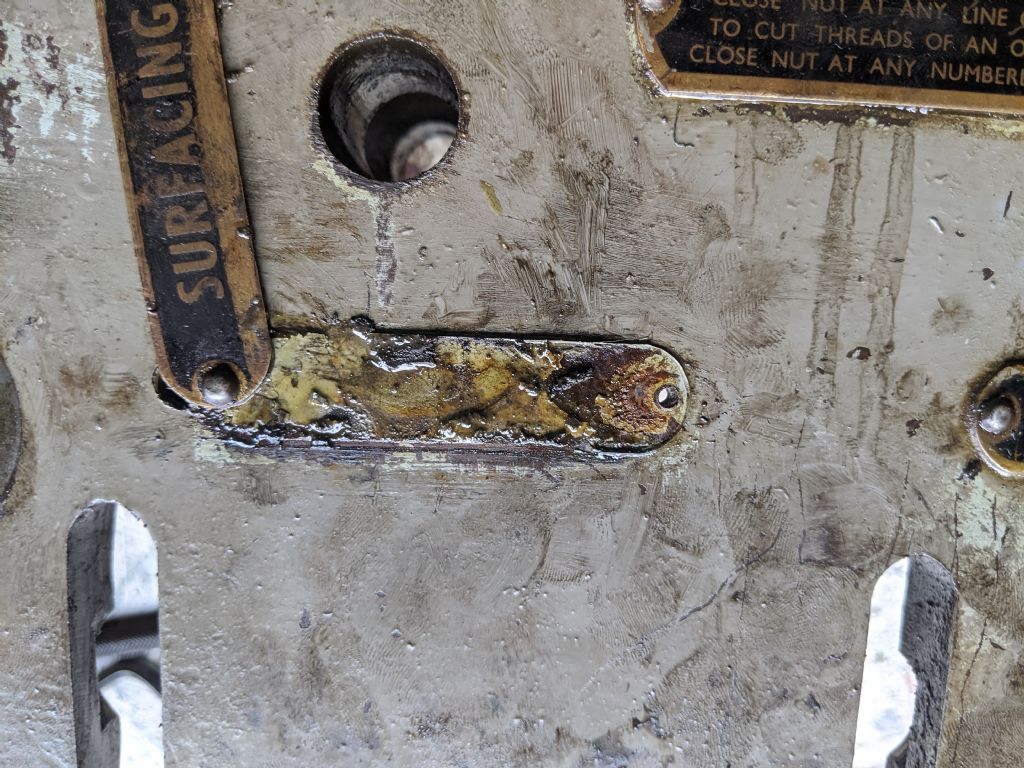
                              Then I popped out one of the tag holder pins and rotated the tag out of the way. This allowed me to go in and clean behind them since they had paint and gunk stuck, which meant they did not lie flat. More of a cosmetic issue. I bent them back flat and they look a little cleaner now, more like they're on the surface rather than having paint go up to them.

                              img_20200804_154730.jpg

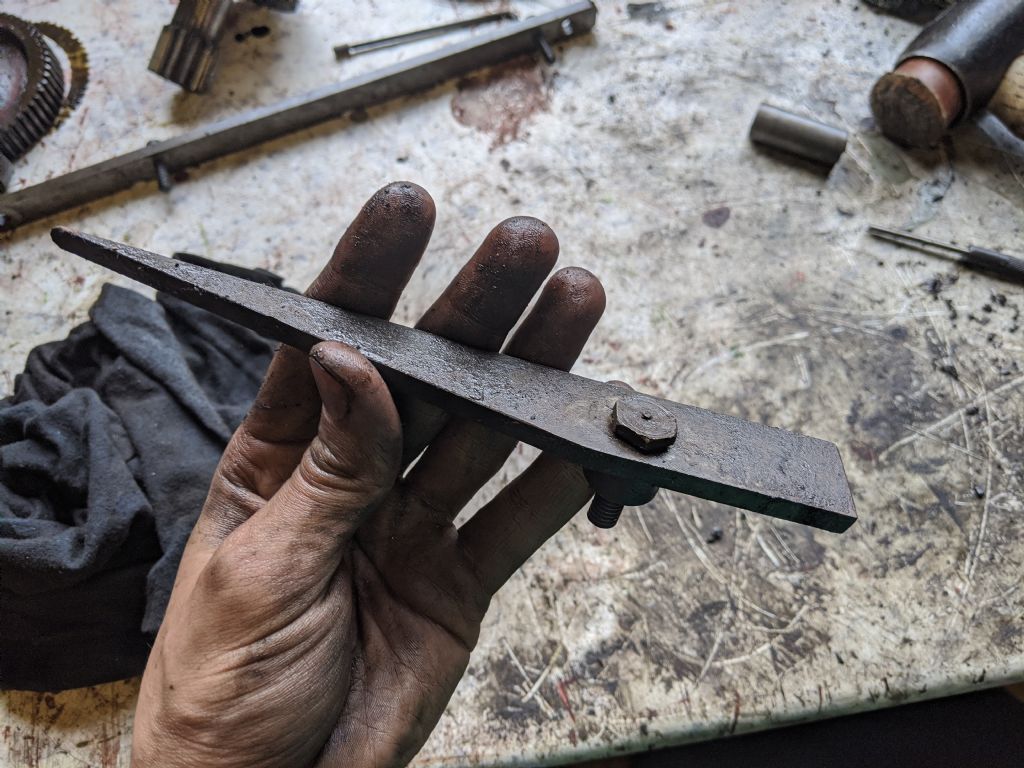
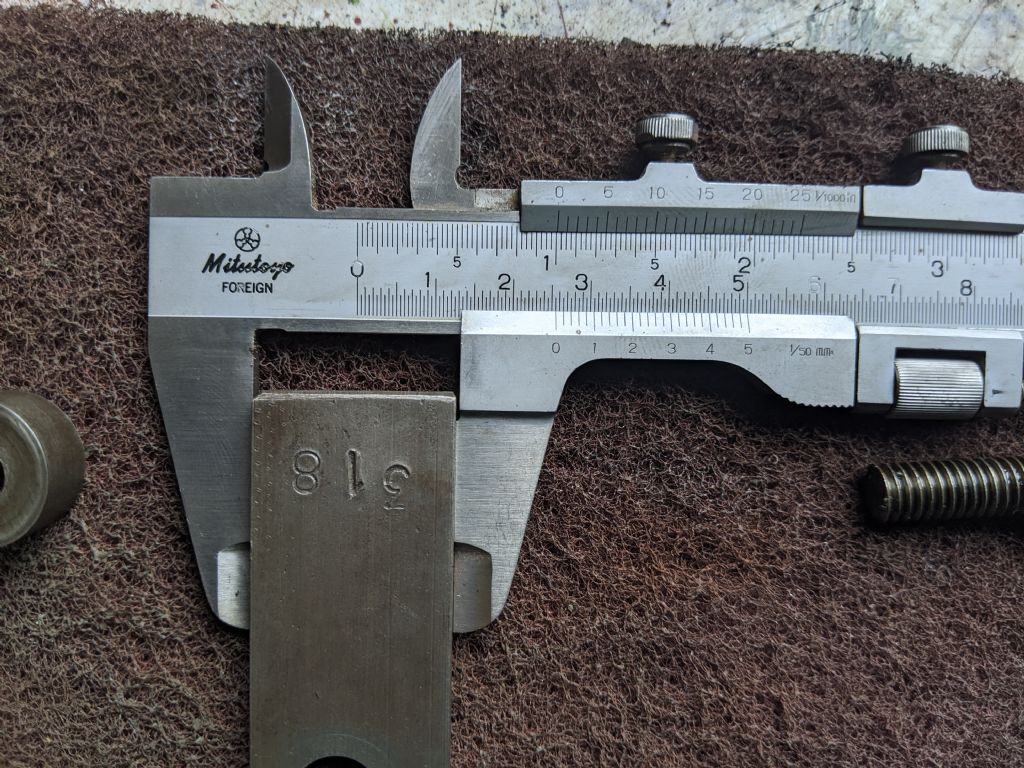
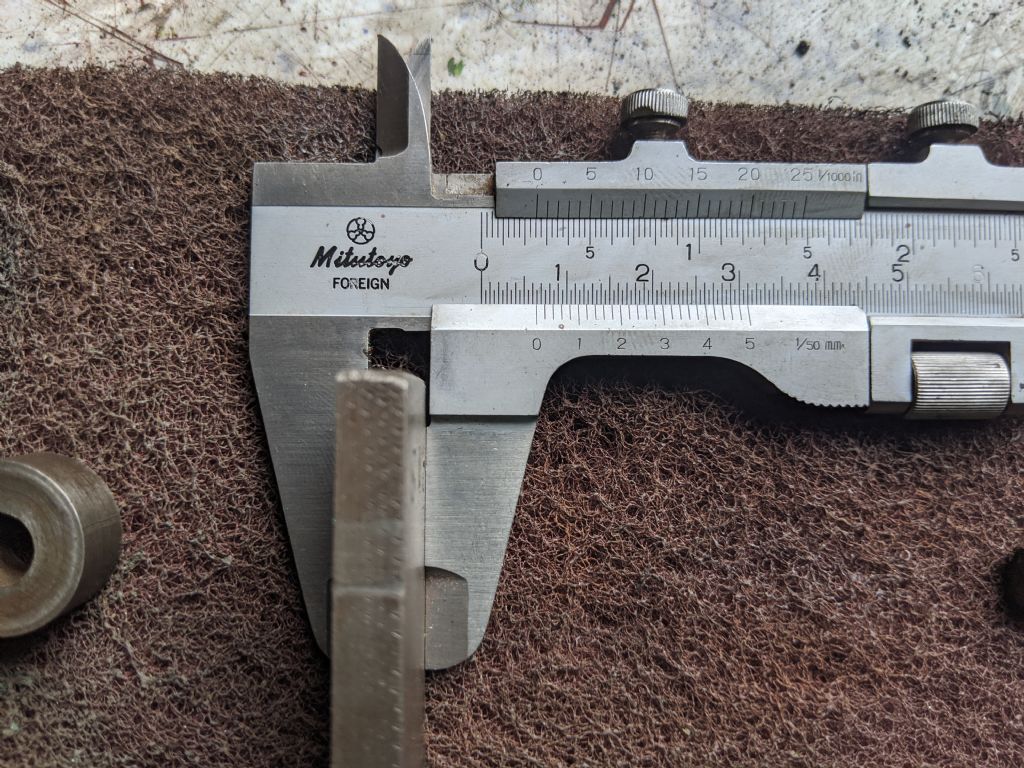
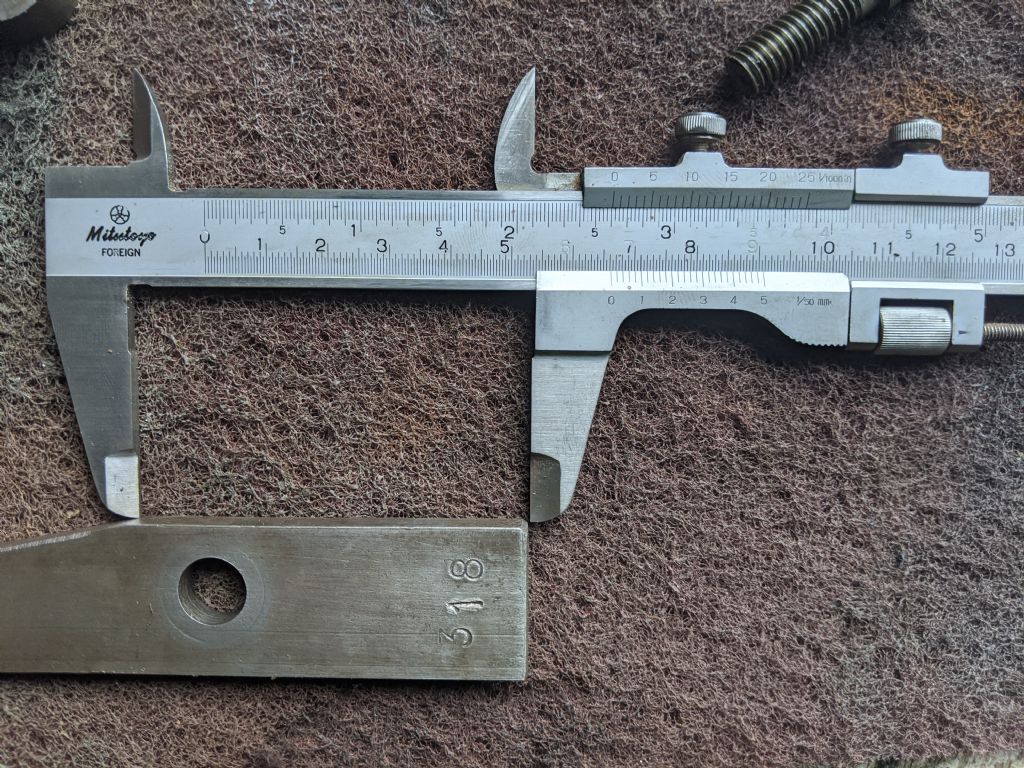
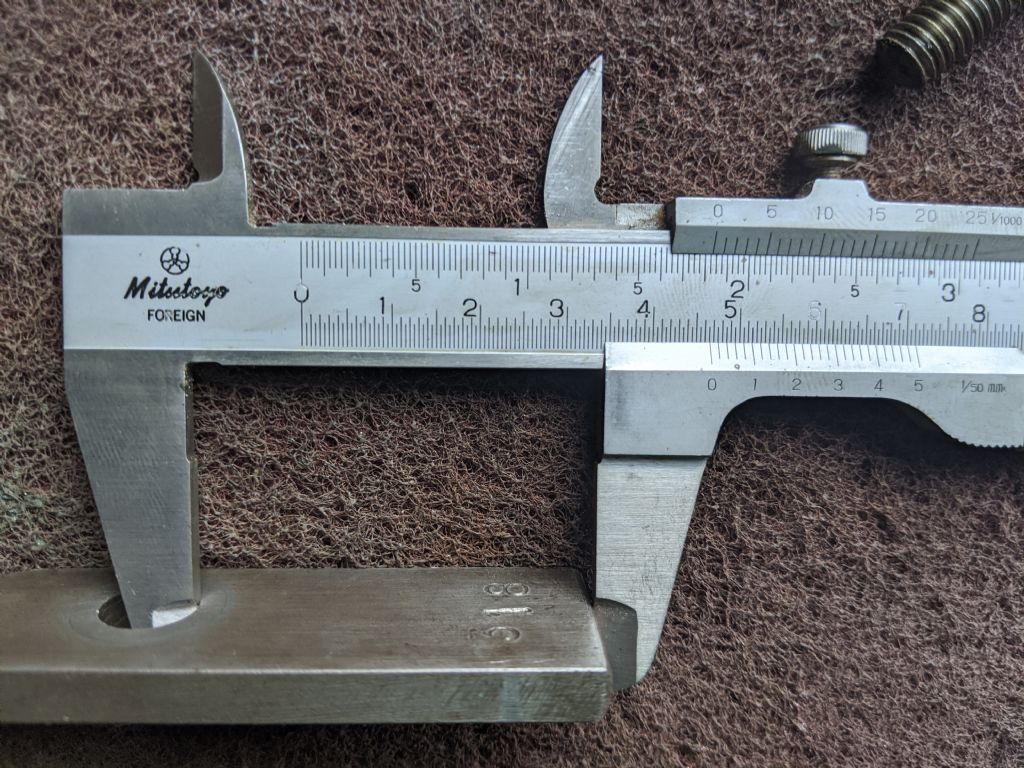
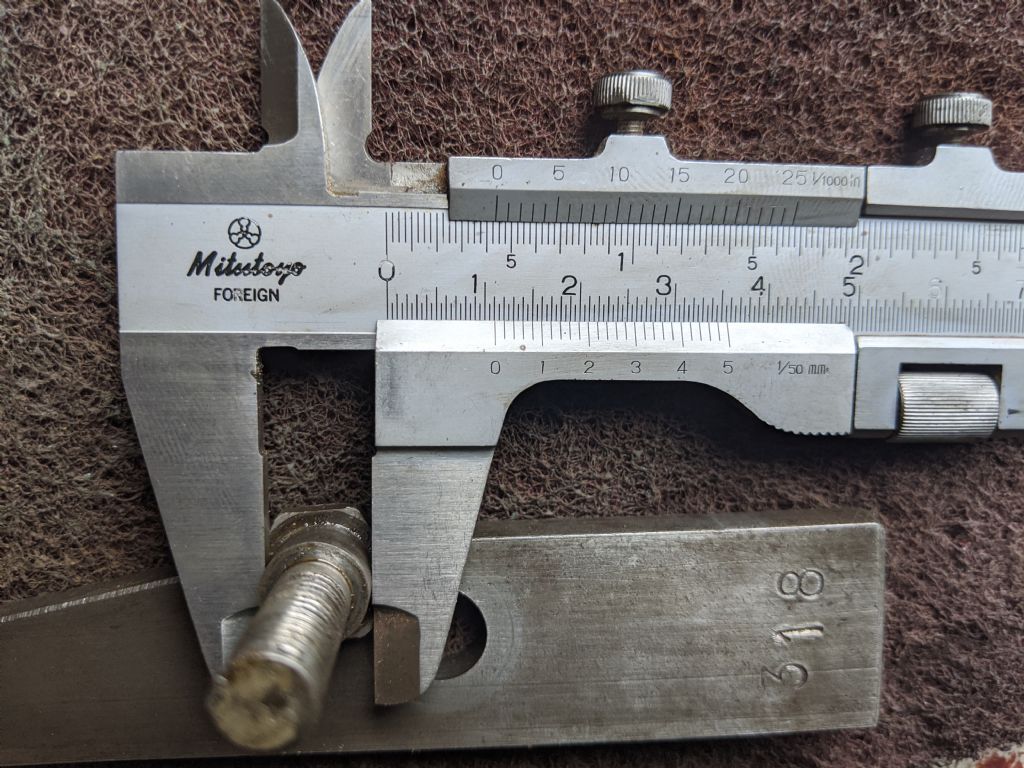
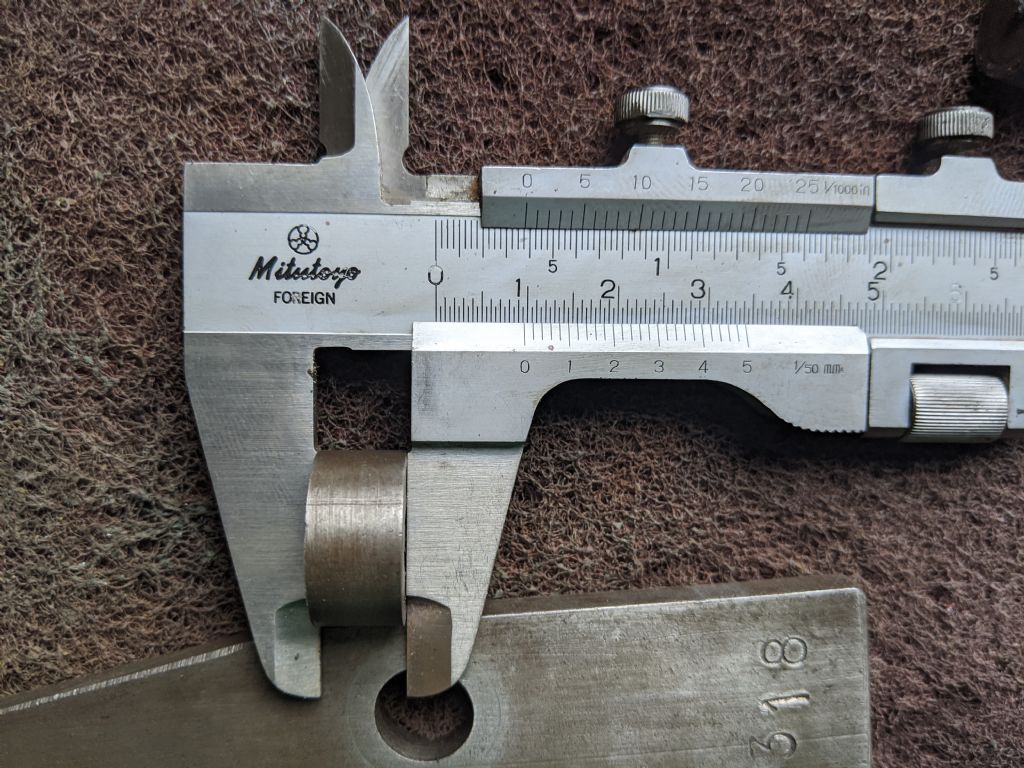
                              Then I removed the level/locking bar that stops the feed and screw cutting lever from being activated at the same time. So the machine does not pull its self to pieces. I have taken many pictures of the sizes below, since Hermans lathe was missing these parts. More to doccument them since Herman had a sketch of one that someone had made. Hopefully this helps someone somewhere someday!

                              I could almost have done with some of those hand garments too!

                              img_20200804_161533.jpg


                              img_20200804_162111.jpg

                              img_20200804_162139.jpg

                              img_20200804_162202.jpg

                              img_20200804_162224.jpg

                              I did not measure the hole, but instead the shaft that goes through it. So it is always loose, so it is allowed to spin/turn

                              img_20200804_162247.jpg

                              The thickness of the spacer is the only important feature, I am unsure if Herman knows of a spacer or something, but one is needed to put the bar at the right distance, and its thickness is as measured below. Fine tuning may be required (Pictures only represent half decent measurement, so take as you will)

                              img_20200804_162300.jpg

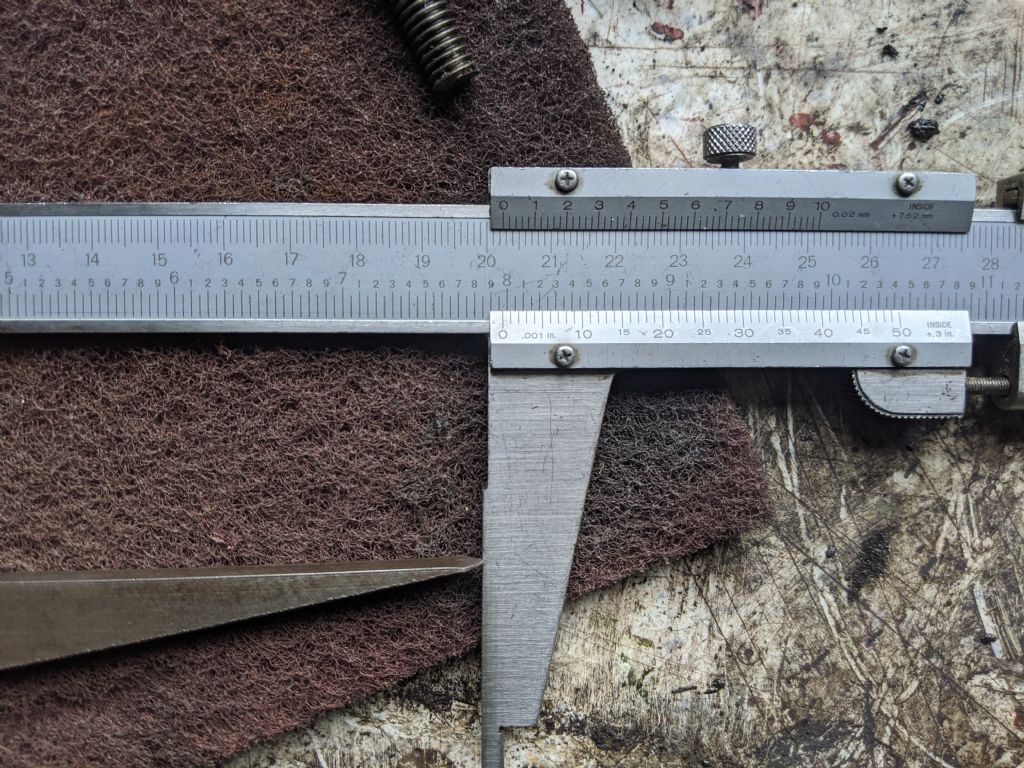
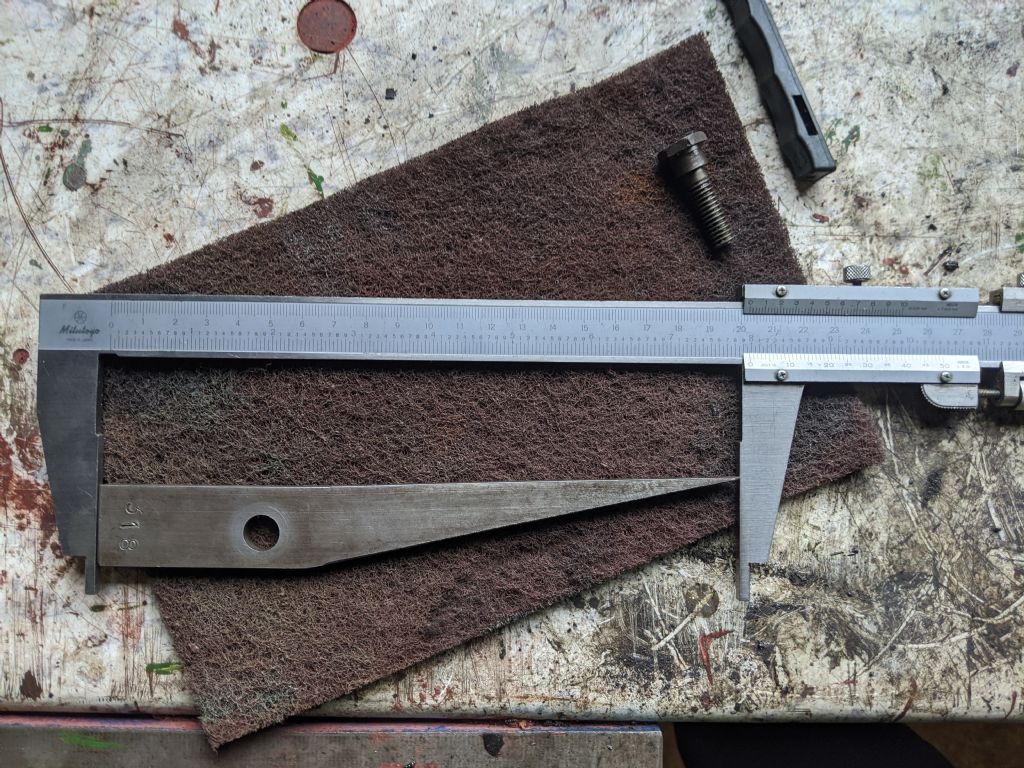
                              Then, lucky me, I got to get the big calipers out. A lovely piece of equipment from a very lovely home. The men in Scarborough that I bought some tools from. I regretted not purchasing a few bits from them, so I asked if I could buy a few more and arrange a courier. This is weeks ago now, but I got the big vernier, slip gauge set and the larger depth micrometer. So It really came in handy here!

                              img_20200804_162356.jpg

                              Overall length may not be critical, but it is good to see a full measurement.img_20200804_162358.jpg

                              Then, after cleaning all parts, I moved to reassembling everything

                              I figured out that the spacer that I made was slightly too thick, preventing the circlip from engaging properly. This is why the whole shaft came out when the new(original old) hand wheel got stuck and I gave it a yank. So I really had to take this all to pieces anyway. So, the spacer is now the correct thickness and the circlip fits in the slot very nicely. I also took good care to clean out the spaces where the wormbox fits in. This will provide better registration.

                              Edited By JasonB on 10/08/2020 10:58:42

                              #489232
                              Richard Kirkman 1
                              Participant
                                @richardkirkman1

                                So, onto the comments

                                Donovan, thank you. I would quite enjoy this as a job, but it takes me far too long for it to be profitable. Servicing would be difficult as I can't imagine anyone would post me their lathe. I'd like to see royal mail try to pick it up though, that would definitely break more than a few post officers backs. Either way, I do enjoy it so who knows what the future holds…

                                Phil, I'll have a look for the screw at the end of the shaft tomorrow. But, I don't want to paint it right now. I don't feel like I have the time to do a proper job. I want to do it once and perfectly. So, I will refrain and take it all to pieces again next summer. It seems much less daunting then since I know how to take it all to pieces and I'll know how the paint is to work with. Especially after these few parts I'm currently doing. Since I will be able to see if the finish is good enough from the spray gun, or if I need to invest in a spray gun and compressor. Parts can always be repainted, even if I take the time to try now. It's not wasted. I really enjoyed last weeks video, my Dad even watched bits over my shoulder since he was interested too, I'll get him hooked!

                                Herman, more blinging to come. I know my stuff when it comes to blinging, although I'm usually trying to bling hardened 01 tool steel in the shape of a knife… (turns out a lot more difficult to do)

                                The spring may be broken, but it has performed already and worked fine. Also with the years of abuse, perhaps a much stronger spring has been placed in your lathe when it should be weaker. We will never know. Unless I look at the manual…
                                I did not check the holes of the worm box for ovalness, but they seemed round to the eye. But I will measure them tomorrow. They seem round enough so I doubt that I will change them, but the measuring is always useful. I'm very happy you appreciate the bling. I will be blinging a few more handles as they look much nicer without the dings in. Mainly the apron handles since they're the most used. The handwheels can stay semi-polished since they are going to be well worn and show some character. Although who knows… I may bling at a later date! I hope the measurements are useful to you

                                All up to date now. Time for more painting and brazing, then even more reassembly, and finally some turning.

                                #489250
                                Herman van der Merwe
                                Participant
                                  @hermanvandermerwe76509

                                  Thanks for the measurements Richard! Really means a lot to me. I will double check the new lockout lever thing's dimensions Brian made for me. The spacing collar is news to me. I had a thrust washer made, but its thickness is a lot less than the width of the collar.

                                  Look at your spring's ends. Ends must always have the double kind of turns. Your spring has only one end with this. This means the spring will not seat correctly and will not function as intended.

                                  #489874
                                  Richard Kirkman 1
                                  Participant
                                    @richardkirkman1

                                    I've been away in Hull for a little bit, but I'm back home now.

                                    I'll sort the spring tomorrow. Do you have the measurements of your spring Herman?

                                    Also, I need a bit of help.

                                    I want to drill down the column of the leadscrew to help it align and provide some reinforcement, which can also be brazed in. I have a 17/64ths drill bit and a 9/32ths reamer, so I plan to drill down both parts with those.

                                    However, I will then need a rod to go down it, since the lathe is out of action for actual turning, I can't make one fit myself. So the question/help is, what size rod should I buy for a 9/32ths reamed hole? Or perhaps the question is, will a 9/32th silver steel ground rod fit into a 9/32ths reamed hole?

                                    I still have another week and a bit before my friend is free for me to go and braze, but the brazing rods and flux have arrived. So I have a week to drill and ream and fit whatever will go in nicely

                                    Edited By Richard Kirkman 1 on 09/08/2020 20:07:08

                                    #489875
                                    Howard Lewis
                                    Participant
                                      @howardlewis46836

                                      A fascinating thread by all posters.

                                      But why is this page the only one that has become narrow for both text and pictures. the text is easy, but the pictures difficult see. Anyone else similarly afflicted?

                                      Howard

                                      #489881
                                      Mat Stoeckle
                                      Participant
                                        @matstoeckle91130

                                        Hi Richard, what a great thread of your lathe restoration. Well done on all the problem solving and solution finding .. Herman, nice to see you again and thanks for mentioning this thread in yours, Phil, I subscribed to your channel and can't wait to binge watch every video, Howard, great info, thank you ..

                                        My name is Mat and I live on the Westcoast of Canada .. I just bought myself a Colchester Student / Dominion a few weeks ago, probably the only one on the Western seaboard and like all of you, started with a general cleaning, wait, gotta take this apart .. clean .. yeah, gotta go one level deeper .. clean .. ah heck, might as well take her to bits and start over ..

                                        Finding you guys is like finding long lost friends .. having a Colchester Student lathe in common is quite the uniting feature .. from all corners of this "blue dot" ..

                                        I'm currently writing up my experience on the Colchester group page if anyone is interested ..

                                        https://colchesterlathe.groups.io/g/main/topic/colchester_student_dominion/75772938?p=,,,20,0,0,0::recentpostdate%2Fsticky,,,20,0,0,75772938

                                        But I signed up here too .. so expect me to stick around

                                        Cheers!

                                        Mat

                                        #489888
                                        Richard Kirkman 1
                                        Participant
                                          @richardkirkman1

                                          Yes, it's gone the same for me, Howard.

                                          Hopefully the next page will go back to normal. No idea why

                                          #489914
                                          Herman van der Merwe
                                          Participant
                                            @hermanvandermerwe76509

                                            You said: "I want to drill down the column of the leadscrew to help it align and provide some reinforcement, which can also be brazed in. I have a 17/64ths drill bit and a 9/32ths reamer, so I plan to drill down both parts with those."

                                            I do not have any idea what you are talking about? Perhaps a picture of what is broken will help?

                                            BTW, I reported this page as I cannot read it … it is a formatting issue somewhere.

                                            #489915
                                            Frances IoM
                                            Participant
                                              @francesiom58905

                                              the formatting error is due to a user edit of a post that destroys the formatting of subsequent posts but needs a moderator to add the bit of formatting that was removed in the edit

                                              #489937
                                              JasonB
                                              Moderator
                                                @jasonb

                                                I took something away rather than adding and all good now.

                                                #489942
                                                Richard Kirkman 1
                                                Participant
                                                  @richardkirkman1

                                                  Herman, sorry if I didn't explain clearly, I mean to drill and ream down the shaft before I braze it, So it aligns. So the pin size is important as it will effect the fit

                                                  img_20200803_183957.jpg

                                                  JasonB thank you for fixing the page.

                                                  Thanks for the message Mat, nice to hear someone else is here too. I have been on the colchester forum for a while, but only lurking. Your posts are looking very good so far!

                                                  #489954
                                                  Herman van der Merwe
                                                  Participant
                                                    @hermanvandermerwe76509

                                                    Oh, you mean the halfnut, not the leadscrew.

                                                    I would not do that. I would clamp it in a short length of thick walled angle iron and then braze it up. IMHO you will never be able to align the centres of the two pieces unless you do it on a milling machine with a DRO.

                                                    It is only a shaft with no micro accuracy required.

                                                    Thanks @JasonB – now I can read again.

                                                    #490061
                                                    Richard Kirkman 1
                                                    Participant
                                                      @richardkirkman1

                                                      Yes of course, the half nut not the lead screw. Mixed my words up.

                                                      The shaft is actually very tight in the hole, so a very good alignment is required.

                                                      I'll take your word for it, however I would have thought that a 4 jaw with an 0.0005" indicator would have been able to get close enough to aligned. As long as the tailstock is aligned. Anyway I'll just braze it, I can reinforce it later if need be.

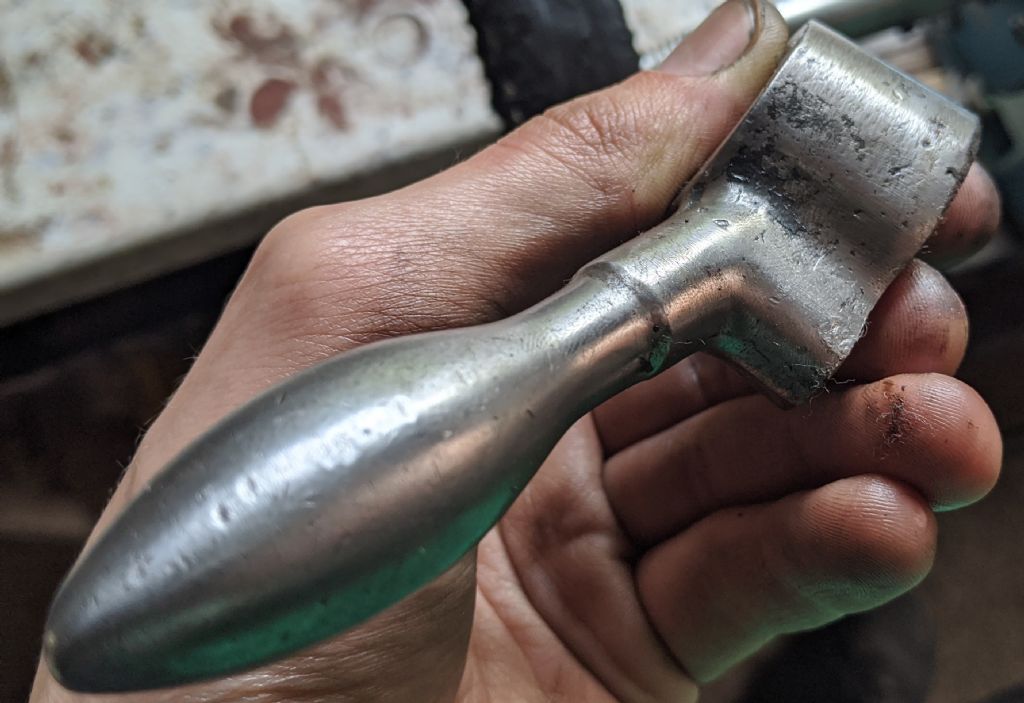
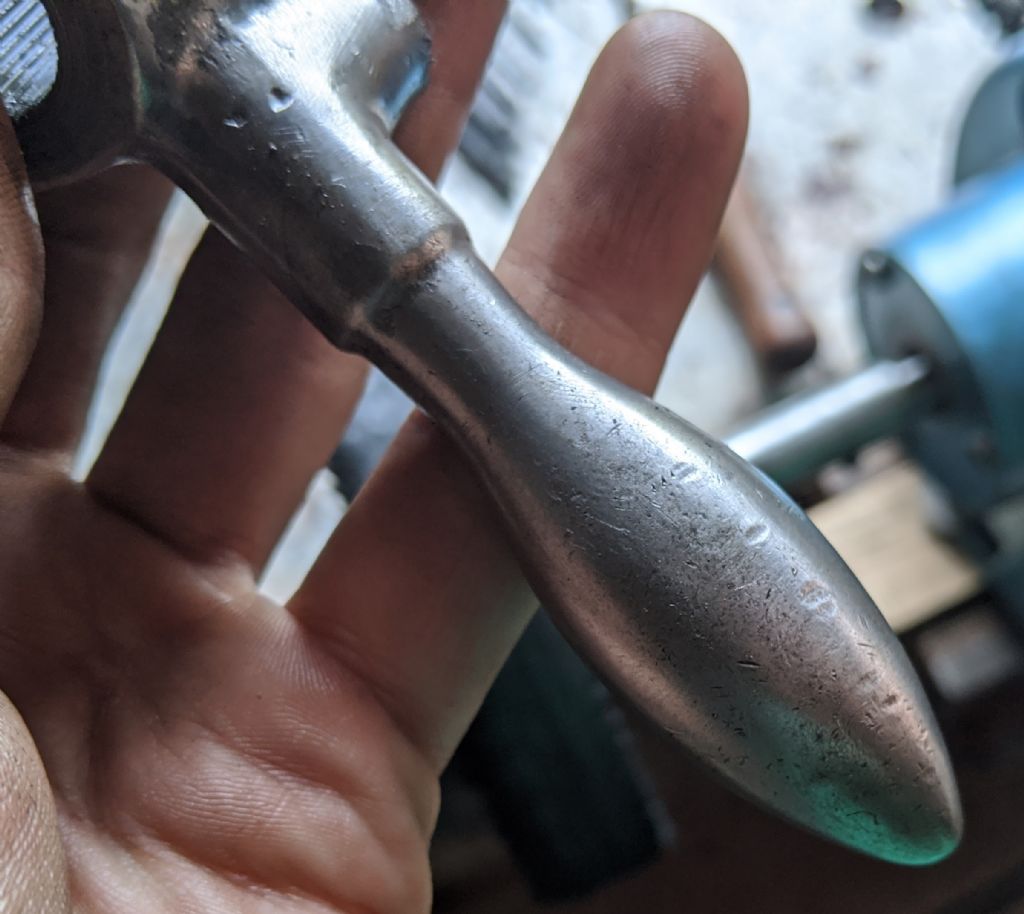
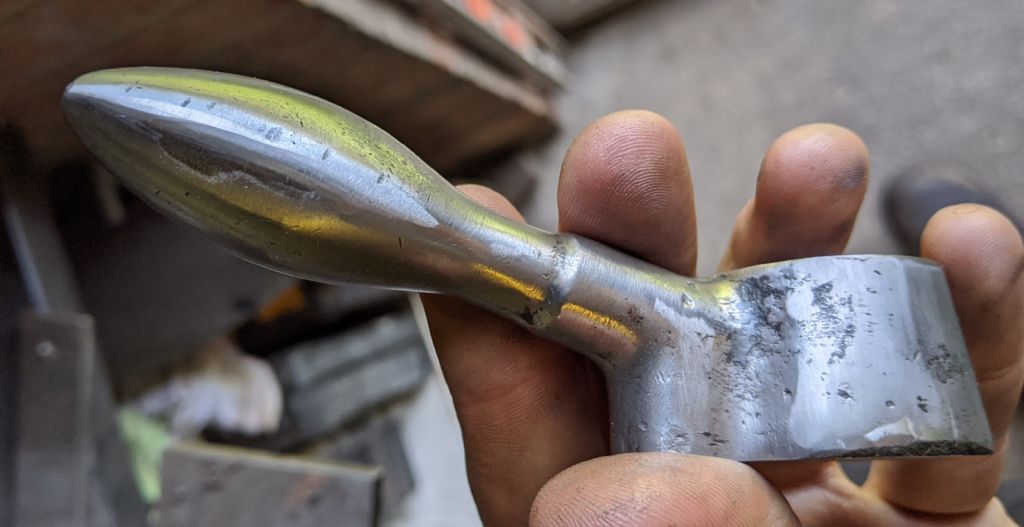
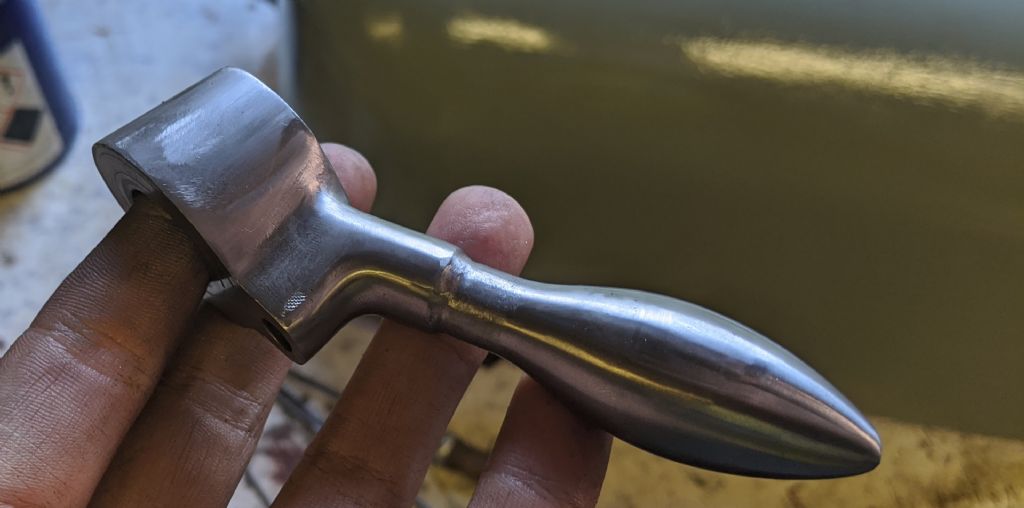
                                                      I've been painting and blinging today. Not particularly much progress as I didn't get the blinging finished.

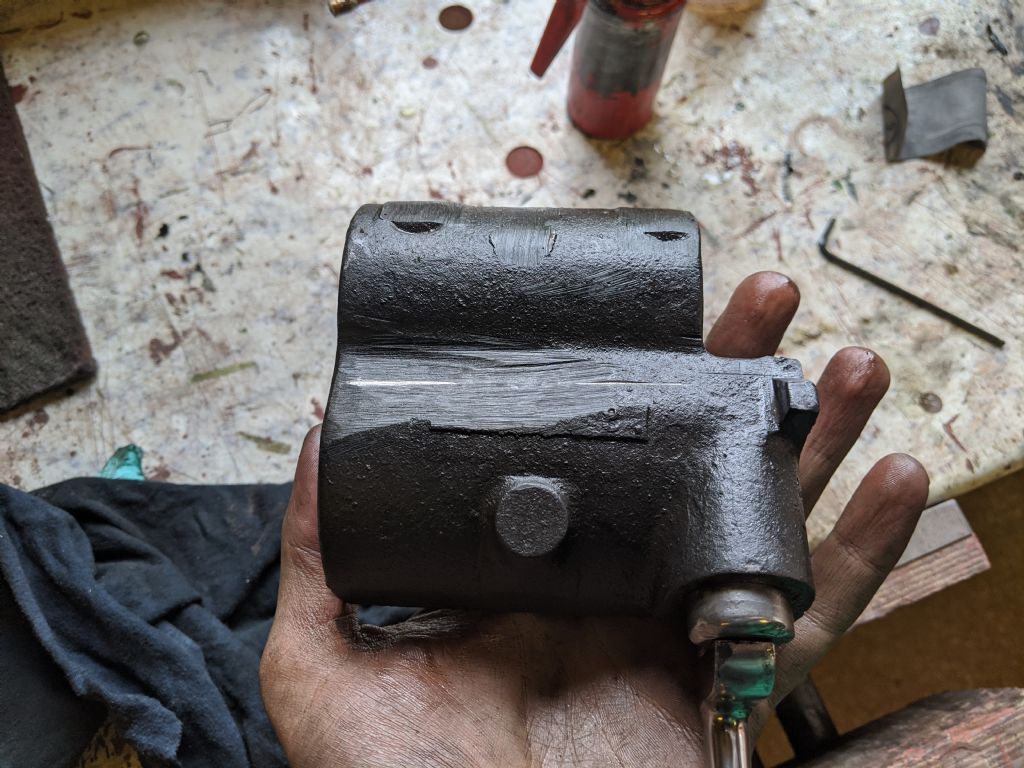
                                                      The handle was deeply beaten up and had even more dings that you can't see in the pictures. It took a long time to file and get them out. I still have to remove all of the deeper scratches and other bits before I can polish fully

                                                      img_20200805_085939.jpg

                                                      img_20200805_085942.jpg

                                                      A while later on the belt grinder, the 600 grit belt was not abrasive enough, so I moved down to a worn 240 and then to hand files

                                                      img_20200810_123456.jpg

                                                      Hand files and then back to the 600 grit gave a decent enough finish, but there are still some deeper scratches from filing that will need removing tomorrow

                                                      img_20200810_193750.jpg

                                                      Almost at the pre polish stage. Not too much work to do tomorrow.

                                                      img_20200810_194538.jpg

                                                    Viewing 25 posts - 676 through 700 (of 797 total)
                                                    • Please log in to reply to this topic. Registering is free and easy using the links on the menu at the top of this page.

                                                    Advert

                                                    Latest Replies

                                                    Viewing 25 topics - 1 through 25 (of 25 total)
                                                    Viewing 25 topics - 1 through 25 (of 25 total)

                                                    View full reply list.

                                                    Advert

                                                    Newsletter Sign-up