Colchester Student Mk1 Won’t Start

Advert

Colchester Student Mk1 Won’t Start

Home Forums Help and Assistance! (Offered or Wanted) Colchester Student Mk1 Won’t Start

Viewing 25 posts - 276 through 300 (of 797 total)
  • Author
    Posts
  • #463431
    Richard Kirkman 1
    Participant
      @richardkirkman1

      Thanks Dennis

      I don't really fancy taking it that far apart right now, so I'll just clean what I can access from here. But I will have to put it back together to make a new spacer, then take it apart again to fit it! I should probably go support the apron…

      The weather was really nice yesterday, so I left the tractol out in the sun. It actually became much thinner than before, so it was much easier to paint and left an alright finish. I still need to do a few more coats.


      Also, Does anyone know exactly what size key I need for an mt3 jacobs chuck? I don't seem to have the right size and managed to size it up wrong already. The model options on their website don't make much sense to me. It's a no34 chuck, I'll see if I can find anything

      Looking at my order history, I just got confused and got a k32 key when I should have got a k3.

      Yep, ignore that, I'm being stupid and not doing enough research

      Edited By Richard Kirkman 1 on 09/04/2020 12:04:39

      Edited By Richard Kirkman 1 on 09/04/2020 12:10:16

      Edited By Richard Kirkman 1 on 09/04/2020 12:14:20

      Advert
      #463568
      Richard Kirkman 1
      Participant
        @richardkirkman1

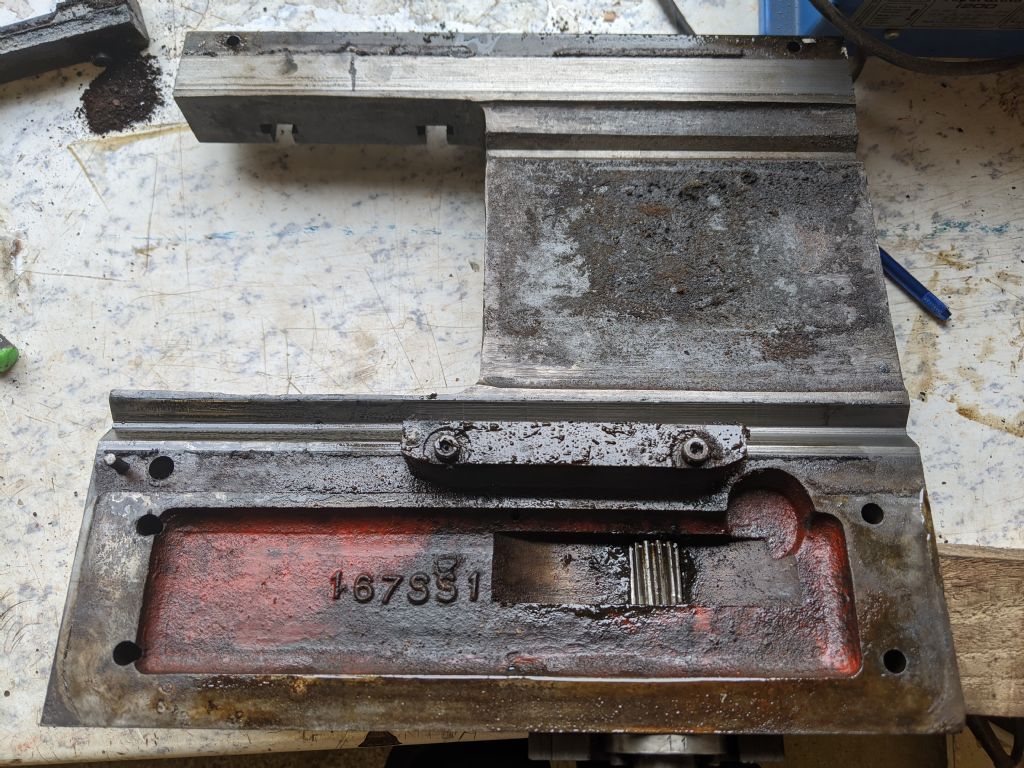
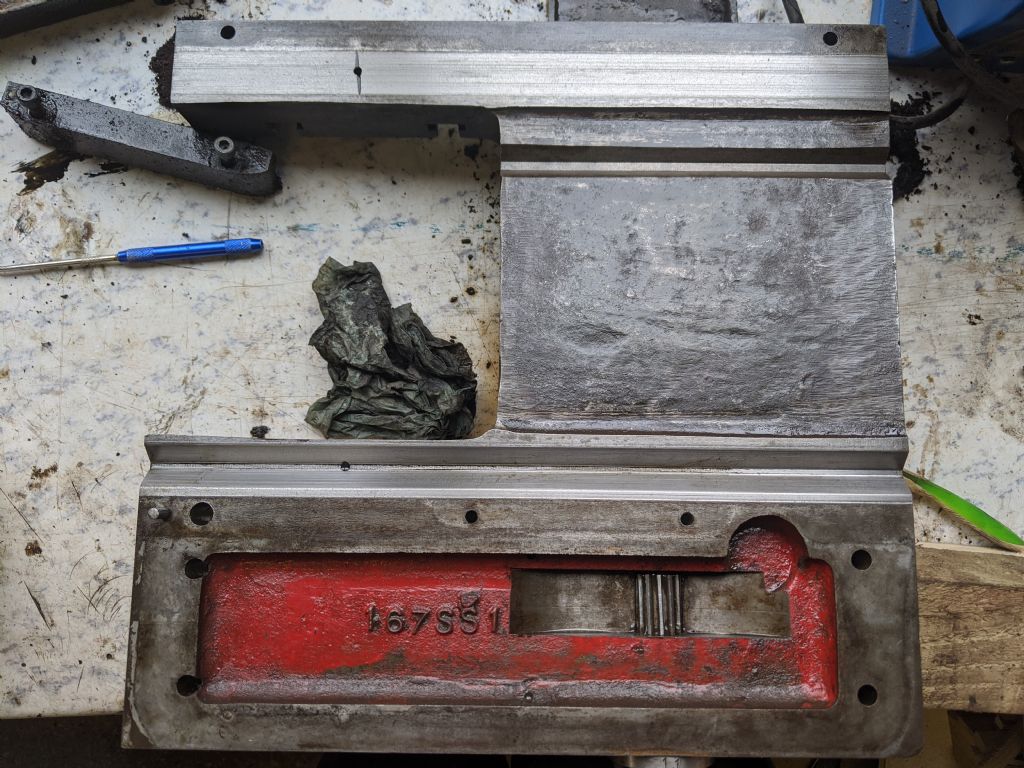
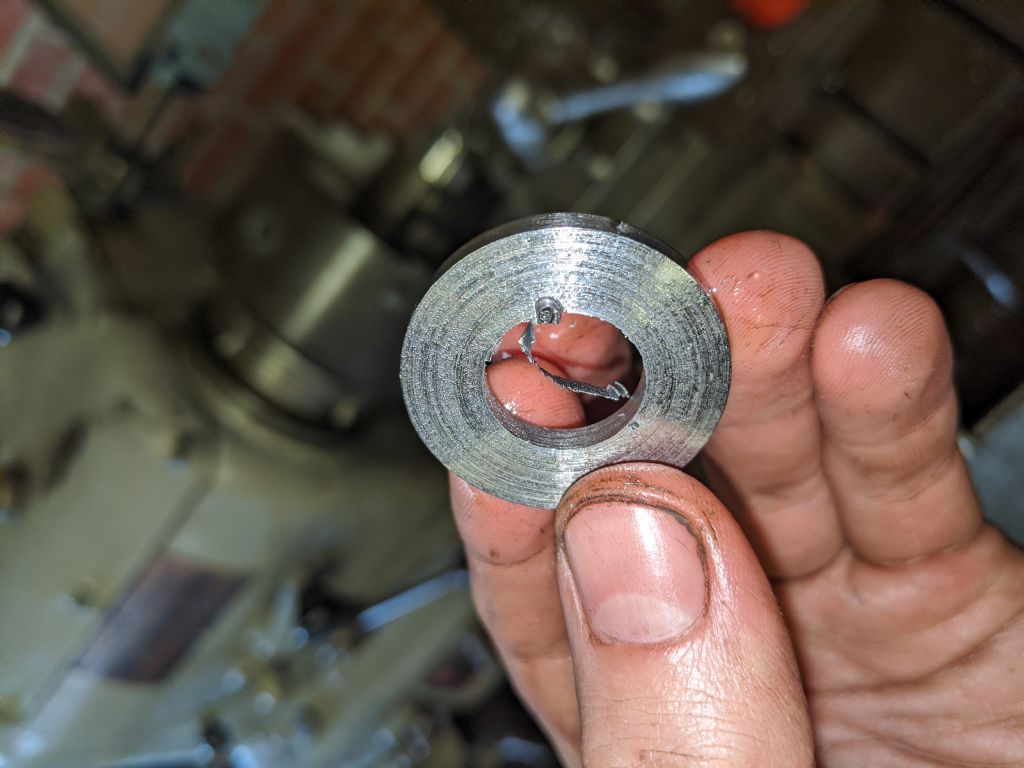
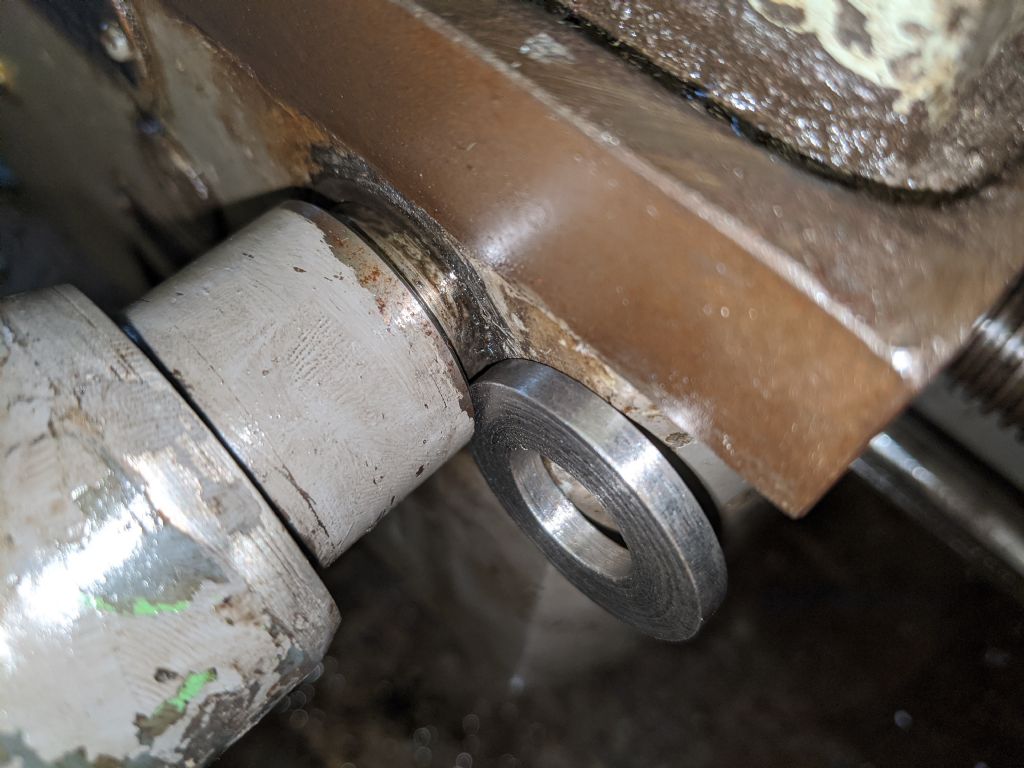
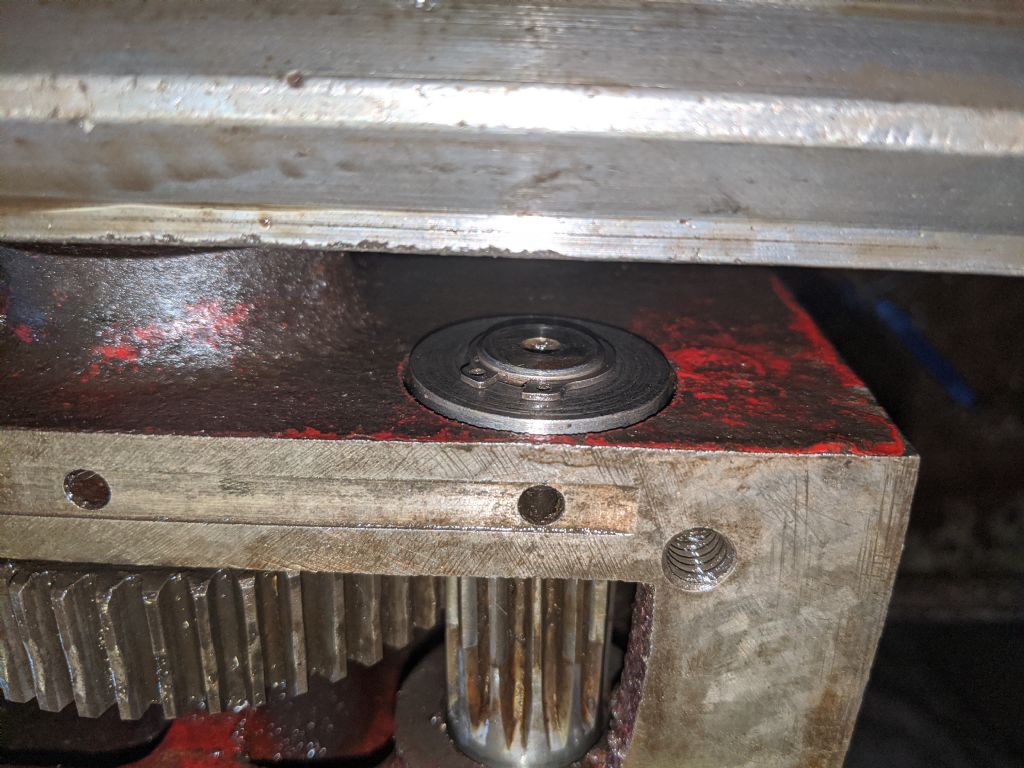
        I did some cleaning today. Got everything ready to go back together. I need to measure up the size of the new spacer I need to make. Needs 5/8ths bore, then o can measure the thickness when it's all back together. I need to remove as much of the slop as possible since it's causing uneven wear on the gears.

        All the oiler holes were bunged up with gunk, so a good clean should have helped them a lot!

        I cleaned the gap bed thoroughly, but I don't think I'll be painting it this time around. Maybe next time

        img_20200409_161532.jpg

        img_20200409_164543.jpg

        Also, I think I'm going to get some 100×100 box section steel, 5mm wall so I can raise the lathe. It's just too low and it hurts after extended use. I may as well make it comfortable.

        I've also found a very cheap precision level, so that will come in handy

        Edited By Richard Kirkman 1 on 09/04/2020 20:30:07

        #463580
        Richard Kirkman 1
        Participant
          @richardkirkman1

          Wheel video

          In the video you can see where it's already been worn unevenly

          #463673
          Phil Whitley
          Participant
            @philwhitley94135

            Don't worry too much about the wear Richard, it is not a "precision" control. Fit a spacer to take up the play, clean out the oil holes into the bushes, and call it done!

            Phil

            #463723
            Richard Kirkman 1
            Participant
              @richardkirkman1

              I wasn't worried about the precision or the wear. It's just anoying having the wheel move in and out.

              I put it all together, measured what I needed, then made the spacer. I had a play with speeds and feeds. It would be nice if I'd remembered to bring my machinery's handbook back from uni with me

              Parting off is going much smoother now, so thank you for your tips. Although I am still using the carbide one, I will get back to the hss one since it's thicker and will be better for heavier work

              img_20200410_130537.jpg

              img_20200410_135919.jpg

              img_20200410_140813.jpg

              img_20200410_141402.jpg

              Parting off

              I'll take it to pieces again and reassemble with the spacer this afternoon. I hope it fits😀

              #463732
              Howard Lewis
              Participant
                @howardlewis46836

                More progress! "Every day, in every way, I get better and better"

                You are up and running; making things to repair things!

                My problem with parting off is that the face is never as good as is obtained facing with a normal tool, which always makes an additional op for. me. So the tendency is to part off slightly over length and then face back to the required thickness, or even, most unusually for me; to make it look nice!.

                Keep up the good work.

                Howard

                #463755
                Richard Kirkman 1
                Participant
                  @richardkirkman1

                  Thanks Howard, yes it could have been better. But it feels smooth enough to me and it was bang on the size I wanted. So I just used it as is

                  img_20200410_153322.jpg

                  So much nicer to use now, it wasn't nice grabbing the handle and having it move in the wrong direction

                  Before

                  After

                  I think I'm going to give my 3 jaw a break down and a clean. Not that it's dirty or doesn't work, but I just fancy it. Who knows what I'll find

                  I'm going to get some pieces of 100×100 steel square box section 5mm thick to raise the lathe on. Just need to measure how much I'll need. Would people recommend two pieces or three to support the lathe?

                  #463872
                  Richard Kirkman 1
                  Participant
                    @richardkirkman1

                    Didn't bother with the 3 jaw in the end. Gave it a and lilittle clean and oil since it was off, but nothing more than that.

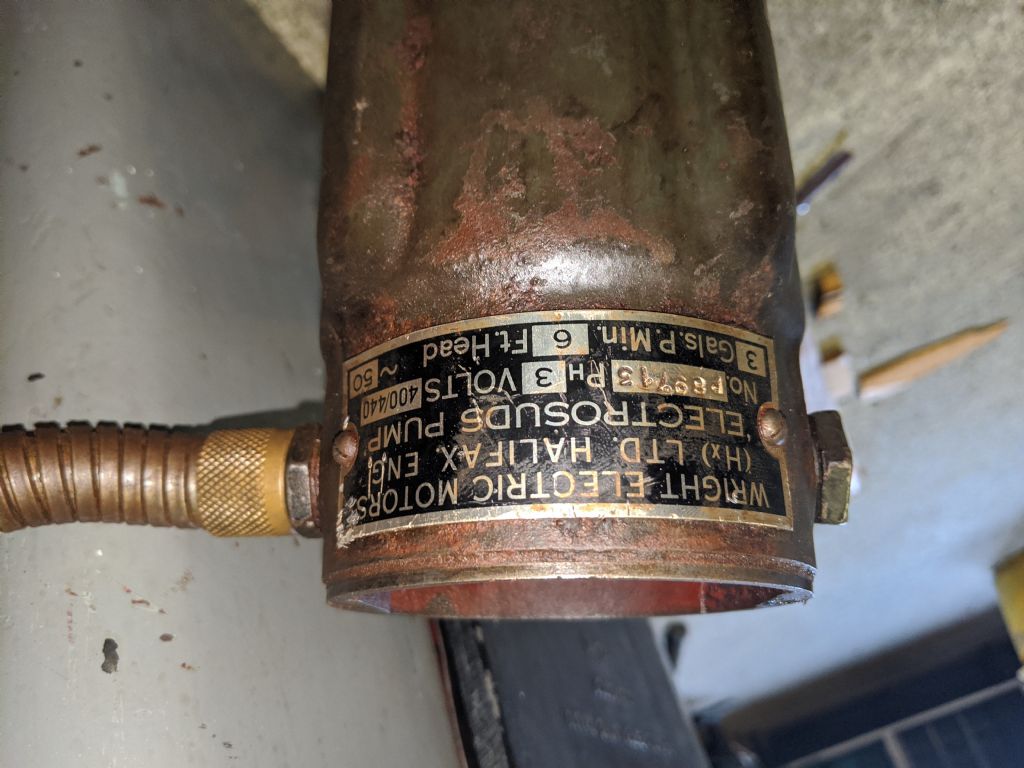
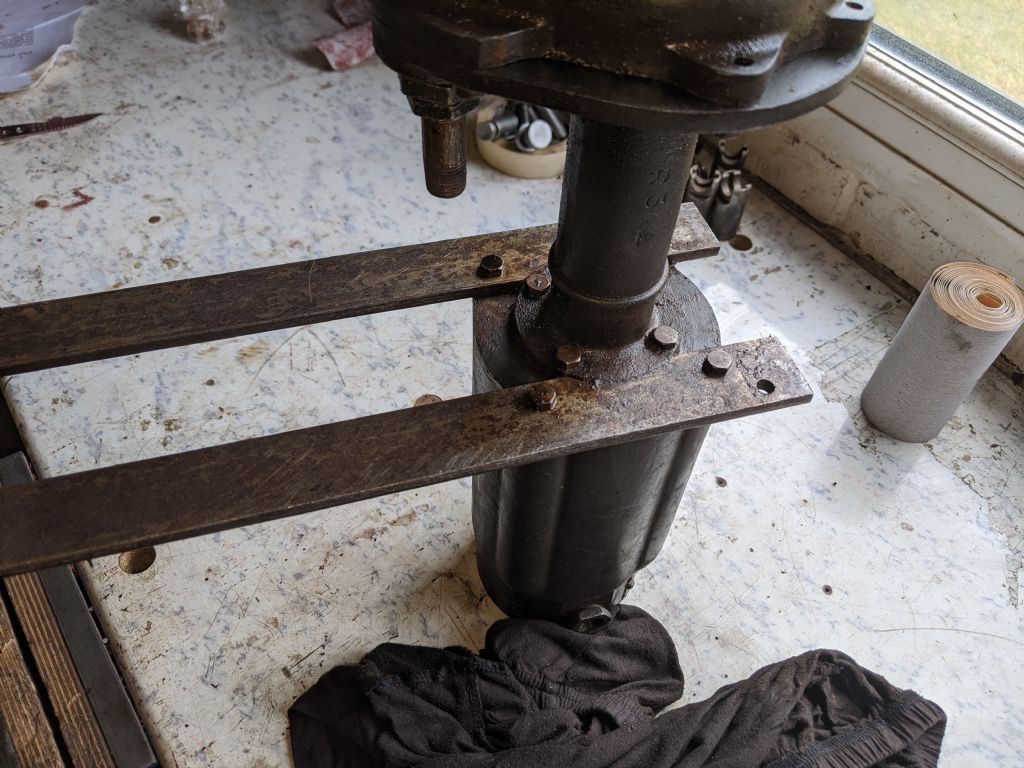
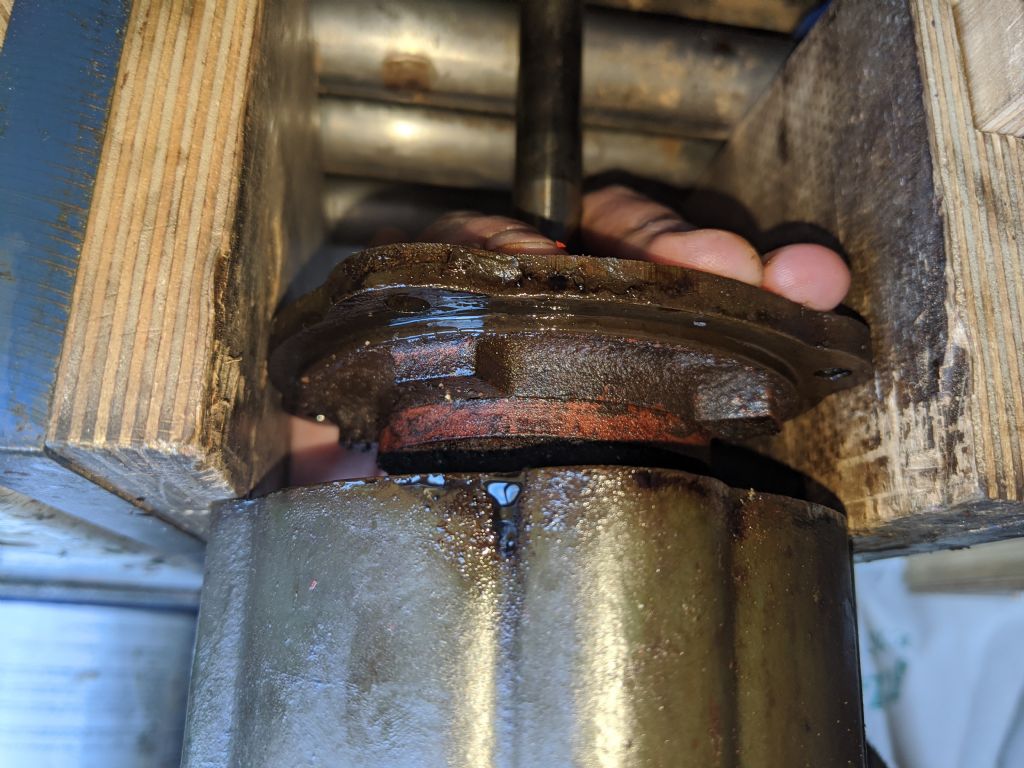
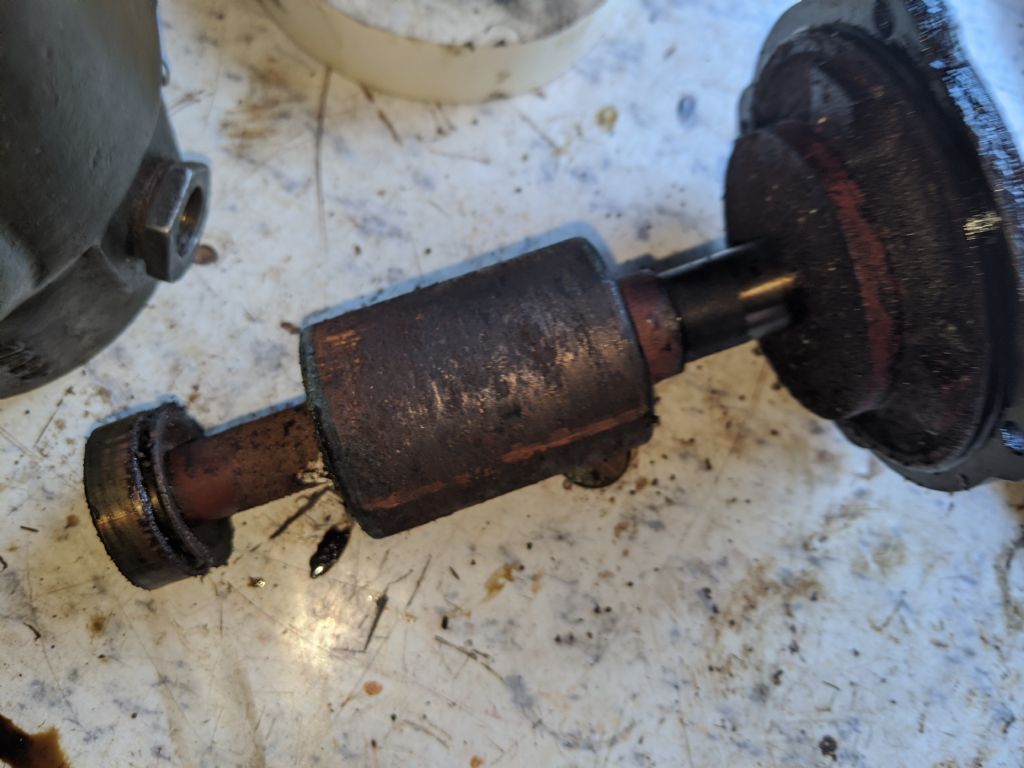
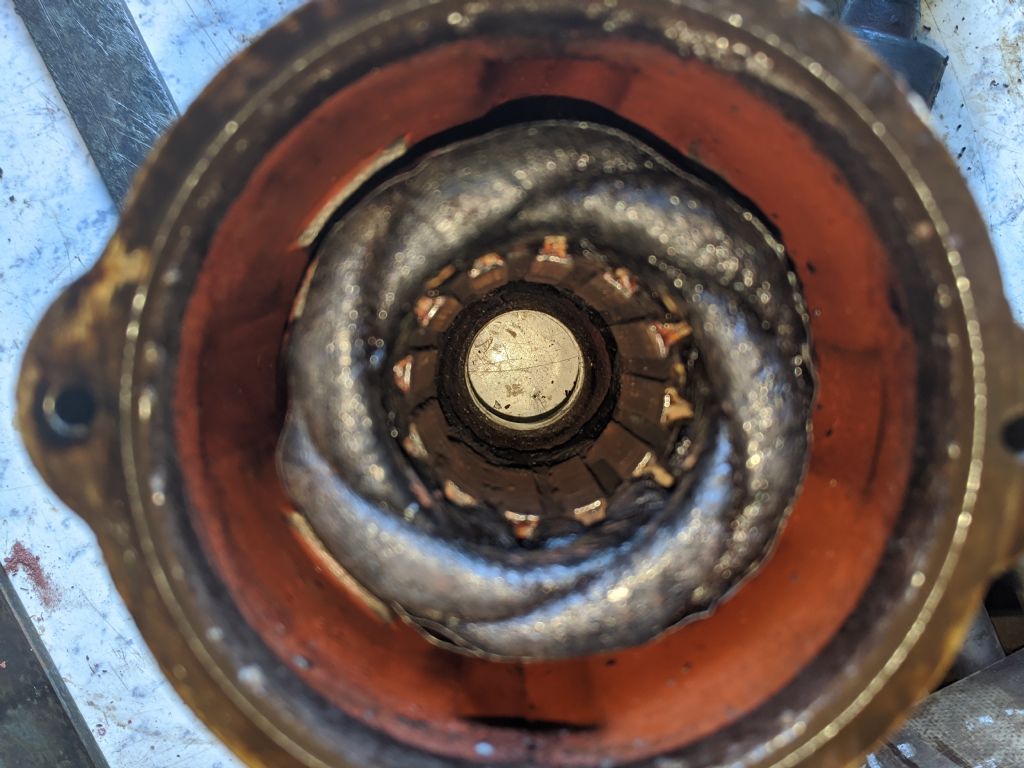
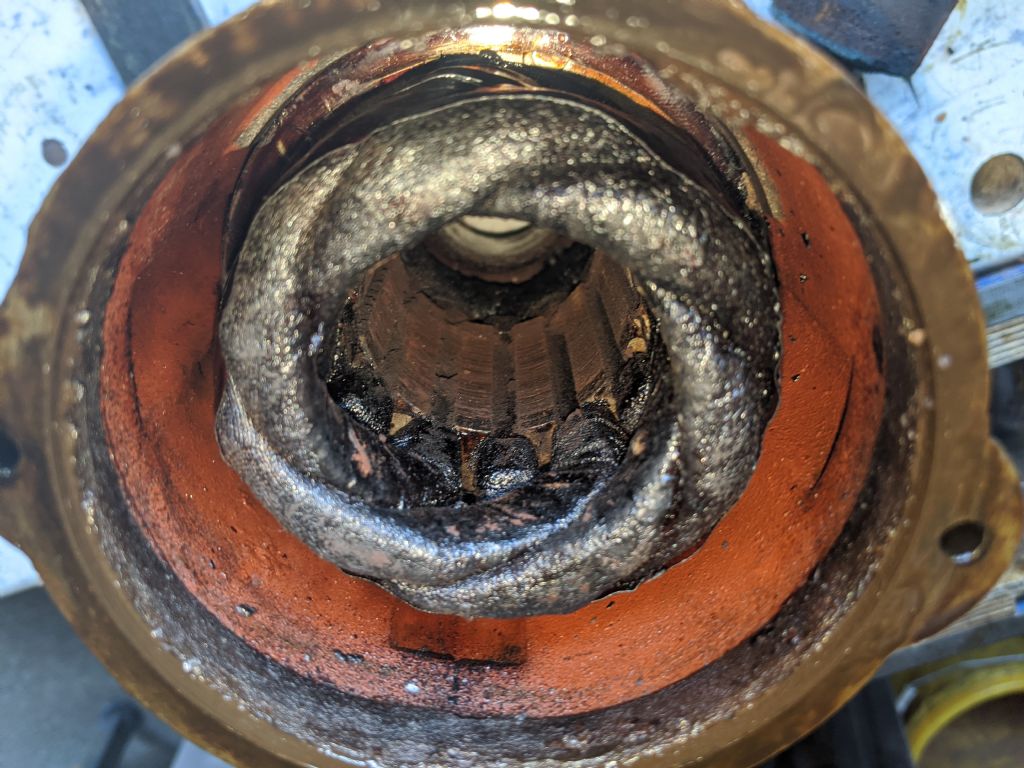
                    Then I took the coolant pump to pieces. I was surprised by what I found inside

                    img_20200410_175341.jpg

                    img_20200410_175739.jpg

                    img_20200410_181939.jpg

                    img_20200410_181939.jpg

                    It seems I need to get the shaft out so I can dissasemble it further to replace the bearings. Any reccomendations for bearing type to replace with, and what type of grease or things to do? I'm not familiar with suds pumps.

                    It's definitely not a very smooth runner

                    #463948
                    Phil Whitley
                    Participant
                      @philwhitley94135

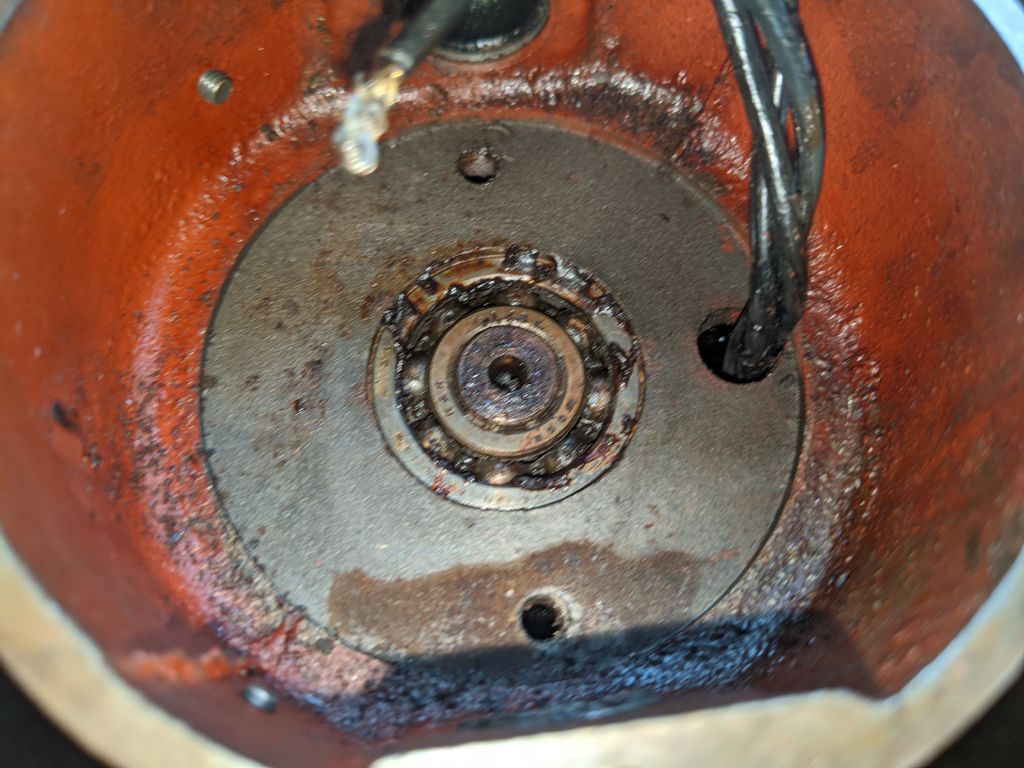
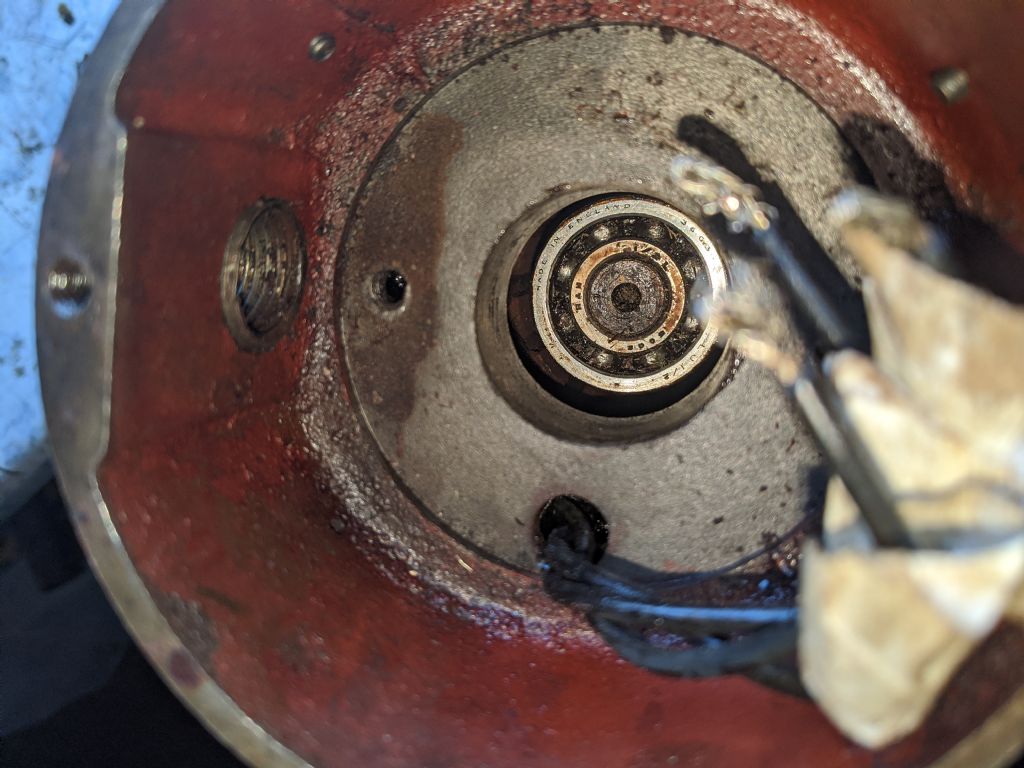
                      Just treat it like a normal motor. plenty of online bearing suppliers, order on ID/ED , Don't buy the cheapest, you will get the lowest quality chinese bearings, and some of them are rubbish, SKF or RHP are good. Just use a normal LM high melting point grease same as you would use for car wheelbearings. You could try cleaning out the bearings you have, but from the noise it was making, I think they are shot! can you post up a pic of the top end of the motor where the flexi conduit goes in? The rotor may just pull out, but there could be a couple of bearing retainer screws inside the terminal box, as it is vertically mounted. The lower (or both) bearingd may be axial thrust types.

                      Phil.

                      Edited By Phil Whitley on 11/04/2020 11:19:57

                      Edited By Phil Whitley on 11/04/2020 11:21:08

                      #463951
                      Richard Kirkman 1
                      Participant
                        @richardkirkman1

                        img_20200410_181334.jpgI thought I had, clicked on the wrong one and posted it twice instead!

                        #463952
                        Phil Whitley
                        Participant
                          @philwhitley94135

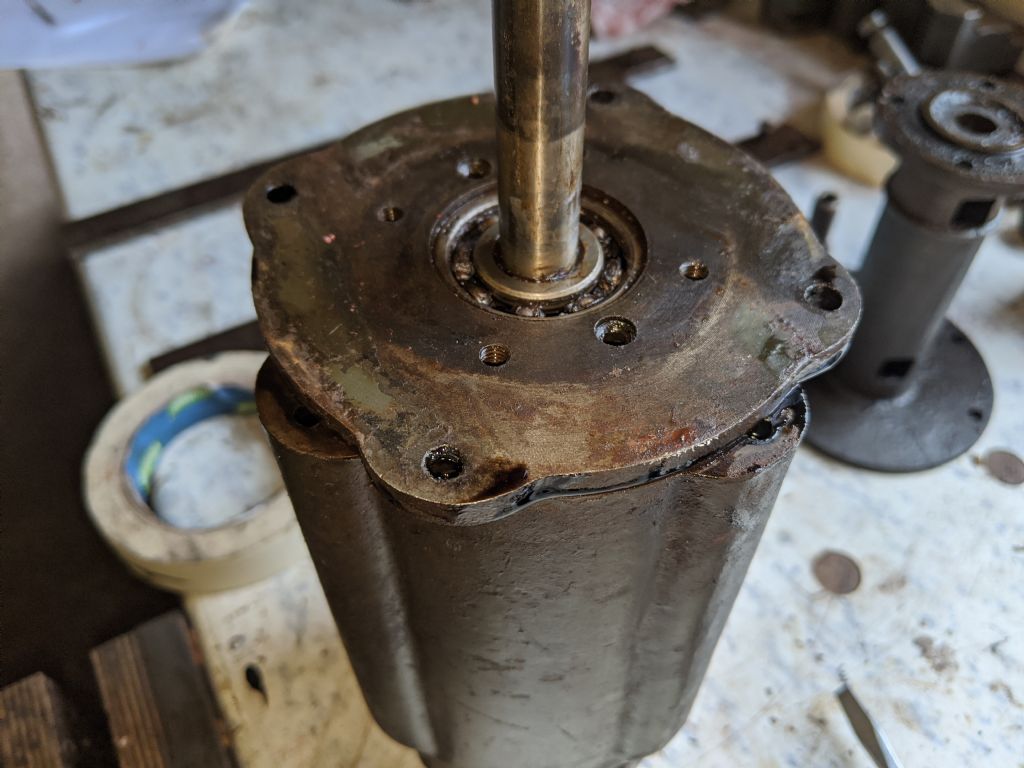
                          Hi Richard, That looks like it just knocks out, and they look like standard bearings, should be about a fiver each! try tapping the outer race of the bearing with a socket, or suitable size piece of tube.

                          Phil

                          #463962
                          Richard Kirkman 1
                          Participant
                            @richardkirkman1

                            it came out nicely with a few taps

                            Do I need to clean it carefully? or just normally? never dealt with motors before

                            img_20200411_121240.jpg

                            img_20200411_121245.jpg

                            img_20200411_121316.jpg

                            img_20200411_121319.jpg

                            img_20200411_121322.jpg

                            #463978
                            Robert Atkinson 2
                            Participant
                              @robertatkinson2

                              Normal cleaning of the motor is fine. Remove surface rust from the rotor but dont worry about making it pretty. For the laminations in the stator I'd just use a nylon brush to remove loose material. You must be careful not to damage the insulation on the windings.

                              Robert G8RPI.

                              #464069
                              Richard Kirkman 1
                              Participant
                                @richardkirkman1

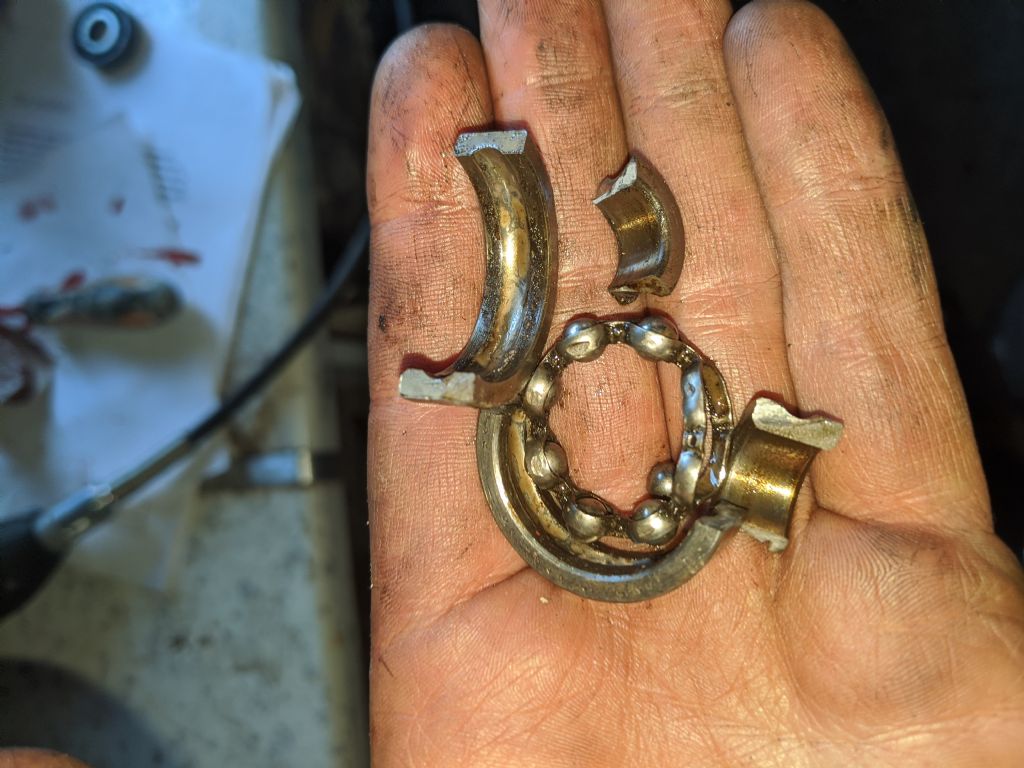
                                Didn't bother cleaning it too much today. But did spend a very long time just trying to get the bearings off the shafts. One came off very easily. Then the other was a pain

                                img_20200411_190425.jpg

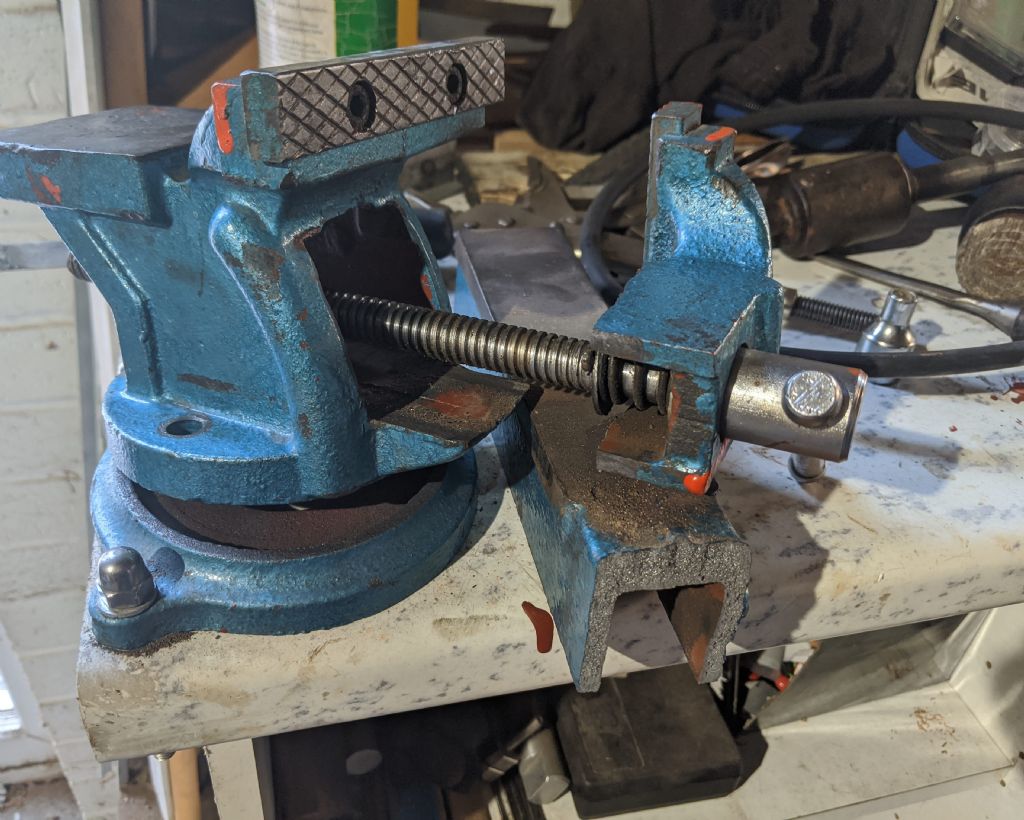
                                Anyway, long story short, I snapped my vice

                                img_20200411_191600_071.jpg

                                Still, the bearings are off and it was a very cheap vice

                                I've found replacements, they're the right size. But will the type of bearing be okay? I'll double check the sizes before I order

                                Bearing

                                #464218
                                Phil Whitley
                                Participant
                                  @philwhitley94135

                                  Hi Richard, yes those bearings should be fine, the old ones weren't sealed, and suffered because of it. I use a tiny flat jewellers screwdriver to carefully remove the seal on one side, add some grease, about 3/4 full for this application, then refit the seal. They are not really "seals" in the true sense of the word, just dust covers. You will be amazed at how little the manufacturers put in! If one side of the shaft was very tight on the bearing, you can reduce the interference a bit with some emery tape, they will have been power pressed on!

                                  Phil.

                                  #464222
                                  Richard Kirkman 1
                                  Participant
                                    @richardkirkman1

                                    I'll do that when they arrive. It might be a few days due to easter. I need to double check the measurements before I order them.

                                    The shaft had mushroomed ver a bit, probably my fault, so I'll have to sort that out before I put any new bearings on

                                    #464256
                                    Howard Lewis
                                    Participant
                                      @howardlewis46836

                                      Oh Dear!

                                      Maybe the one that broke up was the one making the noise?

                                      Do make up dollies for fitting the new bearings to minimise risk of damage.

                                      Pity about the vice. Cast iron is comparatively weak in tension.

                                      If you can find one, an iron vice would be better, but might be more expensive.

                                      Actually, if you PM me, I may be to put you in touch with a source.

                                      Howard

                                      #464271
                                      Phil Whitley
                                      Participant
                                        @philwhitley94135

                                        Hi Richard, this vice is fabricated steel rather than cast iron, and not expensive!

                                        I bought one of these

                                        6″ FABRICATED STEEL VICE

                                        from my paint and tool van when they first came out in the seventies, it was £24.00! Exactly the same design today, but a bit more expensive. It has resisted all my attempts to break it in any way. I think I have broken two or three cast ones in that time!

                                        Phil.

                                        #464284
                                        Richard Kirkman 1
                                        Participant
                                          @richardkirkman1

                                          Bearings ordered, who knows when they'll turn up.

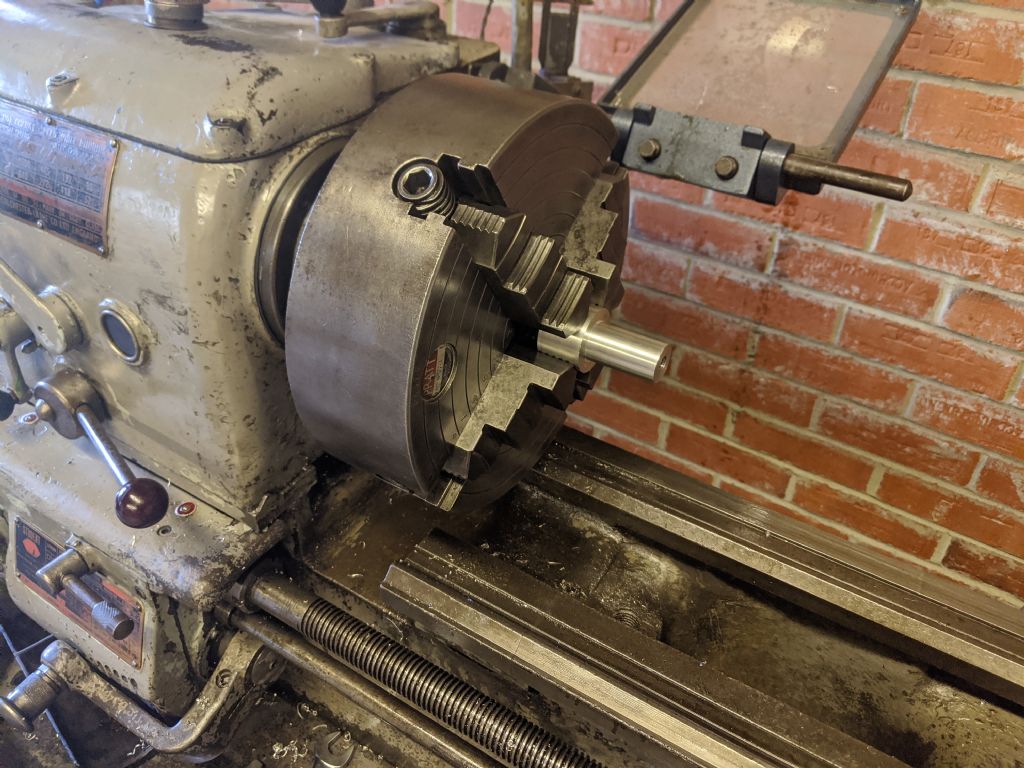
                                          I finished painting the 4 jaw chuck yesterday, so I reassembled that today and finished some assignments

                                          I think I'll wait and find myself an old record quick release vice or something like that, although I do like a swivel base

                                          I think the one that broke was just my fault really. I'm sure fitting new ones will be pretty easy.

                                          I need to turn the tracking wheel from my belt grinder to a different shape since when I made it, I did it the wrong shape for belts to track well on it!

                                          #464460
                                          Richard Kirkman 1
                                          Participant
                                            @richardkirkman1

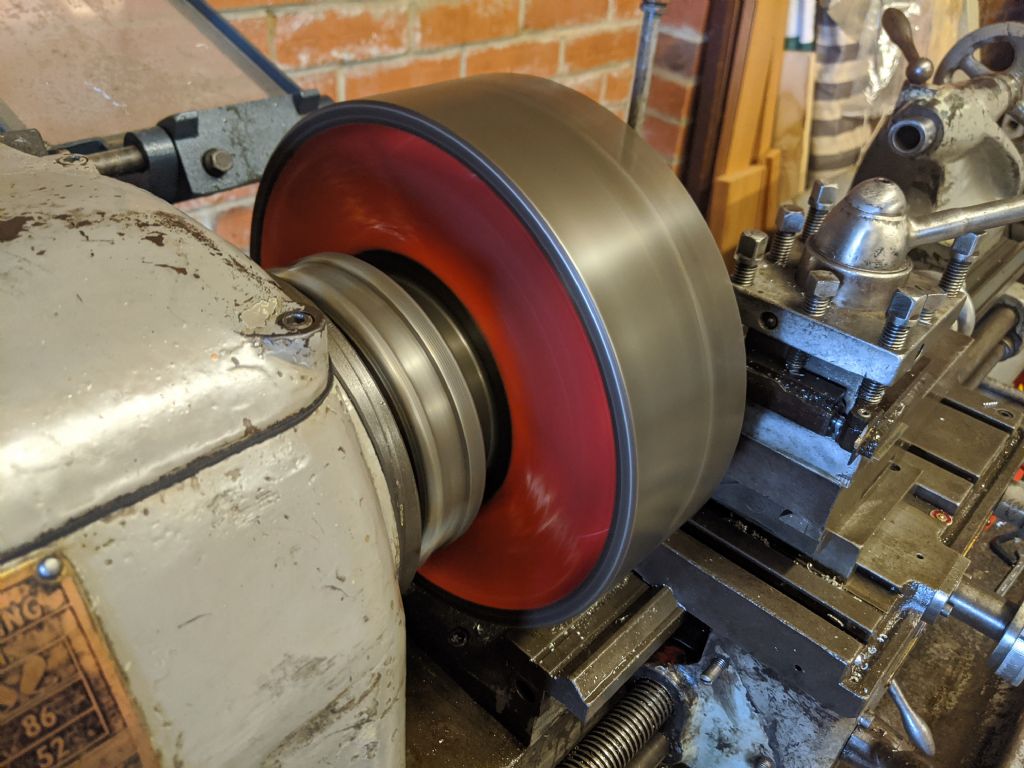
                                            I had a lot of fun today. i finally reprofiled the tracking wheel from my belt grinder.

                                            Initially when I made the sander, I didn't know about belt tracking as much, so I made the wheel this shape

                                            img_20200413_115431.jpg

                                            The wheel was too peaked and didn't track as smoothly as it could have done.

                                            I tried to fix this at college when I made it, but the mandrel that it had been turned on was not properly concentric. So when I tried to turn it, the wheel wasn't round and it cut one side but not the other.

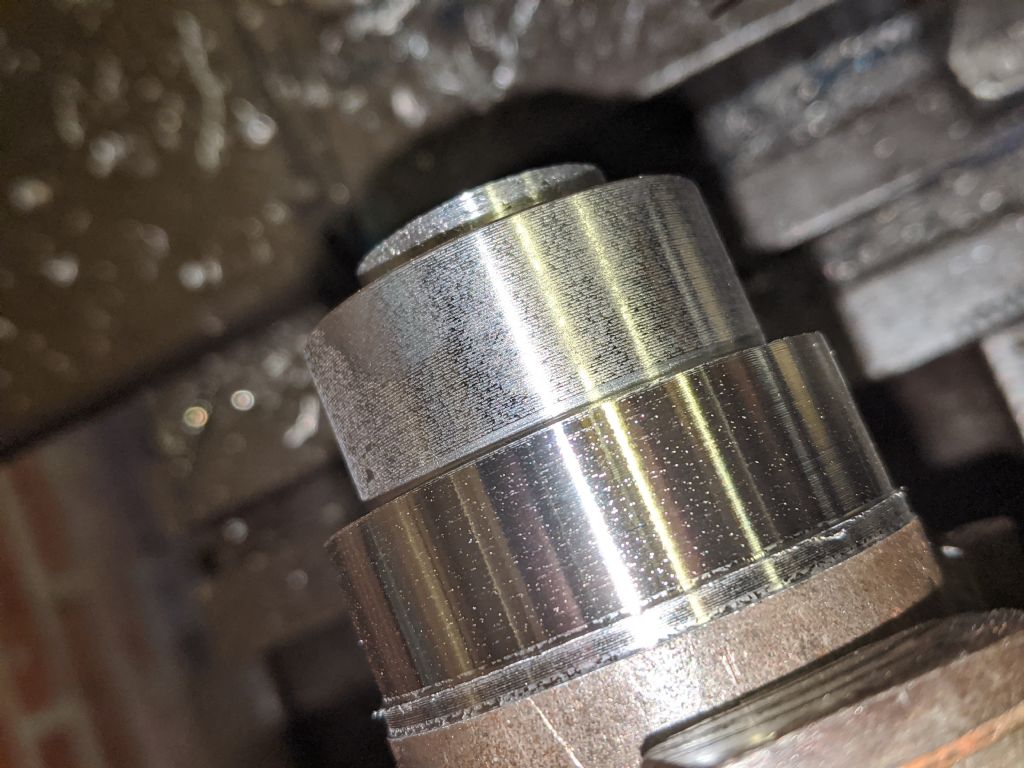
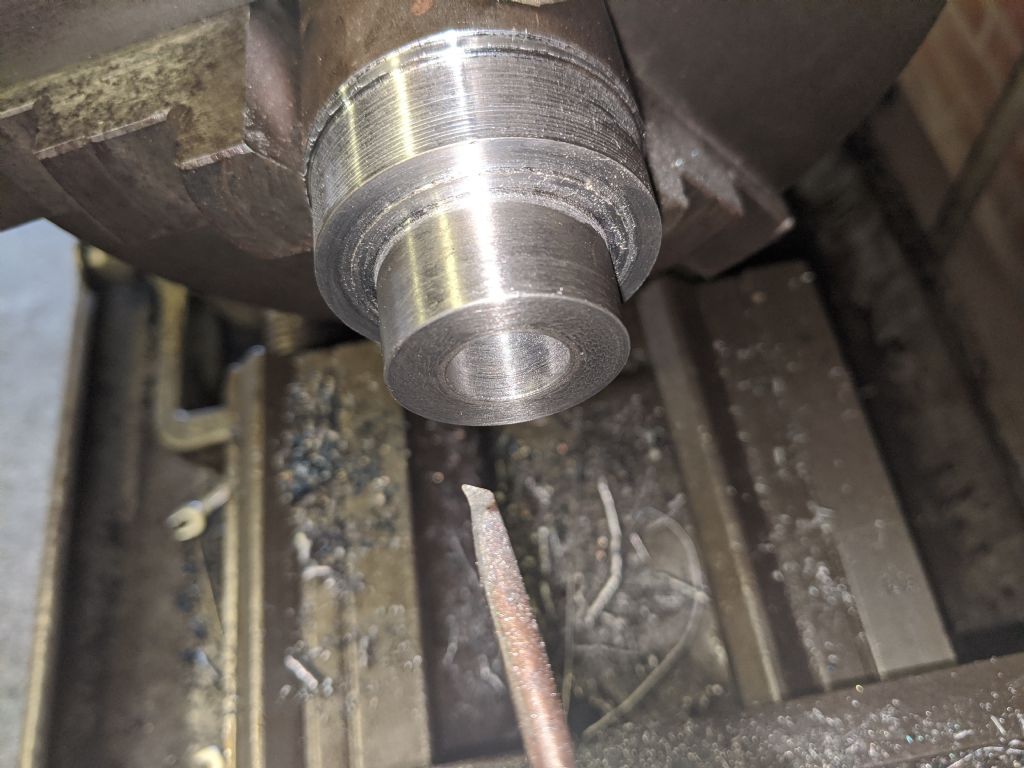
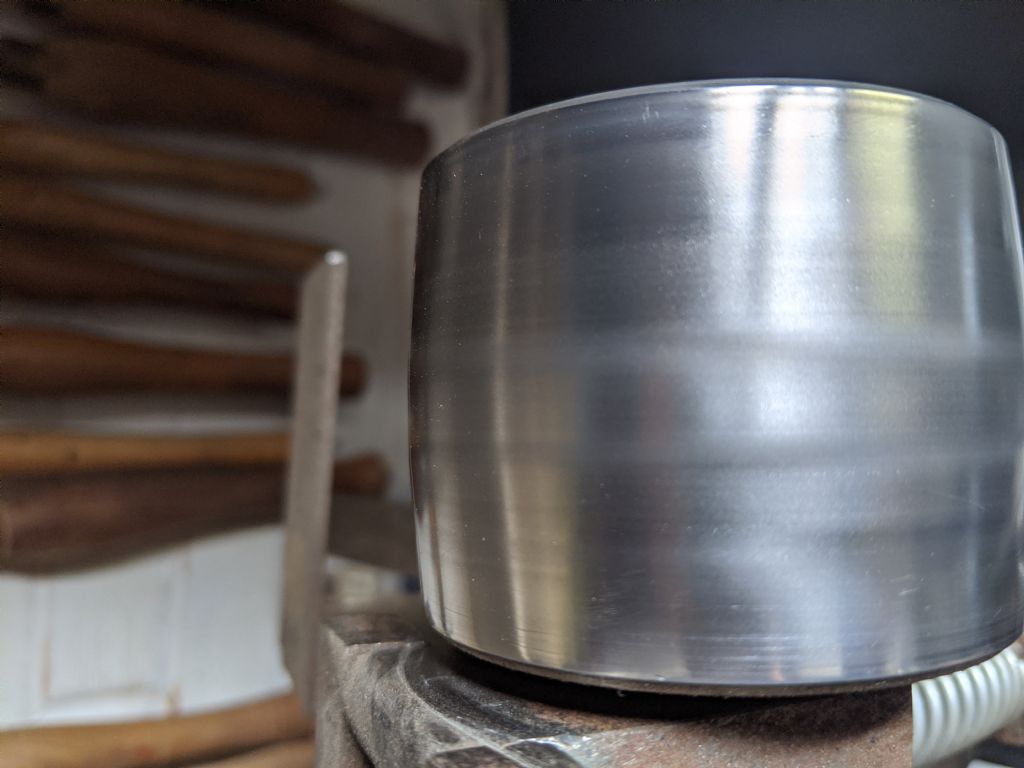
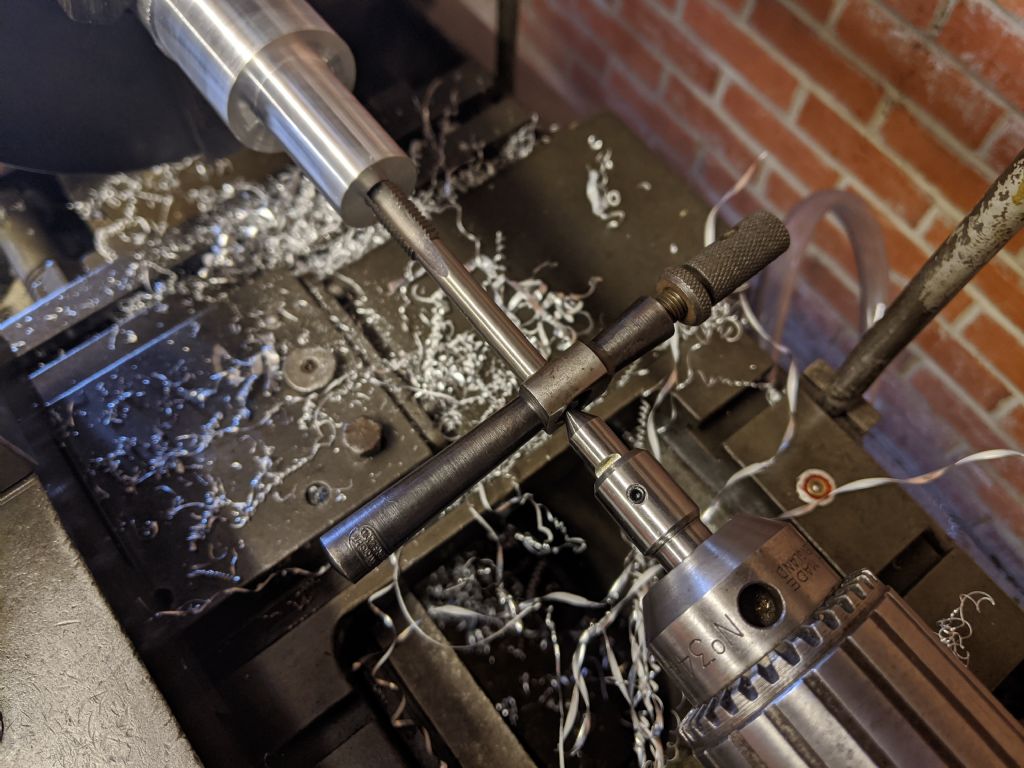
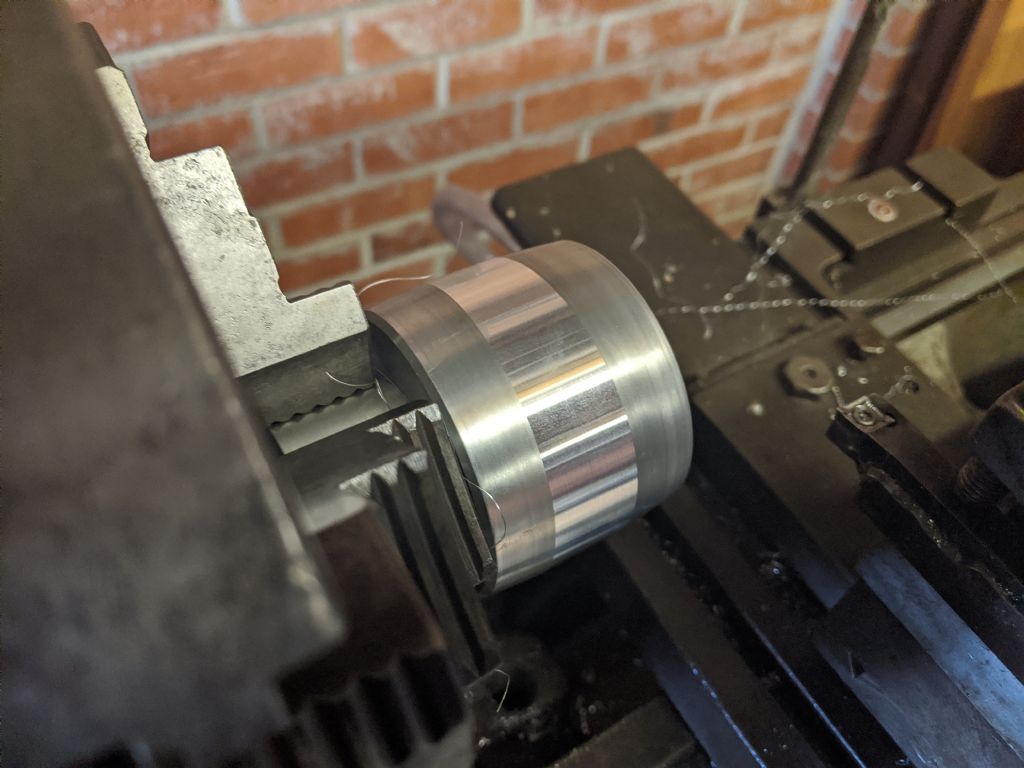
                                            So I solved this today. I used the 3 jaw to make myself a new mandrel and washer to hold the wheel in the 4 jaw, then I turned the wheel down so it was closer to the recommended dimensions from

                                            This paper

                                            I hadn't ever used a 4 jaw chuck before today. I found dialing in the chuck to be quite satisfying, once I got to grips with it.

                                            img_20200413_125259.jpg

                                            I also got to use my spring center for the first time! Very handy

                                            img_20200413_142210.jpg

                                            I aligned the mandrel in the 4 jaw chuck first, centering that up. Then I put the wheel on and centered it to that. I probably could have just done the wheel, but I wanted the practice

                                            img_20200413_144921.jpg

                                            Very good looking chuck i think

                                            img_20200413_145507.jpg

                                            I didn't need to take much off but I tried to get a really good finish

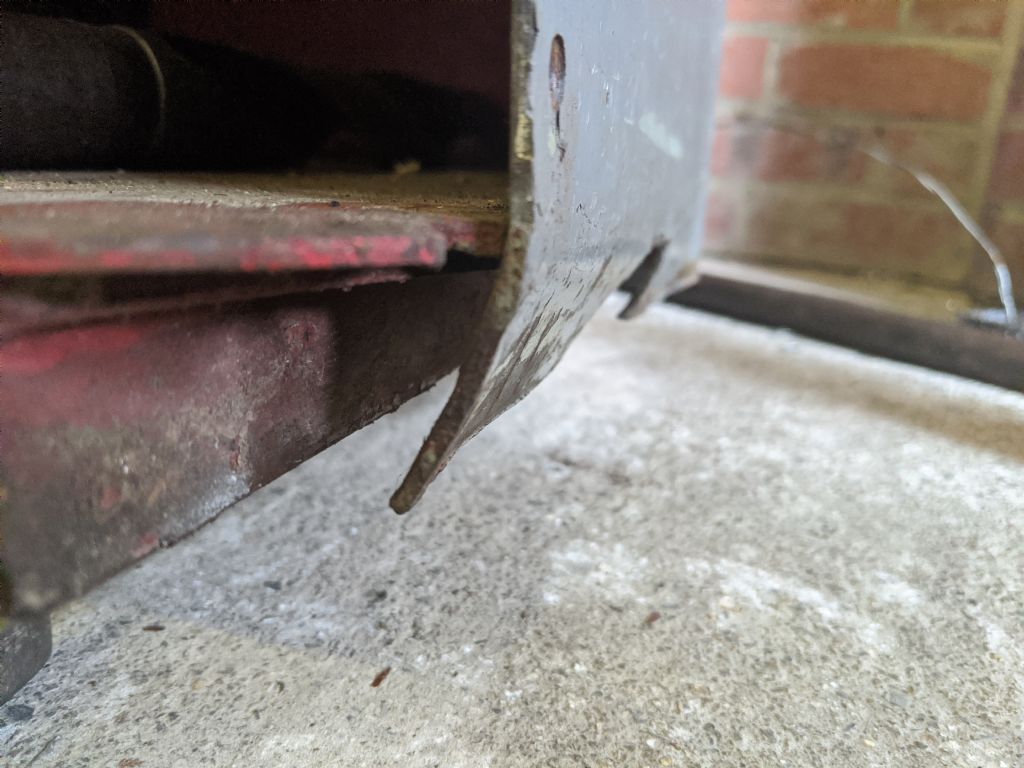
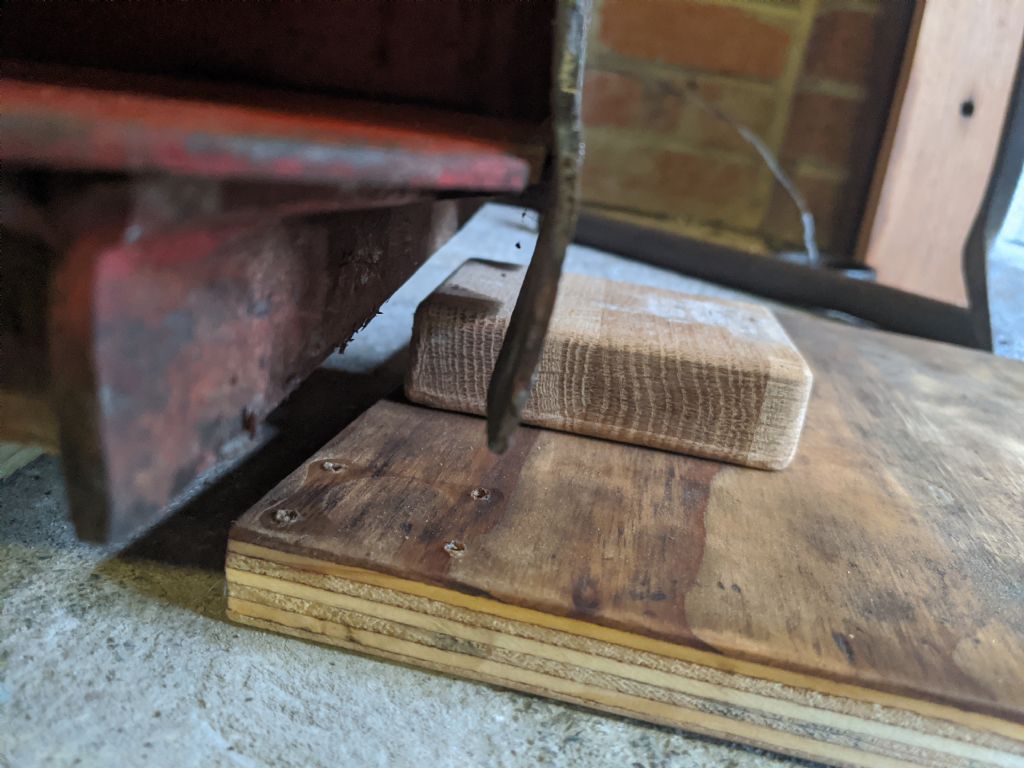
                                            The bottom right corner of the lathe was bent so i thought i'd bend it back a little. Not perfect, but better than it was.

                                            img_20200413_161108.jpg

                                            img_20200413_162838.jpg

                                            img_20200413_162353.jpg

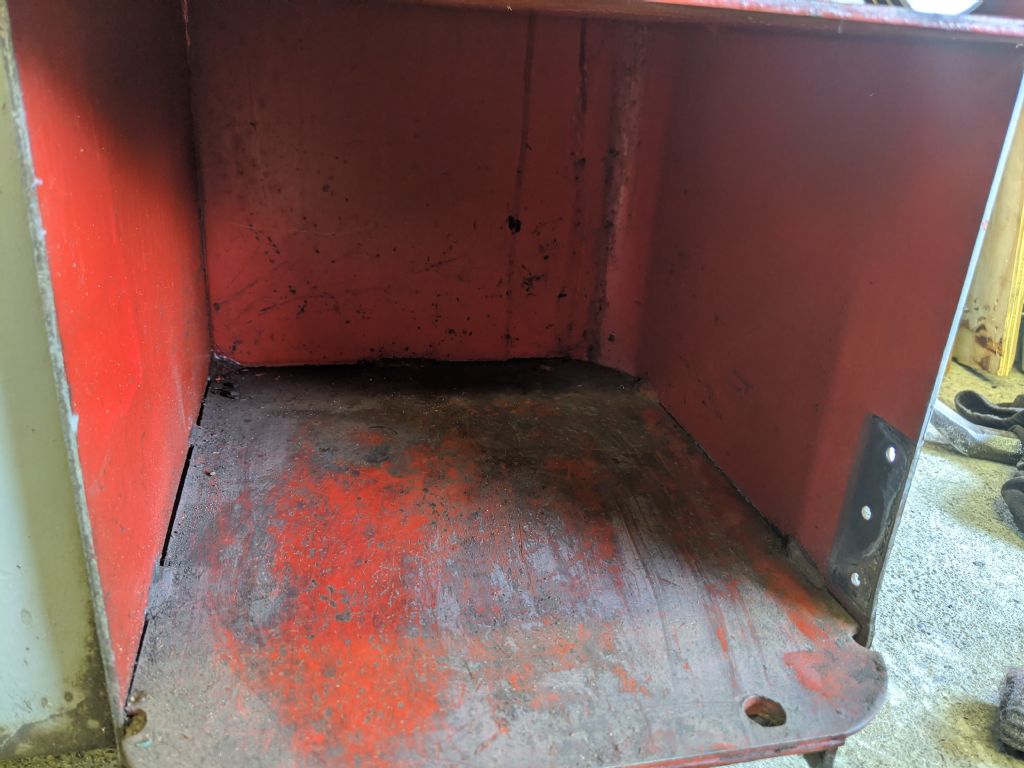
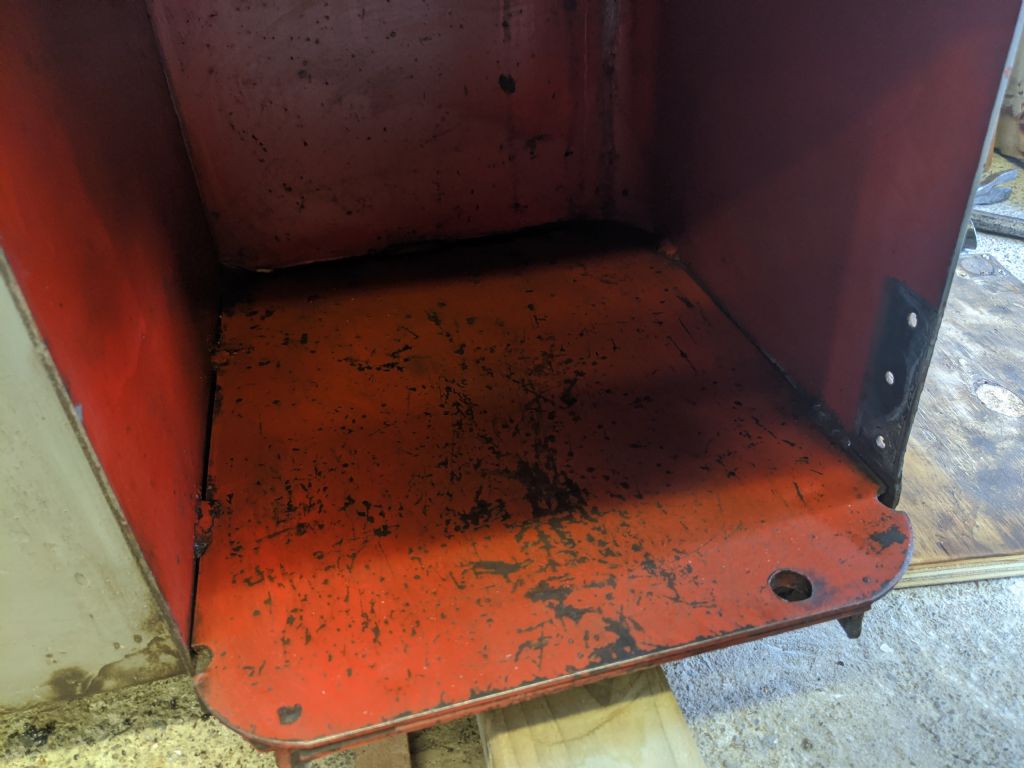
                                            I also gave the cupboard a clean so I can put the chuck away nice and dirt free

                                            img_20200413_162824.jpg

                                            #464565
                                            Phil Whitley
                                            Participant
                                              @philwhitley94135

                                              Hi Richard, looking at your last picture, is that a fixing hole in the base of the cupboard, or is it a threaded jacking point? According to your manual, which is correct for both our machines, because we both have the earlier 2 slot apron "levelling screws were not fitted to cabinet models, only to leg models" but according to my slightly later "1.5" model manual with the safety apron, there are leveling screws. I suppose tt all depends on whether they changed to the later cabinets at the same time as the later apron came in! Aslo in your manual there IS details of testing for twist in the bed and levelling, but not in mine.

                                              Also. if you read the blurb on http://www.lathes.co.uk/colchester he says that the very early students had a 6" centre height, but they changed to 6.5" centre height early in production to make the centre height the same across all the different bed lengths and models of this size.

                                              The names "Student" and "Master" (of both the Mk. 1 and Mk. 2 designations) refer, in effect, to the centre height and bed length – the Student being 6" x 24" and the Master 6.5" x 36" – for, in all other respects, the lathes were identical (in reality, most Student lathes appear to have been built with a 6.5-inch centre height – so beware if buying a replacement tailstock). Although the specification laid down in the sales literature was quite unambiguous, the factory would build a batch of machines with any modifications (or mixture of features) that the customer desired and the author has seen, over the years, examples that combine almost as many changes and adaptations to the previous differences as could be imagined. The factory even offered "special single or two-tone colour finishes" and the option of chromium-plated control levers and handwheels. However, one unvarying feature was that, on gap-bed lathes, the carriage-traverse handwheel was positioned on the right-hand side of the apron and on straight-bed machines it was always to the left.

                                              Just goes to show that machines may "look" the same, but have widely differing details! Good work on the pulleys!

                                              Phil.

                                              #464648
                                              Richard Kirkman 1
                                              Participant
                                                @richardkirkman1

                                                The hole isn't threaded. I don't think it's a good place for a foot anyway since it's not the most reinforced part of the base.

                                                the mk1.5 had 6 feet, so I think we're on a different base as you can see

                                                capture.jpg

                                                The pulley may still need re-doing since the crown isn't perfectly centered. probably about 5mm off since when it was originally done, the man who made it for me did it wrong

                                                Edited By Richard Kirkman 1 on 14/04/2020 17:23:00

                                                #464656
                                                Richard Kirkman 1
                                                Participant
                                                  @richardkirkman1

                                                  Also, the transformer for the lighting has been dispatched so it will be here tomorrow.

                                                  What led do I need? It's just a normal bayonet fitting, but do I need any special form of bulb?

                                                  #464674
                                                  Phil Whitley
                                                  Participant
                                                    @philwhitley94135

                                                    yes, you are right, it would not be a good place for a foot, but it does look like a fixing position. Is that pic of the screw foot on your lathe? I have nothing like that on mine!

                                                    It is possible that you may have to change the lampholder from BC to sonething else, or get a BC adapter, and fit another lampholder to it. You can buy these https://bedazzledledlighting.co.uk/product-category/led-bulbs/bc-b22/ which will fit into the BC direct, and are available in 12v and 24v, or you could source a cheaper LED 12v bulb, and adapt a BC adapter to make it fit. There are ready made adapters on the market, but they are mainly for 240v bulb types, like the GU10. I dont think you will be able to but a direct adapter from BC to something that will take a 12v led because of the obvious safety risks.

                                                    Phil

                                                    #464691
                                                    Phil Whitley
                                                    Participant
                                                      @philwhitley94135

                                                      Get the cool white one!

                                                    Viewing 25 posts - 276 through 300 (of 797 total)
                                                    • Please log in to reply to this topic. Registering is free and easy using the links on the menu at the top of this page.

                                                    Advert

                                                    Latest Replies

                                                    Viewing 25 topics - 1 through 25 (of 25 total)
                                                    Viewing 25 topics - 1 through 25 (of 25 total)

                                                    View full reply list.

                                                    Advert

                                                    Newsletter Sign-up