Colchester Student Mk1 Won’t Start

Advert

Colchester Student Mk1 Won’t Start

Home Forums Help and Assistance! (Offered or Wanted) Colchester Student Mk1 Won’t Start

Viewing 25 posts - 751 through 775 (of 797 total)
  • Author
    Posts
  • #492383
    Richard Kirkman 1
    Participant
      @richardkirkman1

      There are some pictures, I'll get the others tomorrow

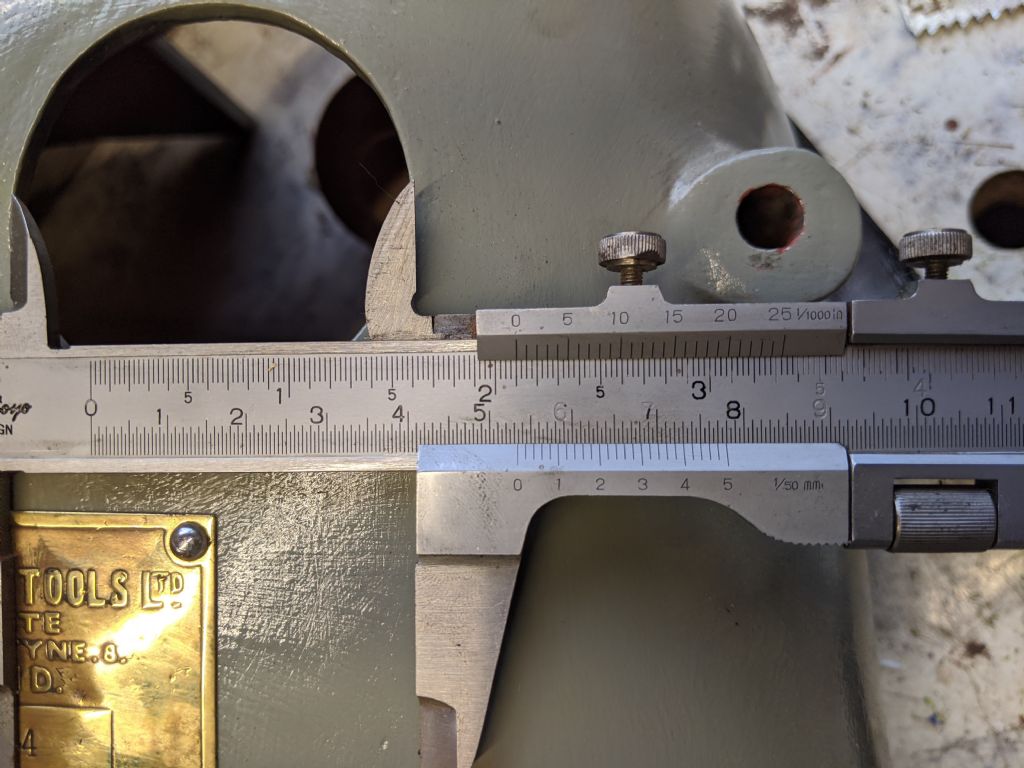
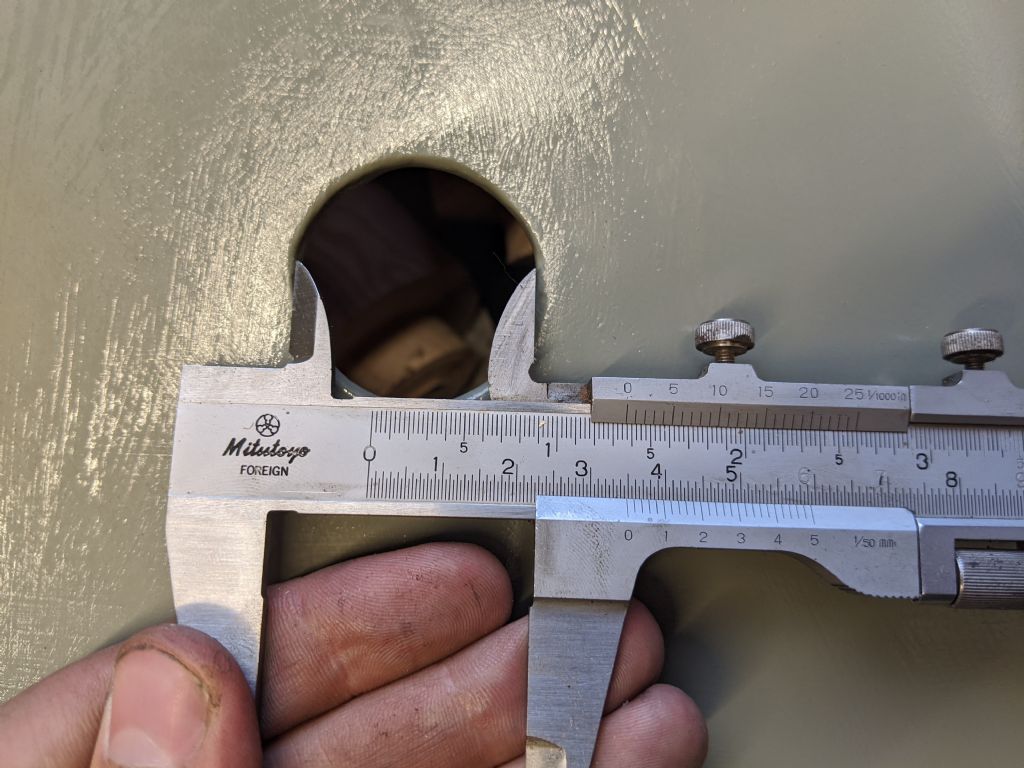
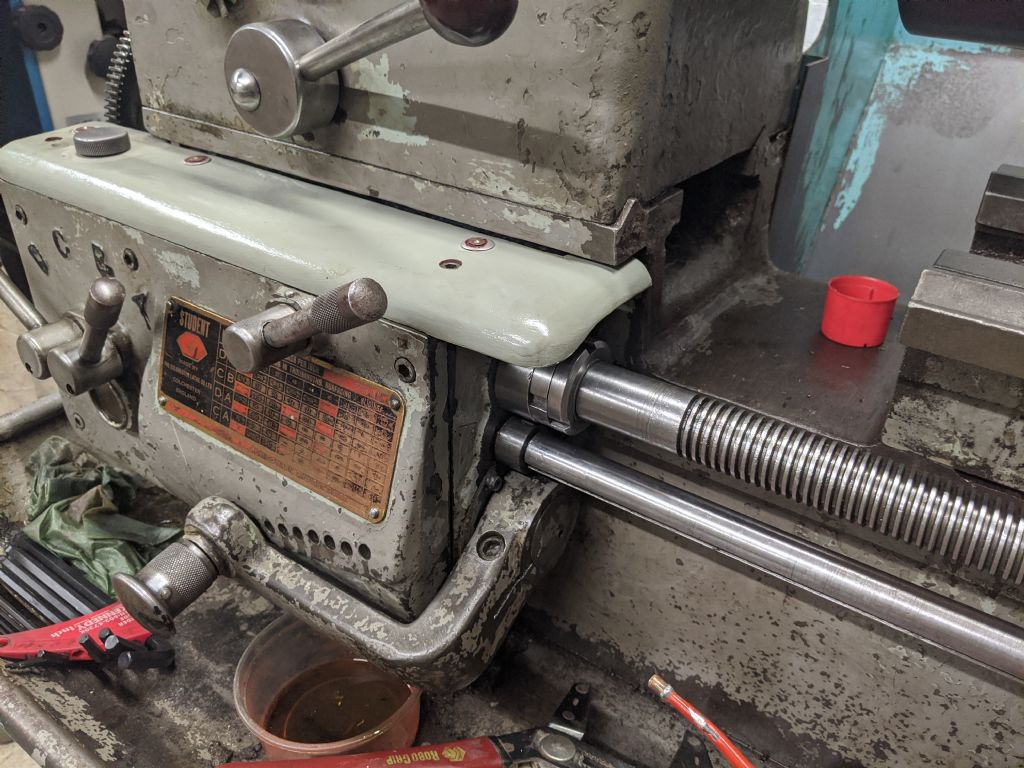
      My hole is not oval, but this means the oiler that pokes through it is not centralised. So perhaps it's just an aesthetic modification to make it look a bit nicer

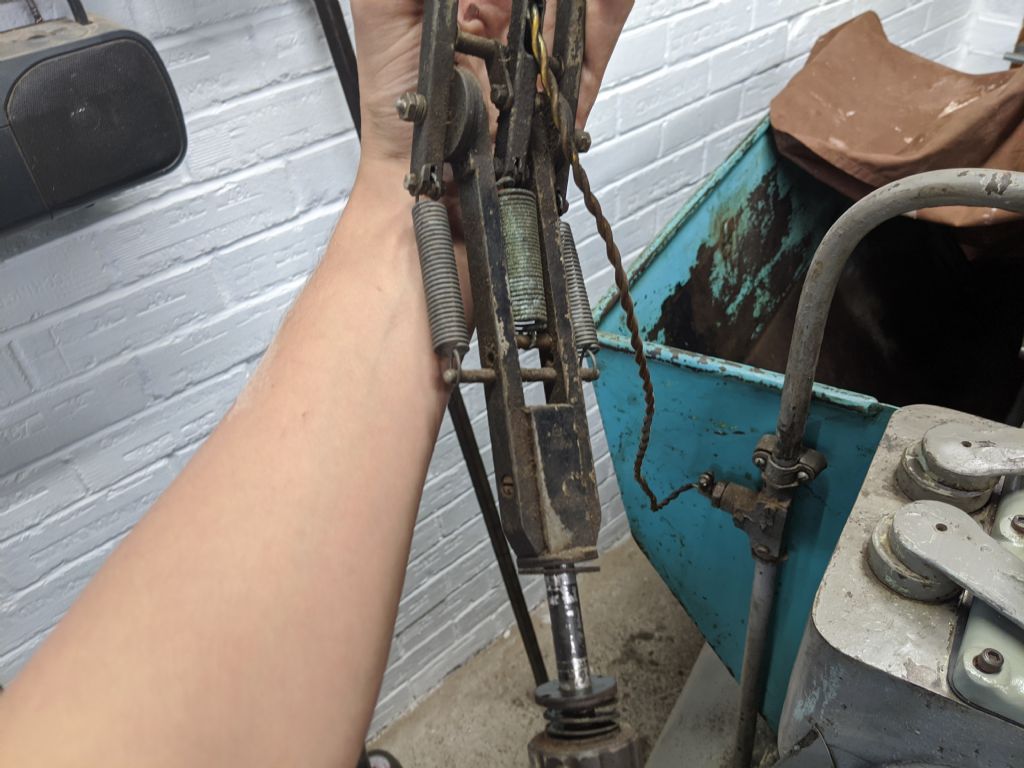
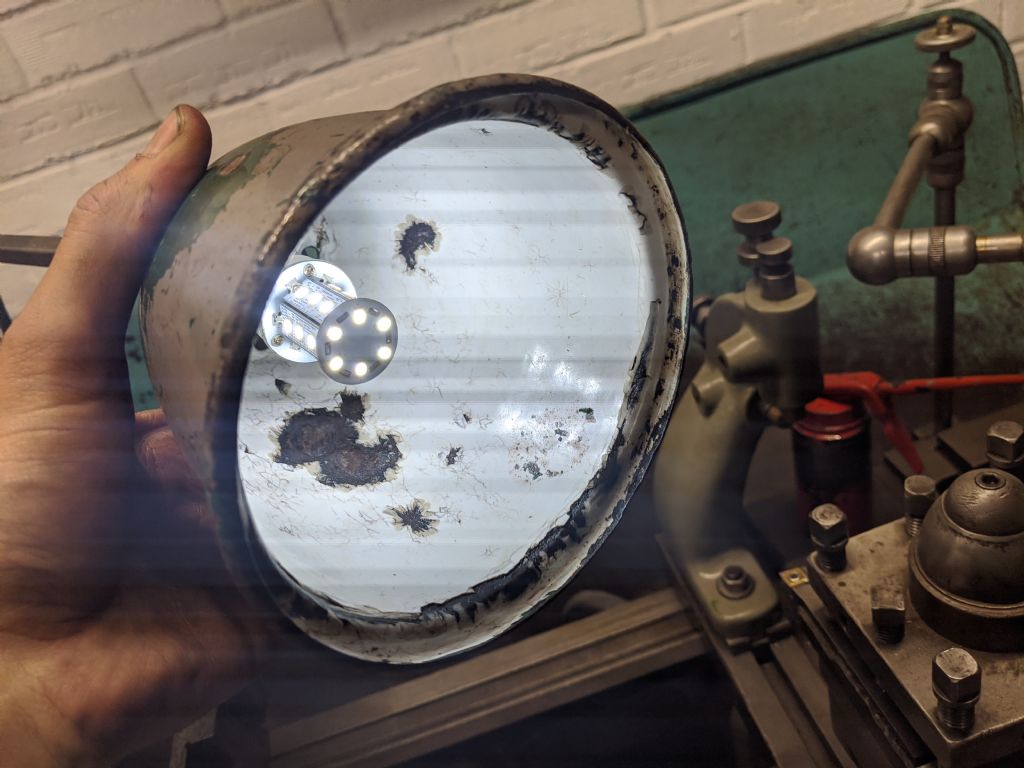
      I'm not sure the lamp is original, but it works for me

      mvimg_20200824_181402.jpg

      img_20200824_181344.jpg

      img_20200824_181435.jpg

      img_20200824_181440.jpg

      img_20200824_181443.jpg

      img_20200824_181445.jpg

      Advert
      #492384
      Herman van der Merwe
      Participant
        @hermanvandermerwe76509

        Thanks Richard. I think Phil said your lamp is the genuine Colchester lamp.

        #492457
        Phil Whitley
        Participant
          @philwhitley94135

          Looking at the springs, and small box section steel construction of Richards lamp, I think it is made by the Anglepoise company, Probably by the Terry spring co who made them under licence The lower part of the lamp is the same as other anglepoise lamps I have, which fit into a cast iron base for desk use. https://www.anglepoise.com/about#product-timeline. Early pictures of the Student Mk1 shows them with this light fitted.  Mine has the later MEM "Memlite", made by Midlands Electrical Manufacturing in Birmingham. the Memlite does not have the advantage of the anglepoise, which moves easily into any position, and stays there!

          MEM Memlite

          Edited By Phil Whitley on 25/08/2020 10:23:39

          #492476
          Herman van der Merwe
          Participant
            @hermanvandermerwe76509

            Aha Phil, so the Memlite I was given is the time correct lamp for the Student Mk1 I have. Good to know!

            #492479
            john fletcher 1
            Participant
              @johnfletcher1

              Hello Richard, Phil and others, I have a Black cast Aluminium switch plate for a lathe like yours Richard ,FOC to any one who can collect . I see you are progressing well with the renovation job, Brian still has a cabinet full of bits and pieces to dispose of. Lathe and mill are enjoying life at new homes.

              #492499
              Richard Kirkman 1
              Participant
                @richardkirkman1

                Hi John, good to hear from you. Hopefully someone will snatch that up.

                I think Phil mentioned he may have been interested in bits and pieces, he's not too far from Scarborough actually. maybe 40 mins. So perhaps Phil might want some bits too.

                So is my light the original one? I'm not bothered if it isn't. But it's interesting to know.

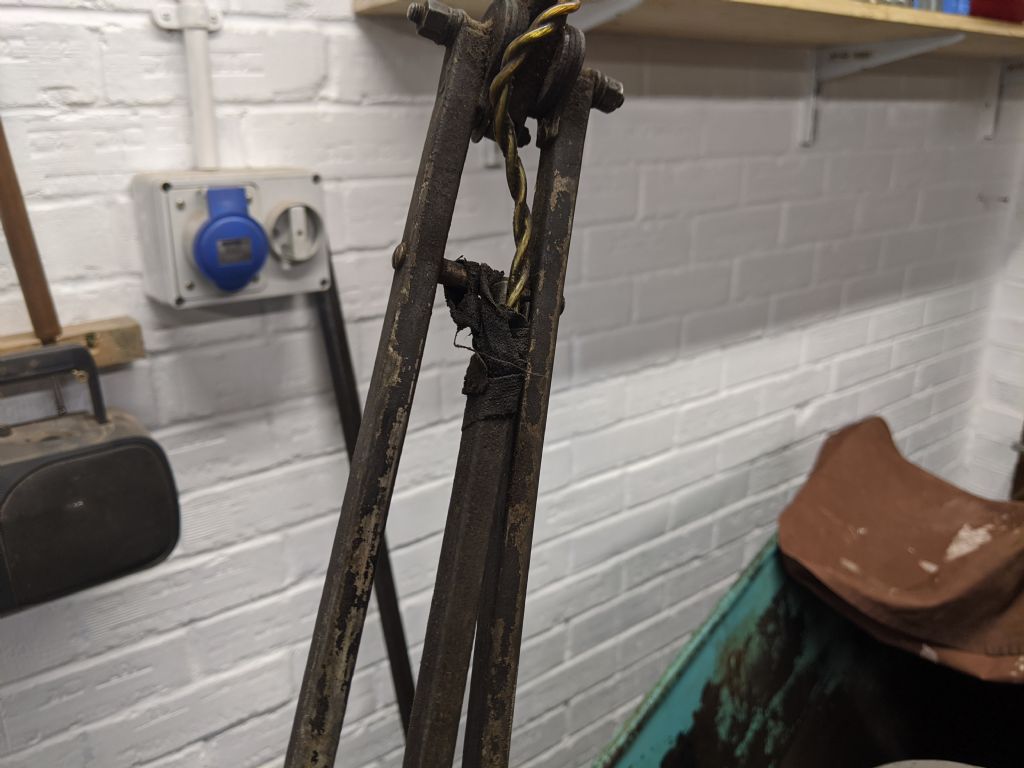
                My light actually has a section broken, so it could do with fixing. But I don't have time for that right now!

                #494206
                Richard Kirkman 1
                Participant
                  @richardkirkman1

                  Quick update

                  I've been selling the spare parts that I don't need on ebay, I've managed to get even with how much I paid for the parts so that's nice. But, I sent a few small parts to a man named Clive and somehow we ended up talking about students and his one needing a new wormbox since it's oval, so I sent him a link to Hermans forum as it may be of interest to him. I said to him that I needed a half nut and he responded saying he had one spare that I could have for the postage!

                  Good news for me since I haven't heard from James about that other half nut for a while, so I'm doubtful it's ever going to materialize from him. Still, the only downside is that Clive lives in France. So this morning Clive has posted the half nut to me.

                  Bad news, I'm going back to Uni on the tenth of September, so there's no chance the half nut will arrive before then. So I will have to come home for a weekend when it arrives.

                  Meanwhile I've been working on woodworking gifts for people at uni and things. I spent 4 days making 24 ducks! And a funny little cow. Nothing technical, but just fun decorations

                  I also have a piece of sheet metal cut out to become a motor cover. Not as fancy as the original, but it will do the job. No one will see the back anyway!

                  #494937
                  Richard Kirkman 1
                  Participant
                    @richardkirkman1

                    Good news, the half nut arrived this afternoon/evening

                    So I'm now in reassemble mode. Problematic since I'm heading back to Hull early tomorrow morning and the grandparents are round tonight, so very minimal time.

                    Half nut came surprisingly quickly, 6 days from France. Better than most Royal Mail services…

                    I can't thank Clive enough. He only charged me for the postage, so it's incredible.

                    img_20200909_160001.jpg

                    It fits. It took me a while to figure out how it went in, since the other one was broken and very easy to remove.

                    img_20200909_161351.jpg

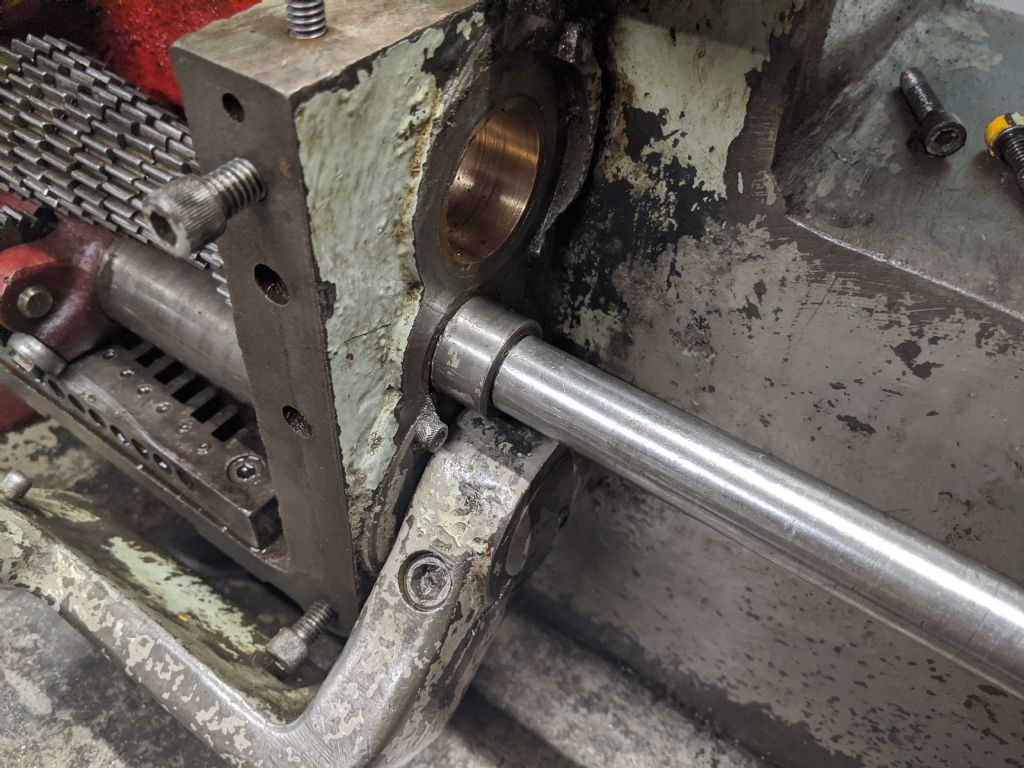
                    Then I put the apron back on, then started to feed in the feed shaft, not forgetting the worm box

                    img_20200909_162328.jpg

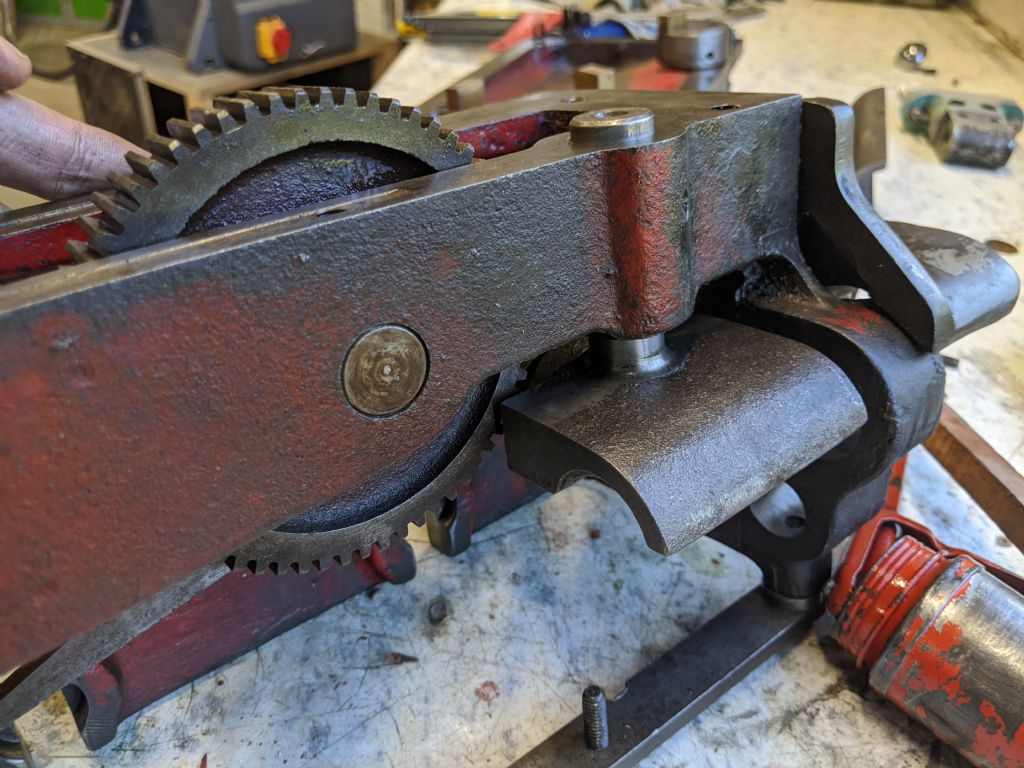
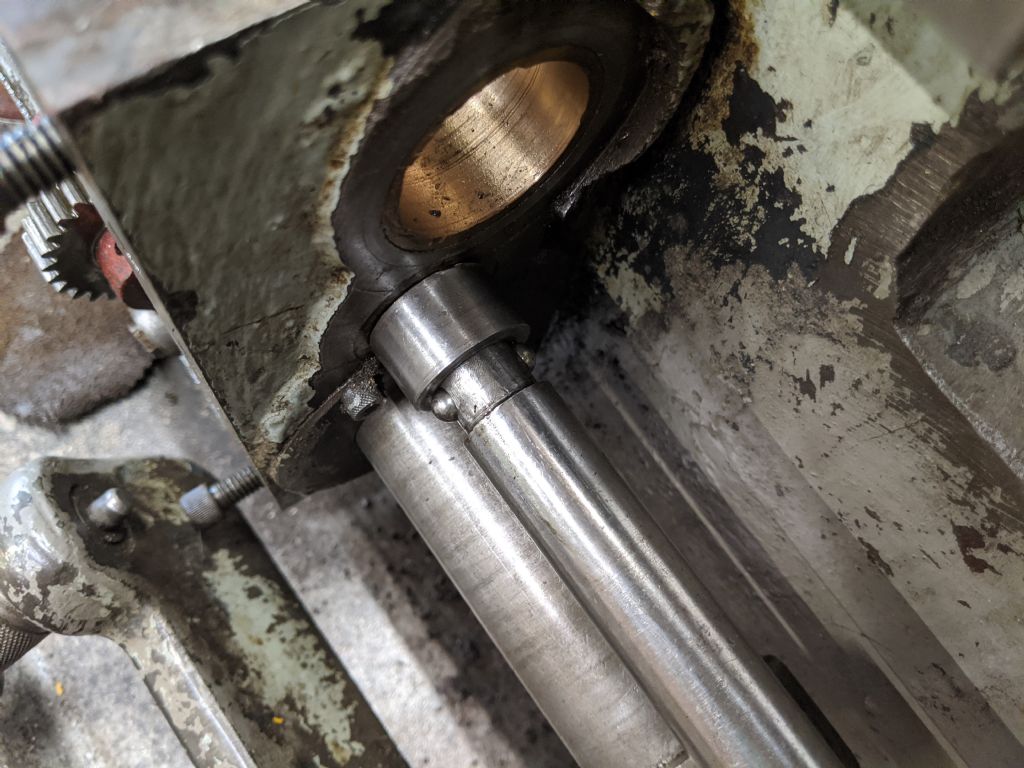
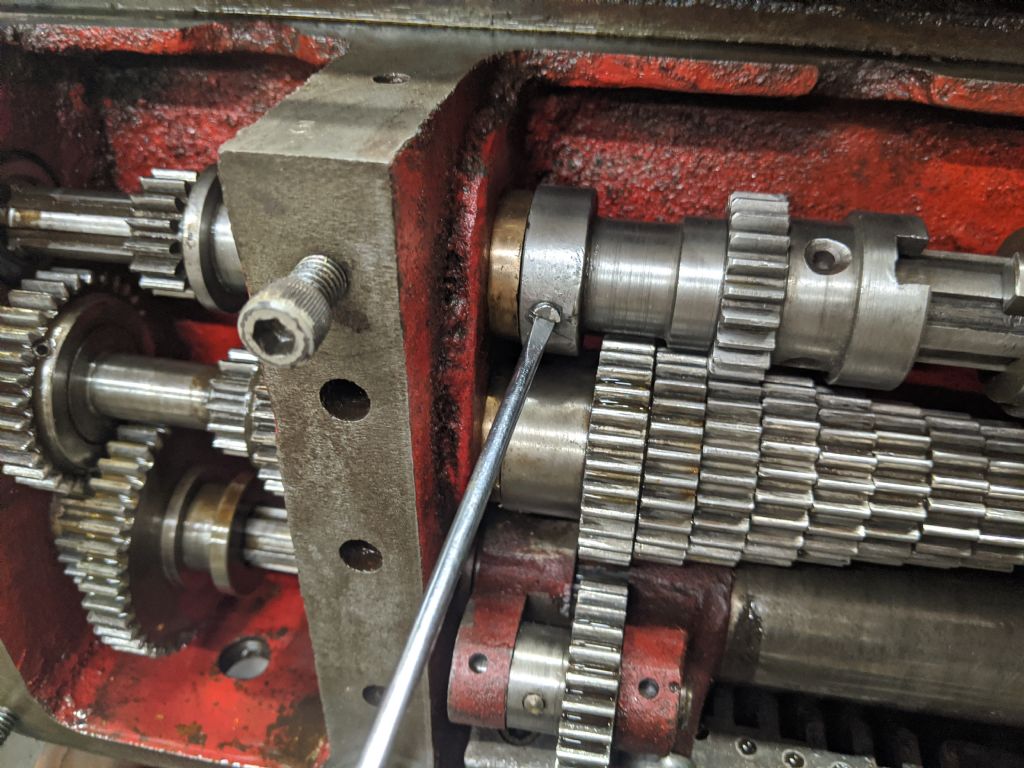
                    And now we have trouble. I've spent about an hour trying to get these balls squeezed and pushed in. I don't have time to get stuck now, so here I am. I fear I'm at a standstill. Does anybody have any ideas how to get these squeezed and pushed. I've tried all sorts. How did Colchester manage? I can't even squeeze them in with my fingers. The spring is strong.

                    I'm aware of the screw in the end to change the tension, but the tension hasn't been changed and it cannot be changed once it's fitted so I'd like to leave that alone.

                    Suggestions would be incredibly useful, but obviously I'm on a bit of a countdown. It may have to wait till I get back another time.

                    The real issue is the shoulder, since I don't have any pliers thin enough to allow the balls to slide in and then have space for the pliers. They just hit the shoulder. Absolute nightmare. Not how I wanted this to go.

                    My long thin pliers won't budge the balls as I can't put enough pressure on.

                    img_20200909_162422.jpg

                    #494957
                    Phil Whitley
                    Participant
                      @philwhitley94135

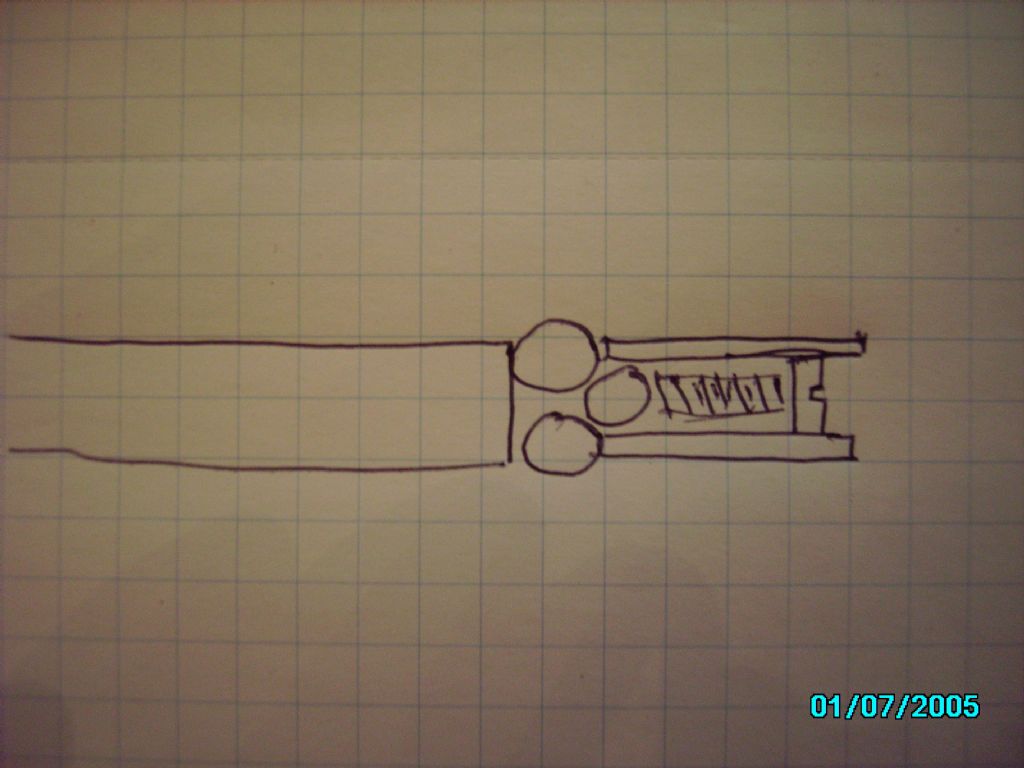
                      Something is wrong there Richard, I have had my feed shaft clutch in and out quite a few times and have never had any trouble with my balls (fnaar fnaar) There should be three balls, two of which project from the holes in the feed shaft, and a third which presses on the first two, and then you fit the spring and the screwed plug. The amount that you screw the plug in provides the clutch adjustment. If when under load the tool digs in and the feed shaft stops, the balls are forced back into the shaft, allowing the boss to rotate, but not the shaft, thus not mangling any gears. If there is no screwed plug on yours, and a longer spring has been fitted to get over this, you may need to cut the spring down. Is there a thread inside the shaft wwhere the balls and spring fit in?


                      Edited By Phil Whitley on 09/09/2020 19:59:59

                      #494958
                      Phil Whitley
                      Participant
                        @philwhitley94135

                        Please excuse the crap drawing, but like this!

                        #494962
                        Phil Whitley
                        Participant
                          @philwhitley94135

                          Your balls look to be sticking to far outwink If you have only put two balls in and then the spring, the spring may have been forced betwen the balls, hence they wont push back into the shaft as they should!

                          Edited By Phil Whitley on 09/09/2020 20:26:30

                          #494963
                          Richard Kirkman 1
                          Participant
                            @richardkirkman1

                            Yes Phil mine is exactly like that,

                            I managed to get it back in with the help of my brother and a bit of effort. I'd been trying for another hour or so and he came out to tell me it was tea time. It's going back together tonight so there will be assembly pictures later

                            #494965
                            Phil Whitley
                            Participant
                              @philwhitley94135

                              Ok good to hear! the tighter you put the screw in the harder the clutch is set, and the more you risk damage if you get a jam (OBVS!!)

                              #494974
                              Herman van der Merwe
                              Participant
                                @hermanvandermerwe76509
                                Posted by Phil Whitley on 09/09/2020 20:21:37:

                                Your balls look to be sticking to far outwink If you have only put two balls in and then the spring, the spring may have been forced betwen the balls, hence they wont push back into the shaft as they should!

                                Edited By Phil Whitley on 09/09/2020 20:26:30

                                Yes, this is my first impression as well!

                                #494993
                                Richard Kirkman 1
                                Participant
                                  @richardkirkman1

                                  So, very productive. After I sorted out my balls it was smooth sailing(almost)

                                  img_20200909_185535.jpg

                                  Lots of pictures, in case anyone else needs more detail in the future

                                  img_20200909_190054.jpg

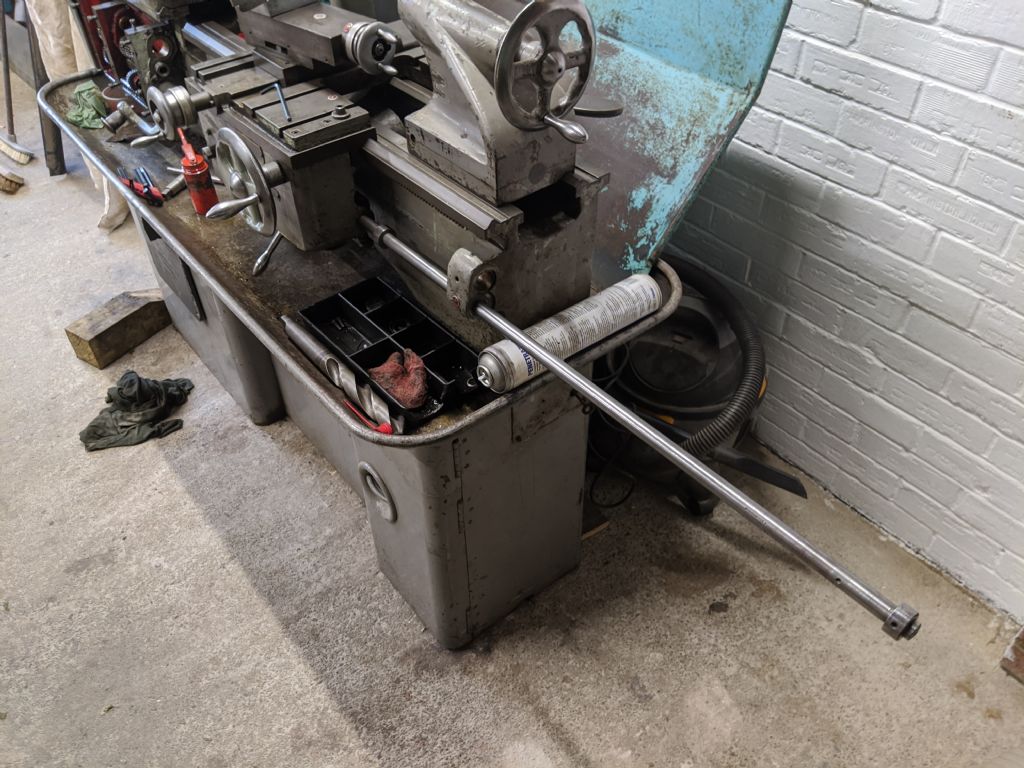
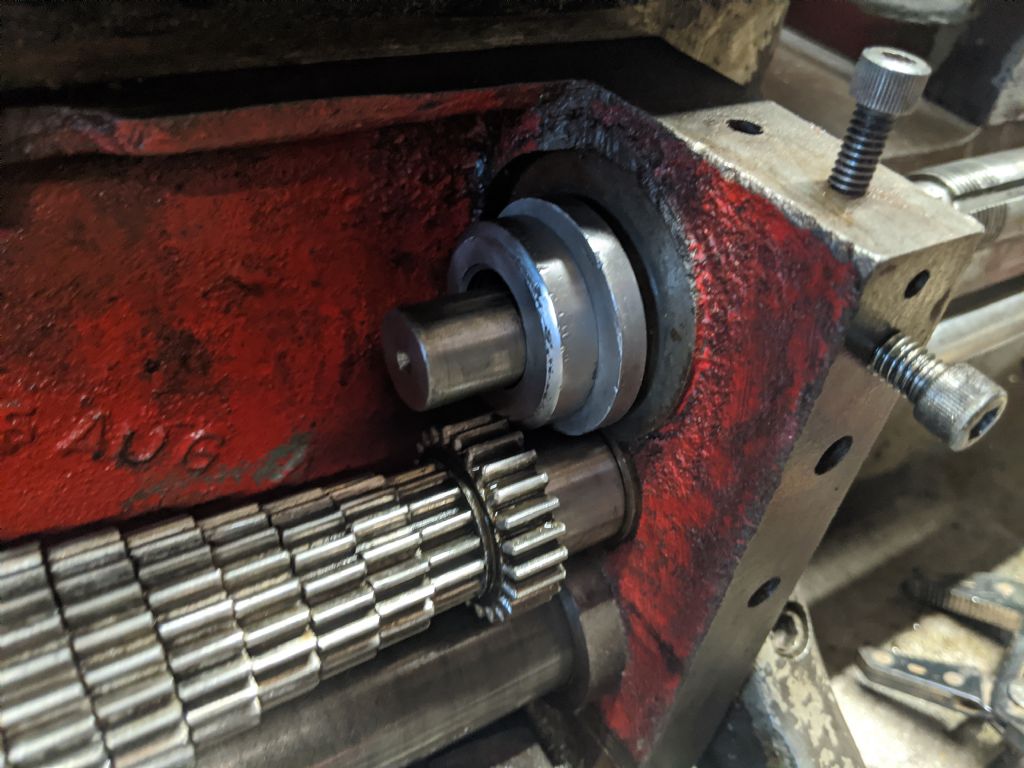
                                  Popped this bit in first, then slid the shaft through. Making sure to have the three rings on the shaft once it was through the apron

                                  img_20200909_190056.jpg

                                  img_20200909_190525.jpg

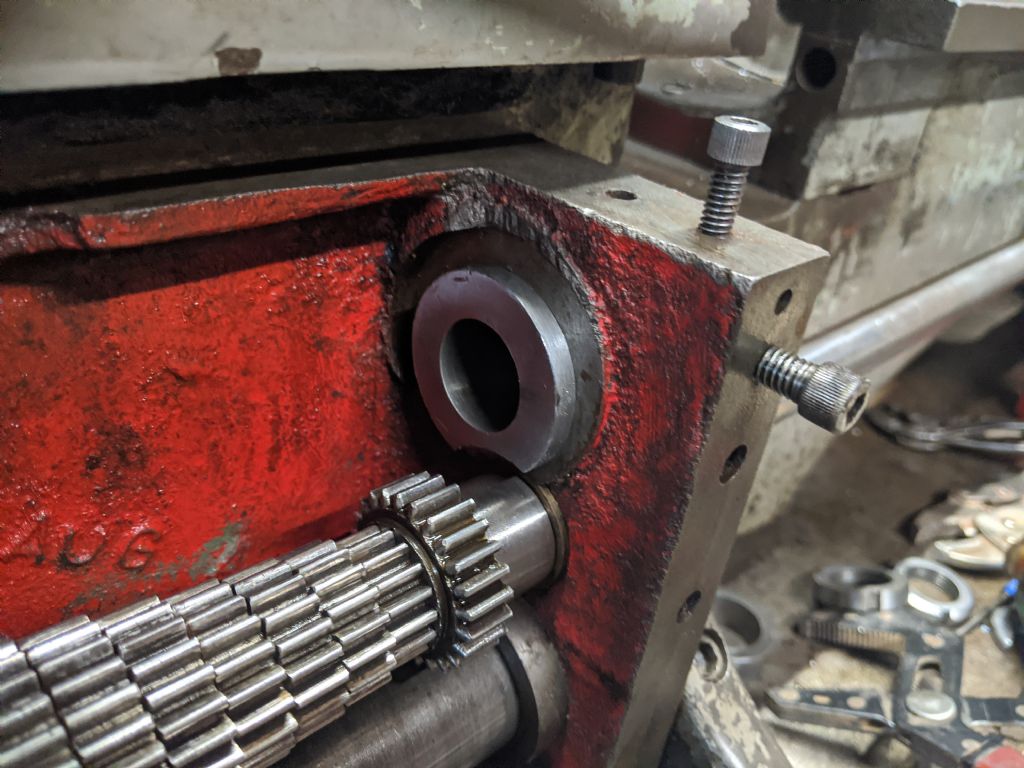
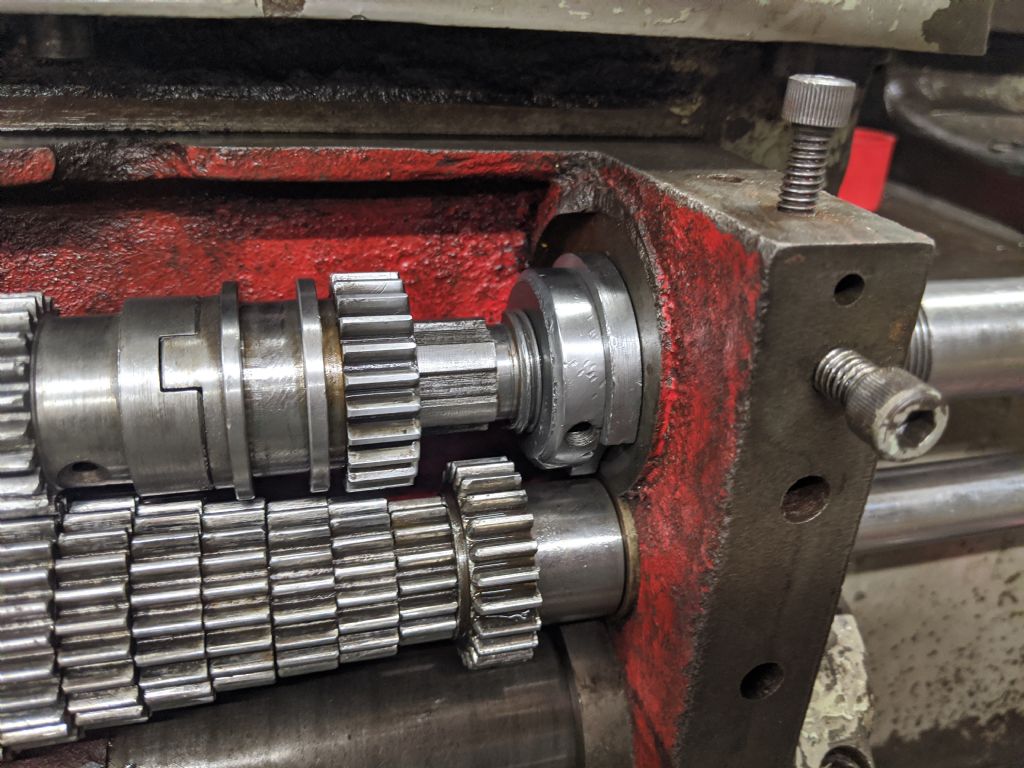
                                  As the leadscrew was pushed through I put the gears on the end as it goes through

                                  img_20200909_190618.jpg

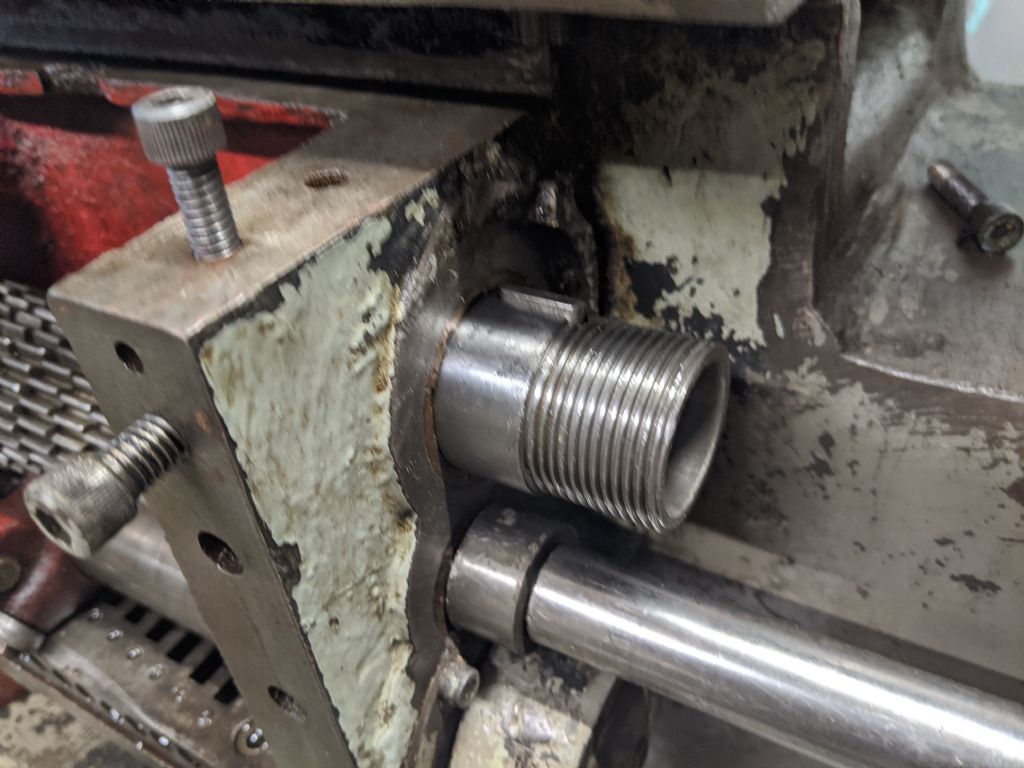
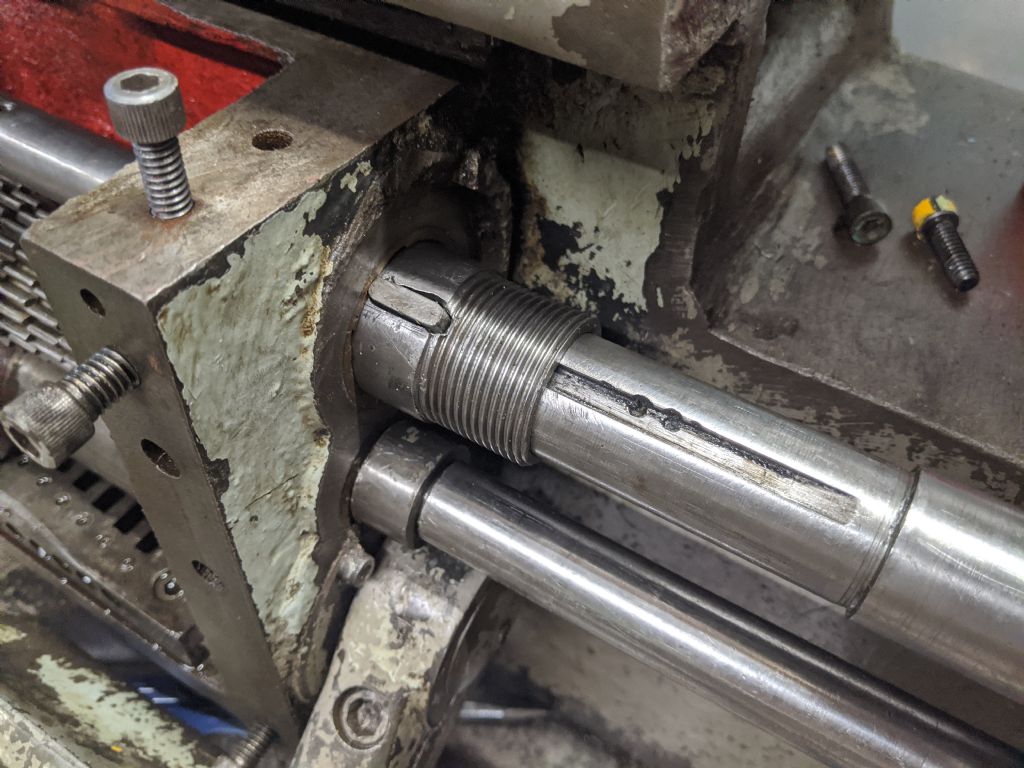
                                  Then as it goes the last few cm, I threaded the collar on while pushing it in every few turns

                                  img_20200909_205232.jpg

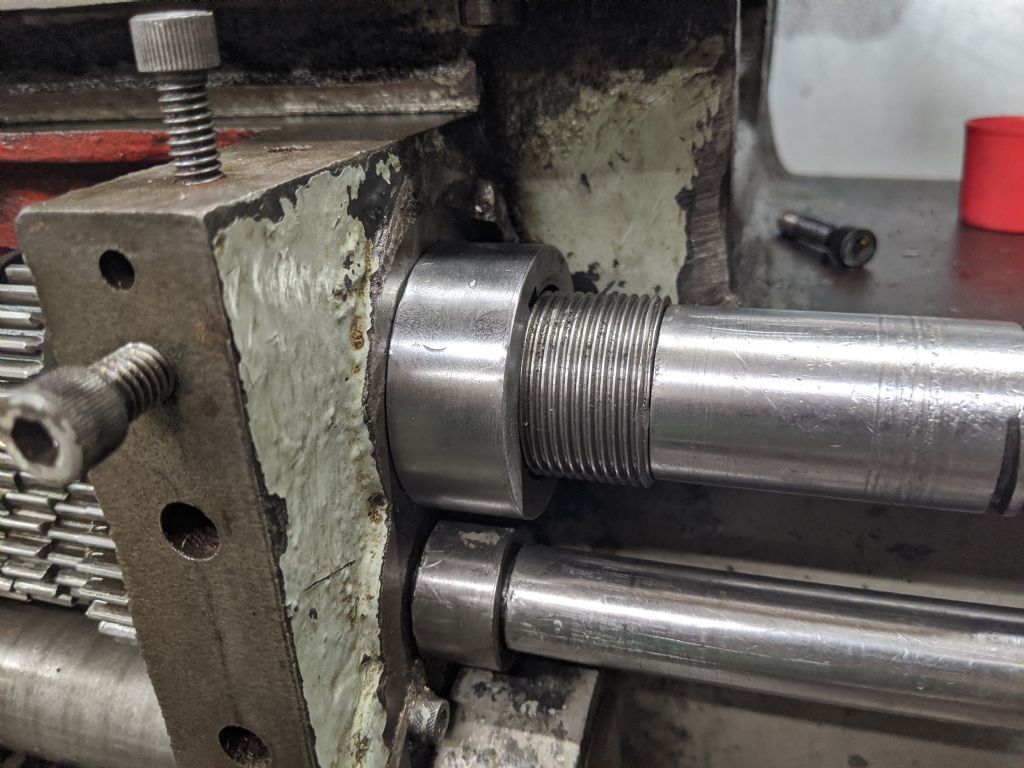
                                  Then I slid the collar on the other side

                                  img_20200909_205243.jpg

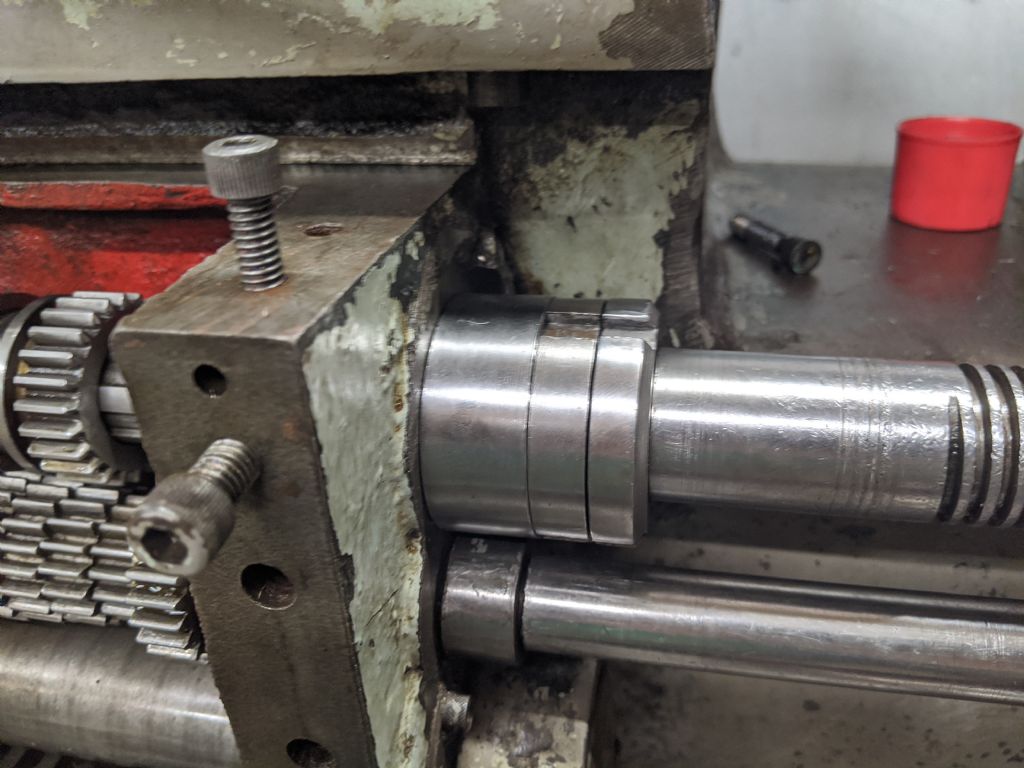
                                  And I screwed on the two locking rings. I struggled a bit getting these tight but not too tight as it caused too much friction, significantly. So it took a little bit to figure it out. All sorted now

                                  img_20200909_205322.jpg

                                  Then I found the spot that this screw had been tightened onto and fitted it back where it was

                                  img_20200909_205527.jpg

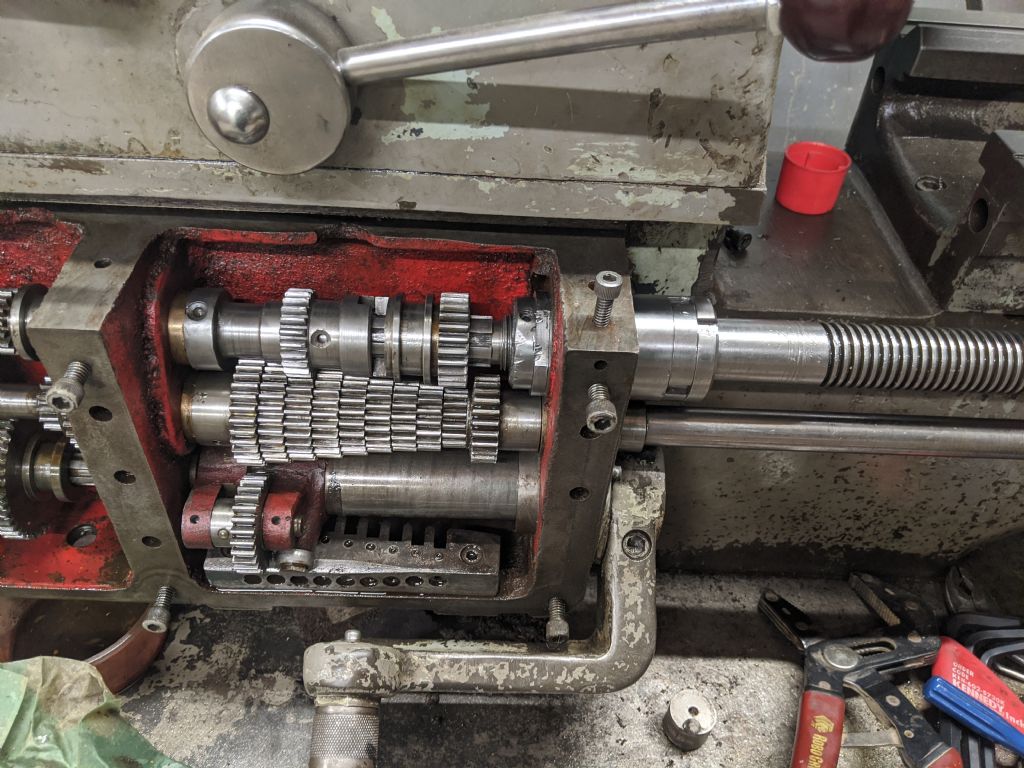
                                  All done. They're not as scary as I thought they initially were, but still interesting mechanisms

                                  img_20200909_205816.jpg

                                  All looking good!

                                  img_20200909_212511.jpg

                                  The cover looks a lot better since I filled the corners down. Thanks for the suggestion Phil

                                  img_20200909_213556.jpg

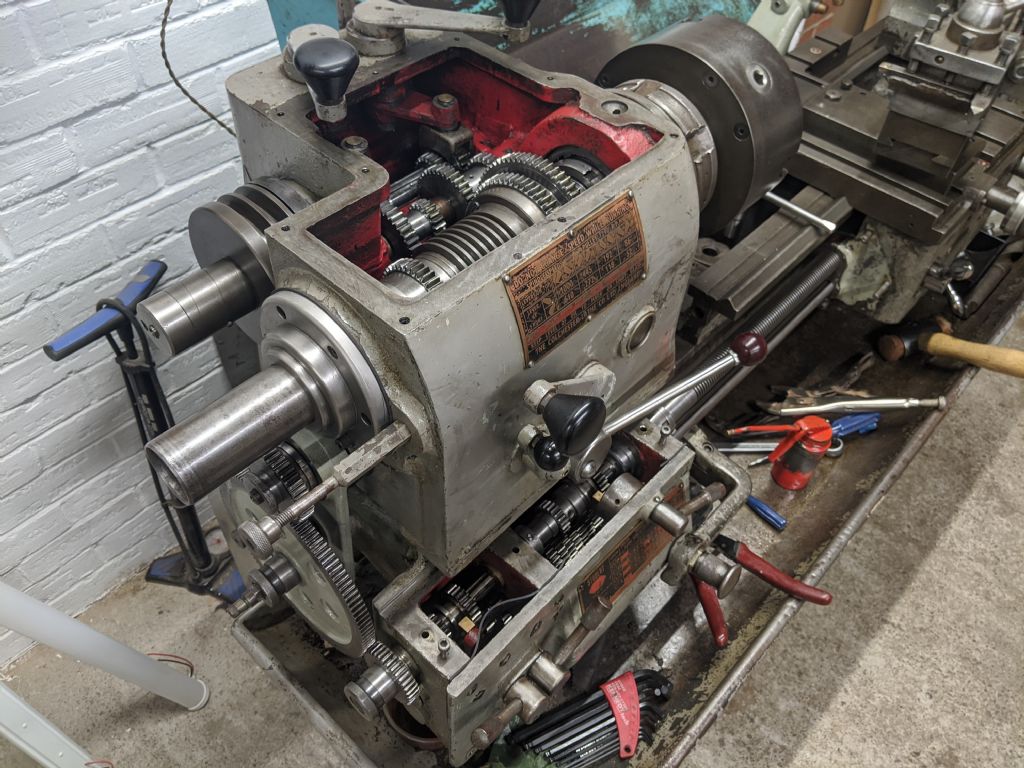
                                  Fully reassembled. Different grey on the repainted parts, but I like it. The patchwork is only temporary

                                  img_20200909_215436.jpg

                                  As for powering up, the light came on immediately. A good sign. I hadn't tested the new switch yet so I was happy to see that it worked

                                  img_20200909_215512.jpg

                                  And that's it for pictures, but plenty of videos available below!

                                  New half nut in motion

                                  Worm box- improvement due to new spring

                                  Still Spins

                                  The new half nut works flawlessly, no issues engaging and disengaging now

                                  Finally a bit of turning

                                  And I'd call that a nice ending to the summer. As good as it could have been anyway.

                                  Thank you to everyone for your help. I couldn't have done this much without you all.

                                  This is only the end, for now, Next time I'm home I'll be doing more, like fitting the light mount and other things. Potentially fitting QCTP too! Time to save some pennies

                                  Anyway, onward and Hullward!

                                  Phil, I'm bringing the little oiler for your lathe to Hull with me. Plus I don't actually have lectures till the 28th, so if you fancy a helping hand with anything for a day, I'd be more than happy to get the train up.

                                  #494999
                                  Mat Stoeckle
                                  Participant
                                    @matstoeckle91130

                                    good luck back at uni, what are you studying?

                                    i'm glad you got it back together and running … much better way to leave it for now

                                    #495010
                                    Herman van der Merwe
                                    Participant
                                      @hermanvandermerwe76509

                                      Good job Richard, now you can leave in peace (vs pieces).

                                      Safe travels and have fun at the Uni.

                                      Phil needs some gardening done me thinks …

                                      #495029
                                      Phil Whitley
                                      Participant
                                        @philwhitley94135

                                        Hi Richard, you are more than welcome to come and spend a day at the workshop, anytime to suit you. My Daughter Izzi starts at York doing Biochemistry on the 28th, and we have to take her on the 26th (I think) so 26th is out, I am not there at weekends, but if you can think of a day convenient for you give me a shout!

                                        Phil

                                        #514649
                                        Mat Stoeckle
                                        Participant
                                          @matstoeckle91130

                                          Hey Richard,

                                          I hope Uni is treating you well .. will you get a Christmas break and maybe some time to work on the lathe?

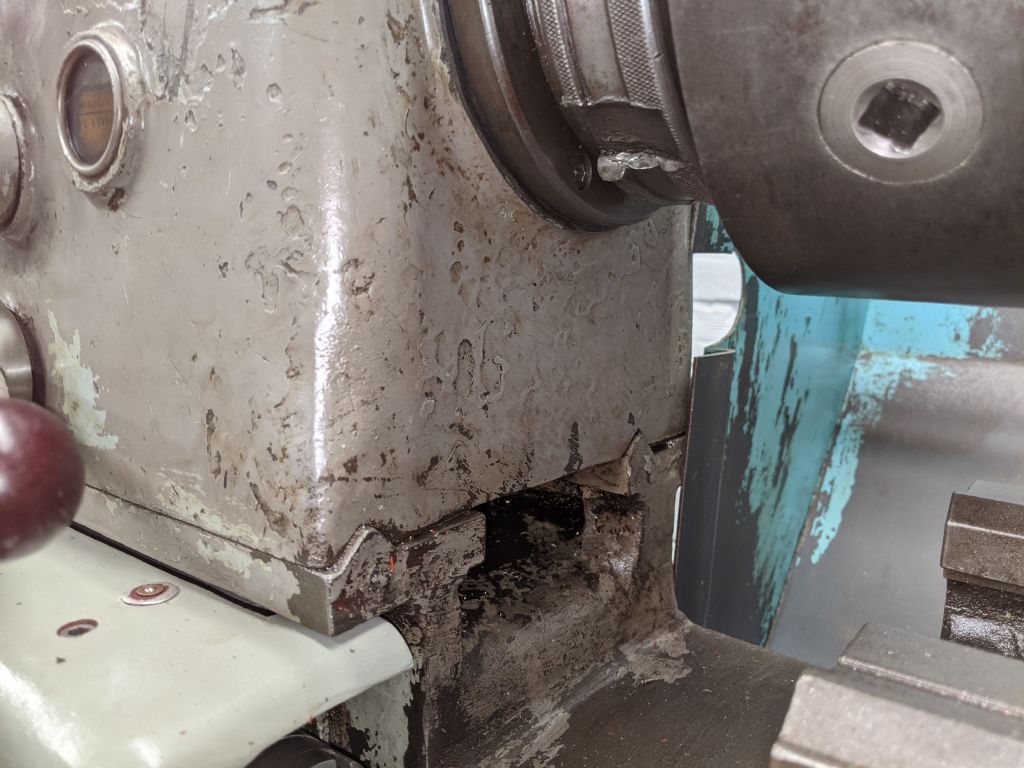
                                          I put mine back together but I'm leaking .. from directly underneath the spindle nose .. I replaced the gasket twice already and still leaking .. wondering if you have any pointers for that area?

                                          Hope you're well and Merry Christmas!

                                          Mat

                                          #514651
                                          Richard Kirkman 1
                                          Participant
                                            @richardkirkman1
                                            Posted by Mat Stoeckle on 20/12/2020 21:38:01:

                                            Hey Richard,

                                            I hope Uni is treating you well .. will you get a Christmas break and maybe some time to work on the lathe?

                                            I put mine back together but I'm leaking .. from directly underneath the spindle nose .. I replaced the gasket twice already and still leaking .. wondering if you have any pointers for that area?

                                            Hope you're well and Merry Christmas!

                                            Mat

                                            Hi Mat, I'm very well thanks, I hope you are too.

                                            I'm back home, but Uni assignments have come with me, and I've had to get some woodworking out of my system before I get back on with the lathe. I study Mechanical Engineering, by the way, I forgot to answer your last post.

                                            Unfortunately seems like I'm also leaking (pictures inbound when I get around to it), so there are hours of fun still to be had. I think I might cut some new gaskets too!

                                            As for leaking from the spindle nose, I only had my gasket leak there when I didn't tighten the bolts enough.

                                            What material are you using for the gasket?

                                            Merry Christmas

                                            Richard

                                            Edited By Richard Kirkman 1 on 20/12/2020 21:59:26

                                            #514675
                                            Mat Stoeckle
                                            Participant
                                              @matstoeckle91130

                                              Hey Richard,

                                              great to hear from you .. well, I followed your advise and bought that rubber stuff you are using .. my original cardboardy type stuff from the auto parts store leaked so I tried yours .. but still leaking … makes me think .. I got the socket cap screws in the front as tight as I’d want to go on those but you mentioned in one of your posts way back to make sure to tighten the locking collar in the back “tight” … is it possible it’s leaking through the bearing somehow because of not enough preload??

                                              I’m selfishly happy you have the same problem because I know you’ll solve it 😀 so thanks for that!

                                              Mat

                                              #514677
                                              Herman van der Merwe
                                              Participant
                                                @hermanvandermerwe76509

                                                Guys, guys, you need to remember that this is an English design. As you well know any English designed mechanical system is designed to leak oil to show you that there is still oil in the machine. Ask any Land Rover owner …

                                                #514678
                                                not done it yet
                                                Participant
                                                  @notdoneityet
                                                  Posted by Herman van der Merwe on 21/12/2020 05:39:29:

                                                  Guys, guys, you need to remember that this is an English design. As you well know any English designed mechanical system is designed to leak oil to show you that there is still oil in the machine. Ask any Land Rover owner …

                                                  Perhaps surprising, but my Series III did not leak anything noticeable – apart from a small loss from the large seals on the steering hubs – there was some corrosion and I declined fitting new swivels. It was not so oil-tight when I bought it but most certainly did not drip oil on my drive.

                                                  Much the same with Triumph m/cycles – push rod leaks on the bikes I serviced were noted to be leak-free. I rode a Honda back in the ‘60s which was not even fitted with a gasket between the crankcase halves, by design, but did not leak at all, of course. Precision Japanese engineering/machining was far ahead of the old British designs.

                                                  #514860
                                                  Richard Kirkman 1
                                                  Participant
                                                    @richardkirkman1

                                                    As much as my lathe is English, I suspect it still shouldn't be leaking this much!

                                                    I'll look into the source when I have some time.

                                                    pxl_20201221_183559255.jpg

                                                    As for the spindle nose, I'm still leak free

                                                    pxl_20201221_183550358.jpg

                                                    So I'm not too sure what you can do Mat. Is it definitely squeezing down on the rubber?

                                                    #514999
                                                    Richard Kirkman 1
                                                    Participant
                                                      @richardkirkman1

                                                      Looking at the leaks, I'm still not quite sure where mine is coming from. The headstock and gearbox still seem to be as full as I left them!

                                                      Although they are both above the level so I think it may be leaking out of the end of the spindle. Hopefully this will stop when the level reduces.

                                                      pxl_20201222_155101953.jpg

                                                      Anyway, then I had a nice play. I needed to turn some aluminimum parts for another project.

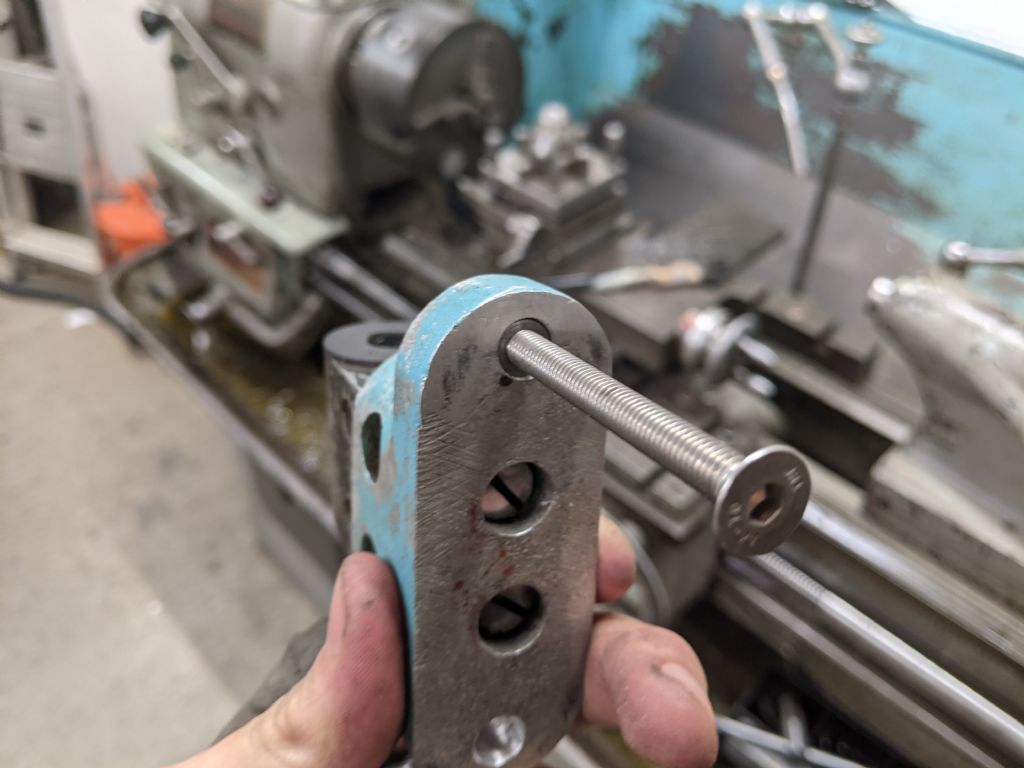
                                                      And then I decided to make the mounts for the light to mount to the backsplash.

                                                      pxl_20201222_174854160.jpg

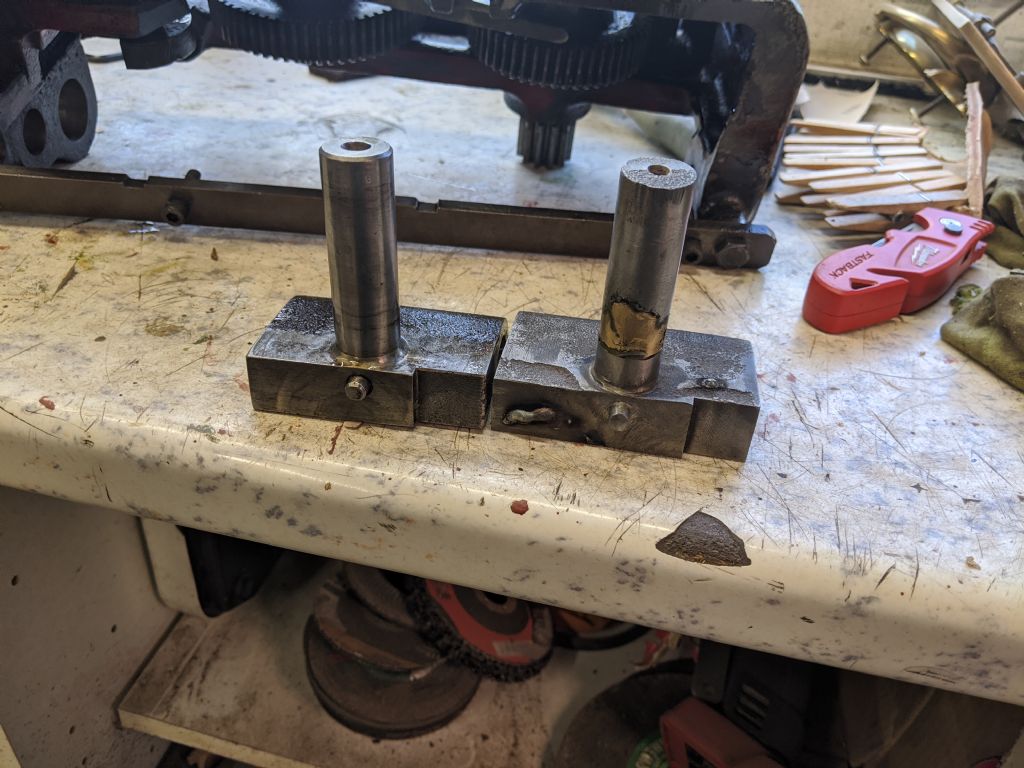
                                                      I enlarged the holes in the mount so that the mount can use a m6 thread and still have enough meat in it

                                                      pxl_20201222_175031696.jpg

                                                      Turned some steel plugs with thick heads so I can cut slots in

                                                      pxl_20201222_175035511.jpg

                                                      Tapped to M6 so it can use the countersunk head bolts I have

                                                      pxl_20201222_181638321.jpg

                                                      The long M6 bolts, which have been cut down now.

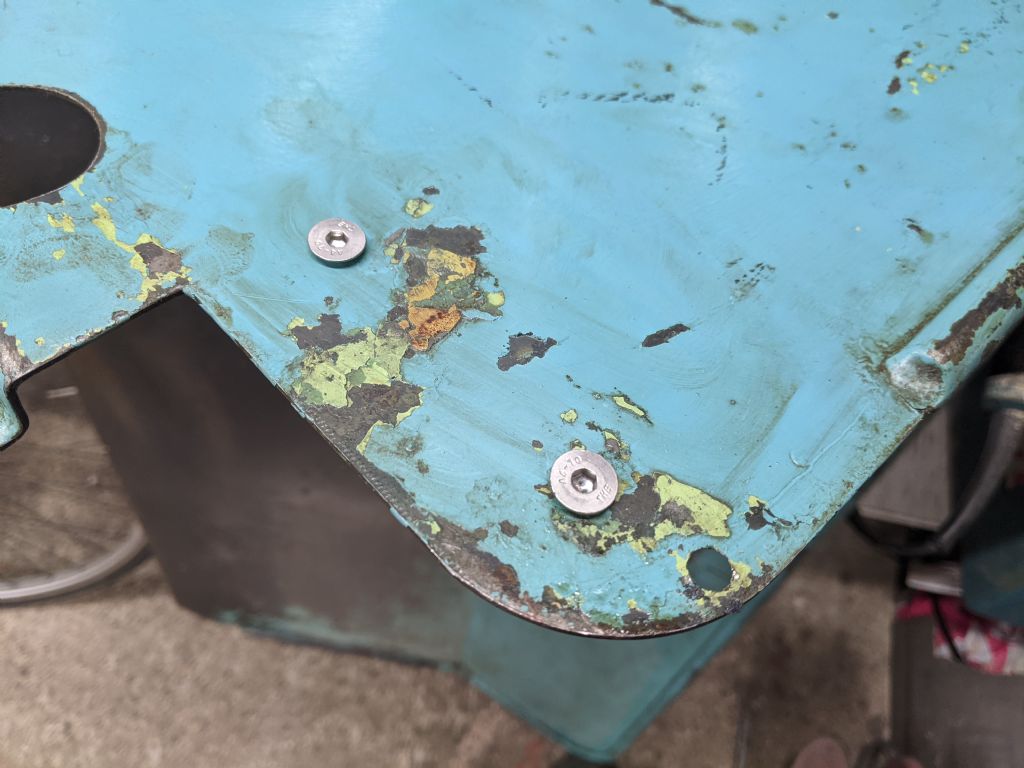
                                                      pxl_20201222_191740423.jpg

                                                      These will go through the other side of the backsplash, so the holes will be countersunk until the bolt heads are flush, so the backsplash can still be mounted nicely.

                                                      I'll finish mounting it tomorrow

                                                    Viewing 25 posts - 751 through 775 (of 797 total)
                                                    • Please log in to reply to this topic. Registering is free and easy using the links on the menu at the top of this page.

                                                    Advert

                                                    Latest Replies

                                                    Viewing 25 topics - 1 through 25 (of 25 total)
                                                    Viewing 25 topics - 1 through 25 (of 25 total)

                                                    View full reply list.

                                                    Advert

                                                    Newsletter Sign-up