Colchester Student Mk1 Won’t Start

Advert

Colchester Student Mk1 Won’t Start

Home Forums Help and Assistance! (Offered or Wanted) Colchester Student Mk1 Won’t Start

Viewing 25 posts - 251 through 275 (of 797 total)
  • Author
    Posts
  • #463036
    SillyOldDuffer
    Moderator
      @sillyoldduffer
      Posted by Richard Kirkman 1 on 07/04/2020 17:17:12:

      Socket arrives around 2.30 so I went straight out and fitted it. Lathe works beautifully

      Well done you and Phil!

      Dave

      Advert
      #463074
      Phil Whitley
      Participant
        @philwhitley94135

        Phew! good to hear my wiring was correct! success! Well done Richard. I hate parting off too, make sure that the tool is square to the work, minimal overhang, lock off the saddle, cutting oil! Rigidity in the setup os where its at!.

        Phil

        #463076
        Phil Whitley
        Participant
          @philwhitley94135

          Just watched the videos, Excellent stuff Richard, I am well pleased for you! Knew we would get there in the end, now the fun part, shaking out the fine details, and making stuff! I am trusting that you have earthed it all properly!!?

          Phil.


          Edited By Phil Whitley on 07/04/2020 19:23:41

          #463082
          Richard Kirkman 1
          Participant
            @richardkirkman1

            Thanks Dave, good to know someone else is still interested. But don't worry, it's far from over yet😄 (potentially thinking DRO, and more painting and things) lots of things to iron out first. Lighting transformer is next on the list

            Parting off started okay but then I have no idea what happened, just went terribly ended up snapping the tool. I had changed the shape of it a bit and made a weak point so I'll look into it tonight.

            The lathe started to make a horrible clunking noise. So I took off the motor again, turned out the grub screw wasn't tight enough, so easy fix.

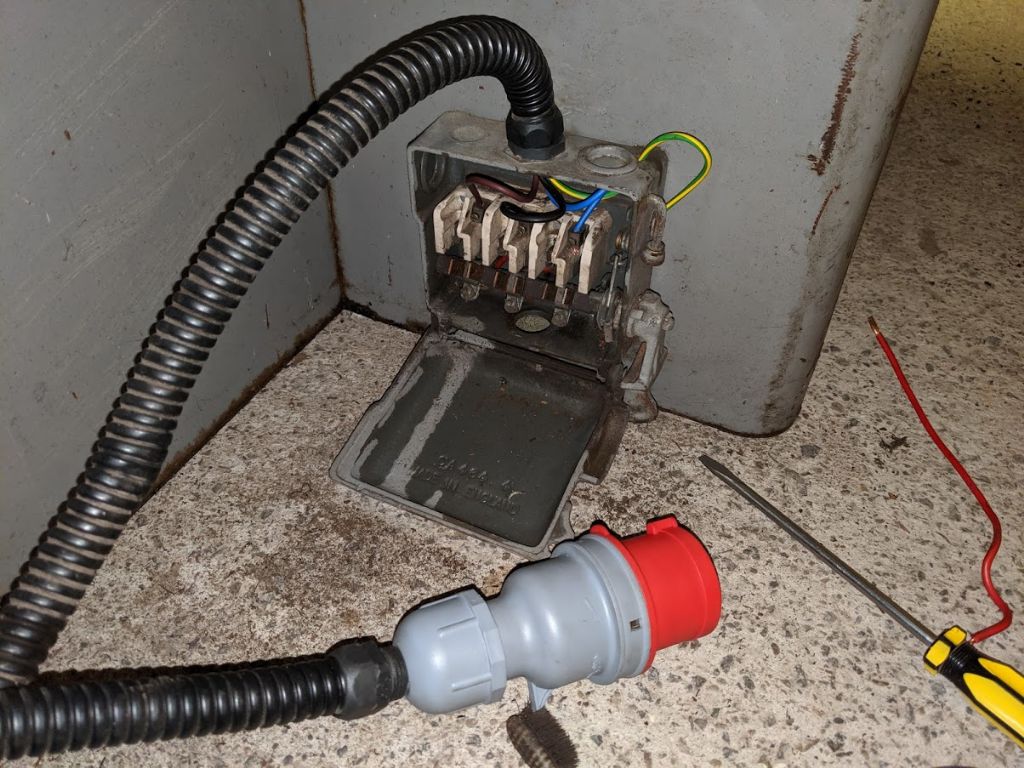
            As for grounding, the only grounding there is is coming from the plug to the box that those wires go into. Here

            img_20190906_190738.jpg

            Also, my dad is concerned that the lights flicker for a second when the phase converter is turned on, and then again when the lathe is turned on. Could you explain why this happens?

            img_20200407_174406.jpg

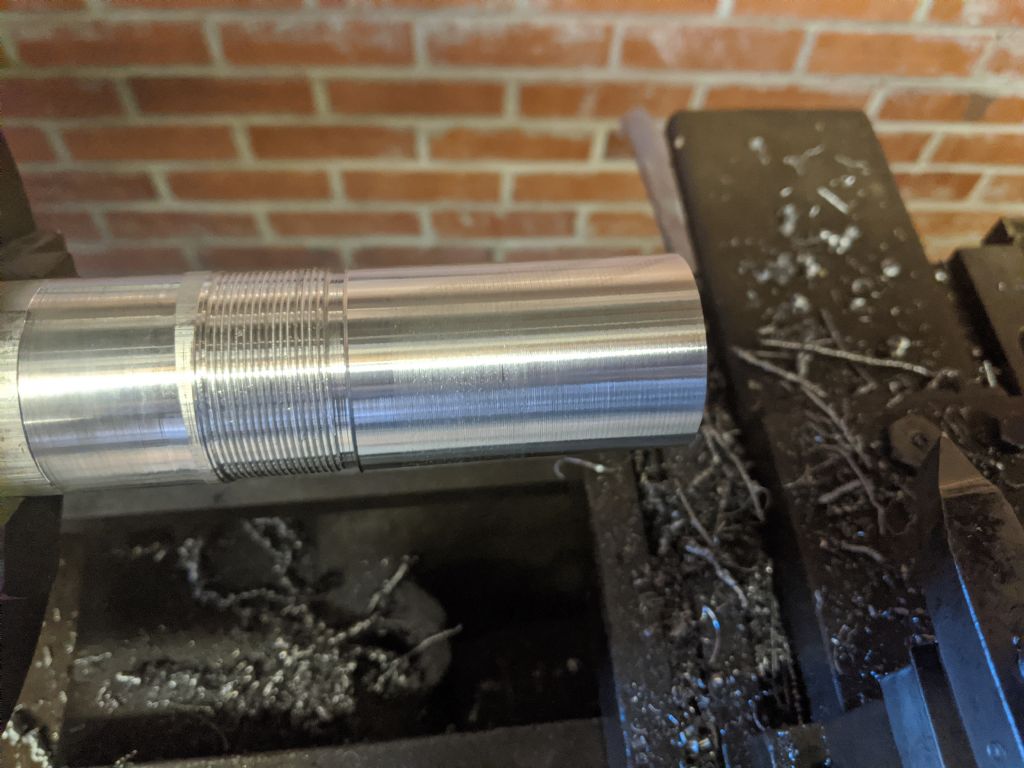
            I played around with some aluminum, just turned the end part and did a large 4tpi thread on the end. I didn't have the thread gauge on the lathe so I just left the half but engaged. But it went well. I forgot to move the tool back out a few times so it made marks on the return since the threads have some slop in so they don't line up back and forth

            Taking a cut to remove some surface marks from messing the thread up!

            The spacer fits wellimg_20200407_181103.jpg

            #463090
            Phil Whitley
            Participant
              @philwhitley94135

              flickering lights is just a bit of volt drop, my workshop lights flicker when the compressor starts. Nothing to worry about.! As long as the earth wire is firmly arrached to the isolator box, which is in turn bloted to the lathe, it should be fine. If it was a lathe where the weight of the motor tensioned the belts, and the motor was on a pivot, or the motor moved to change speeds via belts, I would recommend a seperate earth to the motor case, but the motor is bolted solid to the frame of the lathe so that should suffice.


              Phil

              Edited By Phil Whitley on 07/04/2020 20:21:58

              #463093
              Phil Whitley
              Participant
                @philwhitley94135

                Looking at your well made spacer, I see three red wires emerging from an unbushed hole with no flexible conduit in sight! Get it sorted before there is a bang and a flash, and the phase convertor goes up the pictures! devil

                Phil

                #463108
                Richard Kirkman 1
                Participant
                  @richardkirkman1

                  Those wires are the ones coming out of the back of the isolator. I'll look at it tomorrow. Why would the phase converter be damaged from the lathe wires being damaged?

                  Any thoughts on why the lathe doesn't always switch on? Could it be the switch contacts?

                  And any thoughts on why I don't hear the contactor pulling in like a big clunk like your one did?

                  And does the coolant pump seem very noisy/ growly to you?

                  #463118
                  Howard Lewis
                  Participant
                    @howardlewis46836

                    Glad to see that you are making progress!

                    Parting off can be a problem. FWIW, I would suggest:

                    Minimum tool over hang

                    Plenty of lubrication

                    I cheat and use a rear toolpost, and being a cheapskate who hates grinding away good HSS, use Zero top rake.

                    This reduces the chances of a dig in.

                    For some reason, parting with a back toolpost seems to produce fewer problems that with the tool mounted in the front toolpost. But it may not be possible to fit a back toolpost to your lathe.

                    Keep a steady, but not hard feed. Don't let the tool rub.

                    Also, lock the Saddle to minimise any side load on the tool.

                    HTH

                    Howard

                    #463129
                    Richard Kirkman 1
                    Participant
                      @richardkirkman1

                      I'd never realised what a rear tool post would be for, I'd seen them before on listed lathes and things but it hadn't quite clicked. So that's very interesting!

                      Zero top rake sounds good to me, no angles to deal with!

                      I'll attempt this and report back. What sort of speeds should I be looking at

                      Much appreciated Howard

                      #463134
                      Howard Lewis
                      Participant
                        @howardlewis46836

                        Being bone idle, I just grind the front face by approaching the grinding wheel head on. Hopefully, your parting blade already has clearance built in on both sides. If it hasn't, you need to grind some, but not too much.

                        You only need to produce some front clearance, effectively about 5 degrees. Too much takes away support from the cutting edge and weakens it.

                        Stating the painfully obvious, it is important that the cutting edge is on the centreline , and not above it. Tool rubs if you mdo.

                        Below and it will leave a pip in the middle of the job.

                        There are arguments as why a rear toolpost is better for parting off, all about the thrust being upward or downward on the dovetails. Have not followed the fight, just found that more dig ins and broken tools happen in the front toolpost. Am now getting so brave that power cross feed of about 0.0022"/rev gets used!

                        Speeds:

                        I tend to be cautious and run slower that for turning, about half usual surface speed.  Don't let the swarf build up for fear of jamming the tool on a deep parting cut..

                        HTH

                        Howard

                        Edited By Howard Lewis on 07/04/2020 23:01:45

                        #463143
                        Richard Kirkman 1
                        Participant
                          @richardkirkman1

                          Brilliant stuff

                          Although, I use a belt grinder instead of a bench grinder, so I use a flat platen so I don't get a hollow.

                          Also, struggling to get things perfectly centered since I'm not used to a 4 way tool post. I'll get better at shimming. I'll get some material for it

                          Thanks again

                          #463207
                          SillyOldDuffer
                          Moderator
                            @sillyoldduffer
                            Posted by Richard Kirkman 1 on 07/04/2020 19:44:24:

                            Thanks Dave, good to know someone else is still interested…

                            Have a look at the number of 'reads' you're getting. At the moment this is the forums most read thread on a technical subject.

                            People aren't commenting because Phil is doing such a good job helping with the electrics and you're not needing help with the mechanics or using the machine yet. Don't be put off by lack of responses.

                            Expect more reaction when you ask about paint colour, tool-height setting, HSS vs Carbide, toolposts, confirming alignment and run-out etc. The fun starts as soon as the lathe is able to cut metal! (Making that washerwas a good first test – it confirms the motor is delivering power, not just spinning, that the gears and controls are more-or-less sound, no obvious problems with the chuck and headstock bearings, and the saddle and top-slide both behave as expected. No gross mechanical problems emerged. More good news or bad doing more jobs: facing, turning longer rods, screw-cutting, using the tail-stock, taking deep, fast cuts, drilling etc. If all those go well, you can confirm alignment with Rollies Dad and confirm precision and tightness with a DTI.)

                            Have to say it's looking good. Lathe condition is difficult to assess by eye: a dirty old lathe might actually be in good condition whilst spit and polish examples hide a multitude of sins.

                            Dave

                            #463217
                            Dennis WA
                            Participant
                              @denniswa

                              Richard…Phil has done a great job in helping you, including emphasing the safety aspects.

                              I agree with Dave that you have sorted it out as you have progressed and are learning as you go.

                              I have a 1964 Student Mk 1.5 and have followed the thread with great interest. At no stage could I add anything to what you had got from other folk.

                              Congratulations on your progress – enjoy using the Student and good luck with your studies.

                              Dennis

                              #463233
                              Richard Kirkman 1
                              Participant
                                @richardkirkman1

                                Dave- Sometimes I think most of those views are mine! Thank you, it's nice to hear some positive feedback after all this. It's probably been 6 months since I got the lathe now, so lots of missed opportunities to make up for. I wouldn't do it any differently since I've learned so much.

                                Thanks for the rollies dad thing, I haven't seen that before. I do have an indicator, but I need to make a mount for It to go onto the magnetic base. Perhaps today's project

                                Dennis- Thanks, good to hear from someone else! I hope you've learned something about your lathe too!

                                #463247
                                Howard Lewis
                                Participant
                                  @howardlewis46836

                                  It will be time well spent to make a Centre Height Gauge. It can sit on the Cross Slide, it has a machined flat surface, or on the flat bedway.

                                  There are various ways of adjusting it to exact centre height, from simple to complicated, depending on what equipment is available.. It can be either "suck and see" to use of slip gauges and vernier height gauges

                                  The objective is being able to set tools on the centre line so that they cut properly.

                                  If you want to see a picture of the one that I use, and how to make one of your own, PM me with an E mail address, and I'll send pictures and instructions..

                                  By now, I have made about six, using different methods, for different lathes..

                                  Howard

                                  #463267
                                  Phil Whitley
                                  Participant
                                    @philwhitley94135

                                    Hi Richard,

                                    It is not certain that a phase to earth would damage the phase convertor, but having a "leg down" would put a large unequal load on it, and it is not worth the risk! all exposed wiring should have a primary insulation to keep the electric pixies seperate and inside the wires, and a secondary insulation to protect the primary insulation from mechanical damage. Flexible conduit, and bushings where cables pass through metal fulfills this essential safety requirement. Do you remember the wiring on my Rapidor machine hacksaw? Well, Don't do it like that!!

                                    The not starting sometimes, mine does that as well, I put it down to dirty contacts in the C&D switch, OR moving the handle down too quickly, and bypassing the intermediate position of the C&D switch before the contactor has pulled in fully, and closed the holding in contacts. try moving it a bit more slowly and I think the problem will dissapear.

                                    the reason you do not hear a massive clunk like you do with mine is that the modern contactors are virtially silent, and will probably last 10 to 20 years, whereas the one on mine is big, numb, and has a large surface area of armature and contacts, which slams metal to metal in a very noisy fashion, and will last, with a bit of maintenance, forever!

                                    Phil.

                                    Edited By Phil Whitley on 08/04/2020 13:38:45

                                    #463301
                                    Richard Kirkman 1
                                    Participant
                                      @richardkirkman1

                                      Thanks Phil, very informative. There are quite a lot of loose wire in there. I'm not sure how l'll be able to cover them all

                                      The lathe looks like it has space for feet on the machine through some threaded holes. Im not sure if anyone else has seen This Old Tonys video on lathe leveling, but he has a student mk1.5 and it has 6 feet to allow for leveling?

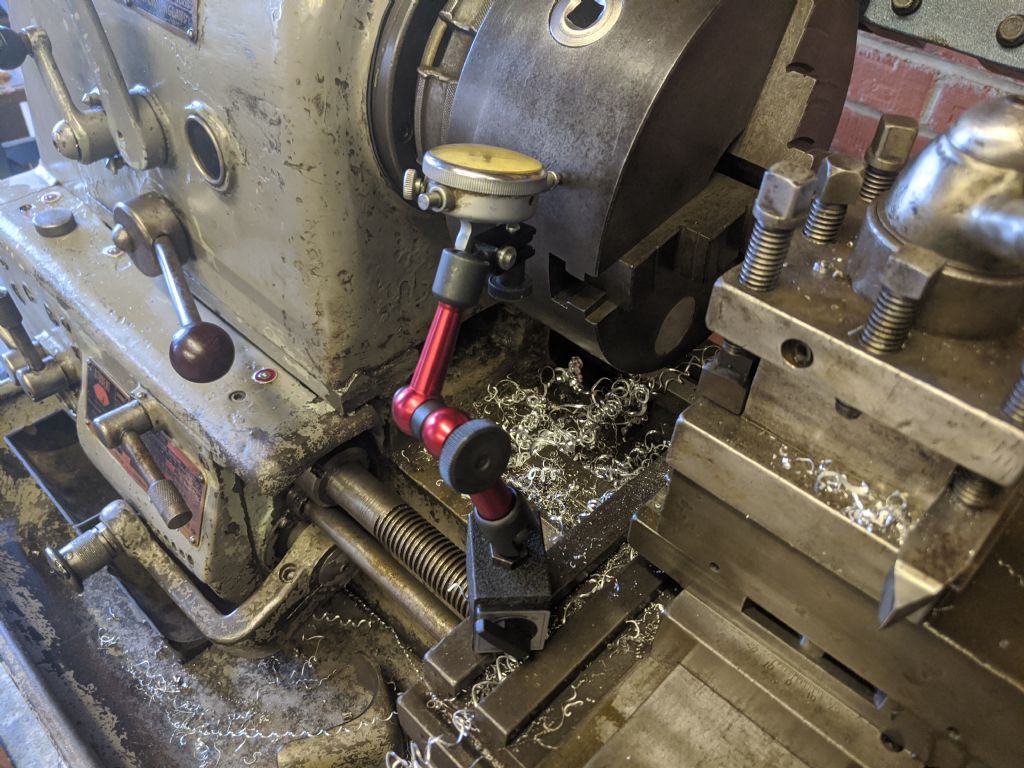
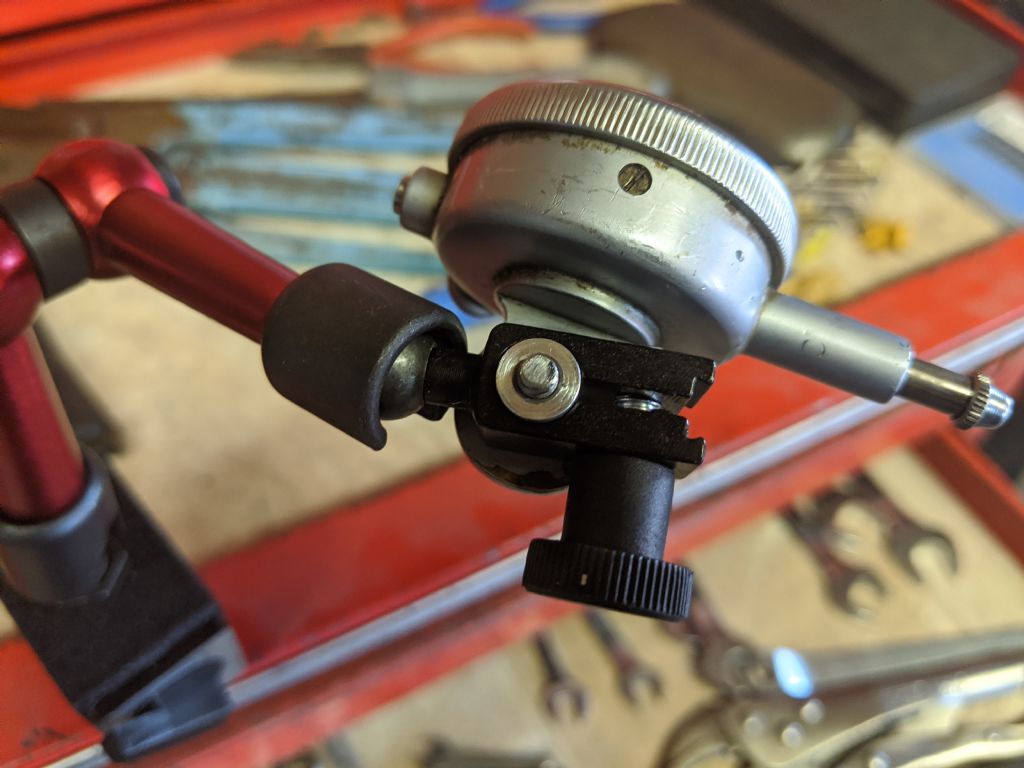
                                      I made a mount for my indicator today, although I'm not sure it's on the right kind of stand, it's works for me

                                      img_20200408_140849.jpg

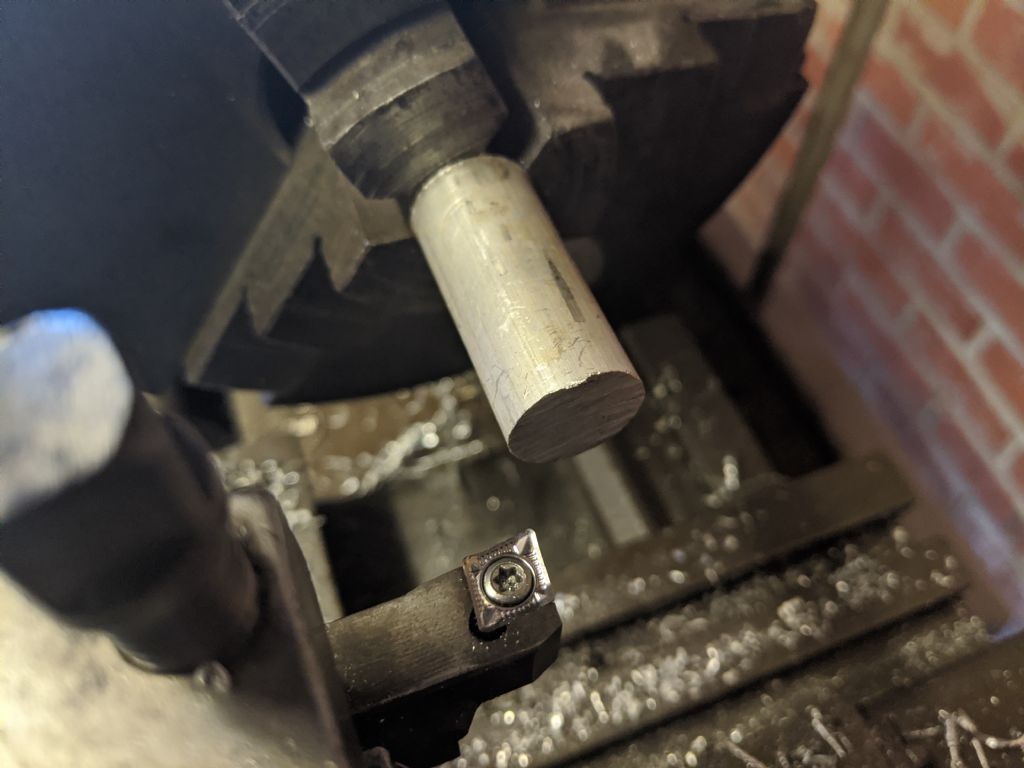
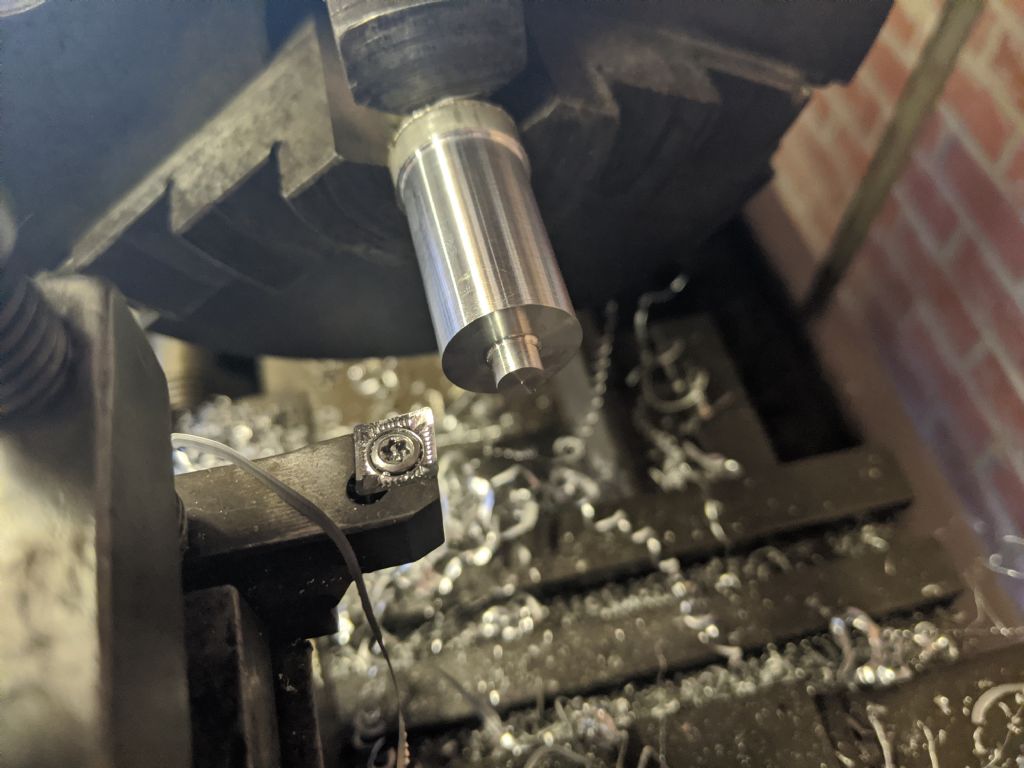
                                      I used a weird insert I found on arc euro trade. It said it was for non ferrous metals so I thought I'd give it a try, it did a good job I think

                                      img_20200408_142446.jpg

                                      I turned around 250 thou end for the indicator to sit on, then turned the rest to fit in the holder nicely

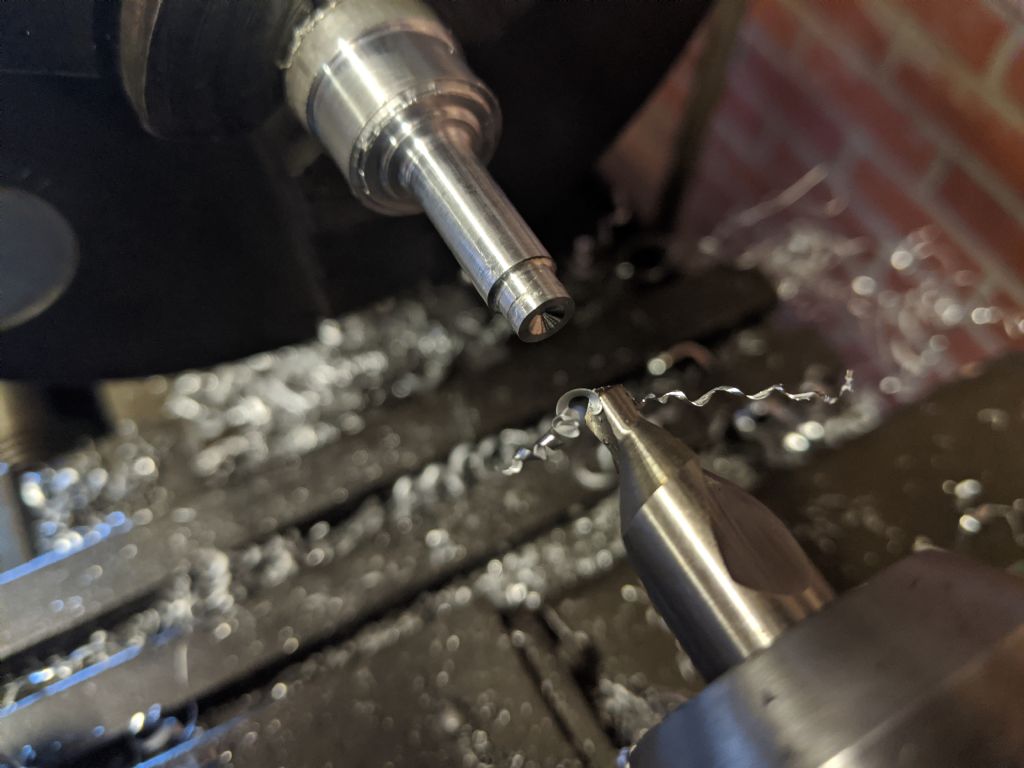
                                      I img_20200408_143928.jpg

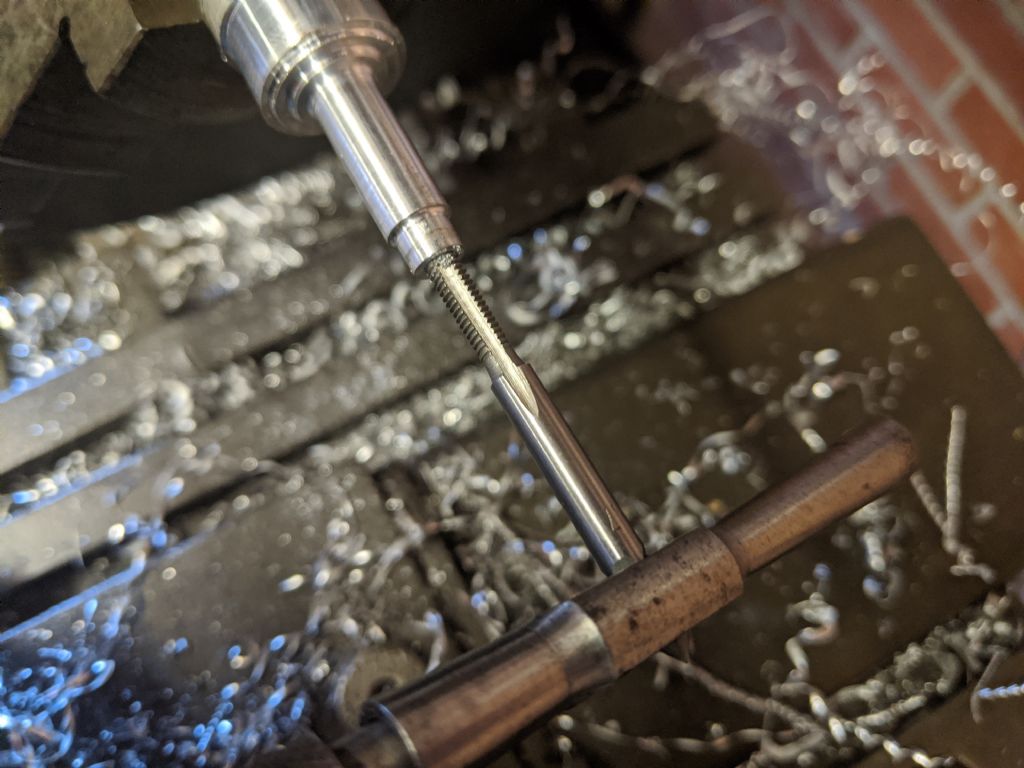
                                      Drilled the end out to 3.3mm for a m4 thread. It was nice to finally get to use my taps. Although they were too small to use a spring center, it went in very well by eye

                                      img_20200408_144800.jpg

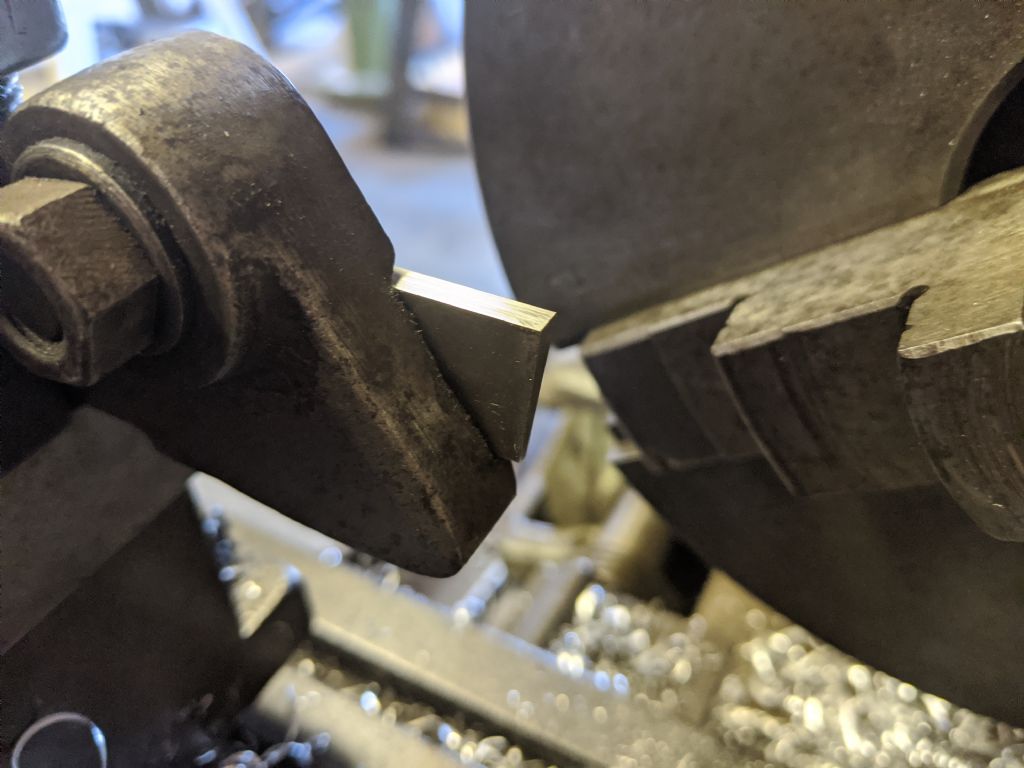
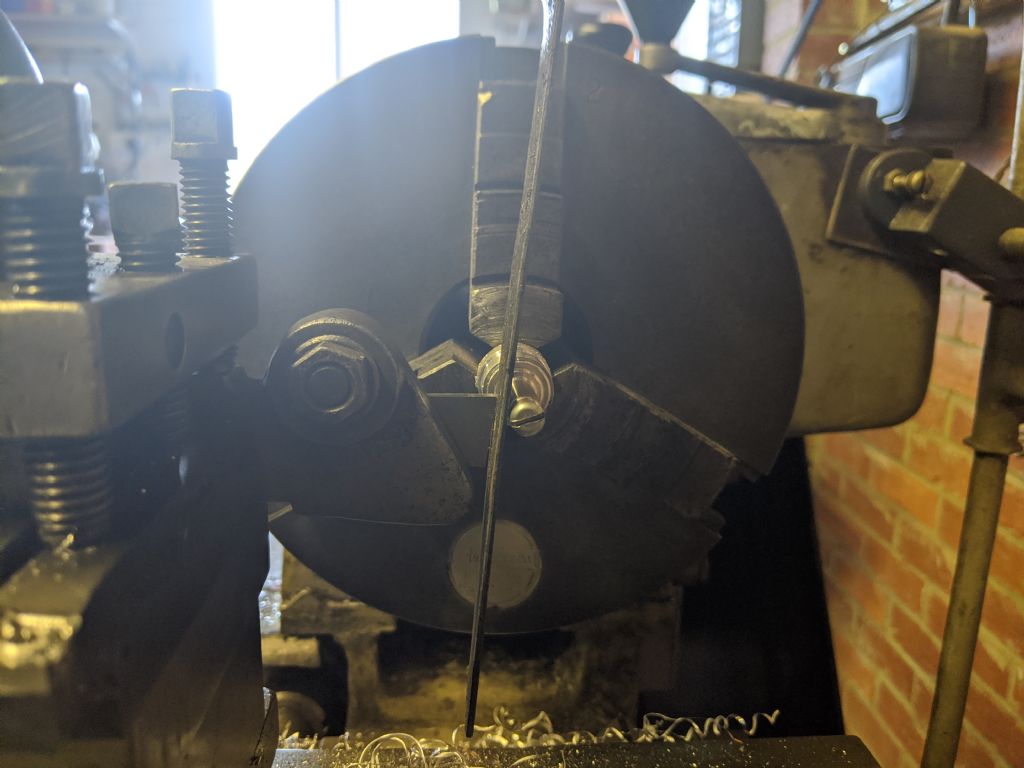
                                      I had a play with my has parting off tool, ground it to how it was suggested, then I played around looking at the center height. It was a long way off, too high. I used the flat bar trick thing. I did try to grind it down a bit but it was taking too long. And since it was such a small part I decided to use my carbide parting off tool which was under center so I could shim it to the right height. It worked like a dream, 120rpm or so, hand fed, very slowly, with plenty of oil. Only aluminum so not too hard, but still good practice

                                      img_20200408_150200.jpg

                                      img_20200408_150830.jpg

                                      When I parted off yesterday I used the other end of the tool which was lower, but I didn't check the height of that, so I don't know if it was or wasn't on center. Guessing it wasn't since it went so badly yesterday.

                                      img_20200408_152934.jpg

                                      img_20200408_153143.jpg

                                      It fits! A nice little project

                                      Now I'll be able to use my 4 jaw when it dries. I put another coat of paint on it today. The first had only just dried as I put it on so thickly, and it pooled at the bottom. So just a thin coat today!

                                      #463321
                                      Phil Whitley
                                      Participant
                                        @philwhitley94135

                                        Hi Richard, You dont have to cover all the wire, only where it is exposeed, it is fine when it is inside an enclosure, like inside the switch or the control panel, but it must be protected when it is in the open, or where it goes through any holes in metalwork to prevent vibration wearing away the sheath and exposing bare copper. the metal or plastic flexible conduit fulfills this purpose.

                                        I dont like the idea of feet on a lathe, although many people do use them. If you check the manual, my manual says it has levelling screws ( mine hasnt, or any threaded holes) and it does detail using them to get the bed straight. See what your manual says. There is little point in putting feet on the colchester, it is the bed of the lathe that needs to be level, or more accurately, straight (without twist) and leveling the cabinet will not neccasarily achieve this. If you look at my video of the rebuild on my lathe, you will see a slide of the refitting of the bed to the cabinet, and you will notice that it is only fitted to the cabinet with three bolts, which have sealing washers on them to stop coolant leaking in to the base. I think it would be a lot easier to level (straighten) the bed at this point, instead of applying twist to the cabinet, and hoping that this twists the bed in the right manner. However, it may be that given the small amount of twist required, doing the adjustment between the bed and the cabinet will result in too much bed movement, I don't know, because I am not going to do mine untill I have fitted the new bearings.

                                        What I would do for now is to get the lathe sitting flat on the floor, with the cabinet well supported all round, you can use sheet metal shims to stop any rock if the floor has any low spots, , and then do a test cut to see if there is taper, and which direction it needs twisting in. There are loads of good videos on youtube showing you how to do this. Using a level, you need to level across the bed at each end using a precision engineers level, and the difference in the readings is the amount of twist you have. All things considered, it is more important to see how much taper the lathe turns in use, and correct as much as you can, without becomnig too obsessed with ultimate accuracy. "Rollies dads method" looks good to me, but bear in mind that I have never done this to my Colchester at all (although I fully intend to in the fullnes of time)l, and it has always made the parts I wanted, to an accuracy that was easily sufficient for what I was building or modifying. Have a look at "home made lathe machine" on you tube to see what this guy makes with his home built machine tools.

                                        That coolant pump is very noisy, sounds like bad bearings, but easy to strip and replace them, cheap too compared to what a new one costs!

                                        Phil

                                        Edited By Phil Whitley on 08/04/2020 18:58:52

                                        #463336
                                        Phil Whitley
                                        Participant
                                          @philwhitley94135

                                          Hi Richard, checked the manual again, and although it gives the position of the supposed jacking bolts. the details it gives for alignment are for the headstock and tailstock, not for eliminating twist on the bed.. I will be at the workshop in the next couple of days, not sure when, but I will have a look for jacking bolts (or threaded holes) in the positions marked, although I am sure I have looked before, and there are none, if there is, and I missed them, it would make it a lot easier to straighten the bed by twisting the cabinet as the front one is at the left end and the rear one at the right end, so definitely positioned to induce twist, and from the diagram, it looks like they are inside the motor housing,and inside the cupboard|!

                                          #463350
                                          Richard Kirkman 1
                                          Participant
                                            @richardkirkman1

                                            It's not just the twist, it's also raising the lathe since I'm taller than average, it's a little low. I don't want to be crouching over to use it. Accuracy isn't quite it either. Obviously I've got plenty of time so I'd like the machine as well as possible, but that had limits. I'm not sure if the garage floor is level as well

                                            I'll strip down the coolant pump once I'm done with the apron, another rabbit hole

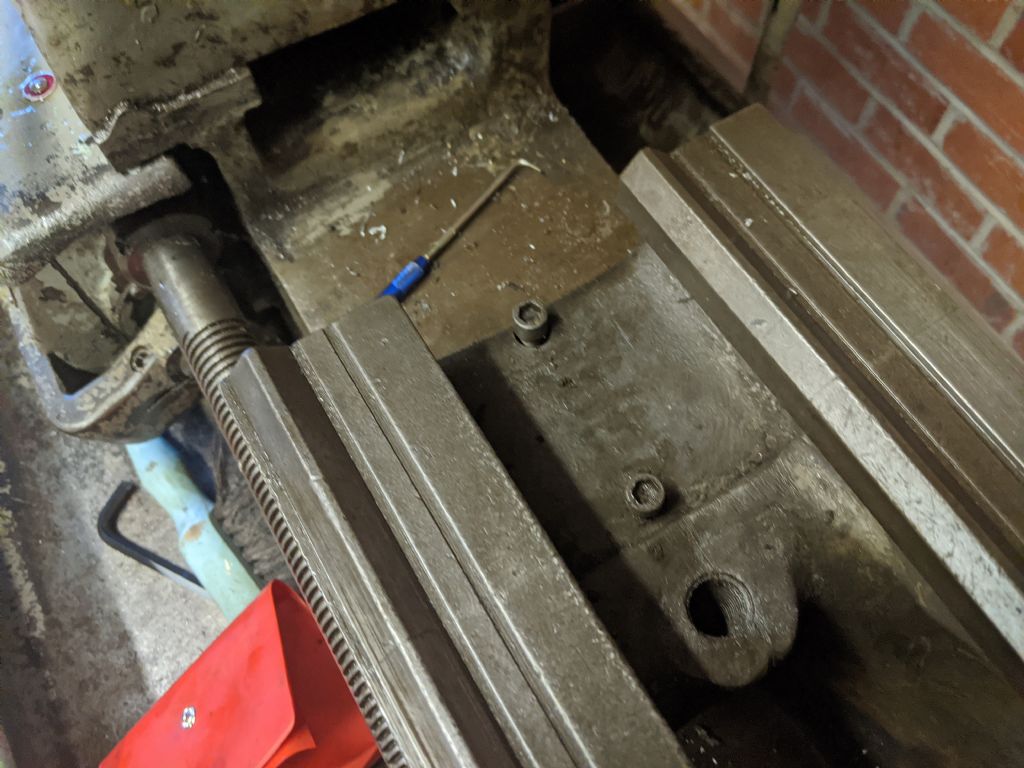
                                            When I've been playing around with threading, the lever doesn't always want to disengage fully, so I thought I'd try to take it to pieces so I can get in to clean. Also, I wanted to look at why my main carriage hand wheel moved in and out, which is very anoying when turning. All has become clear!

                                            img_20200408_190218.jpg

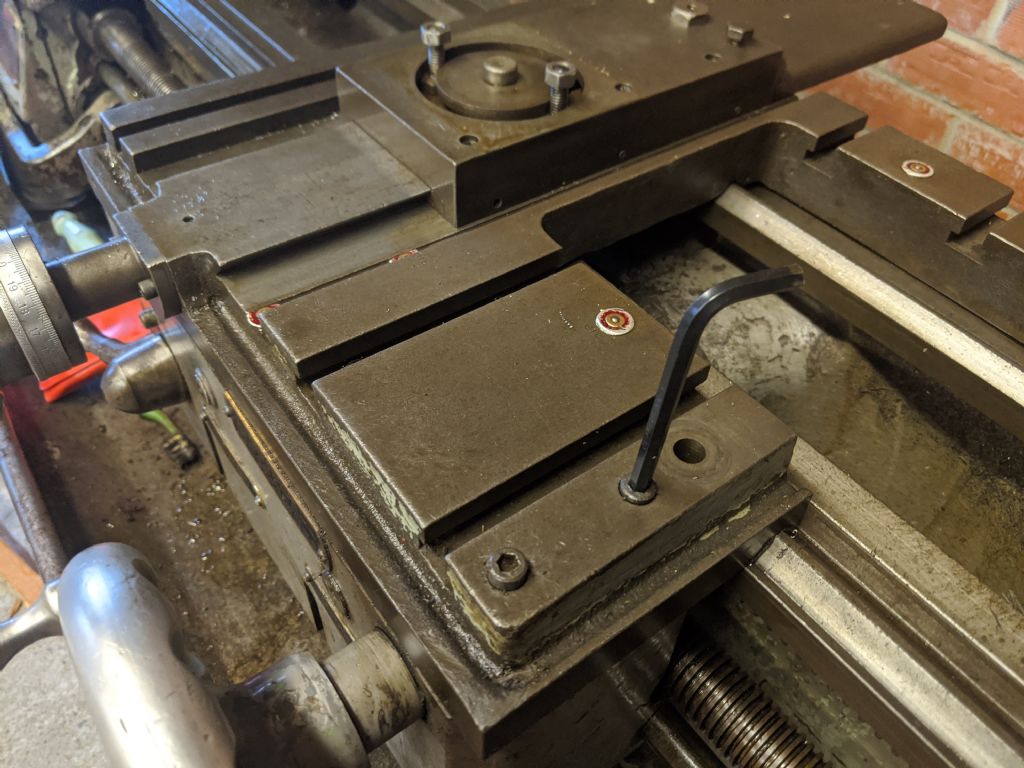
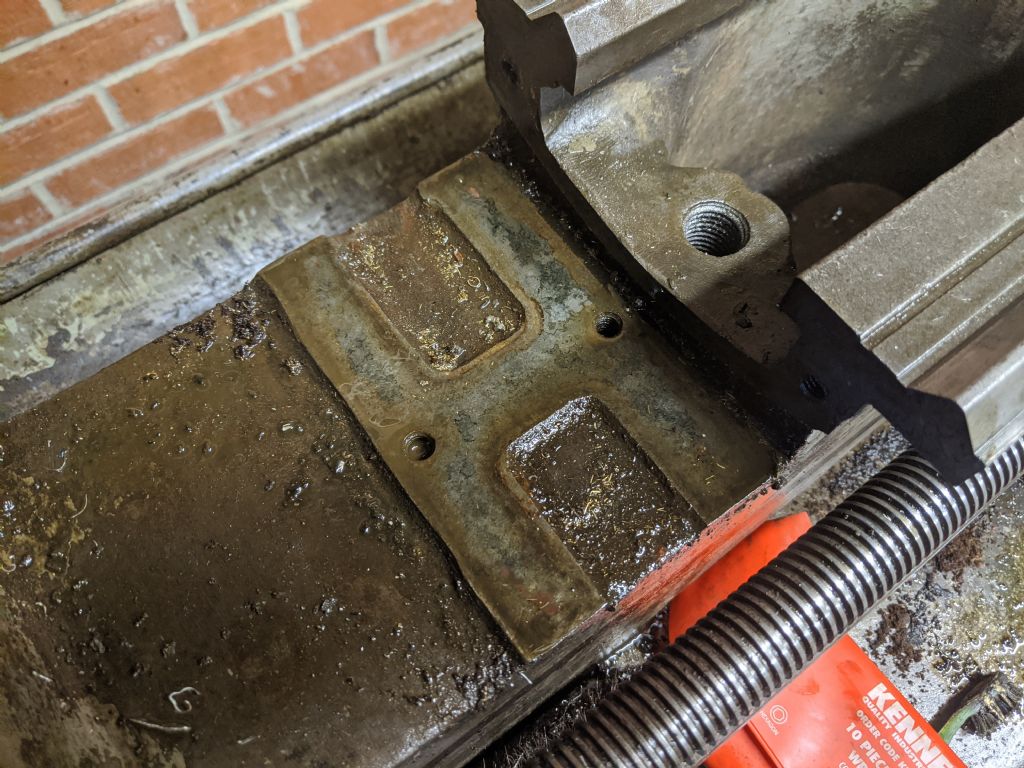
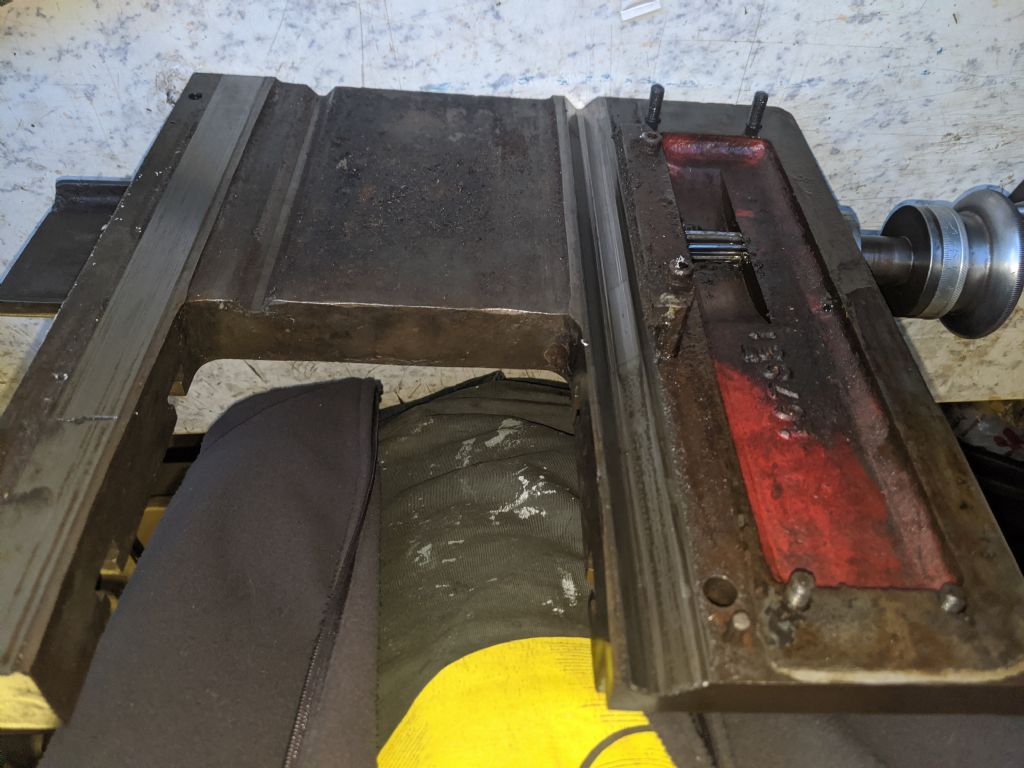
                                            So the issue is, I can't remove the apron completely without taking the SC gear box off. So I thought I would just take the top of the carriage off and clean in from the top. So I started to take it to pieces. The holding part at the back came off first, then I unscrewed all the bolts holding the top on. This unattached the apron, but the top was still attached with a part underneath. I couldn't remove it since I didn't have access. The only way was to slide it across then lift it off once the gap bed was removed.

                                            img_20200408_192121.jpg

                                            img_20200408_194828.jpg

                                            First time I've taken the gap bed out. I'm very tempted to paint it orange while it's out😀

                                            I have no idea how this would be disassembled on a straight bed lathe, possible the long way round

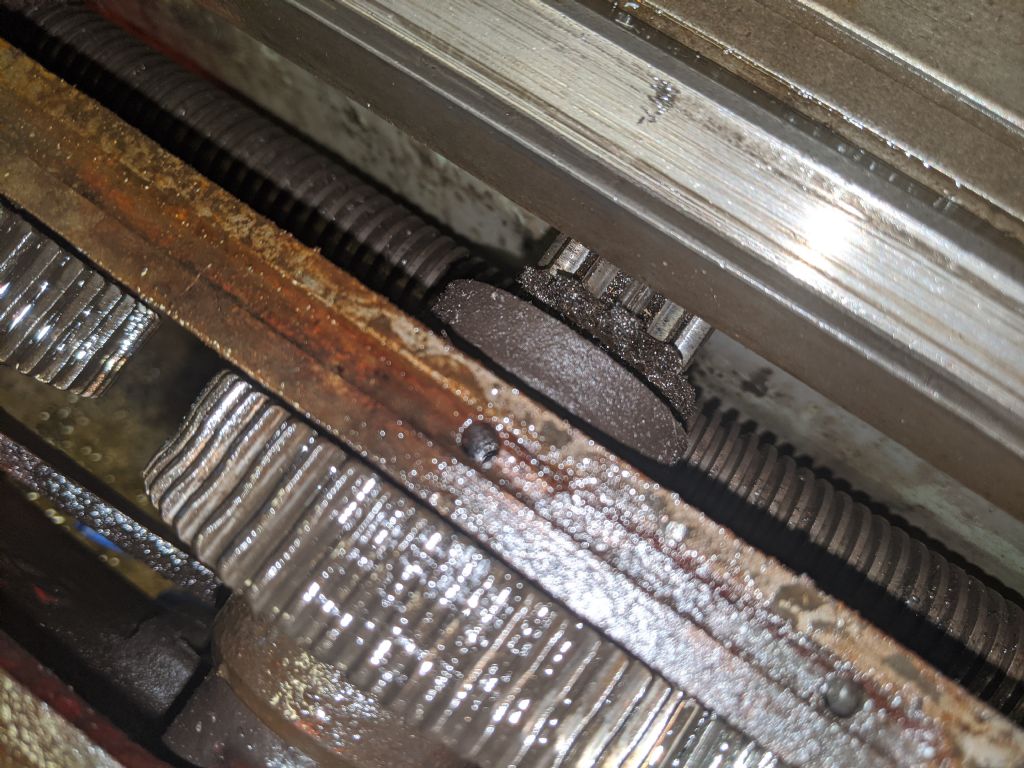
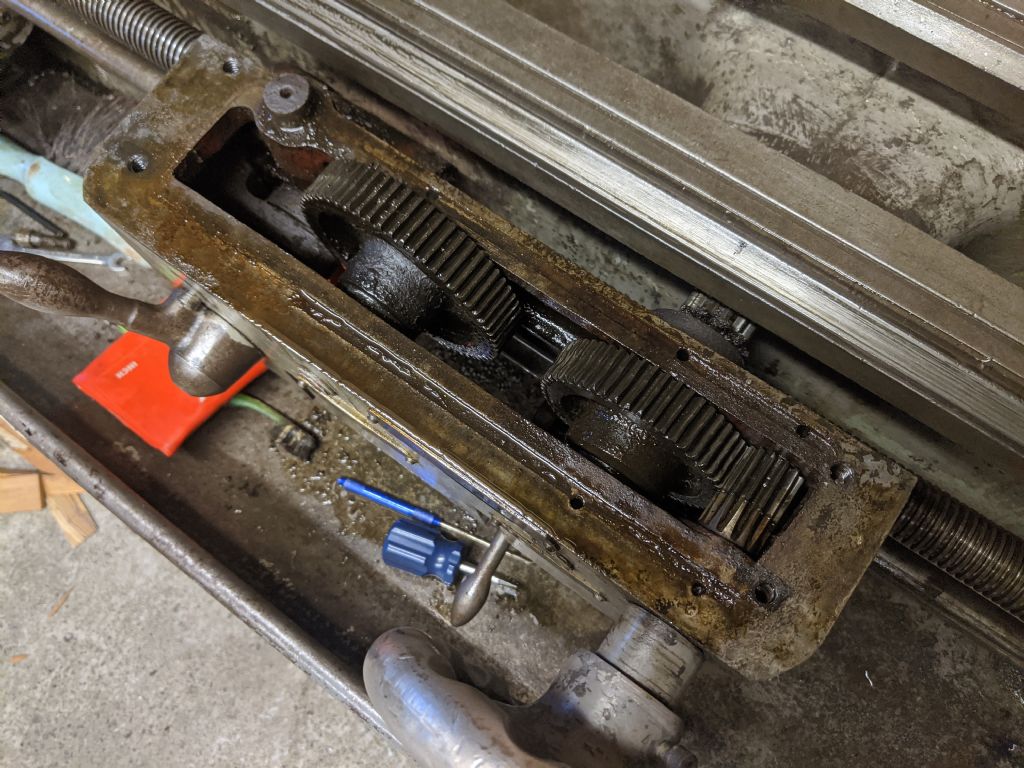
                                            This then let me take the top off, so I have access to all the gears. Very dirty inside as expected, I'm just wanting to get all the gunk removed and have it cleaned up

                                            img_20200408_195128.jpg

                                            img_20200408_195118.jpg

                                            Some very thick gunk in there. Anyway, I'll get on with a proper clean tomorrow. It won't be perfect, but it'll be better than before.

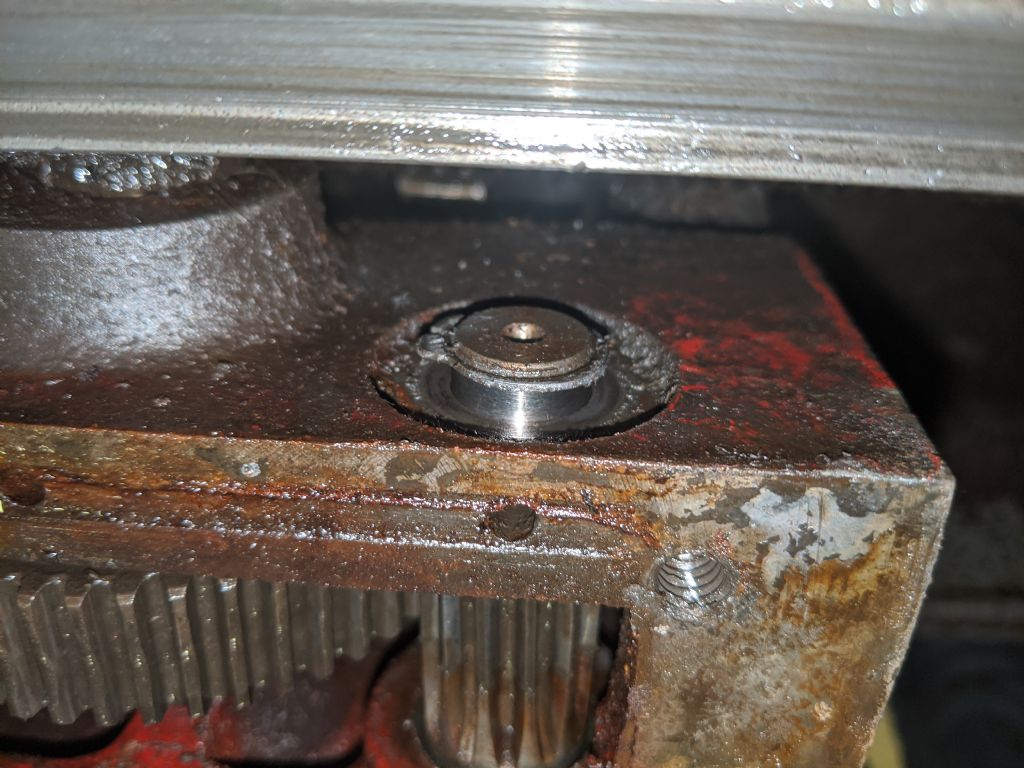
                                            I also got a look in behind the shaft that the wheel goes on, there's a circlip holding the shaft in place, but there's a space of about a quarter of an inch that's unoccupied. Looking in the manual, I'd say there should be a spacer in there to keep it from moving back and forth like mine does

                                            img_20200408_195137.jpg

                                            img_20200408_200253.jpg

                                            #463362
                                            Dennis WA
                                            Participant
                                              @denniswa

                                              Richard,

                                              I am sure you have thought about this, but do not get paint on any surface of the gap bed that sits on, or is adjacent to, the main lathe bed. To preserve the accuracy of the machine when reinstalling the gap bed it must be clean and go in the exact same position.

                                              My Student stands on a concrete floor with some shim under one corner to get it firm and level. I have no problems with accuracy of the finished product.

                                              If you want to raise your student you could use heavy steel channel across each end. My Myford Super 7 ( which is on a factory steel cabinet with tray) is raised like this. I also have no problems with its accuracy.

                                              I have a high precision level which helped to ensure the lathe beds were not twisted. I machined test bars to confirm the lathes cut the same dimension near the chuck and at the end of the bars near the tailstock.

                                              Good to see you are able to use the Student.

                                              Dennis

                                              #463363
                                              Dennis WA
                                              Participant
                                                @denniswa

                                                Duplicate post removed

                                                Edited By Dennis WA on 08/04/2020 22:36:40

                                                #463366
                                                Richard Kirkman 1
                                                Participant
                                                  @richardkirkman1

                                                  Thanks Dennis, of course I will not be painting any of the contract surfaces. I probably won't even paint it right now as if I'm painting, I need to paint the whole thing!

                                                  What sort of approx size shims did you use. Lxwxh? Obviously it depends how level and flat the floor is, but I'm just interested

                                                  I'll have a look at getting a good quality precision level just to test things

                                                  #463415
                                                  Dennis WA
                                                  Participant
                                                    @denniswa

                                                    Richard

                                                    I used a piece of coated steel approximately 150x80x1.6 mm that was to hand.

                                                    Dennis

                                                    #463430
                                                    Phil Whitley
                                                    Participant
                                                      @philwhitley94135

                                                      Hi Richard,

                                                      to remove the apron, you remove the lead screw and feed drive shaft first, they disconnect from the SC box under the sc box top cover. So, with the saddle still on, you disconnect the lead screw and feed shaft from the SC box, remove the support at the tailstock end (you might have to do this first, to get enough clearance to get the leadscrew and feed shaft disconnected), slide the leadscrew and shaft out of the apron, remove the apron, and then remove the saddle retainers front and rear under the saddle, and remove the saddle. You could still do this if you support the apron on some wood blocks, do not let the weight of the apron hang on the leadscrew and feed shaft, they may bend!!

                                                      Phil

                                                      Edited By Phil Whitley on 09/04/2020 12:04:16

                                                    Viewing 25 posts - 251 through 275 (of 797 total)
                                                    • Please log in to reply to this topic. Registering is free and easy using the links on the menu at the top of this page.

                                                    Advert

                                                    Latest Replies

                                                    Viewing 25 topics - 1 through 25 (of 25 total)
                                                    Viewing 25 topics - 1 through 25 (of 25 total)

                                                    View full reply list.

                                                    Advert

                                                    Newsletter Sign-up