Cross Slide Alignment (Facing)

Advert

Cross Slide Alignment (Facing)

Home Forums Manual machine tools Cross Slide Alignment (Facing)

Viewing 24 posts - 1 through 24 (of 24 total)
  • Author
    Posts
  • #119622
    woody1
    Participant
      @woody1

      Afternoon Fellas its been a while.

      I would like to check my cross slide's alignment to the head stock. I'm quite un-sure how to test though? I have a pretty good idea my cross slide moves at an angle away from the work guys.

      Thought I would ask before fidiling (did do a search before posting). I realise an idicator is needed but where to mount with out getting a false reading?

      I have an indicator which I can hold in the 4 jaw. I was thinking of offsetting the indicator low enough so it is able to touch the face of the cross slide.

      Cheers fellas.

      David.

      Edited By woody1 on 12/05/2013 14:56:32

      Advert
      #12132
      woody1
      Participant
        @woody1

        Testing And Wear On Cross Slide

        #119626
        Les Jones 1
        Participant
          @lesjones1

          Hi David,
          The way you describe testing would not show misalignment between the cross slide and a line at right angles to the spindle axis. The only thing that test would show is misalignment between the edge of the cross slide and the actual slideway. I would suggest facing a fairly large diameter and using a straight edge and feeler gauges to measure how convex or concave it is.

          Les

          #119627
          Andyf
          Participant
            @andyf

            David,

            Not sure if "my cross slide moves at an angle away from the work" means that facing cuts tend to leave the surface concave or convex (the terms are used loosely, because the shapes involved are really conical) but I had a similar problem and measured the amount of dishing as shown here .

            After making the test facing cut, a dial indicator mounted in the toolpost should show no deflection as it is run from the near side of the work to the centre, because it is following the same path as the tool took. But (assuming the facing cut has a bit of concavity/convexity) when the DI is run from the centre to the far side, its reading over that radius of the workpiece will represent double the amount by which its centre is up or down in relation to its circumference.

            Dead flat would be perfect, but it is better to be cautious and aim for a bit of concavity rather than convexity. The latter would mean that a faced item would rock when placed on a flat surface, whereas a slighlty concave item wouldn't.

            I didn't find this an easy fix….

            Andy

            #119643
            Nobby
            Participant
              @nobby

              Hi
              If you have a flat / true face plate fit on lathe and using an indicator in toolpost run a clock across its face using x slide that will show any difference . What lathe is it David
              Nobby

              #119647
              Andyf
              Participant
                @andyf

                Nobby, if the out of perpendicular cross-slide is a manufacturing fault, David can't true up a faceplate. Sort of chicken and egg situation.

                Gray, if the owner of the mini-lathe you mention is who I think it is, he emailed me about it before saying that he was lucky enough to have put it in your capable hands. It would be good to see details of how you sorted it out.

                Andy

                Edited By Andyf on 12/05/2013 20:50:00

                #119677
                Nobby
                Participant
                  @nobby

                  HI
                  David wanted to check alignment. Perpendicular ?

                  Nobby

                  #119683
                  Andyf
                  Participant
                    @andyf

                    "Perpendicular" usually means the same as vertical, Nobby. But in geometry it means, to quote from my big (20+ volumes) OED, "Of a line or plane: having a direction at right angles to a given line, plane or surface." In my schooldays, when dinosaurs roamed the earth, we were taught how to use compasses to construct one line "perpendicular" to another. Verticality didn't come into it; the paper was flat on the desk.

                    Thus, I was meaning that the motion of David's cross slide was not perpendicular to his spindle axis, resulting in concave or convex facing cuts.

                    Andy

                    #119705
                    Martin Kyte
                    Participant
                      @martinkyte99762

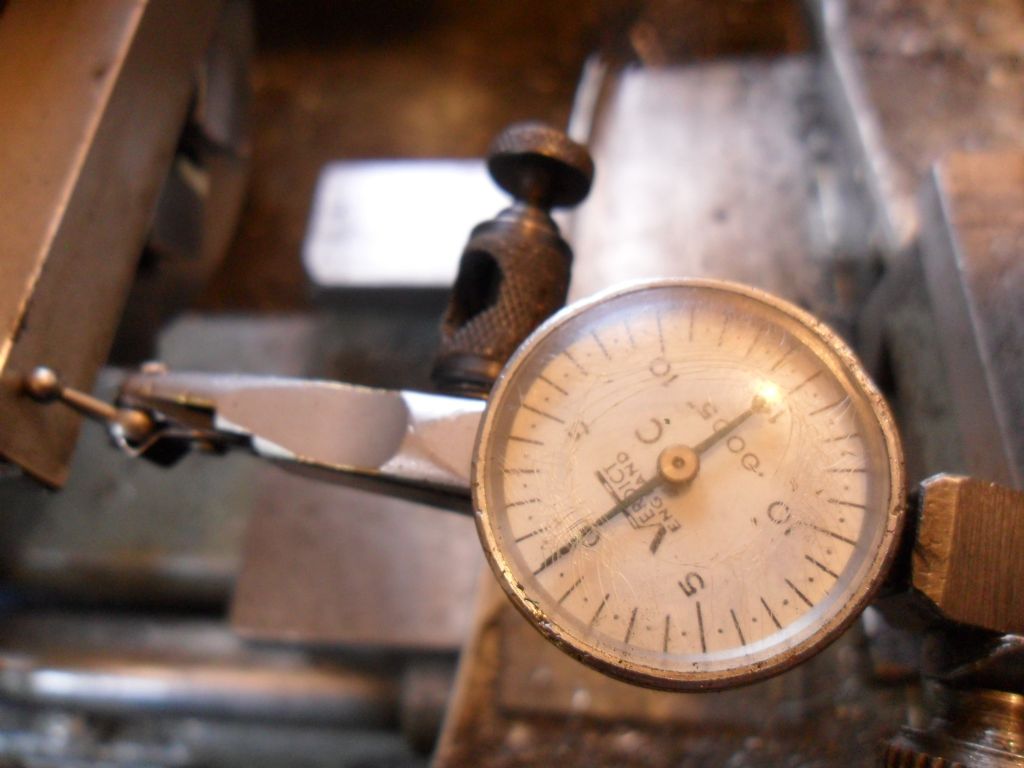
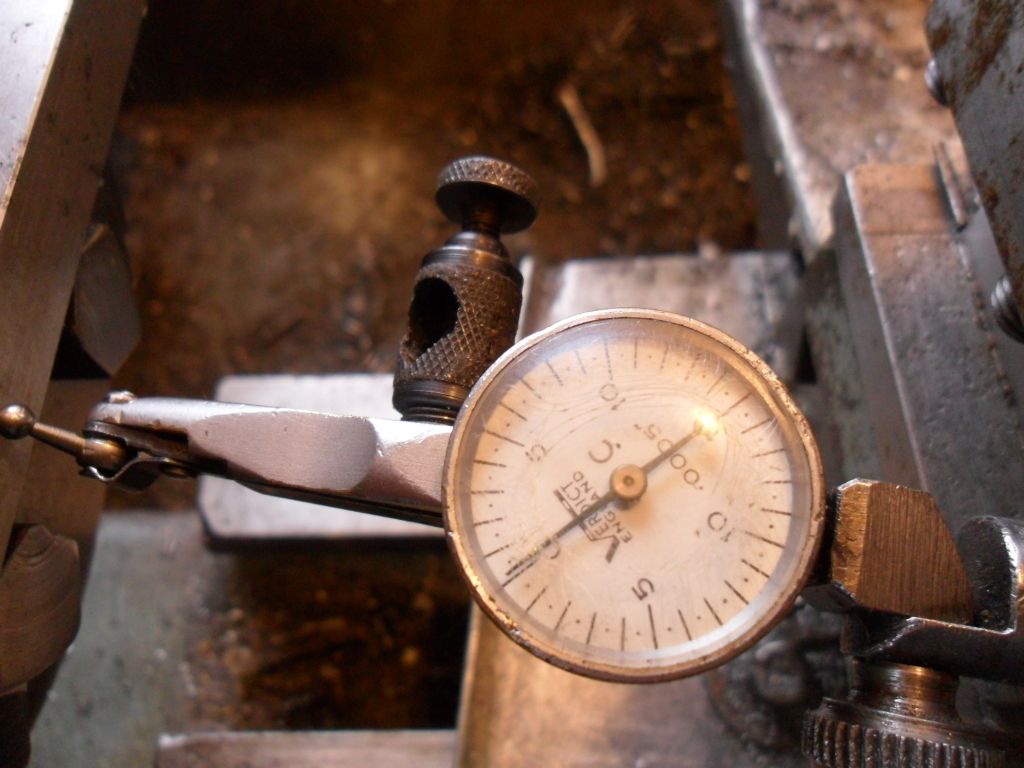
                      How about fitting a piece of square bar in the chuck accross the jaws. Put a plunger type indicator in the tool holder and bring up to touch the bar at a point a couple of inches off axis. Tighten down the saddle slide and mark the point on the bar. Rotate the chuck 180 degrees advance the cross slide to the same point and recheck. The difference between the indicator readings will give you the error over the advance of the cross slide and thus the angle. Sould be slightly closer to the chuck at the back point. If it's further away, worry. You may have to jiggle things so you have enough cross slide travel for both points.

                      Hope that makes sense

                      regards Martin

                      #119715
                      John McNamara
                      Participant
                        @johnmcnamara74883

                        Hi Woody

                        It will help if you put a (tested straight) bar in the four jaw chuck, then firmly but no more tighten the bar in the chuck. It is very important not to over tighten and distort the bar.

                        Then rotate the chuck and bar testing against an indicator mounted on the cross slide or the lathe bed touching near the end of the bar, If the indicator measurement is not the same when the bar is rotated end for end lightly tap the bar until both ends have the same indication.

                        Once this is done you know that the face of the bar is at 90 degrees to the axis of the machine, and you have eliminated any error that may have been introduced by the chuck or face plate.

                        Then once set rotate the bar until it is horizontal, and move the cross slide with an indicator fitted touching the bar it in and out You be able to see any errors at any point along the bar.

                        It is accepted (By some) that if there is an error it should make the lathe face slightly concave. maybe .0002" over a foot but never convex.

                        Cheers
                        John

                        #119717
                        Nobby
                        Participant
                          @nobby

                          Hi
                          As I said before using faceplate  . I should have said check with dti that its running true and you  can use as David bar brilliant technique .We  got there in the end !!!!!
                          Nobby

                          Edited By Nobby on 13/05/2013 17:09:37

                          Edited By Nobby on 13/05/2013 17:13:24

                          #119720
                          MICHAEL WILLIAMS
                          Participant
                            @michaelwilliams41215

                            Hi David ,

                            (1) Lathe BED is primary reference .

                            Cross slide line of action needs to be at right angles to the lathe BED .

                            Spindle axis needs to be parallel to lathe BED .

                            Facing off true should then happen automatically on test . If it doesn't investigate further .

                            (2) If your lathe has rectangular bedway shears then a basic test of cross slide alignment can be done with a large engineers square . Put square to sit true on any shear and use cross slide to traverse dial gauge aginst it . Note readings . Change square to locate on other shear and repeat . For both tests have stock facing the same way on lathe – towards headstock both times or towards tailstock both times . Observation of both sets of readings will tell you exactly how far cross slide is out of alignment .

                            Usually worth doing test more than once on different bed locations .

                            If not convenient to run dial gauge against square directly then use an intermediate parallel .

                            A slightly more sophisticated version of same test will work with raised V ways but you need to make a square with a stock that will engage the V's true . Easiest to make this one more like a T square .

                            (3) If you just want to do the simple test you asked about in first posting then :

                            Do all nescessary checks to ensure spindle is parallel to bed first .

                            Fit any reasonable face plate and draw a diameter line across it .

                            Set diameter line horizontal and use cross slide to traverse dial gauge across complete diameter of faceplate (or as much as you can reach) . Note readings at several points in traverse ..

                            Rotate faceplate by 180 degrees and repeat test . Observation of the two sets of readings will tell you exactly how far out of alignment cross slide is . 

                            Drawing a graph is useful but not essential .

                            Optionally repeat with another randomly chosen diameter line .

                            (4) Cross slides and other slide actions can be not just out of line but crooked as well – its quite common for a cross slide to be properly aligned in one place and not in another . It's actually quite common for slides on worn machines to run in a very large radius curve rather than straight . Needs to be checked before doing any alignment tests .

                            There is as usual a lot more to this – ask any questions you like .

                            Regards ,

                            Michael Williams .

                            Edited By MICHAEL WILLIAMS on 13/05/2013 17:27:19

                            #119741
                            Sub Mandrel
                            Participant
                              @submandrel

                              Hi Gray,

                              I can't understand what you are measuring in that picture? Surely the saddle can't move across the bed… so what am I missing?

                              Neil

                              #119747
                              Les Jones 1
                              Participant
                                @lesjones1

                                Hi Gray,
                                I think that is a very clever technique using very simple equipment. It only relies on the bar being a uniform diameter over its length to give accurate results.

                                Les.

                                #119781
                                John McNamara
                                Participant
                                  @johnmcnamara74883

                                  Hi All

                                  The method using a ground rod above does not take into account the cross slide itself and its relationship with the saddle. Maybe on brand new fresh ground dovetails it will give a fair result. However after use the wear is uneven. If there is any concavity on one or both of the faces of the single dovetail slide measured on the saddle it will be bridged by the bar and wear will be be difficult to detect. Actually there are two dovetails with eight mating surfaces and they work together, half are ignored.

                                  I think the results will be more accurate if the assembly is tested in its entirety as detailed above in previous posting.

                                  On an older lathe if you tighten the gib's carefully in one position, and you should start in the typical working position normally towards the middle, and then move the cross slide through its range of travel you are almost certainly going to feel resistance at some point in the cross slide travel,often with the cross slide moved out towards the operator because most work done on a typical lathe is smaller diameter and the wear happens over the area where it is most used with the cross slide moved forward.

                                  if resistance is found there is clear evidence there is an error in the geometry, most likely wear.

                                  This wear can be easily be confirmed by the use of two short say 20mm long (Matched diameter) cylinders that bear roughly in the centre of the dovetail flats by measuring over them while lightly pressed into the V on the saddle dovetails at various points along the length of the dovetails with a micrometer, Or between them If you have taper gib's on the cross slide itself.

                                  With screw type gib's only the saddle can be measured, In this case the fixed edge of the cross slide can be measured with a wedge straightedge and marking blue for straightness and flatness. And the gibb itself can be inspected for wear separately.

                                  If wear is found it can be corrected by scraping or grinding. but don't do it if you have not done it before until you have researched how, have the necessary tools and are confident, a toolmaker friend will be a great help.

                                  The above test does not establish that the saddle travel is at 90 degrees to the spindle axis, that can be done by the test bar at 90 degrees to the spindle axis rotated in the chuck proposed in the previous post.

                                  The spindle axis should also coincide with the axis of the bed ways, That is another separate test requiring a test bar normally about 300mm exposed mounted on the spindle and collinear to its axis. it must be tested vertically and horizontally.
                                  This should be done before any work is done on the saddle.

                                  Inevitably there will be many small errors in any mechanical system but with simple tools we can reduce each of them to an acceptable level.

                                  Cheers
                                  John

                                  Edited By John McNamara on 14/05/2013 12:56:02

                                  #119783
                                  Chris Heapy
                                  Participant
                                    @chrisheapy71135

                                    I'm with John on that, and I would add it is better to disengage the leadscrew and push the slide by hand to feel the resistance. Hopefully the steel gib strip will wear faster than the cast iron slide so replacing the strips with new ones may offer some improvement, otherwise it will be necessary to get the parts re-ground. If you're in the habit of using a slide locking screw (which presses against the gib strip) then this is often a source of localised and uneven wear.

                                    #119848
                                    Sub Mandrel
                                    Participant
                                      @submandrel

                                      Understood Gray, you are taking two measurements and it is the probe that moves.

                                      I would do the test on my lathe, but after several tries I can't find a way of mounting either my DTI or my dial gauge in a way that allows me to do that without making a new mount!

                                      Neil

                                      #119851
                                      Andyf
                                      Participant
                                        @andyf

                                        Thanks for showing, Gray. I bet the owner will be as pleased as punch.

                                        Andy

                                        #119864
                                        Andyf
                                        Participant
                                          @andyf

                                          Gray, you said:

                                          "This is just a thought, both the lathes I have recently attended to had their headstock bearing adjustment loose, I mean physically loose, (undone), before you go too far have you checked yours recently, or have you done the taper bearing conversion?"

                                          If you mean end float on the spindle, perhaps this happens on mini-lathes because the spacer tube between the "end float nuts" on the outboard end of the spindle and the bearing in that end of the headstock is often made of plastic. Might it slowly deform, allowing a bit of end float to creep in?

                                          Or perhaps you meant that the locknuts were simply loose on the spindle, and not locked together.

                                          Andy

                                          #119880
                                          Andyf
                                          Participant
                                            @andyf

                                            Hi Gray,

                                            As you probably know, these minilathes are made by one or other of the Chinese firms Sieg and Real Bull (!). There are detail differences between the two versions, but most parts are interchangeable. I believe the current Sieg machine comes with a plastic spacer but your photos show that you are dealing with a Real Bull, so it may have a metal one.

                                            Andy

                                            PS I have never owned either machine. My knowledge of them stems from my being (for reasons which have always eluded me) a moderator of the Yahoo 7×12 minilathe group, so I see a lot of comments about their idiosyncracies (to put it politely). I agree with your earlier comment that basically they are soundly designed little machines. But, being at the budget end of the market, many examples are let down by poor standards of fit and finish, and things like plastic spacers.

                                            #119900
                                            Sub Mandrel
                                            Participant
                                              @submandrel

                                              I have indeed made the taper bearing conversion. I periodically attempt to rock the spindle in its bearings, but the only time it was loose was soon after fitting the bearings – I probably hadn't fully bedded one of the races.

                                              In the future I hope to get a VFD for the mini-lathe. If this happens I will build the motor into the lathe stand and completely strip down and re-assemble and set up the lathe as best I can.

                                              Neil

                                              #119917
                                              Nobby
                                              Participant
                                                @nobby

                                                Hi Guys
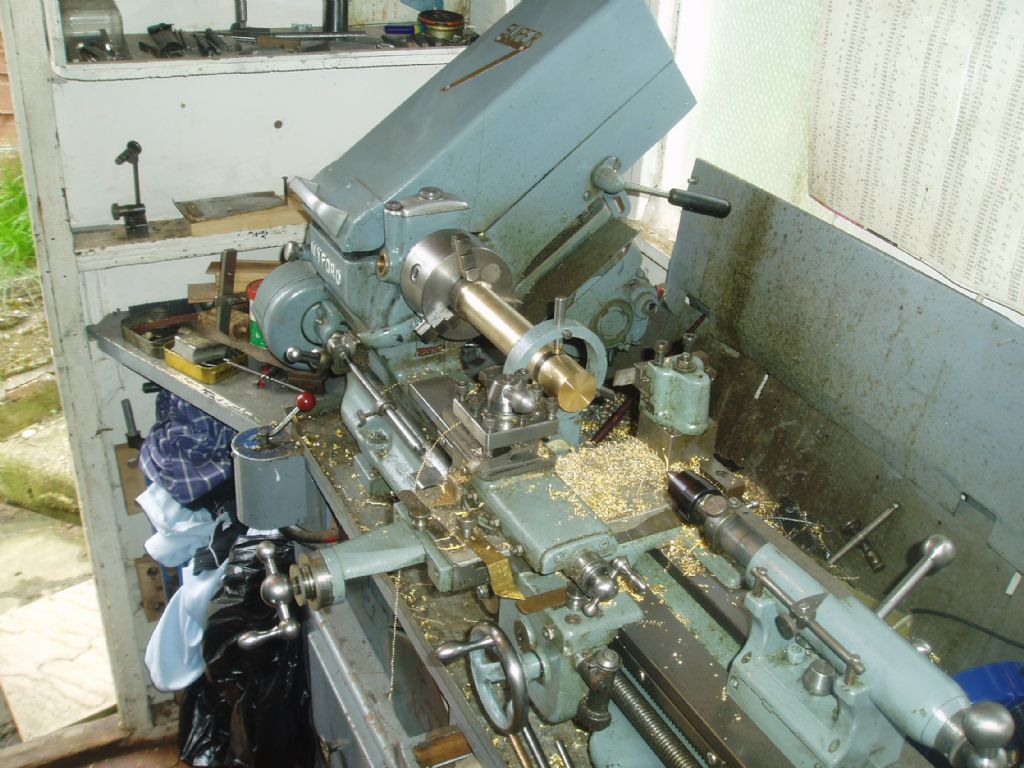
                                                As Martin sugested On my 40 years old plus super 7 over 3" concave .0002 Nobby
                                                from outsidetowards centre

                                                #119920
                                                Andyf
                                                Participant
                                                  @andyf

                                                  You prove the point about budget machinery, Nobby. A minilathe costs around £500 today. Back in 1970, when £1,000 a year was a living wage, £20 or £25 would buy you what costs £500 now. I expect your Myford cost a great deal more than £30 back then.

                                                  All goes to show that you have got the standards that you (or a previous owner) paid for back then!

                                                  Andy

                                                  #119947
                                                  Nobby
                                                  Participant
                                                    @nobby

                                                    HI

                                                    My mate rang me and said there is a lathe next door rusting in a coall bunker > I went round a gave the guy £5 to take it away. It needed dials A handles.. there no tailstock and no motor bracket no cover for belt etc using fixed steady . That That was about 20 years ago As you can see its like this now
                                                    Nobby

                                                  Viewing 24 posts - 1 through 24 (of 24 total)
                                                  • Please log in to reply to this topic. Registering is free and easy using the links on the menu at the top of this page.

                                                  Advert

                                                  Latest Replies

                                                  Home Forums Manual machine tools Topics

                                                  Viewing 25 topics - 1 through 25 (of 25 total)
                                                  Viewing 25 topics - 1 through 25 (of 25 total)

                                                  View full reply list.

                                                  Advert

                                                  Newsletter Sign-up