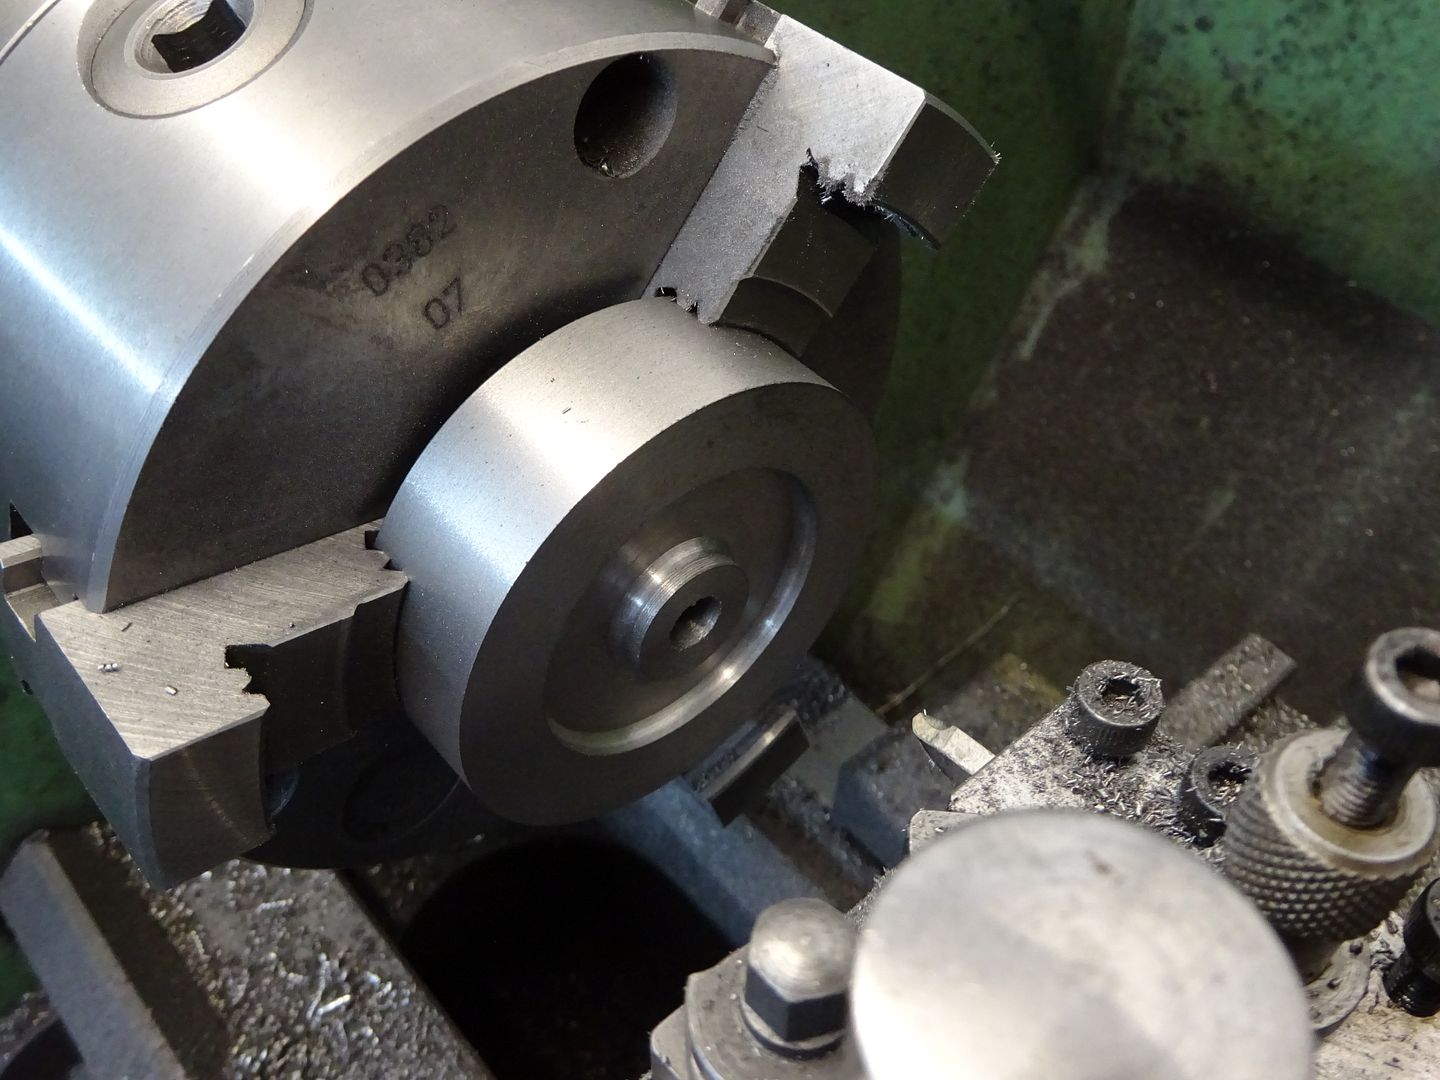
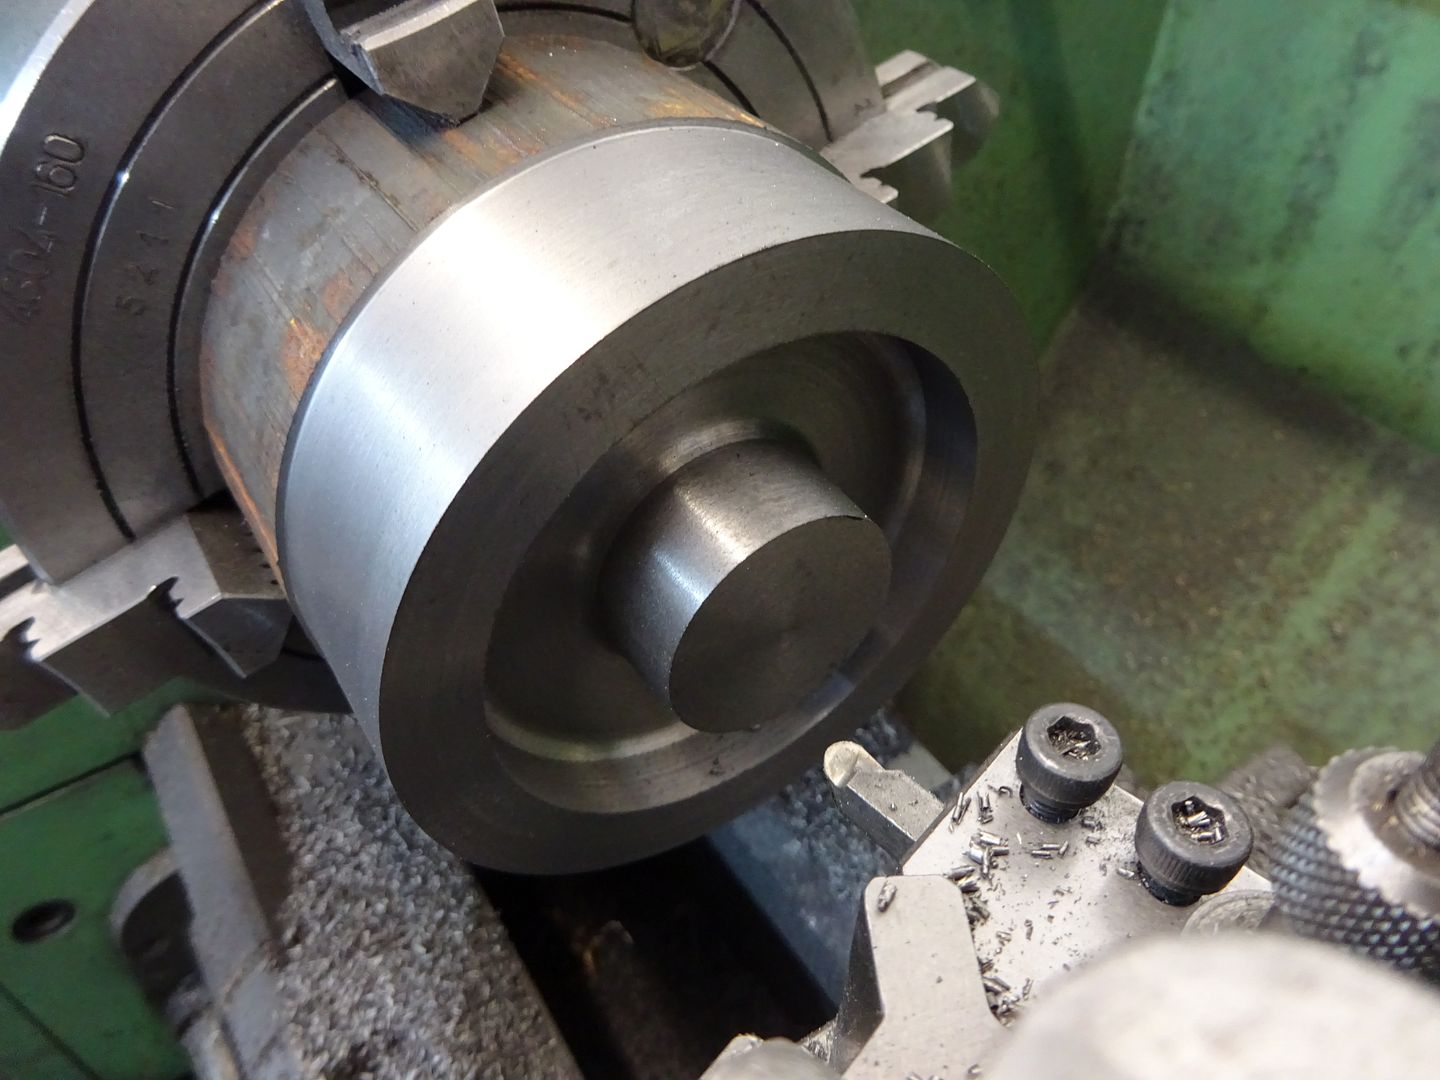
Treppaning a flywheel
Treppaning a flywheel
- This topic has 20 replies, 12 voices, and was last updated 7 July 2019 at 10:59 by
 ANDY CAWLEY.


- Please log in to reply to this topic. Registering is free and easy using the links on the menu at the top of this page.
Latest Replies
-
- Topic
- Voices
- Last Post
-
-
Boiler Design – issue 4765
1
2
…
6
7
Started by:
Charles Lamont
in: Model Engineer & Workshop
- 24
-
7 June 2025 at 12:58
Martin Johnson 1
-
30w low voltage PWM controller
Started by:
Michael Gilligan
in: Electronics in the Workshop
- 6
-
7 June 2025 at 12:52
SillyOldDuffer
-
Model dynamo drawings
Started by:
Dougie Swan
in: General Questions
- 6
-
7 June 2025 at 12:51
Dougie Swan
-
A Tower Clock project
1
2
Started by:
Peter Cook 6
in: Clocks and Scientific Instruments
- 10
-
7 June 2025 at 12:40
Peter Cook 6
-
Unusual Crow Bar Type Tool? Fire Brigade?
Started by:
Martin King 2
in: Help and Assistance! (Offered or Wanted)
- 6
-
7 June 2025 at 12:36
Plasma
-
Work Surface Free of Charge
Started by:
Martin Dilly 2
in: General Questions
- 1
-
7 June 2025 at 12:27
Martin Dilly 2
-
Need help choosing a lathe chuck
Started by:
th1980
in: Workshop Tools and Tooling
- 13
-
7 June 2025 at 11:58
Peter Cook 6
-
Plain bearing play
Started by:
Sonic Escape
in: Beginners questions
- 5
-
7 June 2025 at 10:07
bernard towers
-
ME beam engine
1
2
Started by:
Jager
in: Stationary engines
- 11
-
7 June 2025 at 10:06
JasonB
-
Anti Virus software
Started by:
Andrew Crow
in: The Tea Room
- 14
-
7 June 2025 at 09:44
gerry madden
-
Lathe spindle bearings
Started by:
Sonic Escape
in: Beginners questions
- 10
-
7 June 2025 at 09:20
jamesp1
-
First lathe – warco 180/210
Started by:
Chris12
in: Beginners questions
- 7
-
7 June 2025 at 06:54
JasonB
-
Parkson M1200 milling machine
Started by:
simon88
in: Manual machine tools
- 1
-
6 June 2025 at 19:12
simon88
-
Kelsey Media buys Mortons titles
1
2
3
Started by:
Colin Bishop
in: Website Questions, Comments, and Suggestions
- 23
-
6 June 2025 at 19:00
SillyOldDuffer
-
Comm Ads
Started by:
bernard towers
in: Website Questions, Comments, and Suggestions
- 3
-
6 June 2025 at 18:25
JasonB
-
LBSC – Why?
Started by:
Speedy Builder5
in: Locomotives
- 3
-
6 June 2025 at 17:48
Speedy Builder5
-
4 Truck Shay 5 inch
Started by:
conrod
in: Work In Progress and completed items
- 6
-
6 June 2025 at 16:41
old mart
-
Adept shapers
Started by:
DMB
in: Workshop Tools and Tooling
- 4
-
6 June 2025 at 16:25
stew 1
-
New member, progress no.1 rest
Started by:
flyingsailor
in: Introduce Yourself – New members start here!
- 5
-
6 June 2025 at 13:36
jamesp1
-
Aluminium MIG wire
Started by:
Speedy Builder5
in: Materials
- 5
-
6 June 2025 at 11:18
noel shelley
-
Motorcycle starter motors – any general workshop uses?
Started by:
Robin Graham
in: Beginners questions
- 8
-
6 June 2025 at 09:58
JasonB
-
crompton motor and dewhurst switch problems
Started by:
mike smith 5
in: Beginners questions
- 2
-
5 June 2025 at 23:37
petejchadwick@gmail.com
-
1950 Myford/Drummond type m advice
Started by:
jimmyjaffa
in: Beginners questions
- 7
-
5 June 2025 at 19:25
Howard Lewis
-
A new lathe
Started by:
Sonic Escape
in: The Tea Room
- 7
-
5 June 2025 at 19:18
Sonic Escape
-
Sandvik Coromant 20mm hand-scraper
Started by:
flatline
in: Workshop Tools and Tooling
- 9
-
5 June 2025 at 18:57
flatline
-
Boiler Design – issue 4765
1
2
…
6
7


