Finally!!!!!!!!
Hopper has injected some proper technique and much needed logic into this thread. There's been a lot of other good information posted also. My apology's but I do think my post might get a bit long winded.
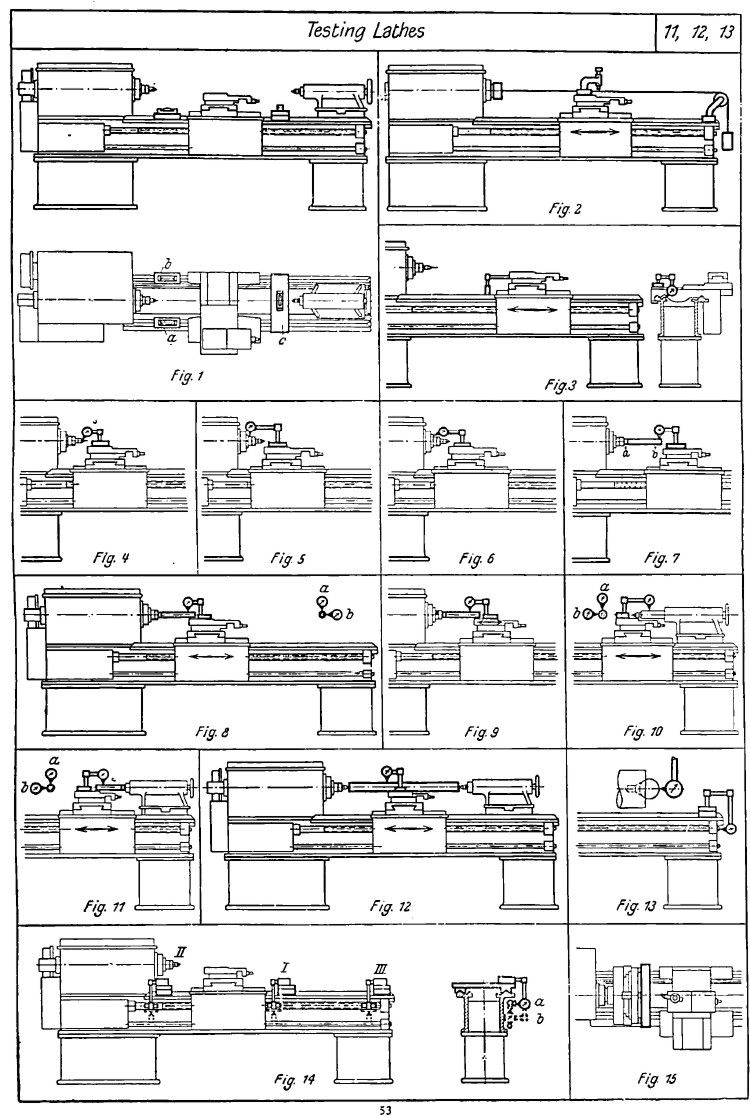
I fully understand the OP's desire to adjust his lathe to get the best accuracy possible. I did the same with my little Emco compact 5 lathe, but I did so only after reading that Conolly book more than a few times until I understood as much of the techniques as possible. And most of what's on these hobby forum's is incorrect compared to what Conolly or Schlesinger have to say. I also got fooled for more than a few hours of wasted testing with a light weight dial test indicator bending a quite heavy mounting rod under the effects of gravity. That's all too easy to miss to be honest, and there's really no simple way to know for sure that gravity is or isn't affecting your results when swinging a DTI from the head stock. What I do now is turn a piece of scrap down to within .001"-.002" or the same in metric of either the tail stocks barrel's outside diameter, or the outside diameter of a morse taper blank arbour that fit's the tail stocks female morse taper. You then measure both of your plugs diameter and the tail stocks barrel or arbours parallel section.as accurately as you can with your very best micrometer. Then you use both the lathes carriage and the cross slide to run the finger of a .0001"s reading DTI across both diameters at both the head stock and tail stock. Simple addition or subtraction to account for any minor difference's in sizes for each diameter will then give you the exact numbers of your tail stocks position. I don't know of a simpler or better method that is any faster, more accurate, or easier to do that you can then be 100% positive your test numbers aren't being swayed by those gravity effects.
But the tail stocks centerline height is just only one single check. Just as important you also need to use that DTI to check that your tail stocks barrel isn't pointing to the left or right, uphill or downhill, and if that barrel move's it's position between locked and unlocked, or extended and retracted. Some will say it's only a mini lathe so what's the point of all that? Well it's impossible to try to compensate or correct for any errors if you don't know if they do or don't exist, or even how much those errors might be. And unless your test numbers are 100% repeatable, then your methods will be highly suspect to the point of being useless.
Machine tool alignment, and especially lathe alignment and and that mostly misunderstood "lathe leveling" is probably very close to the number 1 topic on almost any hobby machining forum out there today. And FAR TOO MANY will try and answer to the best of there ability what they think is correct. Yet the majority are basing those answers without taking the time to at least read what both Schlesinger and Conolly have to say, and who ARE those recognised authority's on the subject. Schlesinger's alignment and test procedures are available for free on the net. Possibly the Conolly book might be also. But almost all of us should be able to get a copy to read of the Machine Tool Reconditioning book through something called the "Inter Library Loan" system. I do own my copy, but it is almost $100 to buy it even today through Industrial Press. The book is boring to the extreme in large parts of it, but it will properly educate you so your answers in threads of this type are logical and well thought out reasoning. (Or at least I hope mine are) But in my opinion buying that book was the very best $100 I've ever spent on my shop and education about this so I finally did understand what the actual requirements really are. The subject is vastly more complicated than most understand I think. But those who haven't read it and then understand what's required are pretty obvious when they recommend (with the best of intention's) methods that are incorrect in these threads.
Lapping slides etc. is or would be just one example, yes it will make things much smoother, but there's zero control over exactly where and how much material your removing. Very light lapping can probably work after your initial corrections have been done Trying to maintain or even correct the alignments on a lathe in all 3 dimension's at the same time can't possibly be done by what so many say you should be doing with just that slide lapping. In fact it's all too likely your actually making the accuracy far worse unless your extremely lucky.Scraping and using some very expensive and reliable test equipment, along with a whole lot of logic, knowledge and experience would be the correct and best method. You can of course make a machine a bit better fairly cheaply, and the more skill you have will make your results better. None of this is just my opinion either,those are just the simple facts if your willing to put some effort into researching exactly what is involved.
We really should in my opinion be using these forums as a way to help educate ourselves. But they shouldn't be the only place your basing that all too important self education on. Yet today I see the problems of incorrect information on these forums as a large and growing problem. It should be exactly the opposite. Anyone ever wonder just how M.E.'s or the American term of HSM educated themselves before the internet was invented?
My sincere apology's for the length of this post.
Pete
Nitai Levi.


