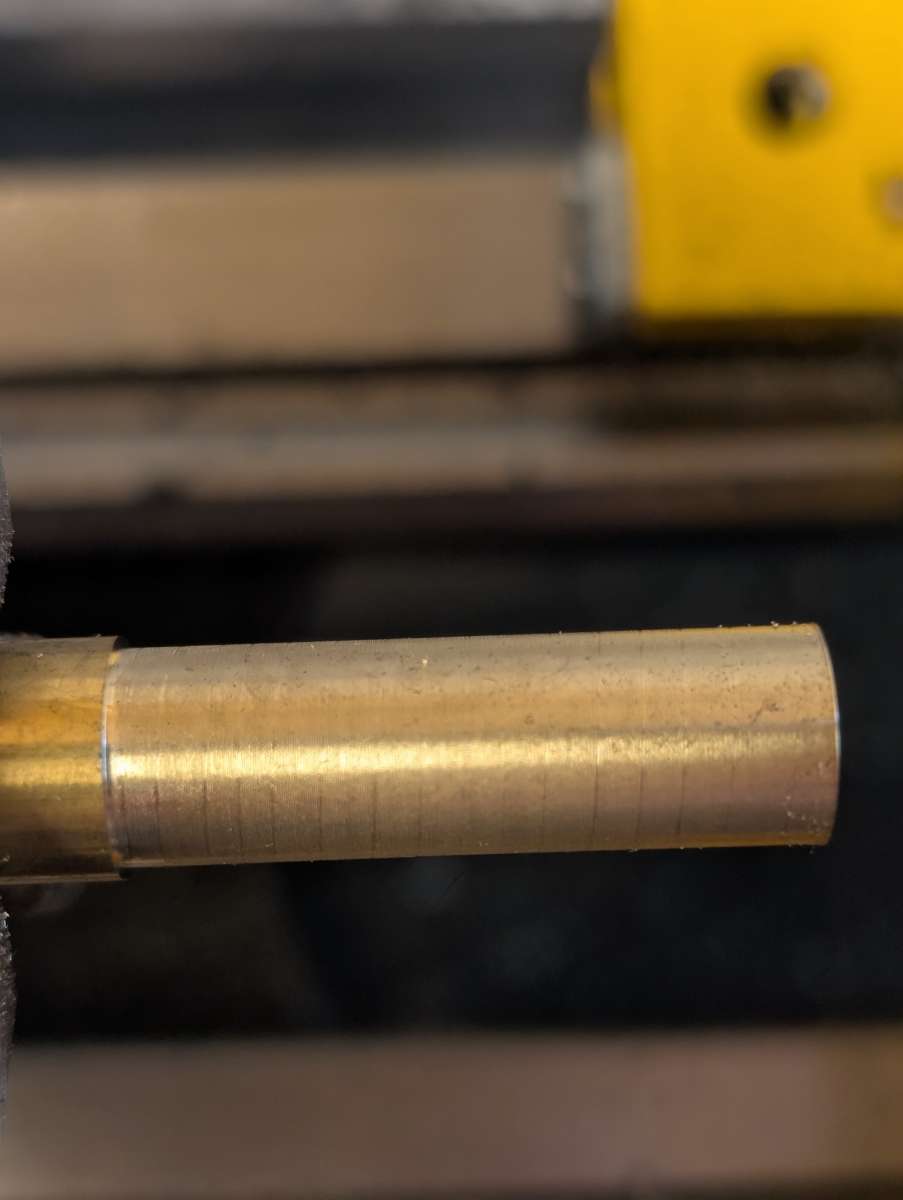
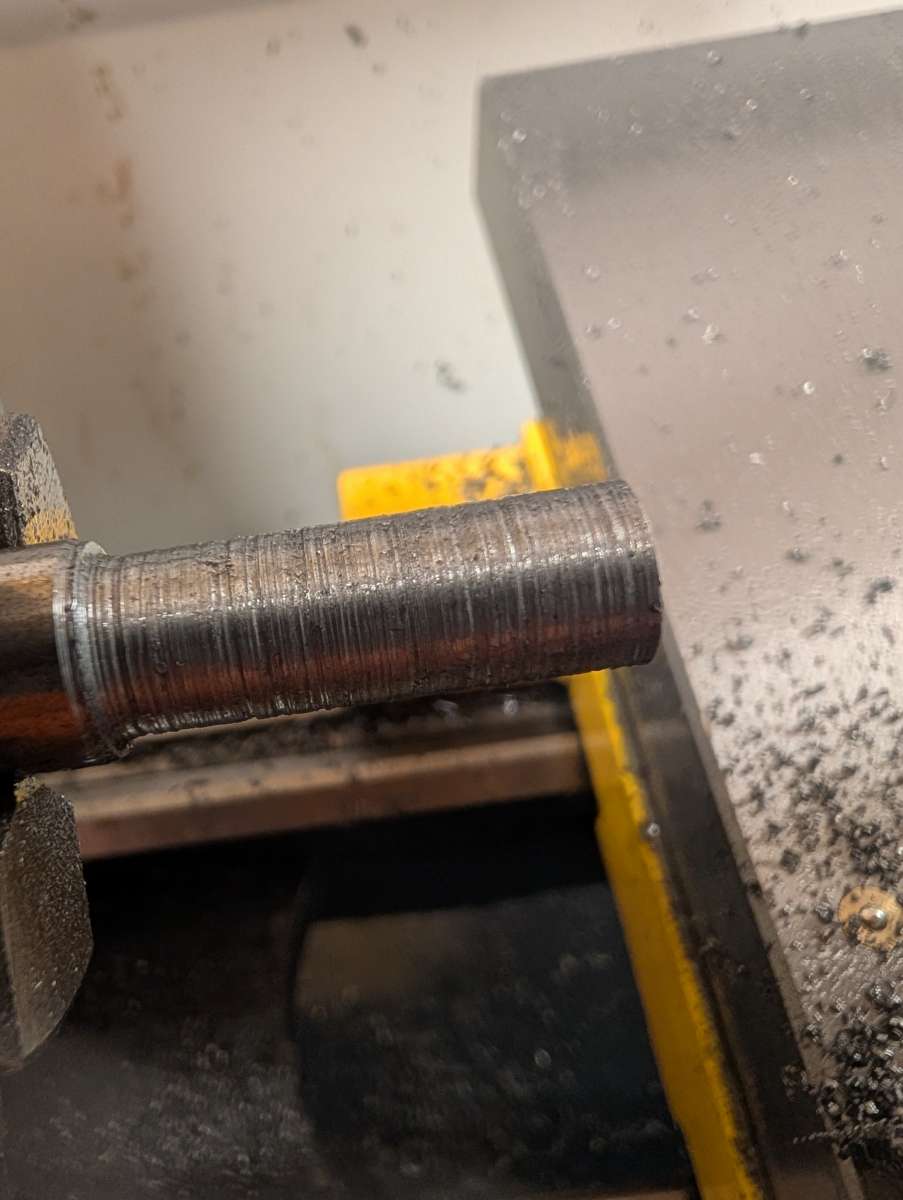
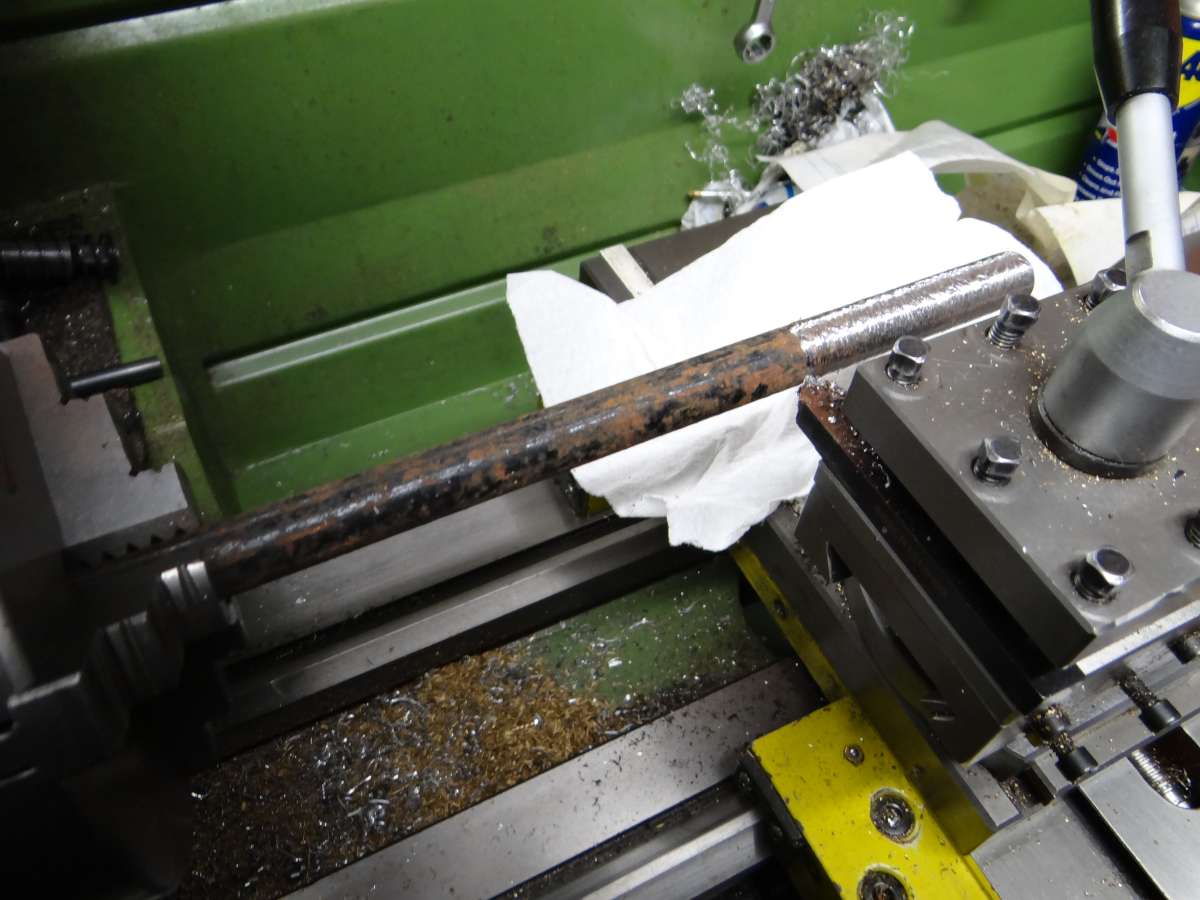
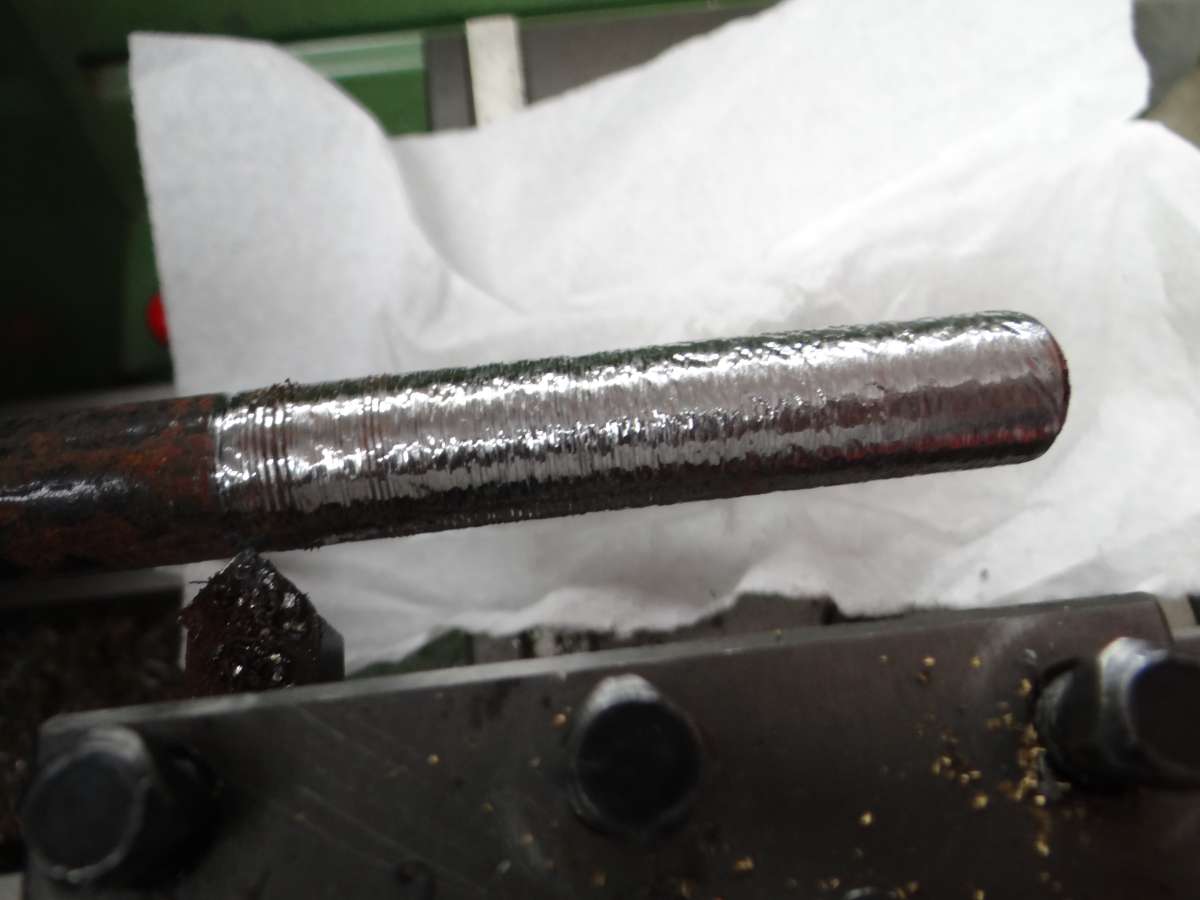
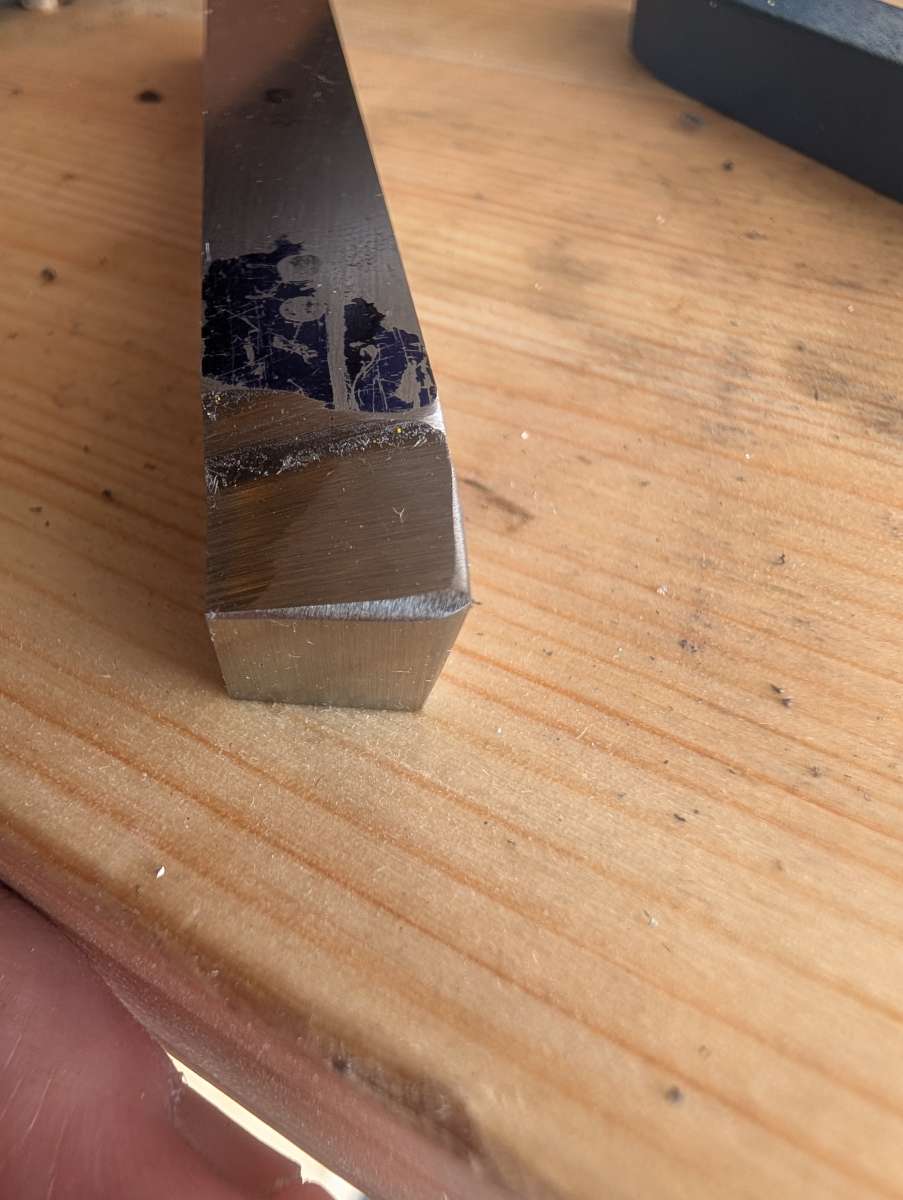
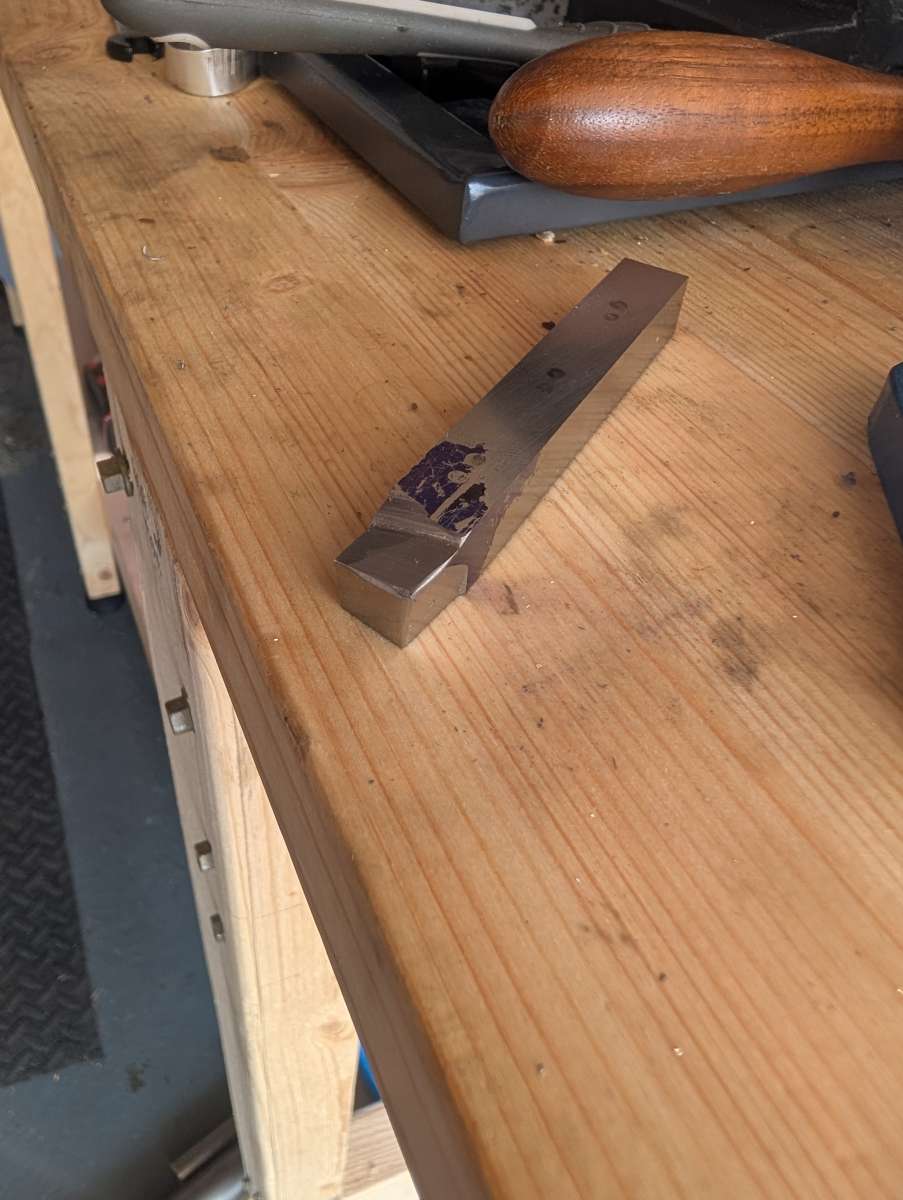
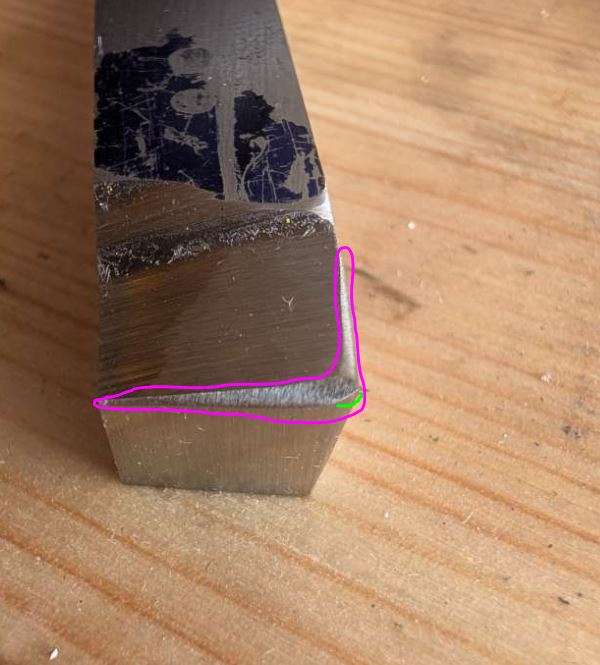
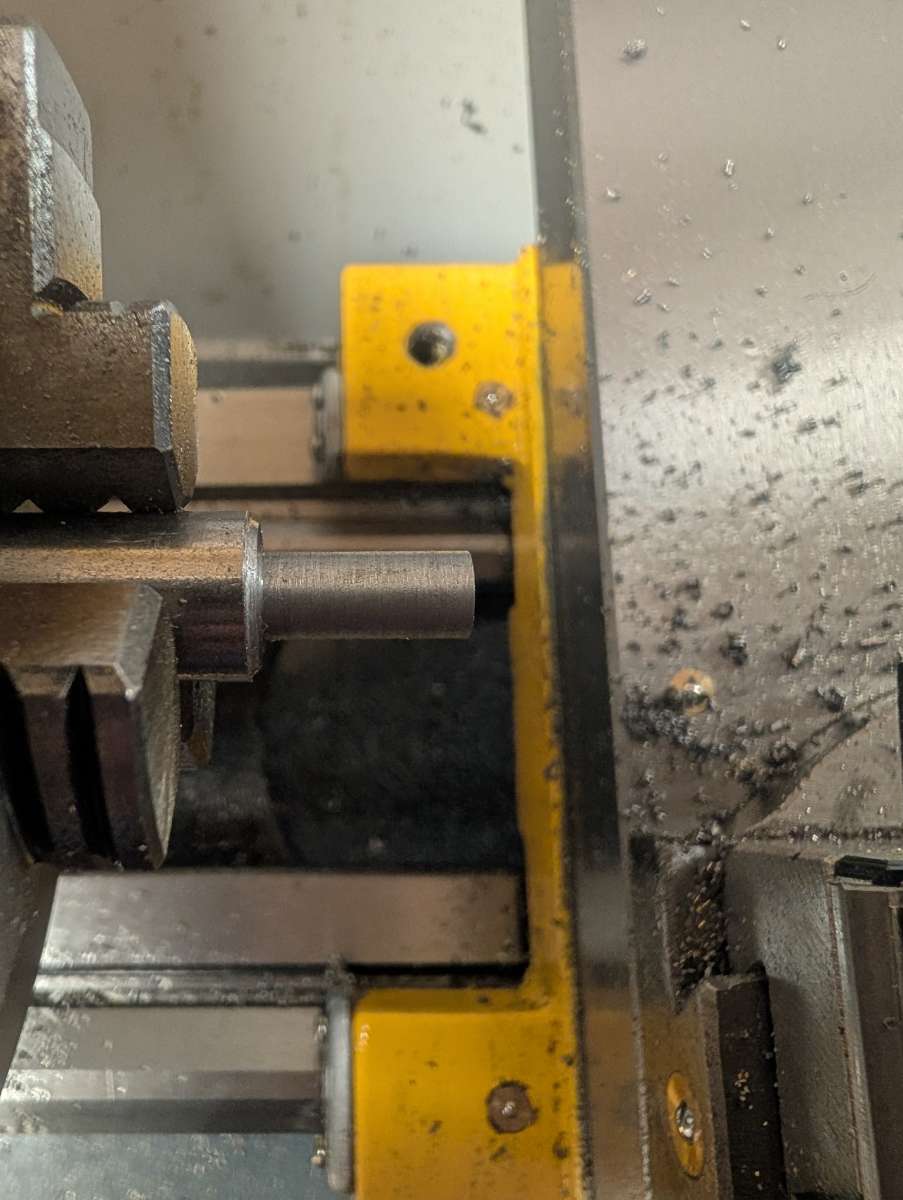
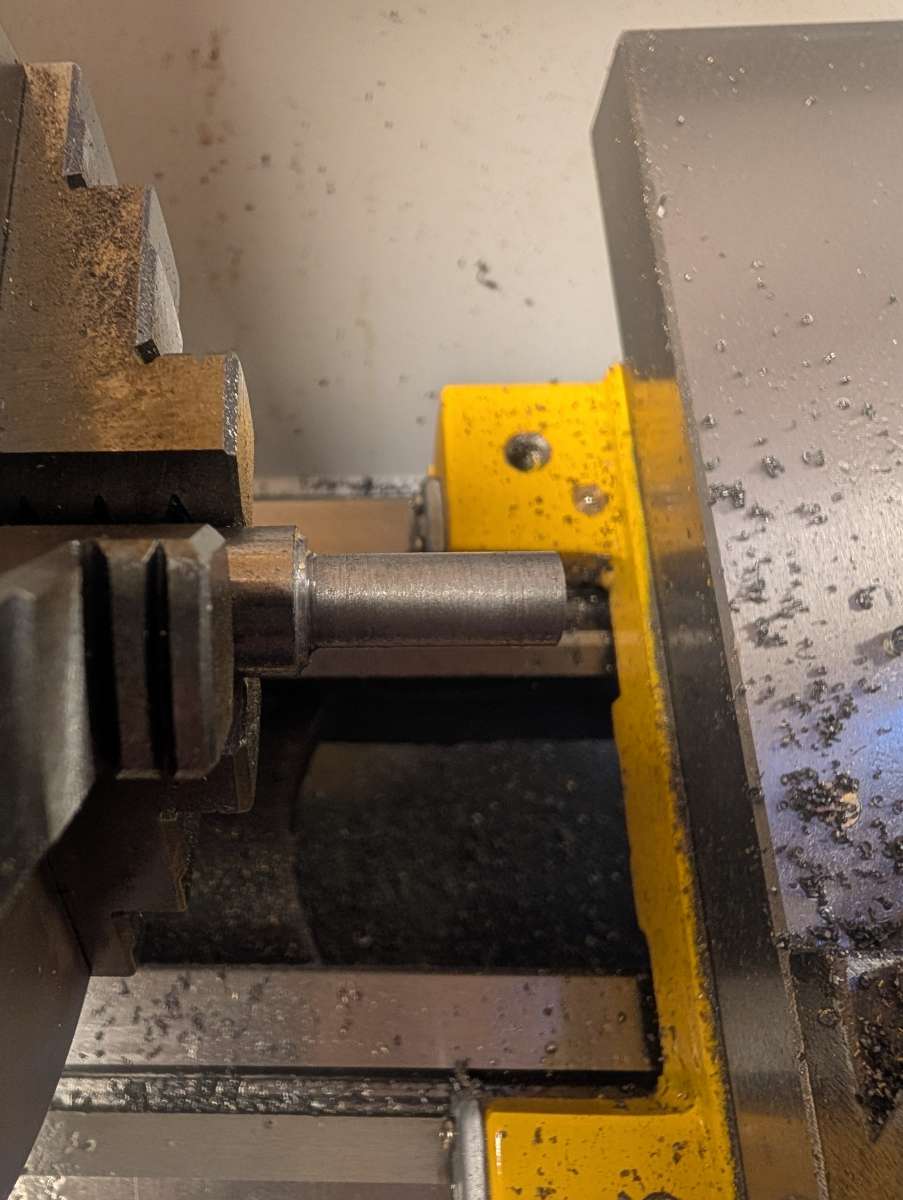
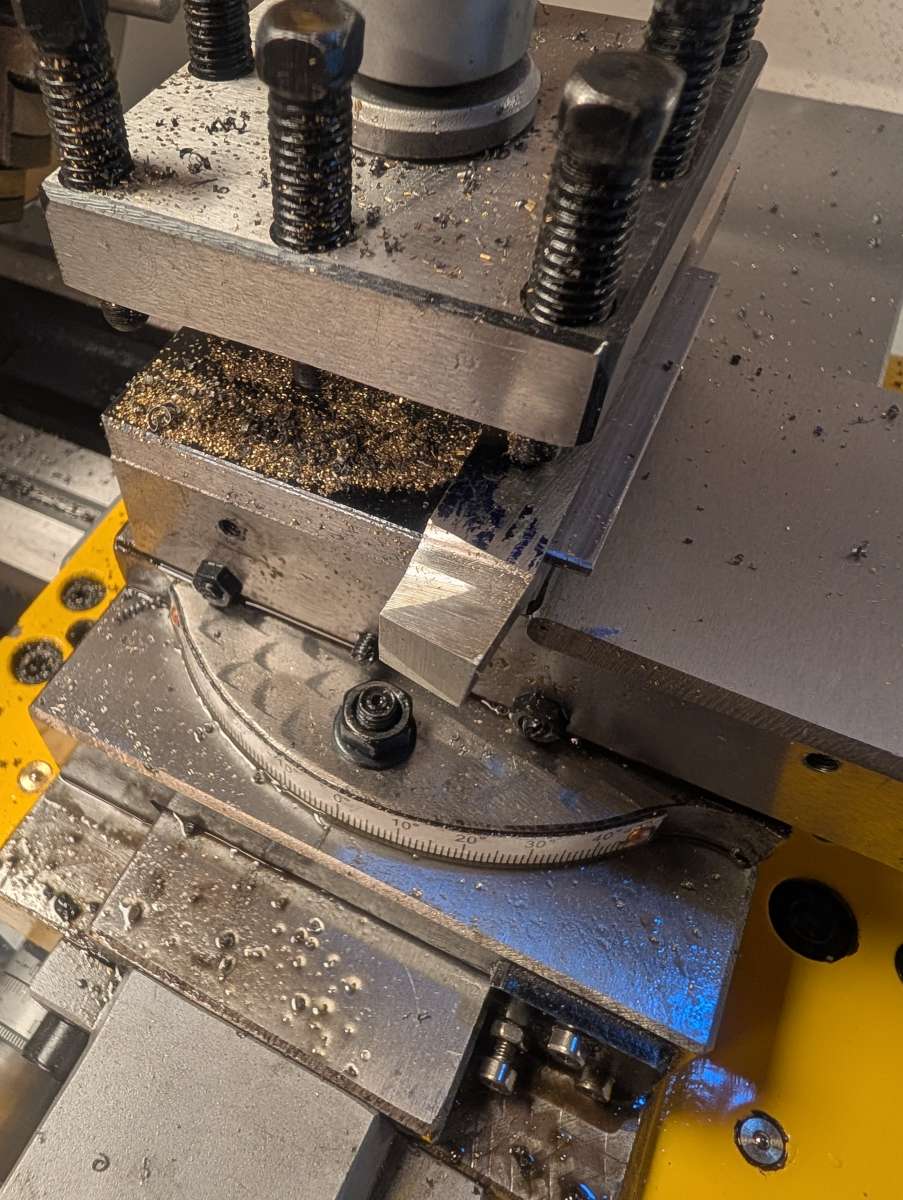
First cuts with the lathe
First cuts with the lathe
- This topic has 32 replies, 17 voices, and was last updated 19 June 2025 at 12:02 by
 noel shelley.
- Please log in to reply to this topic. Registering is free and easy using the links on the menu at the top of this page.
Latest Replies
-
- Topic
- Voices
- Last Post
-
-
Building Bernard Tekippe’s Precision Regulator
1
2
…
5
6
Started by:
Chris Raynerd 2
in: Clocks and Scientific Instruments
- 14
-
19 June 2025 at 13:29
Chris Raynerd 2
-
Bench vice
Started by:
Chris12
in: Workshop Tools and Tooling
- 16
-
19 June 2025 at 13:26
Chris12
-
ER25 Collet holder @ 2MT w/ 3/8″ BSW drawbar?
Started by:
William Ayerst
in: Workshop Tools and Tooling
- 8
-
19 June 2025 at 12:27
William Ayerst
-
Is there an alternative to tufnol strip for springing
Started by:
steve2250
in: Beginners questions
- 7
-
19 June 2025 at 12:20
Dave Wootton
-
First cuts with the lathe
1
2
Started by:
Chris12
in: Beginners questions
- 17
-
19 June 2025 at 12:02
noel shelley
-
A new benchmark for cheap tat ?
Started by:
Michael Gilligan
in: The Tea Room
- 2
-
19 June 2025 at 12:02
Michael Gilligan
-
Help Please: IT Not Engineering
Started by:
Nigel Graham 2
in: The Tea Room
- 5
-
19 June 2025 at 11:56
SillyOldDuffer
-
What Did You Do Today 2025
1
2
…
6
7
Started by:
JasonB
in: The Tea Room
- 32
-
19 June 2025 at 10:59
JasonB
-
Twin Engineering’s heavy mill/drill quill removal
Started by:
Martin of Wick
in: Manual machine tools
- 5
-
19 June 2025 at 10:14
Pete
-
Milling in the lathe – Vertical slide
1
2
Started by:
Chris12
in: Beginners questions
- 10
-
19 June 2025 at 10:12
JasonB
-
Unknown Colchester Lathe.
Started by:
Michael Butler 6
in: Workshop Tools and Tooling
- 2
-
19 June 2025 at 10:02
bernard towers
-
Rotary table question.
Started by:
larry phelan 1
in: Beginners questions
- 7
-
19 June 2025 at 08:51
larry phelan 1
-
How many spokes do I really need?
Started by:
Fulmen
in: Related Hobbies including Vehicle Restoration
- 5
-
19 June 2025 at 08:20
Fulmen
-
3 1/2” gauge diesel loco?
Started by:
Paul McDonough
in: Locomotives
- 6
-
19 June 2025 at 07:47
Paul McDonough
-
Motorcycle starter motors – any general workshop uses?
Started by:
Robin Graham
in: Beginners questions
- 10
-
18 June 2025 at 20:58
John Haine
-
How do they do that
Started by:
Speedy Builder5
in: The Tea Room
- 3
-
18 June 2025 at 20:39
modeng2000
-
Anybody with a Meddings Driltru bench drill or similar?
Started by:
Craig Brown
in: Manual machine tools
- 4
-
18 June 2025 at 20:35
Craig Brown
-
VERY SAD NEWS
Started by:
Howard Lewis
in: The Tea Room
- 7
-
18 June 2025 at 20:27
Speedy Builder5
-
2″ DNY Compensating Gears
Started by:
grahamp
in: Traction engines
- 3
-
18 June 2025 at 19:49
grahamp
-
Sieg C1 lathe autofeed and screw cutting
1
2
Started by:
Rob Athome
in: Beginners questions
- 13
-
18 June 2025 at 19:40
Howard Lewis
-
Number series drills – history and origins
1
2
Started by:
clivel
in: General Questions
- 30
-
18 June 2025 at 18:10
Graham Meek
-
Setting the top slide to turn a Morse taper
Started by:
John Purdy
in: Workshop Tools and Tooling
- 13
-
18 June 2025 at 18:02
larry phelan 1
-
Rotary valve engine
Started by:
AStroud
in: Work In Progress and completed items
- 2
-
18 June 2025 at 12:25
John Haine
-
Small cutter feeds
Started by:
Dave S
in: CNC machines, Home builds, Conversions, ELS, automation, software, etc tools
- 4
-
18 June 2025 at 10:20
Dave S
-
Meddings MF4 Manual
Started by:
Richard Kirkman 1
in: Help and Assistance! (Offered or Wanted)
- 5
-
18 June 2025 at 09:17
JohnF
-
Building Bernard Tekippe’s Precision Regulator
1
2
…
5
6
Latest Issue

Newsletter Sign-up
Latest Replies
- Building Bernard Tekippe’s Precision Regulator
- Bench vice
- ER25 Collet holder @ 2MT w/ 3/8″ BSW drawbar?
- Is there an alternative to tufnol strip for springing
- First cuts with the lathe
- A new benchmark for cheap tat ?
- Help Please: IT Not Engineering
- What Did You Do Today 2025
- Twin Engineering’s heavy mill/drill quill removal
- Milling in the lathe – Vertical slide

