What Did You Do Today (2017)

Advert

What Did You Do Today (2017)

Home Forums The Tea Room What Did You Do Today (2017)

Viewing 25 posts - 1,951 through 1,975 (of 2,518 total)
  • Author
    Posts
  • #317938
    Hillclimber
    Participant
      @hillclimber
      Posted by Michael-w on 20/09/2017 17:44:04:

      Just bought the "Setting Up a Workshop" magazine, The special run by M.E.W without realizing it, lots of good tips to be had and a good solid guide for a beginner. Well done.

      Michael W

      Unlikely that I shall be able to repeat that today, as my attempt to purchase online reveals that it is 'out of stock'. Bummer.

      Cheers, Colin

      Advert
      #317957
      MW
      Participant
        @mw27036
        Posted by Hillclimber on 21/09/2017 07:51:30:

        Posted by Michael-w on 20/09/2017 17:44:04:

        Just bought the "Setting Up a Workshop" magazine, The special run by M.E.W without realizing it, lots of good tips to be had and a good solid guide for a beginner. Well done.

        Michael W


        Unlikely that I shall be able to repeat that today, as my attempt to purchase online reveals that it is 'out of stock'. Bummer.

        Cheers, Colin

        Give WH smith a try if you're in the UK. To be honest I'm not really a beginner as such but I do collect a lot of these type of books because you never know what you might have missed. It also preps you in areas not commonly thought of as "metalwork" but are no less important to establishing a workshop.

        A lot of tips in that guide I've ended up doing eventually, for e.g I insulated my outbuilding not so long ago, and it's mentioned right there.

        The work bench article described is very similar to mine, if not identical in construction and I can confirm it's a very good design. I even made my own set of hill-billy style drawers to keep tools in from the scraps of my workshop construction, as well as all the tool holder shelves etc, again, such ideas are mentioned.

        I also bought quite cheaply but prolifically to begin with, and now I tend to be prefer saving up more money for better quality replacements of tools,

        another example is automatic centre punches, I've had 3 £5-10 style centre punches and all of them have broken eventually, the ball detent inside it eventually wears flats and ceases to punch properly, you can get apparently a much heavier duty one from kennedy tools for £60. So I would expect that to be far better made.

        So on this basis of having seen most of the things I've done, mentioned in the book, I would call it very good advice. There's also an index at the front, so you can jump straight to any section you're particularly concerned with. 

        Michael W


        Edited By Michael-w on 21/09/2017 11:15:24

        #317968
        donkey
        Participant
          @donkey

          they still have a copy in w.h. smiths in cwmbran. maybe they will post. I was there last tuesday.

          bri

          #317969
          donkey
          Participant
            @donkey

            also Cardiff w.h. smiths had one copy.

            bri

            #317986
            John Gardener
            Participant
              @johngardener91897

              I bought a cheap (eight quid) bore-scope from a well known online shop. I stuck it down the barrel of my black powder revolver. The groups open up after about thirty six rounds, a sign of lead build up.

              After two dozen passes with a bronze brush and solvent this is the barrel:- ruger lands.jpg

              The 'milling' marks in the lands run the length of the barrel and lead can still be seen towards the top of the picture.


              These pistols are no longer made (or supported) by Ruger and a second hand one sells for six hundred quid.

              Had I seen the lands in this before I bought it I wouldn't have bought it.

              What's this got to do with engineering? It is showing you an example of rubbish American engineering IMHO

              Edited By John Gardener on 21/09/2017 14:22:58

              #318048
              Iain Downs
              Participant
                @iaindowns78295

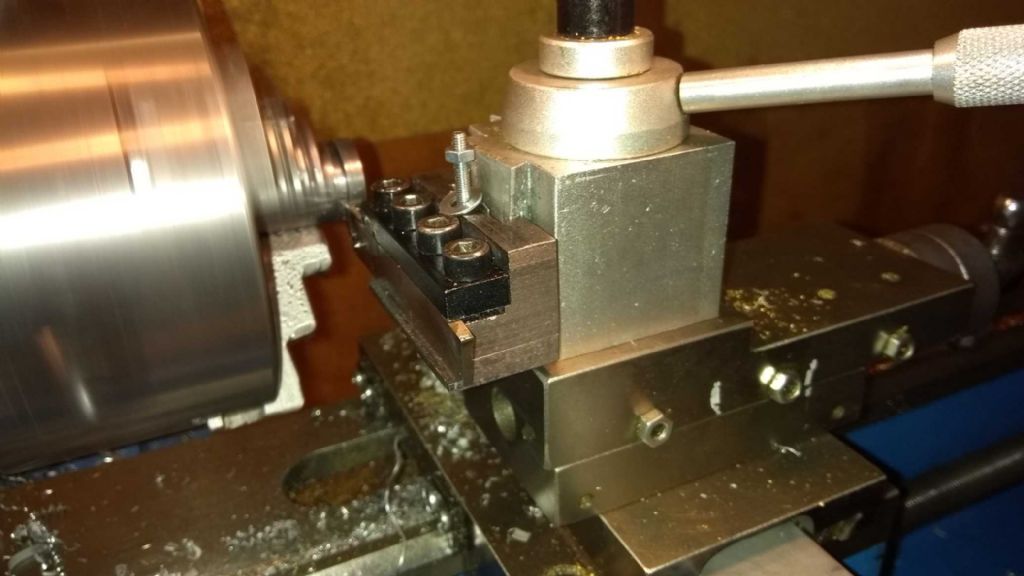
                I have one of those nasty aluminium quick change toolposts. Before I had a traditional 'shim it up' 4 way toolpost.

                The aluminium one seems pretty flimsy and in my cack-handed way I've probably over stressed it, but the dovetails have become warped. Moreover the parting off holder has had several 'spungs' and the bit jumps out.

                The result – the bottom lip is bent and parting is more or less impossible.

                So I've had a go at building my own (toolholder). Which has sort of worked OK.

                I've over cut it so the grip isn't all it could be (too little on the dovetail) and i've had to put an M3 for the height.adjuster.

                parting off 01.jpg

                But it actually works and the next one will be spot on.

                However, you can see that the holder is not vertical due to the aluminium dovetail being warped.

                I'm thinking I'd like to make my own post and holder.

                I like the idea of a lump of a block (like this one), but I don't like the push it out approach.which seems inherently not rigid. I want to make one that pulls it in.

                Also it must be of steel not ally.

                Any ideas on this welcome. I've found half a dozen designs on the web. If I make something interesting (or perhaps just have a sketch) I will post.

                Iain

                #318049
                Iain Downs
                Participant
                  @iaindowns78295

                  I have one of those nasty aluminium quick change toolposts. Before I had a traditional 'shim it up' 4 way toolpost.

                  The aluminium one seems pretty flimsy and in my cack-handed way I've probably over stressed it, but the dovetails have become warped. Moreover the parting off holder has had several 'spungs' and the bit jumps out.

                  The result – the bottom lip is bent and parting is more or less impossible.

                  So I've had a go at building my own (toolholder). Which has sort of worked OK.

                  I've over cut it so the grip isn't all it could be (too little on the dovetail) and i've had to put an M3 for the height.adjuster.

                  parting off 01.jpg

                  But it actually works and the next one will be spot on.

                  However, you can see that the holder is not vertical due to the aluminium dovetail being warped.

                  I'm thinking I'd like to make my own post and holder.

                  I like the idea of a lump of a block (like this one), but I don't like the push it out approach.which seems inherently not rigid. I want to make one that pulls it in.

                  Also it must be of steel not ally.

                  Any ideas on this welcome. I've found half a dozen designs on the web. If I make something interesting (or perhaps just have a sketch) I will post.

                  Iain

                  #318071
                  Robin
                  Participant
                    @robin

                    Made by George Wallis of Hull, 1731-1803. It is a 12 bore flintlock which I shall be shooting in a sporting clay completion 1/10/17 so I have just over a week to replace the missing foresight and the parts started arriving today.

                    The plan is to fix on a small brass pip using as much black duct tape as I can possibly hope to justify thinking

                    #318073
                    Windy
                    Participant
                      @windy30762

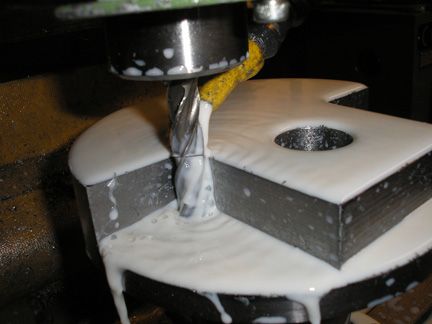
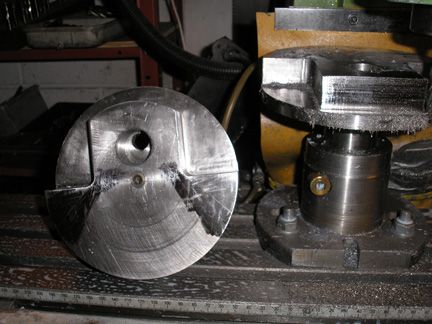
                      Did a bit more on the crankshaft halves finish web tomorrow then to screw cut and machine drive taper2005_0101webscrank0001.jpg

                      2005_0101webscrank0002.jpg

                      #318093
                      Jon Gibbs
                      Participant
                        @jongibbs59756
                        Posted by Robin on 21/09/2017 22:01:35:

                        Made by George Wallis of Hull, 1731-1803. It is a 12 bore flintlock which I shall be shooting in a sporting clay completion 1/10/17 so I have just over a week to replace the missing foresight and the parts started arriving today.

                        The plan is to fix on a small brass pip using as much black duct tape as I can possibly hope to justify thinking

                        Lovely Damascus barrel. (Who needs two barrels at a clay shoot anyway?wink)

                        Jon

                        #318094
                        Brian H
                        Participant
                          @brianh50089

                          It seems a shame to spoil it with duct tape. Can the new foresight be soldered or Loctited on?

                          Brian

                          #318095
                          Robin
                          Participant
                            @robin
                            Posted by Brian Hutchings on 22/09/2017 09:15:05:

                            It seems a shame to spoil it with duct tape. Can the new foresight be soldered or Loctited on?

                            There is method in my madness, black duct tape will make a shiny barrel stand out against the sky better than any piddly little foresight ever could thinking

                            Nock's breech, 12 gauge, friction free lock and a good drop. How can I lose? Very easily wink

                            #318103
                            John Gardener
                            Participant
                              @johngardener91897

                              I envy you, duct tape – perhaps to take out the glare. I wonder, did the gun have a foresight when it was made?

                              Early army muskets did not have foresights because aiming was 'not gentlemanly' and 'unsporting'

                              However you shoot it, you lucky *** – I'm sure you will enjoy it.

                              indecision – signed, jealous shooter

                              #318108
                              Robin
                              Participant
                                @robin

                                English guns have a brass pip foresight, when it goes missing they have a hole through to the bore so I think they were riveted on.

                                Don't envy me quite yet, there is a great lump of platinum touch hole that could blow out on the first shot thinking

                                #318144
                                Speedy Builder5
                                Participant
                                  @speedybuilder5

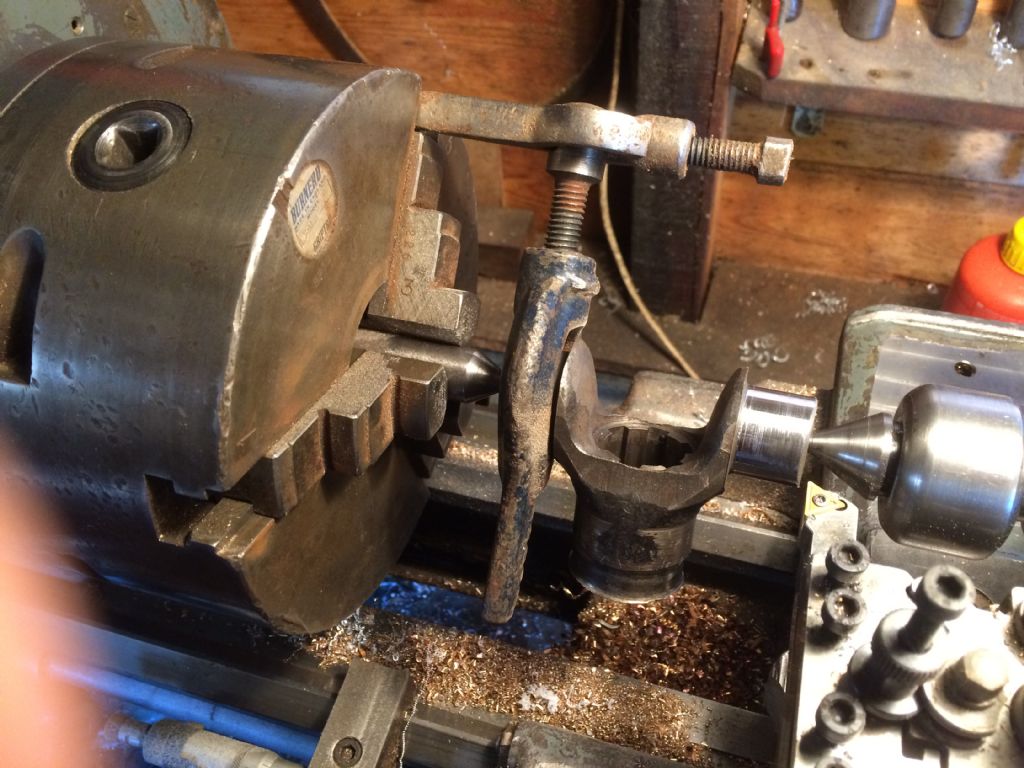
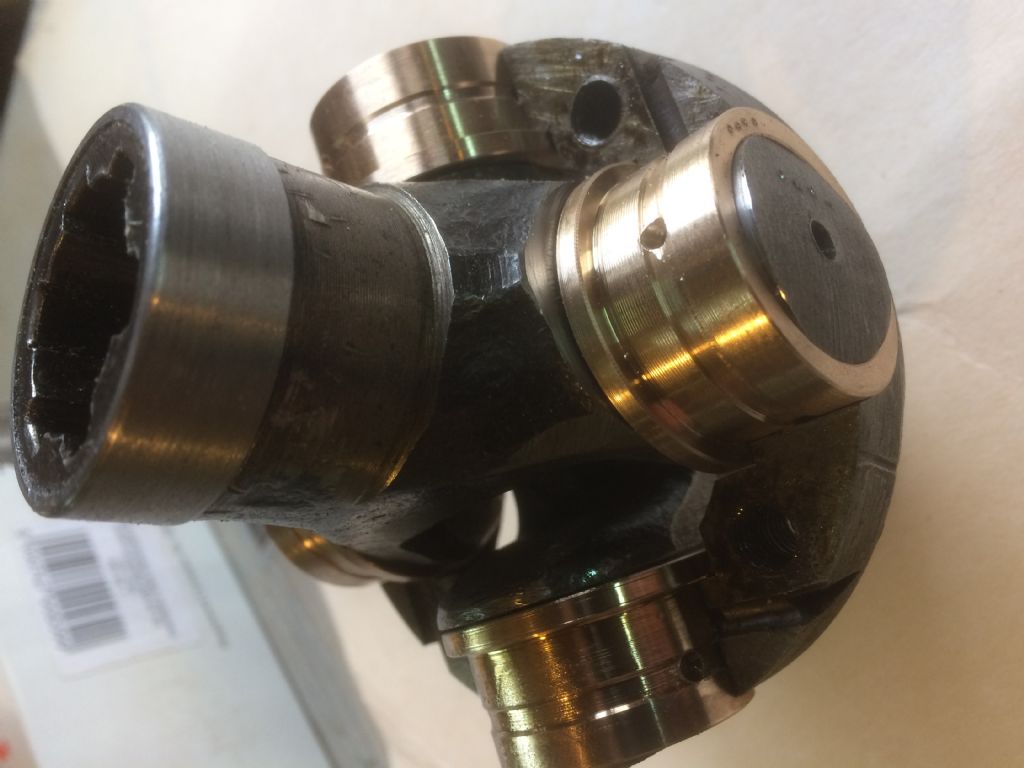
                                  Re-furbised a CV joint for a 1927 Peugeot. First photo shows work holding between centres to clean up the worn trunions on the yolks, second photo shows new bronze bushes turned up and fitted.

                                  cvjoint1.jpg

                                  cvjoint3.jpg

                                  #318298
                                  Anonymous

                                    Late morning I went over to Bourn airfield to pick up my PPL paperwork. I revalidated last Monday (one hour flight with an instructor) but it needed to be signed off by an examiner. Then I carried on to Gransden Lodge – my day in the big glider. Also the BBMF were displaying at Duxford and planned to do a couple of passes over Wimpole Hall (about 3 miles from us) on the way. We had a missive in the week that said if we had no gliders in the air, they might call on the radio and do a low pass down the runway en route to Wimpole. Sadly they didn't so we watched them in the distance. If I'd stayed at Bourn I'd have seen them fly right over the airfield. Still there's always tomorrow. Didn't fly the big glider today, but I've got it tomorrow. One syndicate partner is occupied giving flights in the motor glider to the Scouts, and the other has sprog number two (6 days old) to cope with. It would be a serious loss of brownie points to go flying.

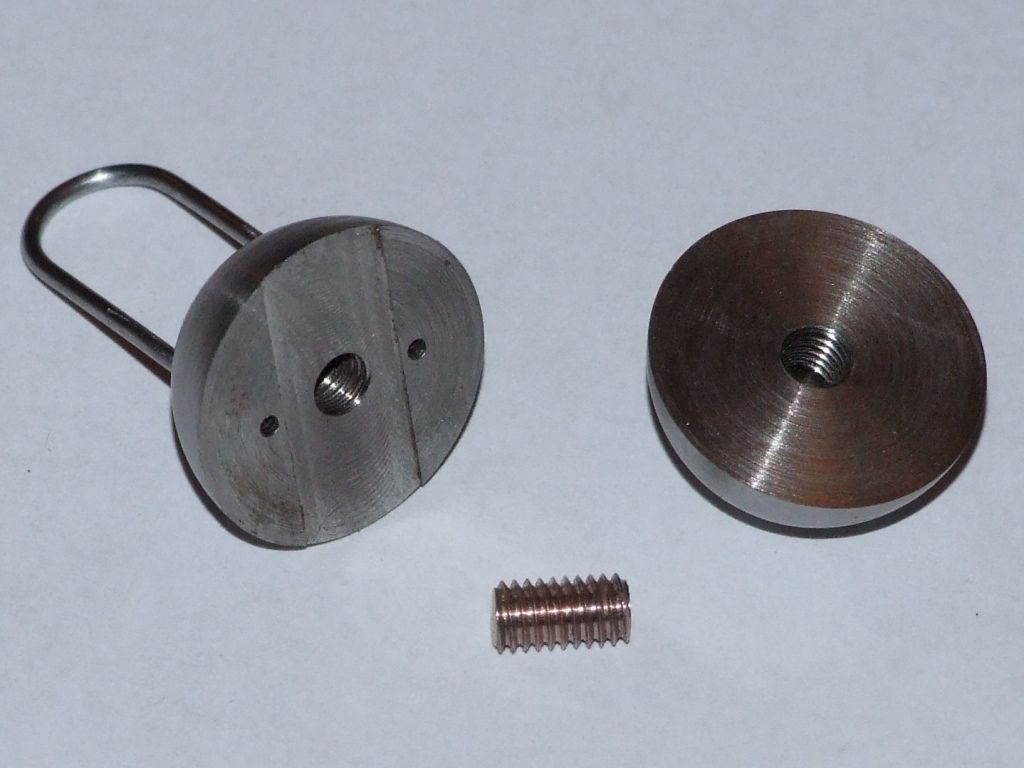
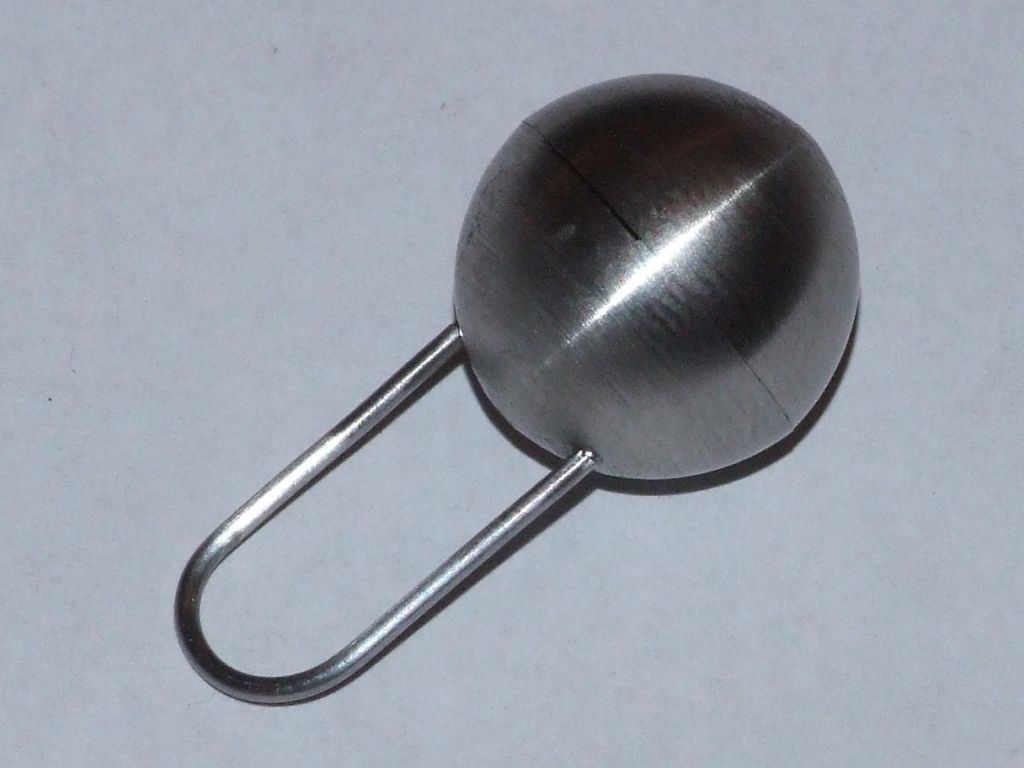
                                    This evening I've been making a balls up, literally. Having experimented with machining tungsten alloy I recently ordered enough to make all the governor balls for my traction engines. I thought I'd better make a trial ball to test the new material and fine tune the machining sequence. Here are the parts:

                                    governor ball parts.jpg

                                    The short length of thread in the front is machined from a tungsten/copper alloy. Every little helps! And the assembled ball:

                                    governor ball assembled.jpg

                                    Andrew

                                    #318302
                                    Roderick Jenkins
                                    Participant
                                      @roderickjenkins93242

                                      yes

                                      Rod

                                      #318308
                                      Bazyle
                                      Participant
                                        @bazyle

                                        Took some photos of the Mayor of St Albans at our show as I was the only person in range with a camera. One might appear in the local paper if his PR office push it.
                                        Another year with great weather for the show despite the last few weeks of rain so my designated post outside with the engines in steam was quite pleasant if not quite needing sun cream.

                                        #318312
                                        Perko7
                                        Participant
                                          @perko7

                                          Picked up a 2nd hand 17 year-old Hafco/Metalmaster horizontal swivel-head bandsaw on Friday, spent a few hours yesterday and this morning cleaning off accumulated rust/grime/swarf, making a few adjustments and fitting a new plug to the cord. Ordered a replacement control switch from Hare&Forbes as the existing one is well past its use-by date, and made a small table to fit in place of the standard saw guide so i can use it as a vertical machine as well.

                                          Now only needs a new belt, new stand-off motor mounts (the motor is not the original and hits the frame when the saw is upright), replace the oil in the gearbox and fit the new switch and we'll see how it performs.

                                          #318318
                                          JasonB
                                          Moderator
                                            @jasonb

                                            Andrew looks like your copy attachment did a very good job on the balls, any pics?

                                            J

                                            #318347
                                            Anonymous
                                              Posted by JasonB on 24/09/2017 07:41:52:

                                              Andrew looks like your copy attachment did a very good job on the balls, any pics?

                                              The finish on the balls as shown is straight off the lathe, after a clean in acetone. It is slightly worse on the ends, but that is a function of the copying unit geometry. No pictures; I thought about it but decided the operation was straightforward, and I wasn't going to post, so no need to record the details.

                                              Andrew

                                              #318360
                                              Ady1
                                              Participant
                                                @ady1

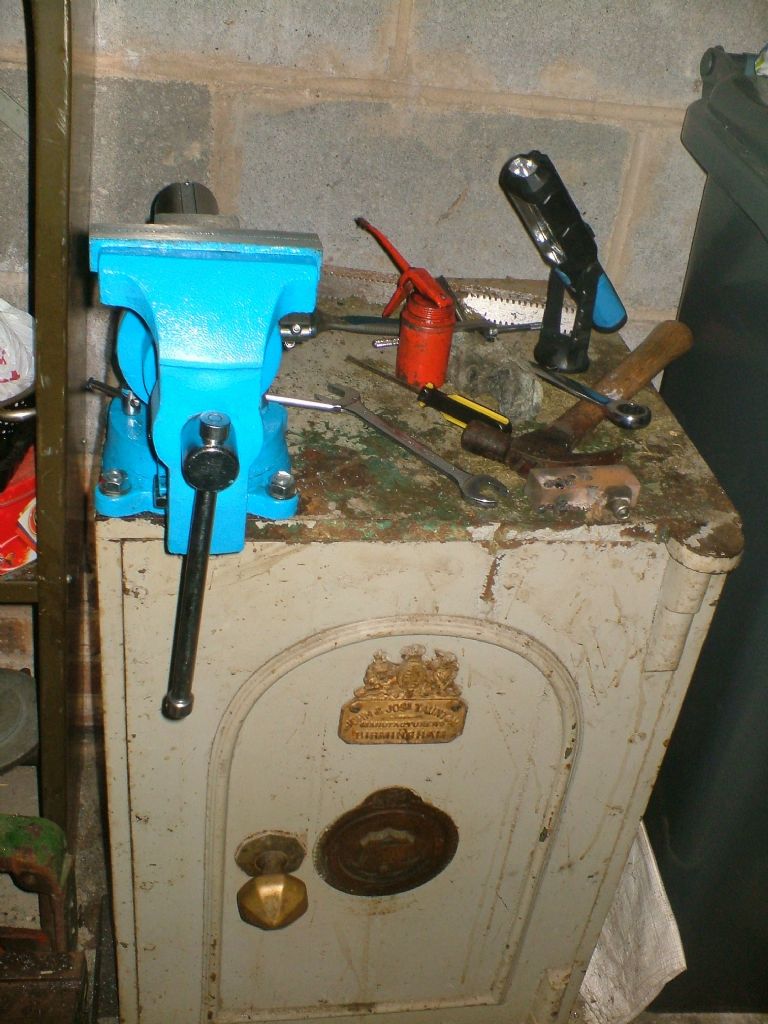
                                                I got one of those far east swindens knock-off jobs recently for a fraction of the price of the real thing and planned to mount it on my steel safe to create a working area even a blacksmith would find useful

                                                It all went semi to plan, then fell down because of those scamming British Victorians and their hookey gear

                                                Looks fine, 12mm studs at the front, lovely and secure 3/4" in solid steel

                                                dscf3109.jpg

                                                The problem is at the back

                                                I was through the right hand rear in 2mm and the left hand rear in 6mm

                                                So it's hanging on at the front only (I suppose I could weld it on at the back)

                                                OK for basic light engineering but not the indestructible lifetime monster I was creating

                                                The vice itself is fine (It's pretty big) with acceptable tolerances and build for the price

                                                (sigh)

                                                #318392
                                                daveb
                                                Participant
                                                  @daveb17630

                                                  There was an old safe like that in a garage where I worked. Someone broke in one night and tried to cut through the door with the Oxy-Acetylene outfit, they must have spent a lot of time, made a real mess but didn't get the door open. The boss was most amused, the safe had been broken into many years before and the back panel had been removed.

                                                  #318431
                                                  Muzzer
                                                  Participant
                                                    @muzzer

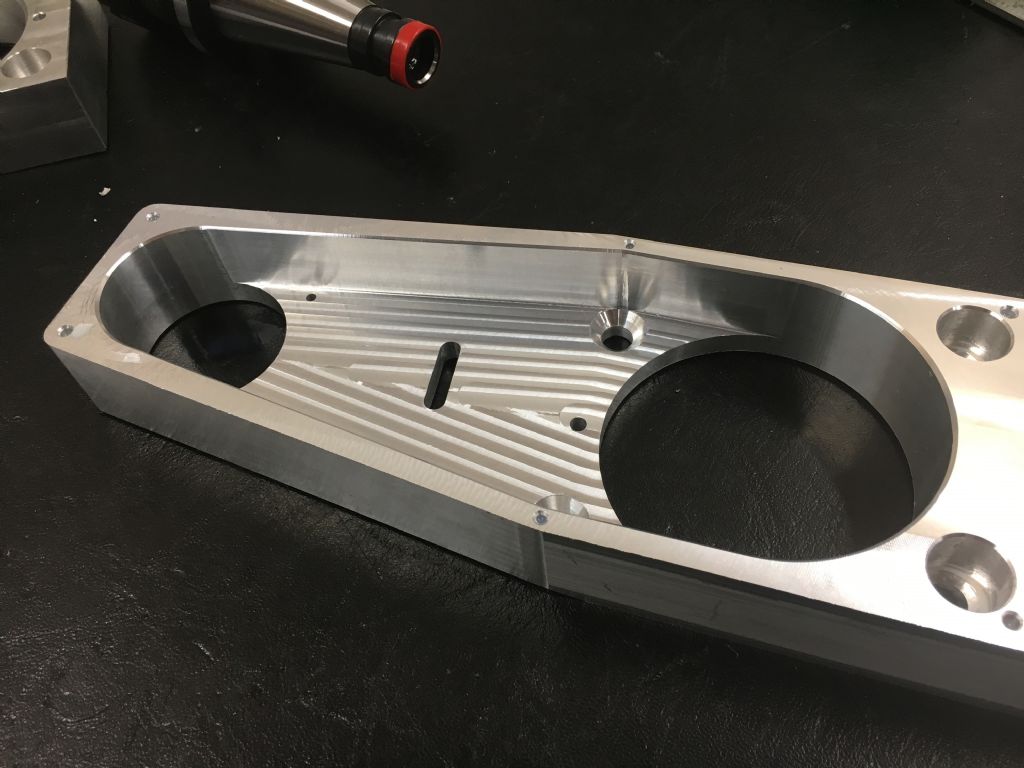
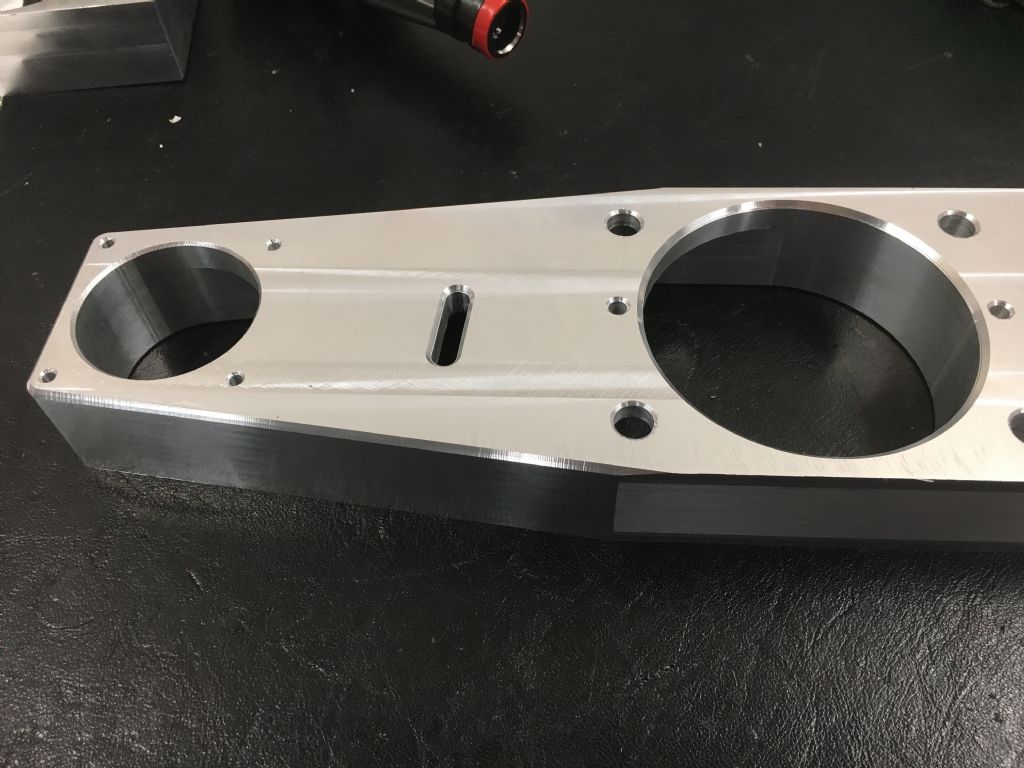
                                                    Must have got out of the wrong side of the bed. But to make amends, I wasted no time proving that the jaws (teeth?) of a keyless chuck are actually pretty good for machining loominum, although the surface finish leaves something to be desired.

                                                    This comes from importing a CNC program to the controller……then actually running a different one that was already loaded. It made a truly fantastic crash but being all a fumble, I'd forgotten to video it. No harm done, too fast for me to muddy my underwear and luckily I had another 3.5mm drill to replace the one that was in the chuck when I pressed the button.

                                                    On Friday I finished my first reasonably complex part without any evident cockups or outrages. So feeling reasonably happy with progress, despite this morning's trials.

                                                    Top side

                                                    Bottom side

                                                    Murray

                                                    #318435
                                                    Sam Longley 1
                                                    Participant
                                                      @samlongley1
                                                      Posted by Ady1 on 24/09/2017 12:29:15:

                                                      I got one of those far east swindens knock-off jobs recently for a fraction of the price of the real thing and planned to mount it on my steel safe to create a working area even a blacksmith would find useful

                                                      It all went semi to plan, then fell down because of those scamming British Victorians and their hookey gear

                                                      Looks fine, 12mm studs at the front, lovely and secure 3/4" in solid steel

                                                      dscf3109.jpg

                                                      The problem is at the back

                                                      I was through the right hand rear in 2mm and the left hand rear in 6mm

                                                      So it's hanging on at the front only (I suppose I could weld it on at the back)

                                                      OK for basic light engineering but not the indestructible lifetime monster I was creating

                                                      The vice itself is fine (It's pretty big) with acceptable tolerances and build for the price

                                                      (sigh)

                                                      My father had a safe similar to that & after a break in the wages for 40+ men were still there. However, the detective pointed out that they could have opened the back with a tin opener. After that he encased it in concrete

                                                    Viewing 25 posts - 1,951 through 1,975 (of 2,518 total)
                                                    • Please log in to reply to this topic. Registering is free and easy using the links on the menu at the top of this page.

                                                    Advert

                                                    Latest Replies

                                                    Home Forums The Tea Room Topics

                                                    Viewing 25 topics - 1 through 25 (of 25 total)
                                                    Viewing 25 topics - 1 through 25 (of 25 total)

                                                    View full reply list.

                                                    Advert

                                                    Newsletter Sign-up