Quick update,
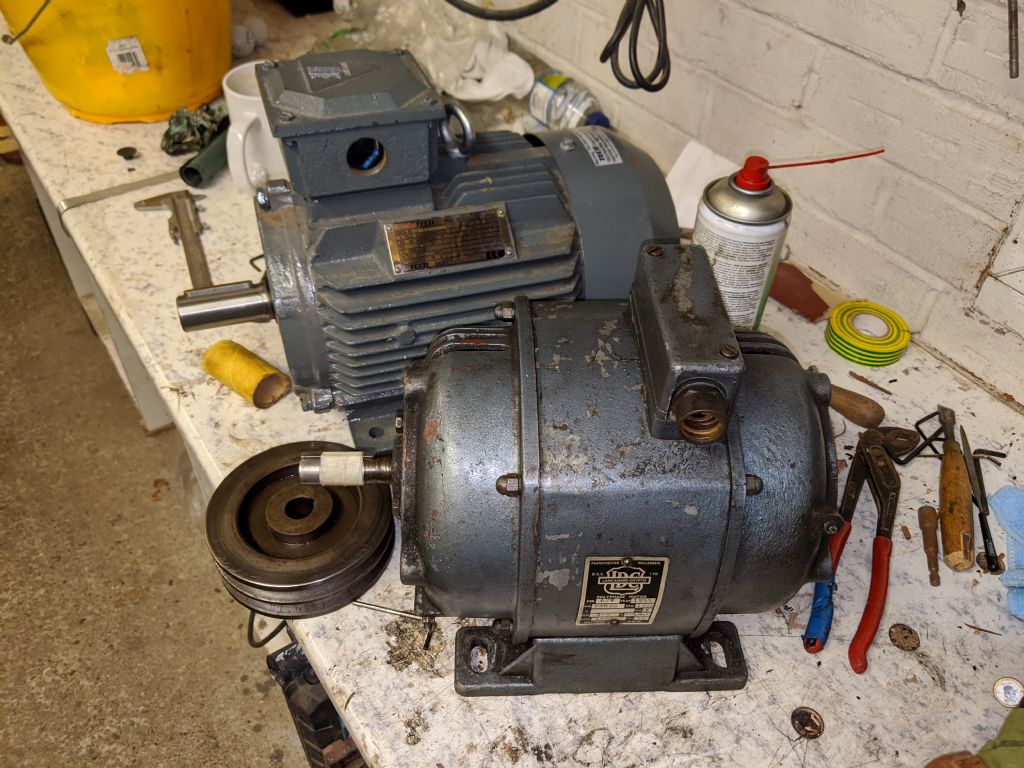
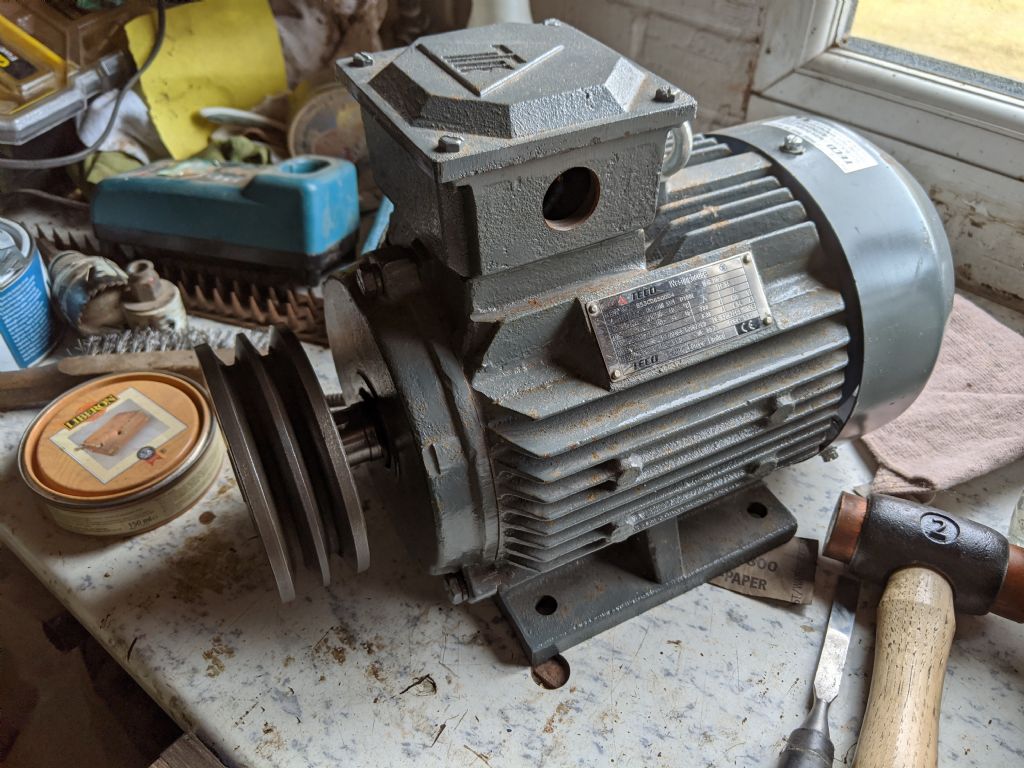
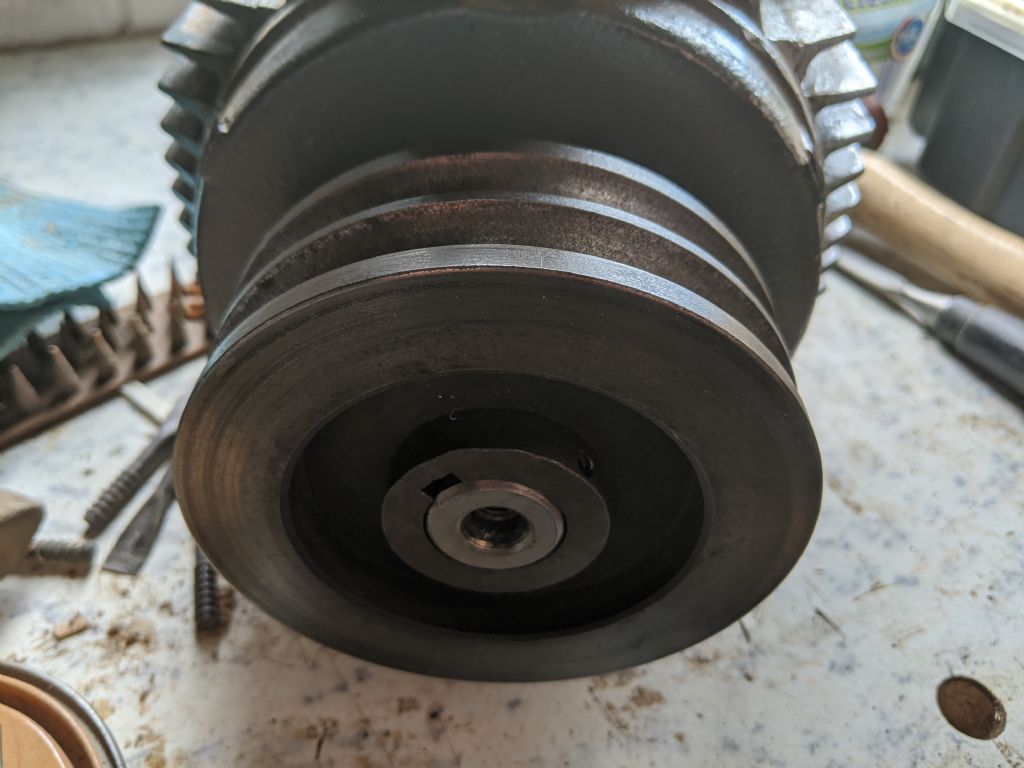
Spent the weekend at home, just a quick pop back to get a few things, however I managed to make quite a bit of progress. I purchased a replacement contactor, overloads and a suitable lighting transformer to go where the old one used to be. I also picked up the motor pulley as the center needed boring and a bigger keyway put in since the new motor has a 28mm shaft with an 8mm keyway
First task was removing the pulley from the motor as it was pretty well stuck on.


Eventually I managed to get it off, so I brought it back to uni with me so I could take it to their machine shop

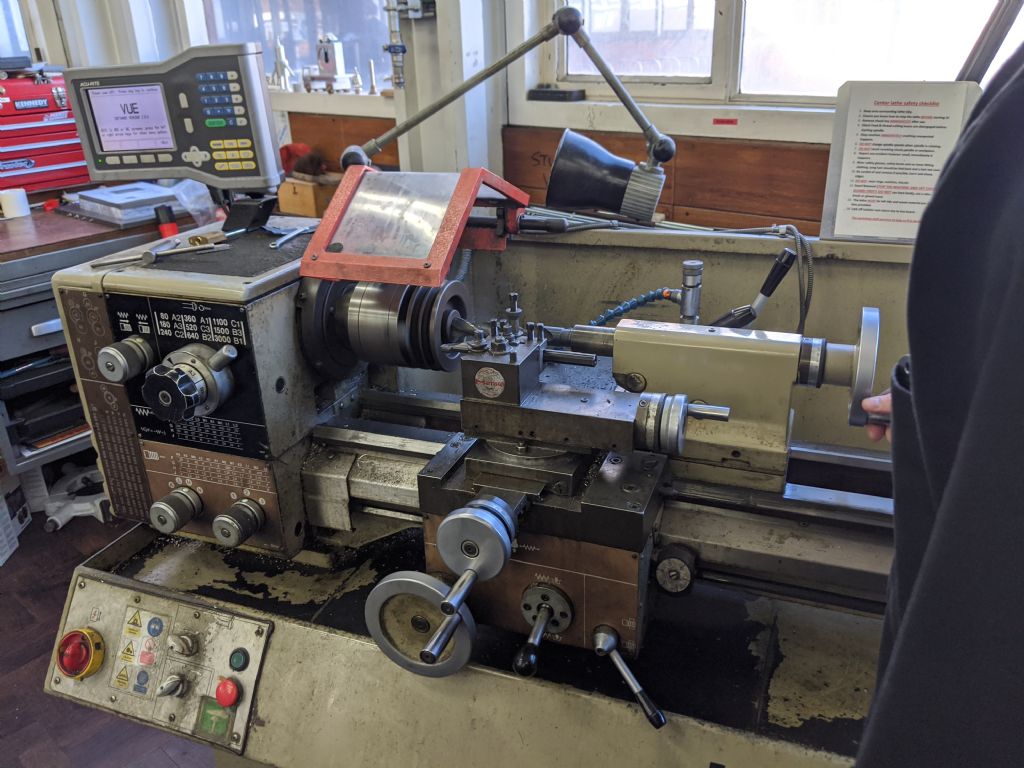
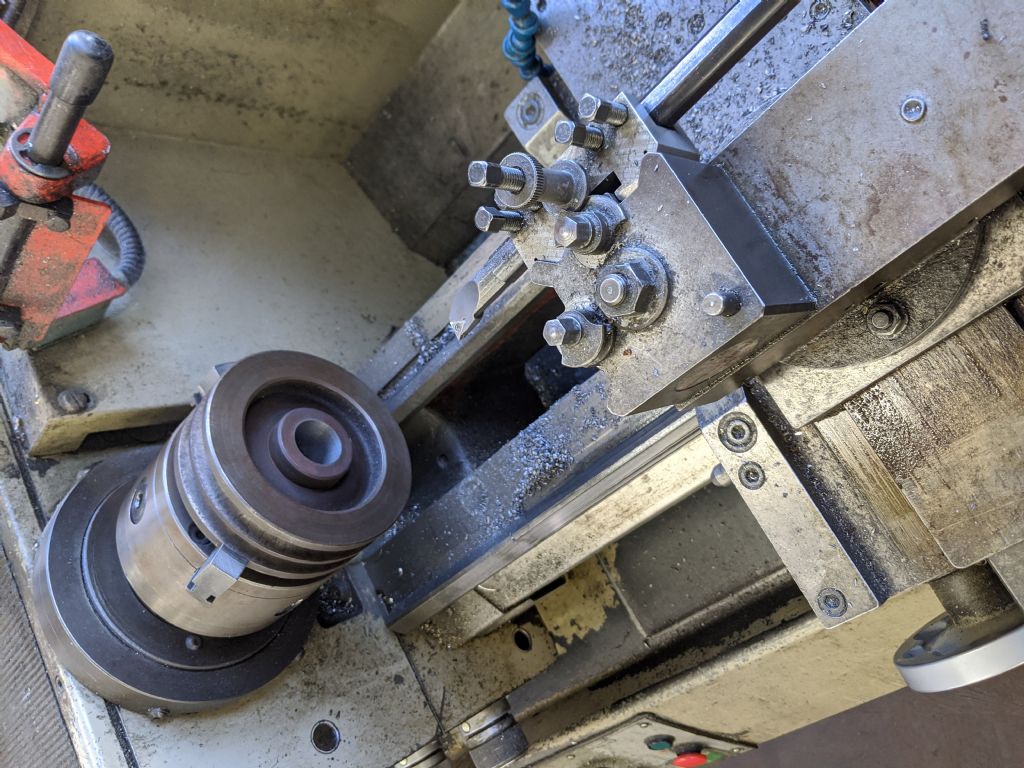
The pulley was chucked up and bored on this harrison lathe. Having seen one like this up close, It would have probably been a much more appropriate size for my garage. Probably would have been a lot more expensive, and not nearly as much fin to fix up and annoy everyone on here with!
The pulley was cast iron and was very hard to machine, luckily I had help from one of the workshop guys.
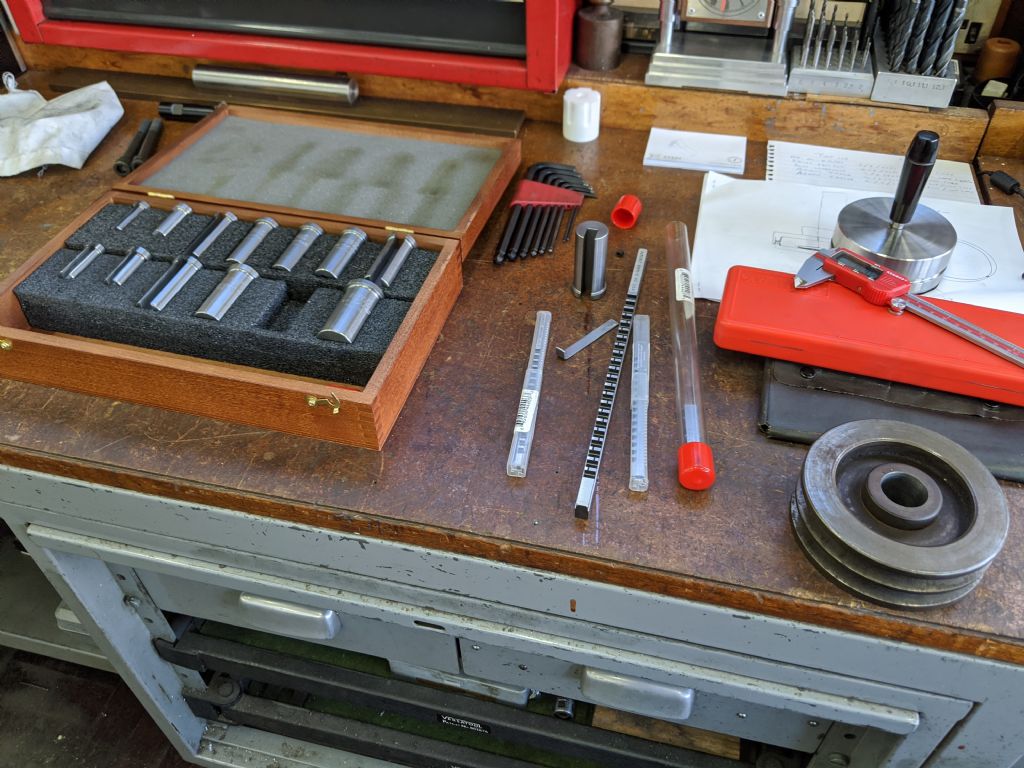
I also had the opportunity to use some internal bore gauges for the first time.


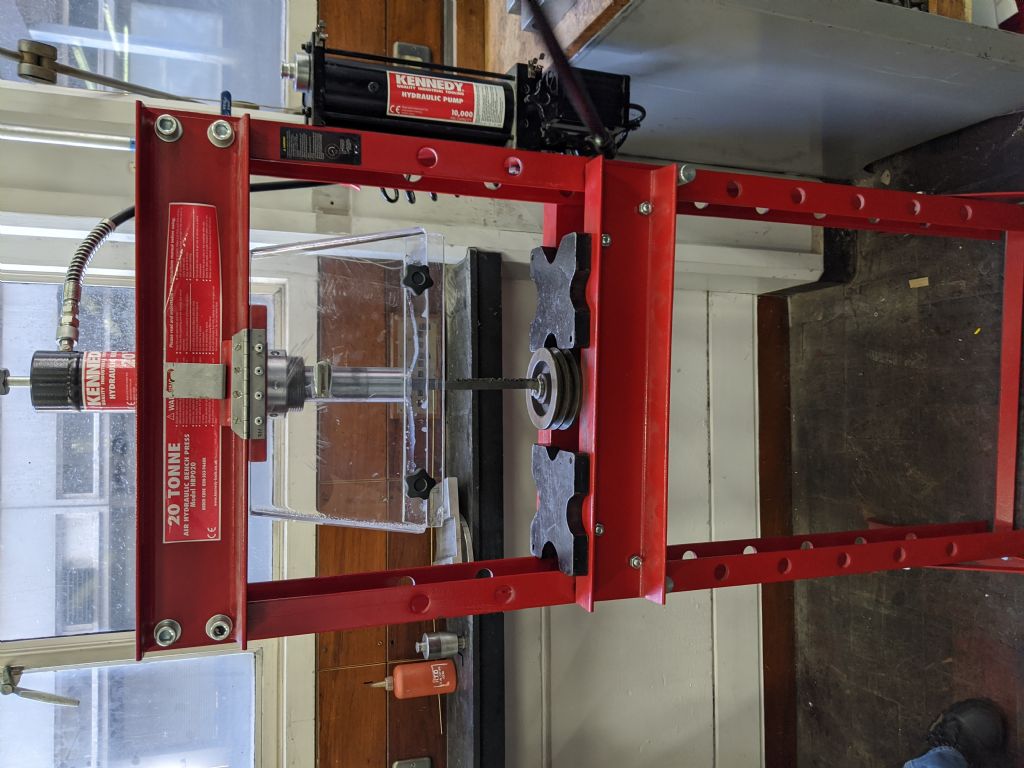
Then we moved onto the 8mm keyway using a broaching set. The workshop men found this quite fascinating as this kit had never been used before. One of them had used a kit before so he came and supervised the other man doing it, then another two watched.
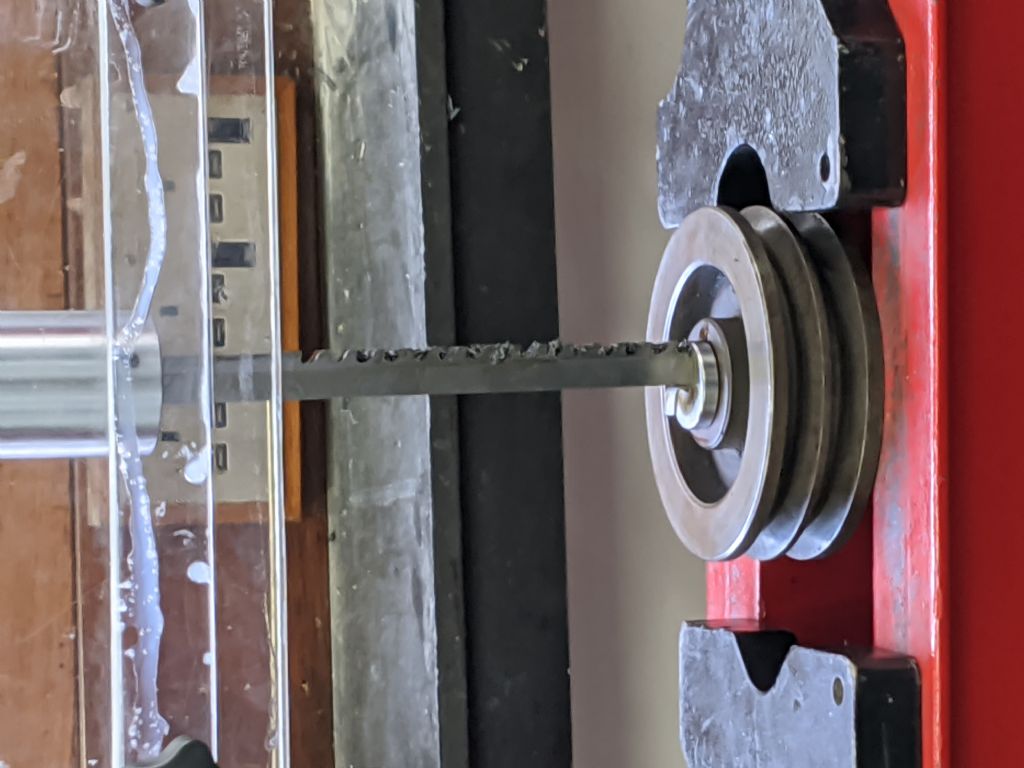
The broach slid through quite nicely, not much pressure was needed. I was quite surprised at this, but I suppose the press helped with that


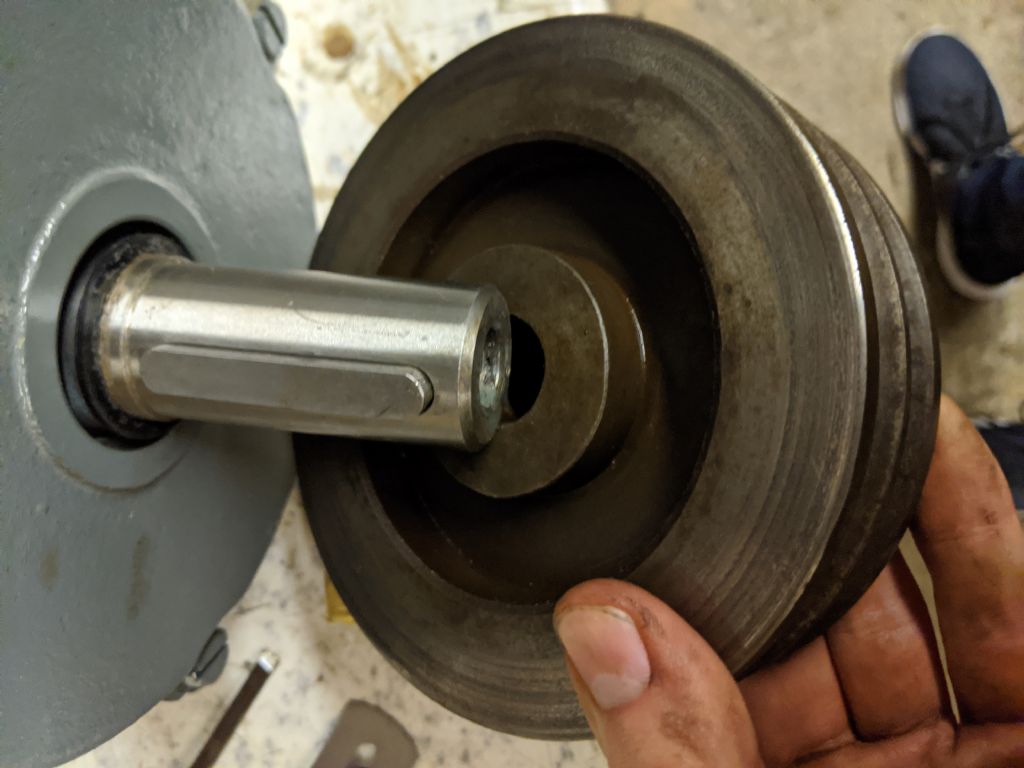
With that deburred, it's ready to go on the new 3hp motor!
However, when I was still at home, I had my "sparky" friend round to help look at the contactors and things. I'm not sure sparky is the best word to describe him, but he knows more about this stuff than me.
Anyway, i showed him all the diagrams and things, took him a while to get around the idea of the switch being having 3 positions and having 3 wires coming from it, but after he read Phils descriptions he understood perfectly, So thanks to Phil once again.

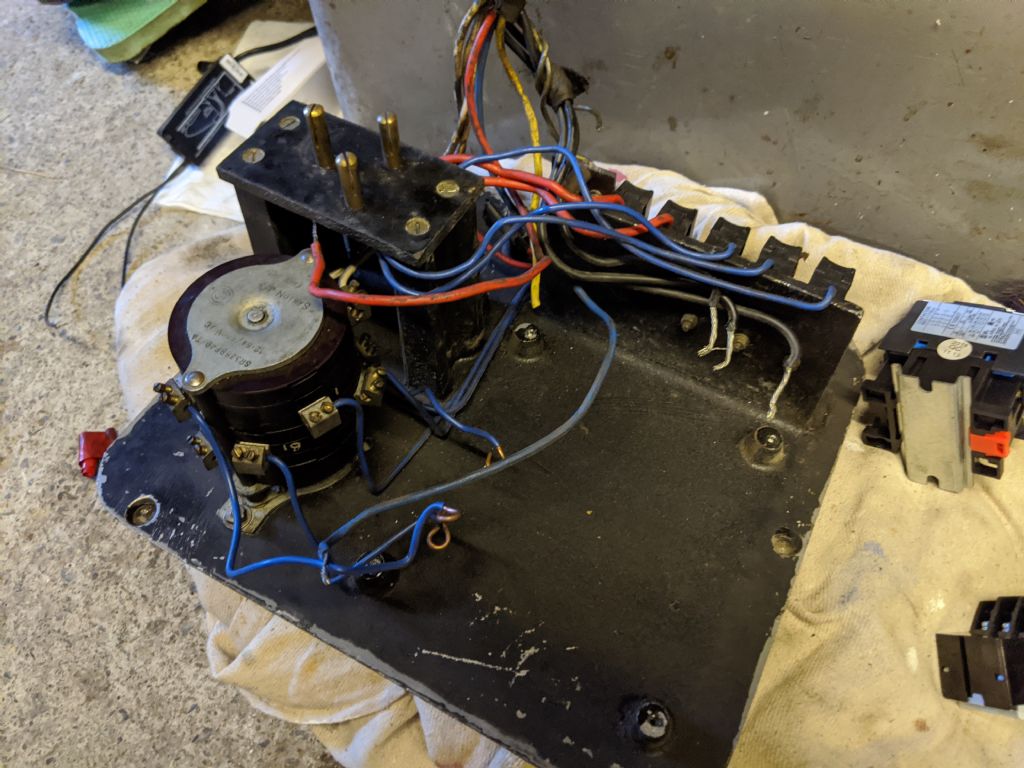
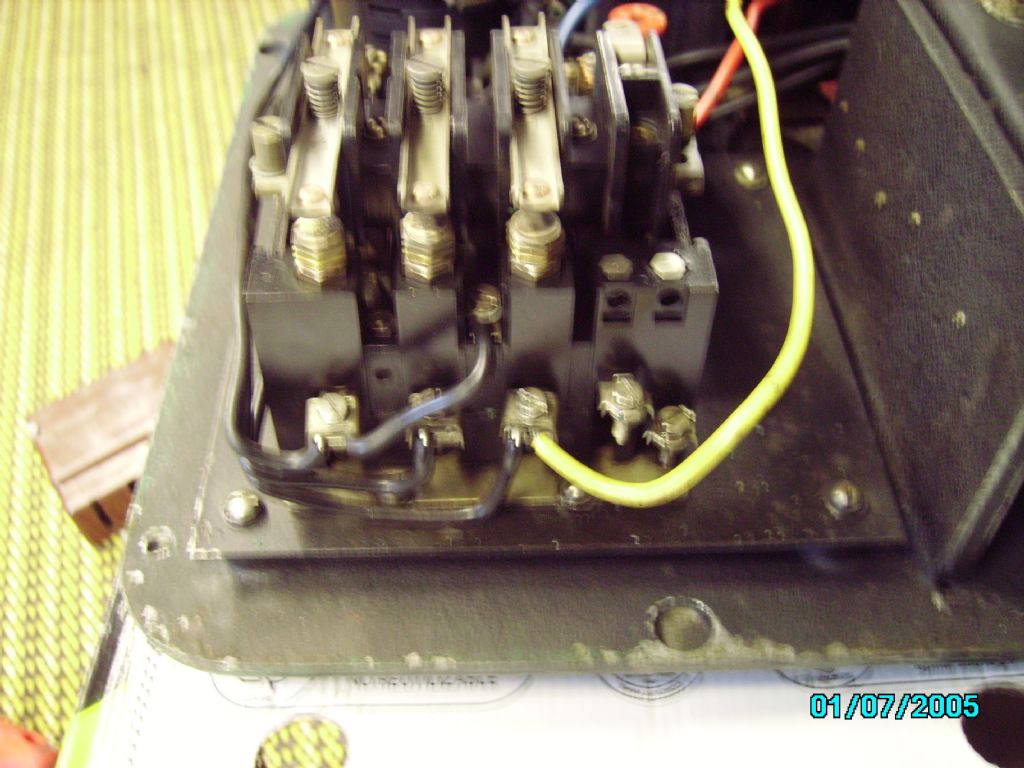
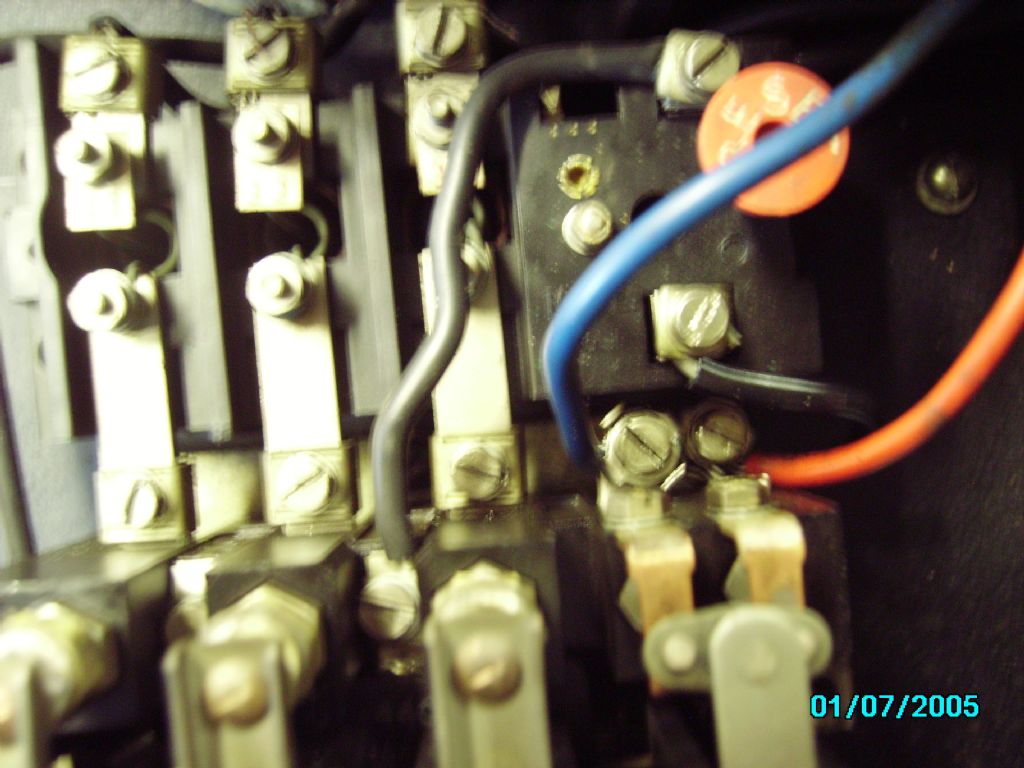
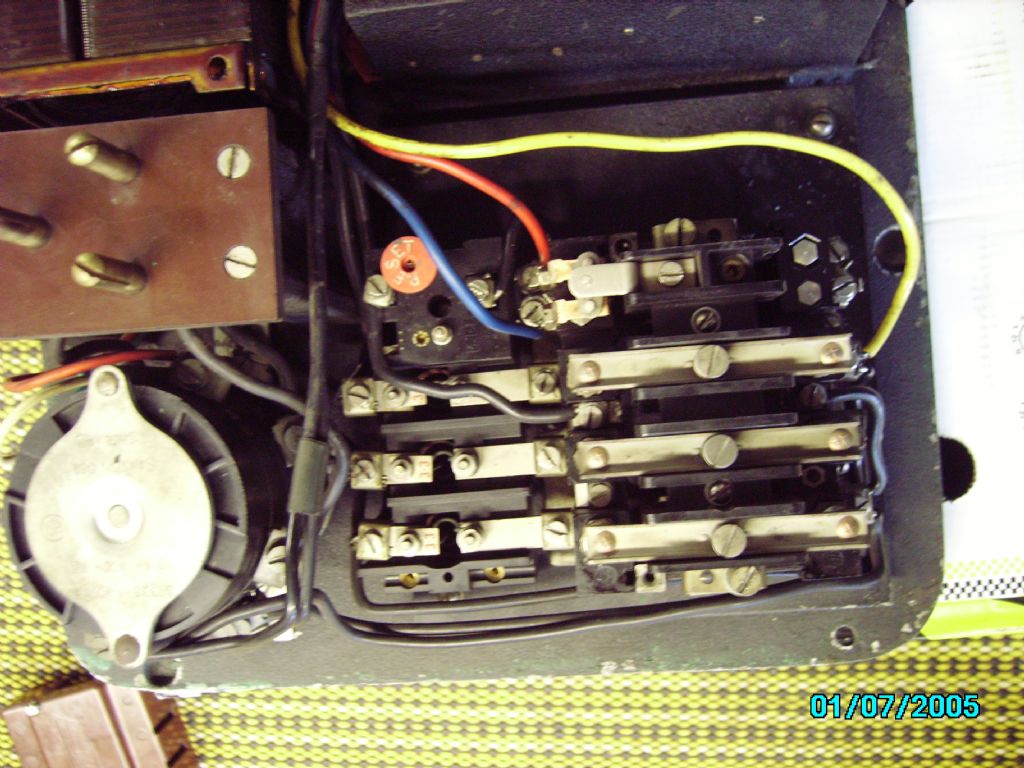
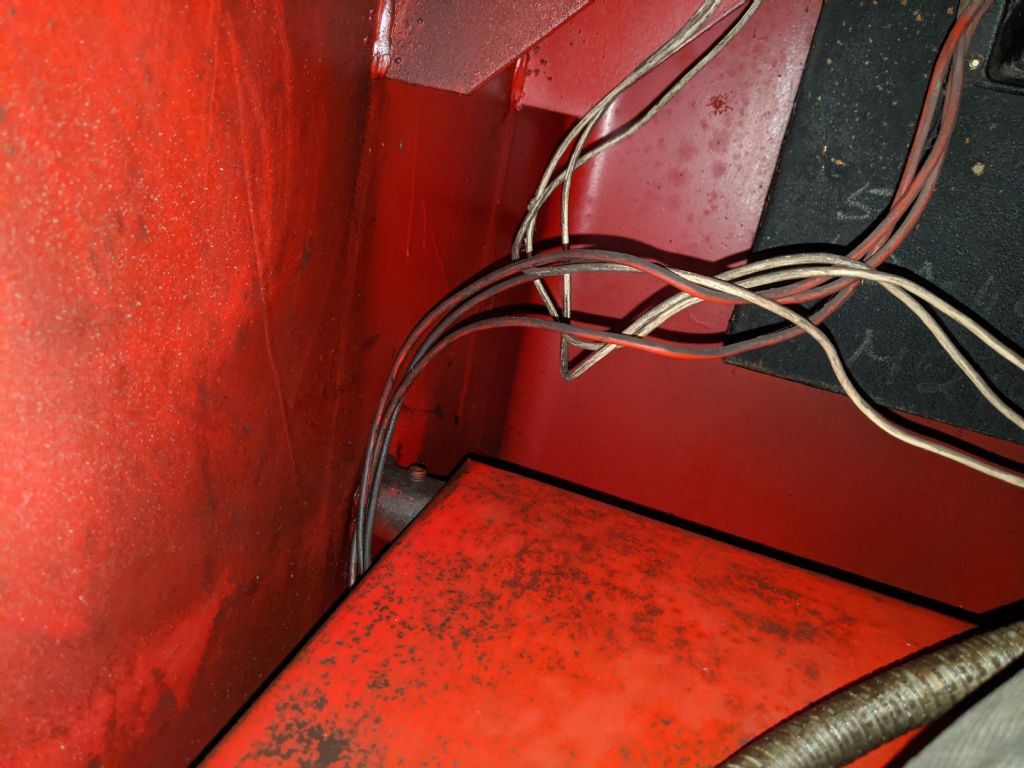
The mess we started with

Taking the whole contactor and overloads out was a bit daunting. It wasn't too worrying to remember where the wires used to go since they had been swapped around and altered before.
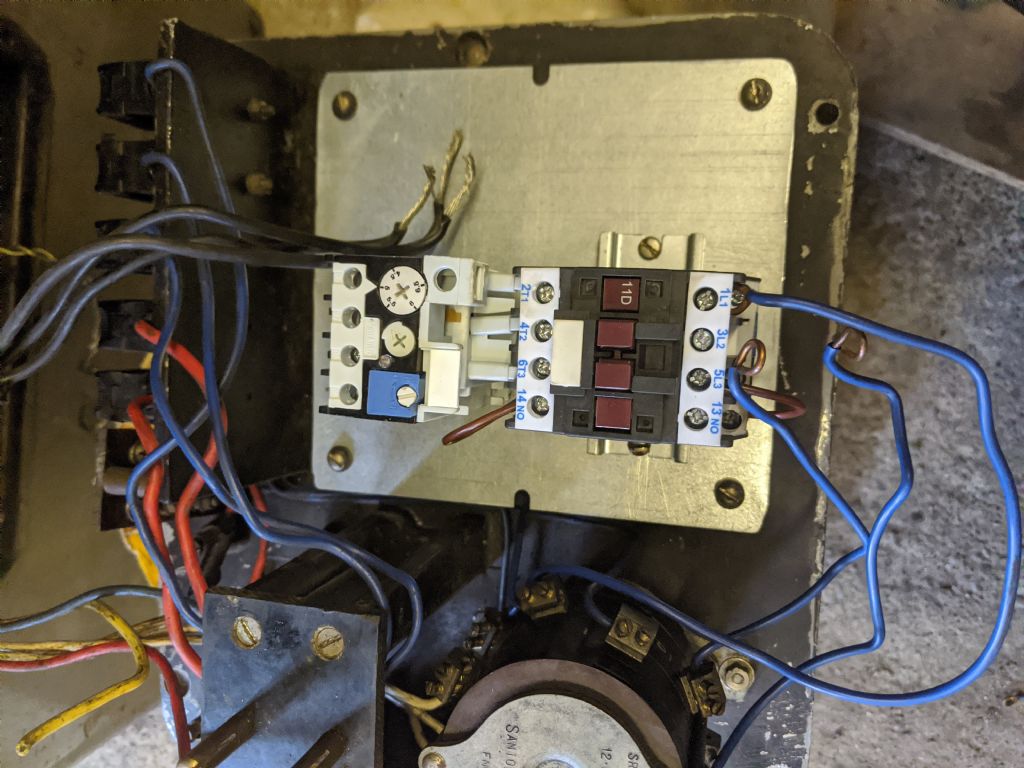
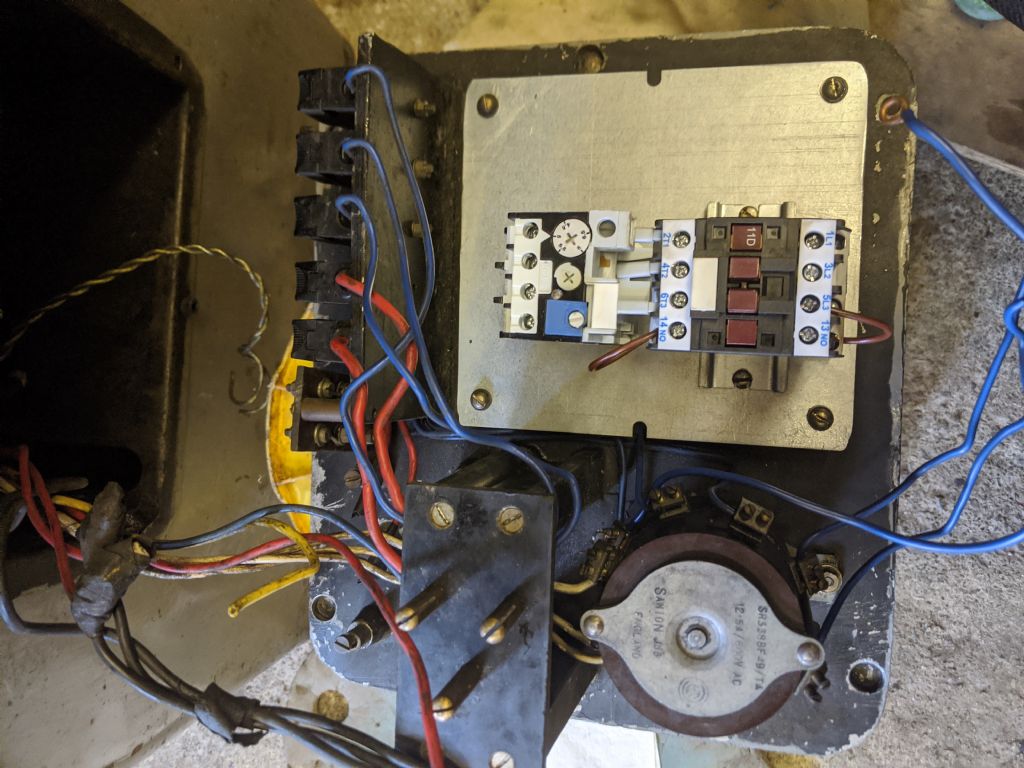
I proceeded to make a plate to mount everything to as my friend was wiring the contactor to work. This is as far as we got since I had to get the train back to Hull. Still, progress. I need to go to the limit switch and attach the wires back into their original positions as seen in Phils one. Then we can figure out which points the red yellow and blue wires need to go into the contactor.


Phil Whitley.


