A Water Tank for 7¼” Gauge ‘Sweet William’

Advert

A Water Tank for 7¼” Gauge ‘Sweet William’

Home Forums Locomotives A Water Tank for 7¼” Gauge ‘Sweet William’

Viewing 6 posts - 1 through 6 (of 6 total)
  • Author
    Posts
  • #146549
    ken king, King Design
    Participant
      @kenkingkingdesign

      Some time ago I was commissioned to make this brass saddle tank, having gone through the usual steps of receiving drawings, deciding how I would make it, costing it all out, and preparing a quotation. So far so good. The inner and outer wraps were specified as 18g, whilst endplates were 16g. I planned to form the wraps by hand around ply formers and had it all nicely planned in my head. In the event the client bypassed my sources for some 'cheaper' 16g, to be used throughout, and so different methods were called for, not least the acquisition of second-hand industrial 3' rolls !

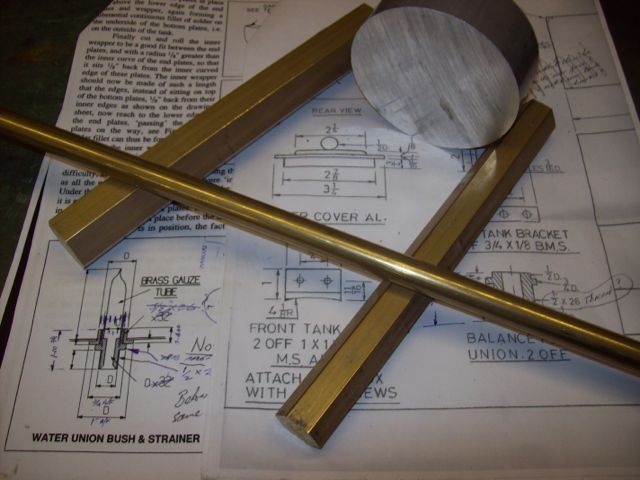
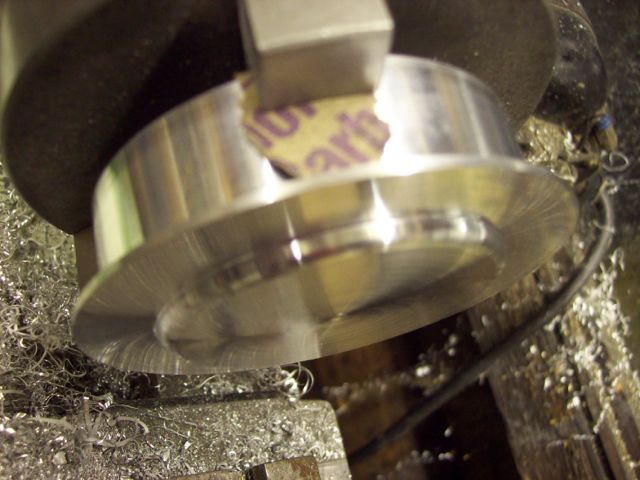
      The first step was to buy necessary bar stock for a lift-off lid, and various fittings including threaded bushes and two removable strainersBar stockThe lid was turned first ……Turning the L.A. lid

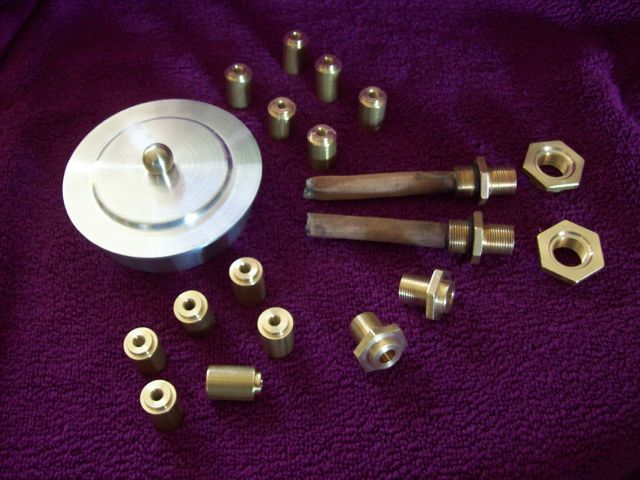
      followed by the rest of the fittings …….All the turned components, plus mesh strainers

      comprising threaded connectors for pipework, and twelve for 2BA fixing screws.

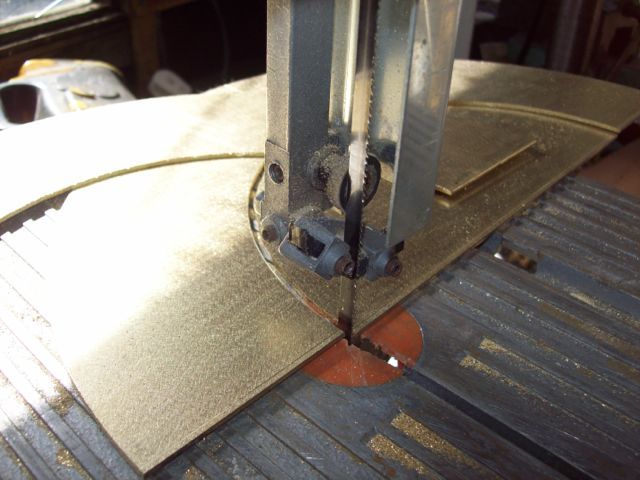
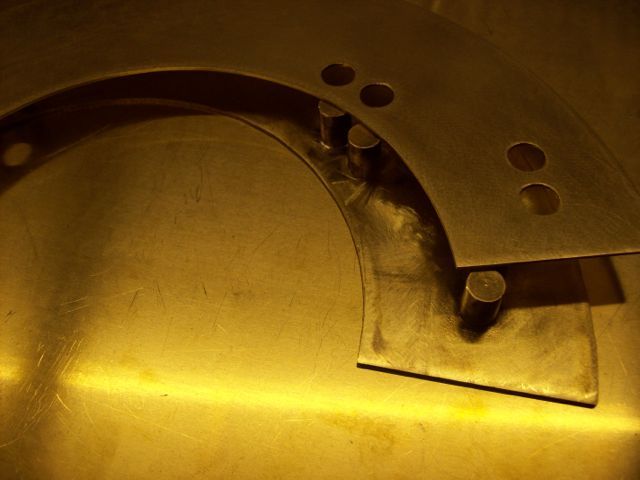
      The first of the sheet metal parts to be made were the endplates, and in addition I used some 14g (sent in error) to make slightly smaller internal doublers, providing good location ledges for the wrap edges and a strong stepped joint.Bandsawing endplates and doublers

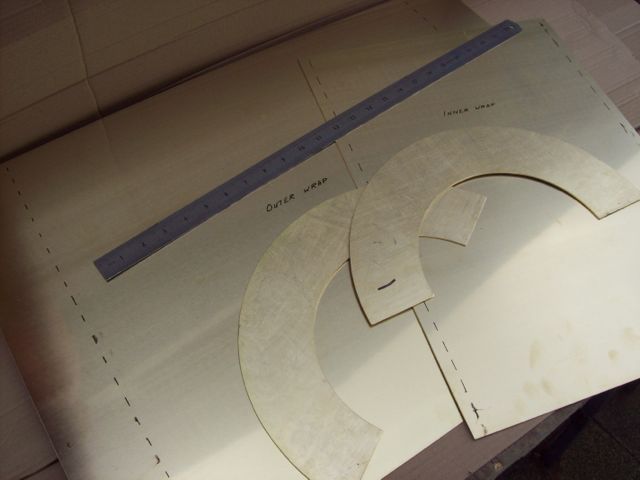
      The semicircular plates were bandsawed, endplates oversized, but doublers filed to the line. Eight fixing screw bushes were silver soldered into one endplate, and clearance holes provided in the doubler, then the two were soft-soldered together, as were those for the other end.Marking out the two wraps. Assembling an endplate and doubler

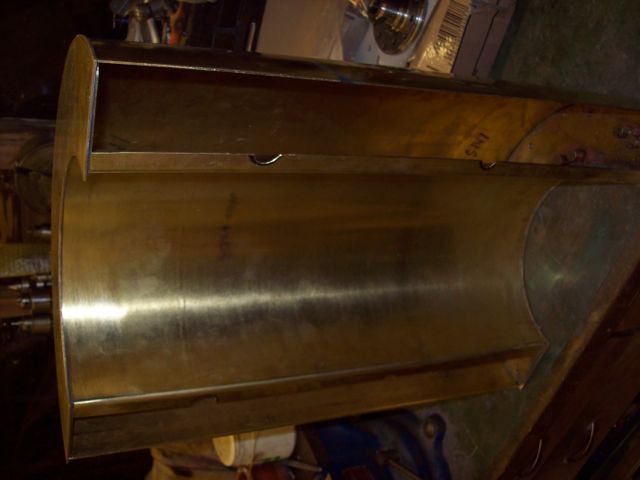
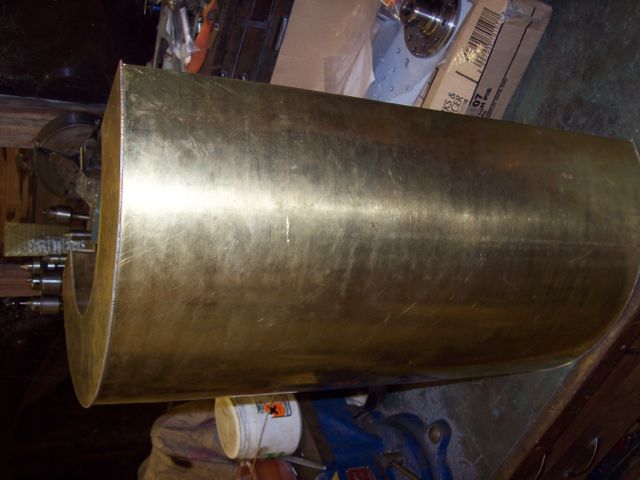
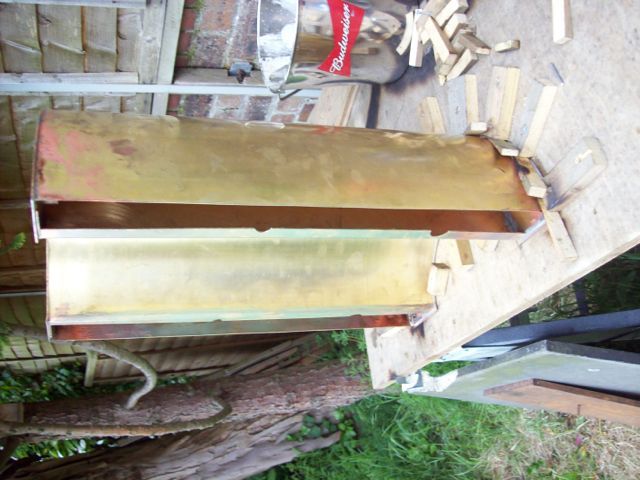
      Following that, the inner and outer wraps were marked out and cut (sorry, those two pics are in reverse order) including longitudinal flanges on the inner one. Then I started playing with my newly acquired rolls and soon found that, despite their robust 3" rollers, the bending forces in the brass were sufficient to cause noticeable roll deflection, producing a less tight roll radius in the centre than at the ends. This resulted in a barrel shape and not art all what I wanted. The problem was overcome by wrapping newsprint in varying thcknesses along the roller length in compensation, and after a lot of trial, even more error, and over- and under-compensation, I finally had linear, circular wraps. These were mated with endplates and jigged for soldering.Wraps and endplates aligned

      Ready for soldering

      Believe me, although no clamps are visible above, there were plenty in evidence before the gas flame was applied. In the event the soldering at this point went well.Soldering each end in turn

      Edited By JasonB on 12/03/2014 07:40:55

      Advert
      #1263
      ken king, King Design
      Participant
        @kenkingkingdesign

        Step by step progress of a brass saddle tank

        #146555
        ken king, King Design
        Participant
          @kenkingkingdesign

          Cont'd

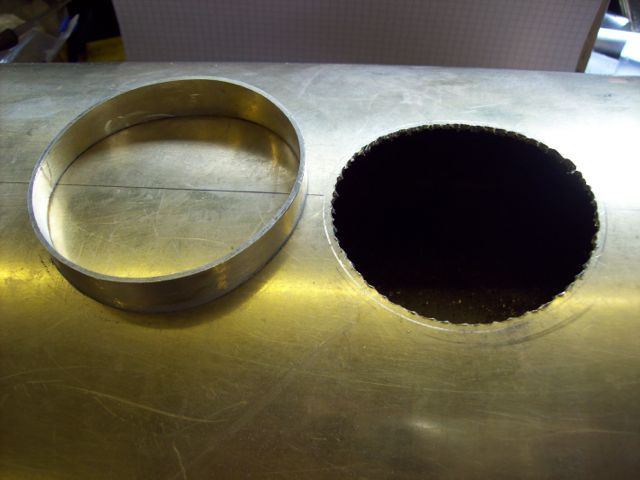
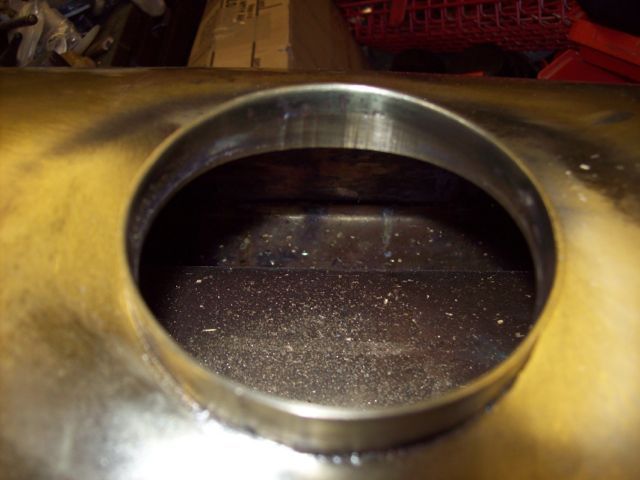
          A large filler port is a feature of this tank. After marking the position, a lot of closely spaced holes were drilled, comfortably within the size of the opening. The shallow upstand was cut out, formed into a ring, and silver soldered.Cutout and rim for filling port

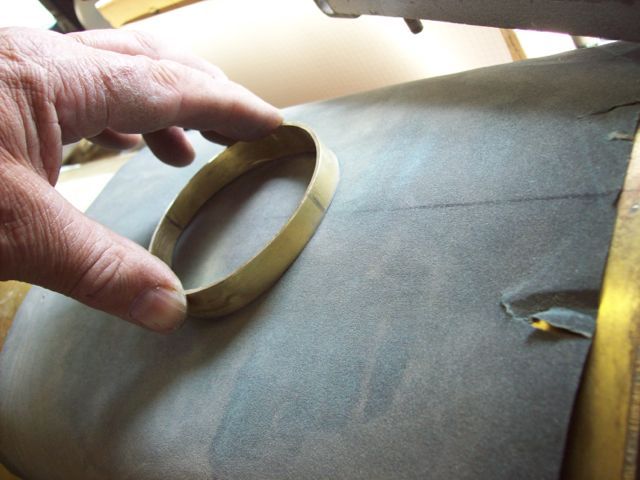
          to ensure a good fit the up stand ring was rubbed over wet-and-dry paper held on the tank until the inaccuracies in my shape development and forming had disappeared.Trimming the rim

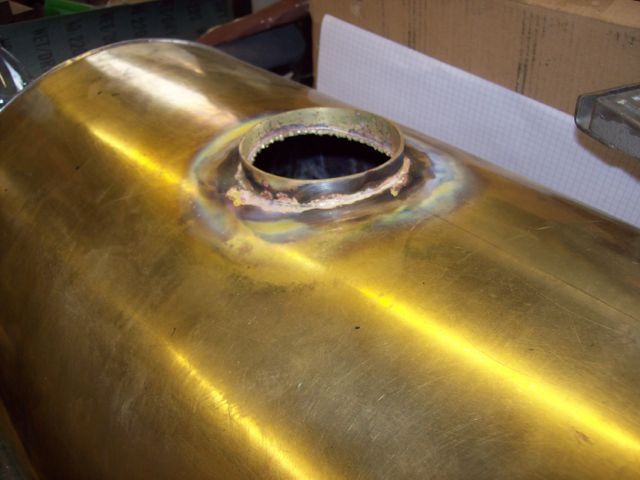
          then it was simply a case of aligning the fluxed component and silver-soldering in place.Silver-soldered in place

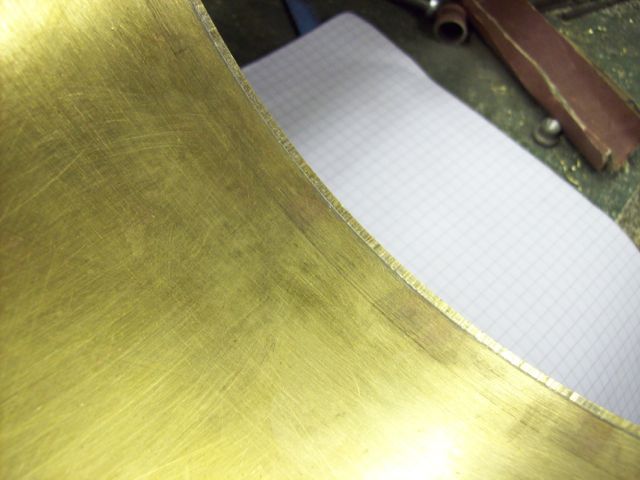
          Perhaps somewhat prematurely I decided then was the time to trim the endplates as well as there filler aperture, using a ballrace-guided cutter in my router.Trimmed internally with a router

          Trimmed endplates, external curve

          and internal curve

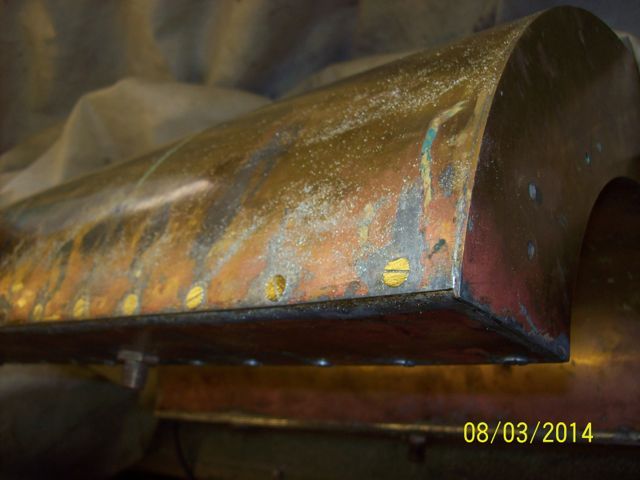
          I was quite please with the way that worked, well, smug is the word if I'm honest, but pride was severely dented when it came to making and fitting the closing panels, which caused me endless grief, a great deal of time, and a substantial reworking session. Eventually though, the panels, which incorporate a single flanged edge, were attached using 2BA c'sunk screws through the inner and outer flanges, and screws and flanges were successfully soldered all round.Closing panels screwed and soldered

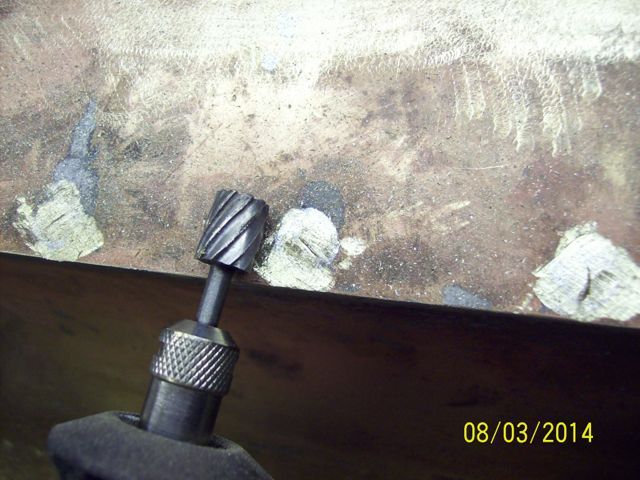
          After that each screwhead was spot milled down, followed by filing and sanding, to present a smooth surface, ready for painting.Spot trimming the screwheads

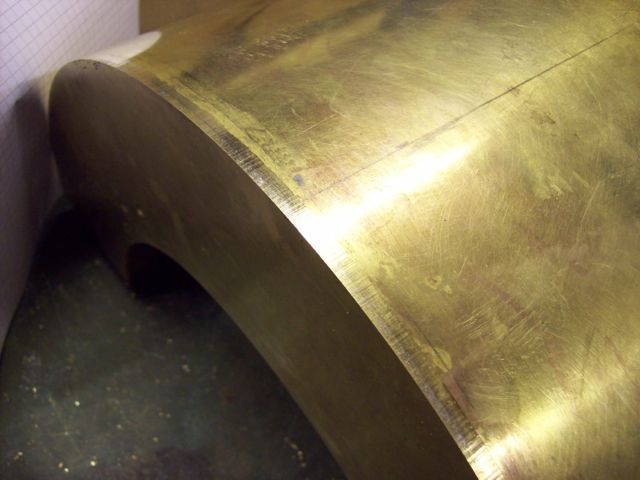
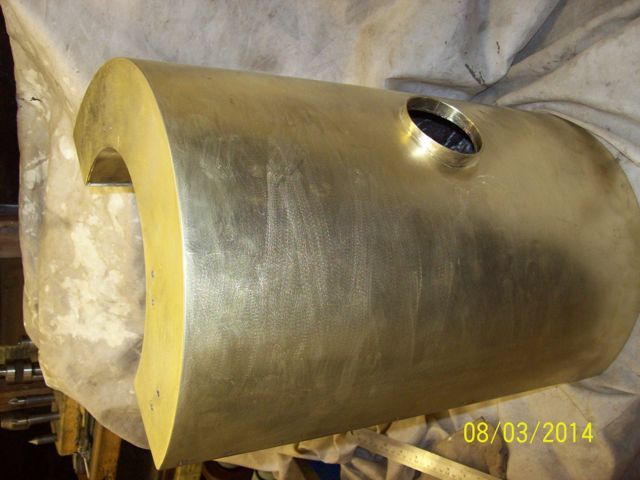
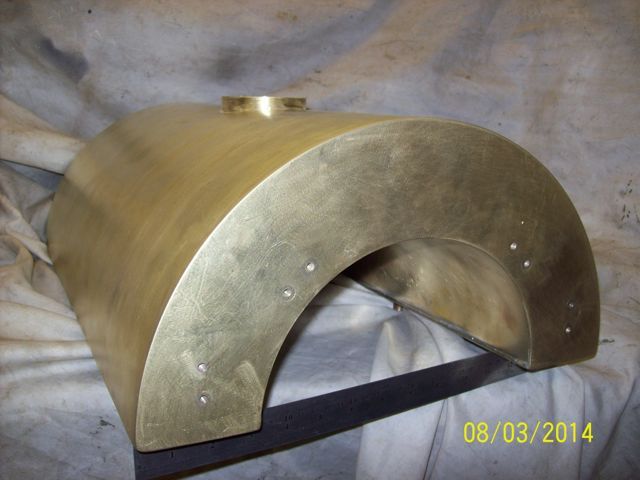
          The finished result is pleasingly smooth and thanks to the heavy gauge the tank is certainly robustAfter filing and sanding

          View of the outer wrap

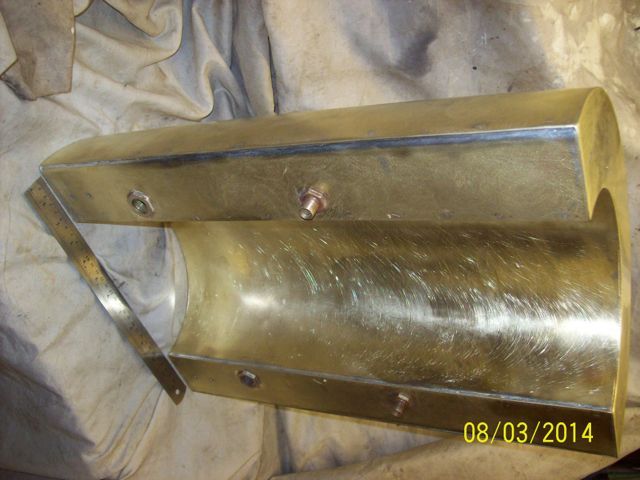
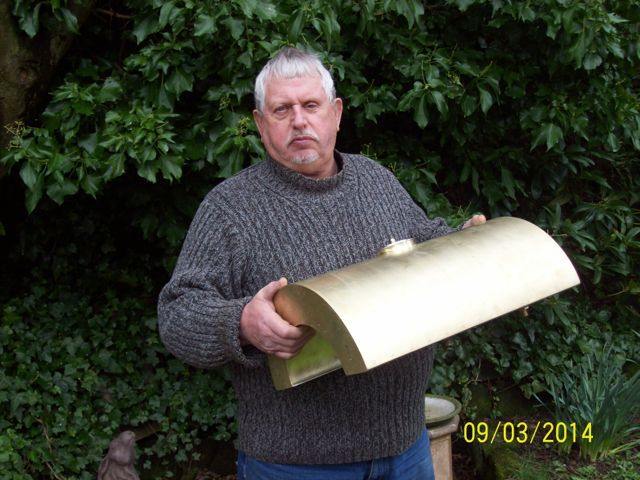
          At 20" long and 14" outside diameter this elaborate dinner gong weighs in at 10 Kgs !View of end with inset threaded bushesI'm very pleased it's finished, and I did learn a lot in the making. To those of you used to handling much larger locomotives 10 Kgs may not sound like much, but when one's wife/camerawoman takes as long over a simple shot as does mine, well, the weight increases exponentially with time and I think it shows on my face.

          Thanks for reading this, hope you gained something from it too,

          Ken.

          Edited By JasonB on 12/03/2014 07:41:32

          #146559
          ken king, King Design
          Participant
            @kenkingkingdesign

            Me, feeling all of the 10 Kgs

            #146577
            John Randall
            Participant
              @johnrandall96767

              ken

              That's excellent work I have sent you a private message.

              regards John

              #146793
              ken king, King Design
              Participant
                @kenkingkingdesign

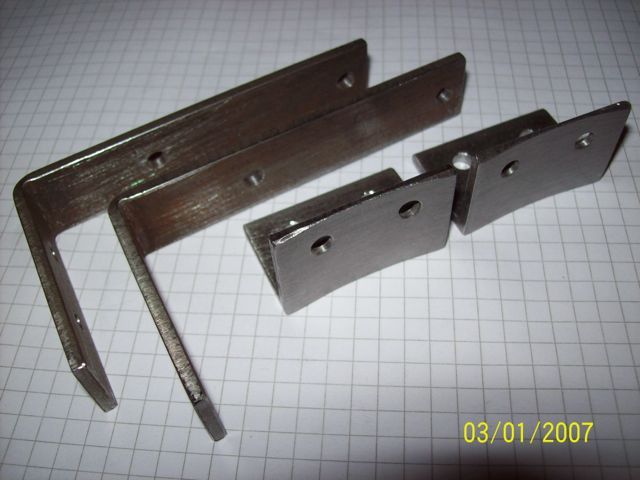
                An additional photograph, overlooked before, showing the two pairs of all important mounting brackets. The short i" xI" angle iron ones are for the front, with one face made concave to fit the curve of the smokebox.Front and rear mounting brackets

                All attach to the tank with 2BA screws into the integral threaded bushes shown earlier.

              Viewing 6 posts - 1 through 6 (of 6 total)
              • Please log in to reply to this topic. Registering is free and easy using the links on the menu at the top of this page.

              Advert

              Latest Replies

              Home Forums Locomotives Topics

              Viewing 25 topics - 1 through 25 (of 25 total)
              Viewing 25 topics - 1 through 25 (of 25 total)

              View full reply list.

              Advert

              Newsletter Sign-up