Some, but a bit limited I would say. You should try to get hold of a copy of Connelly's book "Machine Tool Reconditioning" for a thorough run through on measuring machine tool run out etc.
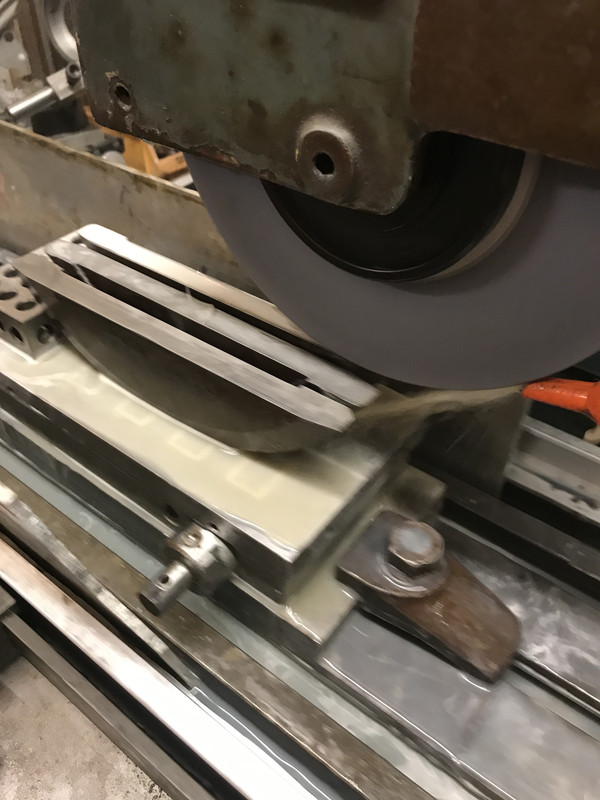
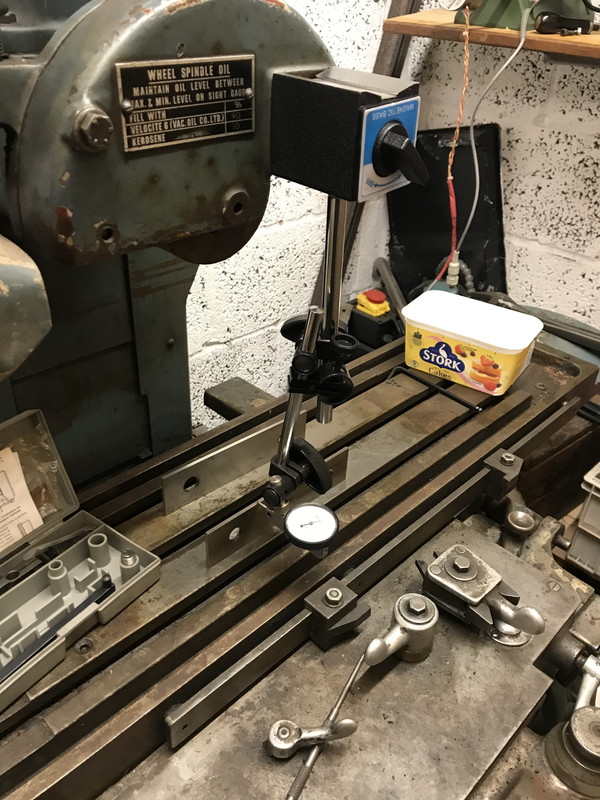
I'd question the use of a tenths dial indicator away out on the end of an extended adjustable mag base stand like that, with the flexible fine adjustment in the middle of one arm too. And then it's mounted on the flimsy wheel guard (by machine tool standards) which could introduce unwanted movement of a thou or three.
Mag base might be better mounted on the column with dial gauge as close to tthe base as possible to minimise springy overhang.
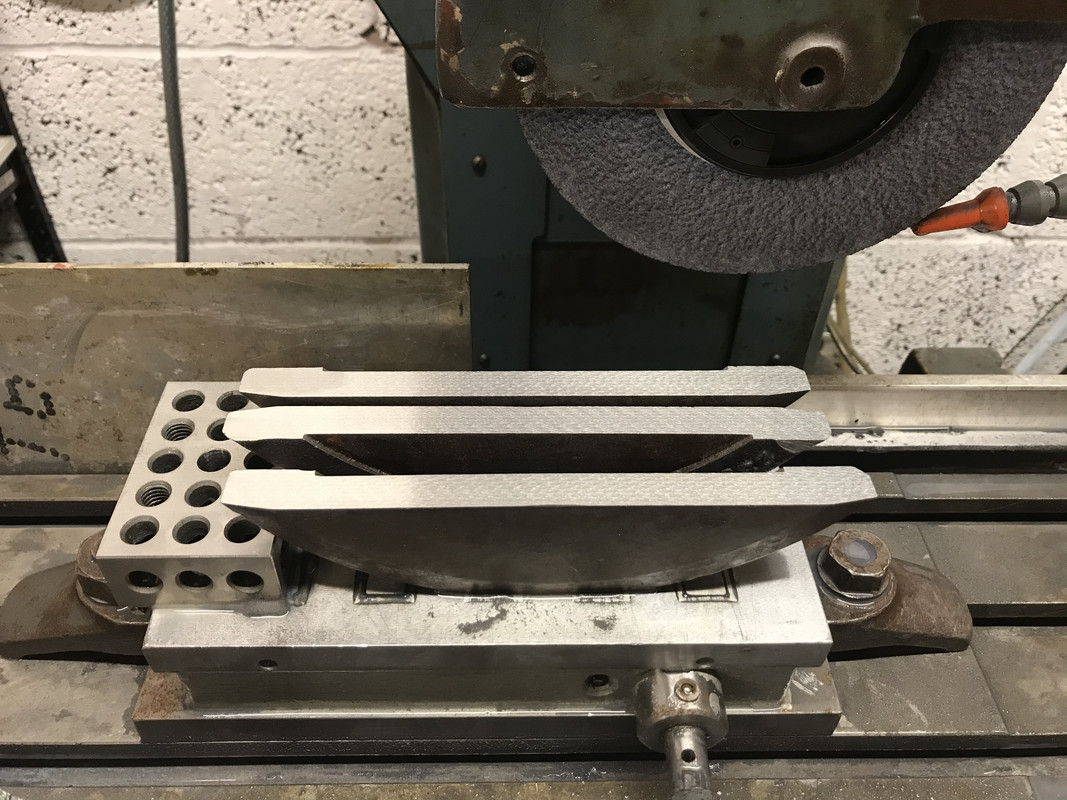
Parallel stood on edge unsecured like that could be likely to move enough to influence reading too.
Then there is the question of what you are measuring. The ways the table runs on could be well low at one end and that dial could still read zero as it passes by the gauge finger. It will measure if the surface of the table is not parallel to the sliding way surface on the bottom of the table at that particular point, maybe, if it is not riding on other points further along the ways.
The best way to really accurately measure way wear is to strip the machine and measure the ways with micrometers, dial gauges mounted on suitable "sleds" or sliding bases and/or maybe straight edges and feeler gauges.
Probably a more practical way would be to set the gib strips by feel. Set them so they are shake free in the middle of the table's run then see if they get tight when the table is slide by hand to one end or the other. Or go the other way and set gibs shake free at one end and then see if there is slack in the more worn middle section.
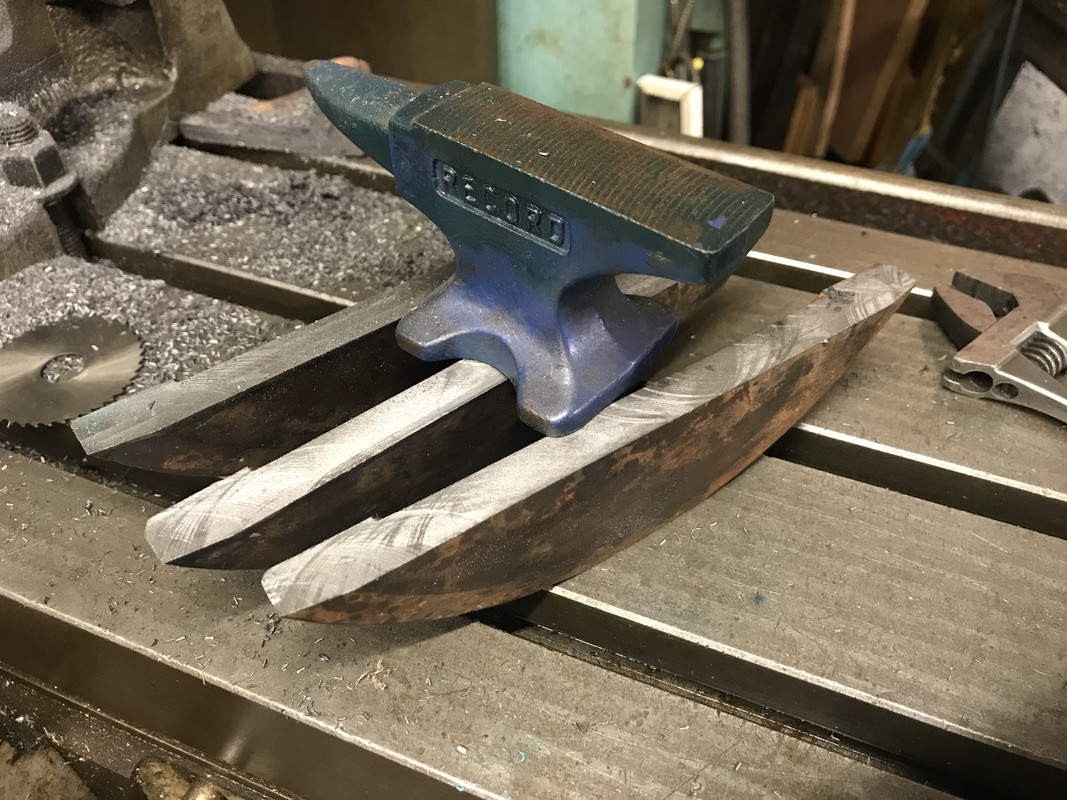
Then you are probably better off to set a job up in the machine and take some trial cuts and measure the resulting thicknesses. A couple of test strips about the size of those parallels you have laid down flat would probably suffice.
Looks like a right handy piece of machinery for the workshop. Keep us posted on how it goes.
Edited By Hopper on 24/04/2020 03:01:30
 peak4.

 at the right price which by appearance I expected to be compleley worn out but it turned out the ways are lubricated by the hydraulic pump and were perfect.
