Hi Everyone,
I was asked if I could do a write up of a QCTP accessory I recently made to perform internal broaching. I would like to mention that I am relatively new to machining and mechanical engineering so please read the following in the context of a beginner trying to learn and adapt. 
The need for the tool came about because I am currently making some brass control knobs, each requiring an 18 tooth internal broached pattern. I have already cut a few of these with a hand ground cutting tool secured in a standard tool holder for the QCTP. This broaching method required winding the carriage handle on my WM-180 lathe back and fore several times per cut. Each cut is advanced about 0.05mm to a depth of 0.6mm. This was a lot of winding and I wanted a better way to do the broaching without inflicting excessive wear and tear on the lathe bed, rack and carriage winding shafts. Commercially available rotary broaches are very expensive!
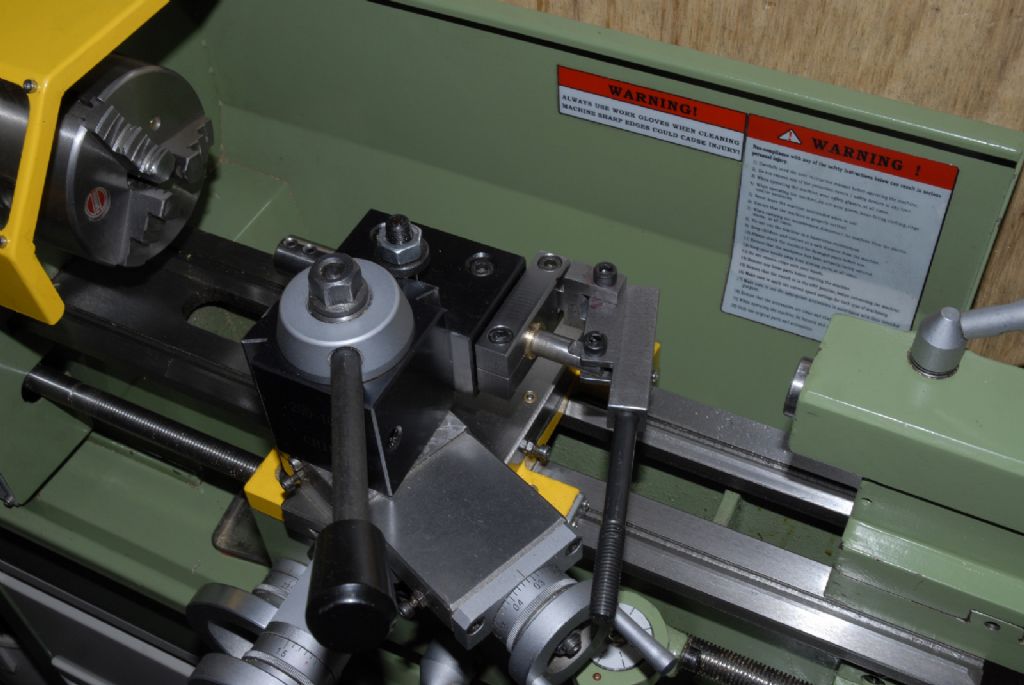
I have seen examples on the internet of a design fitted to lathe tailstocks using a lever for drilling operations and it occurred to me that I might be able to adapt an unused boring bar tool holder to do the same. The holder came with a QCTP set, model 250-100 purchased from ARC. The tool-post was adapted to fit the lathe and is not a standard item.
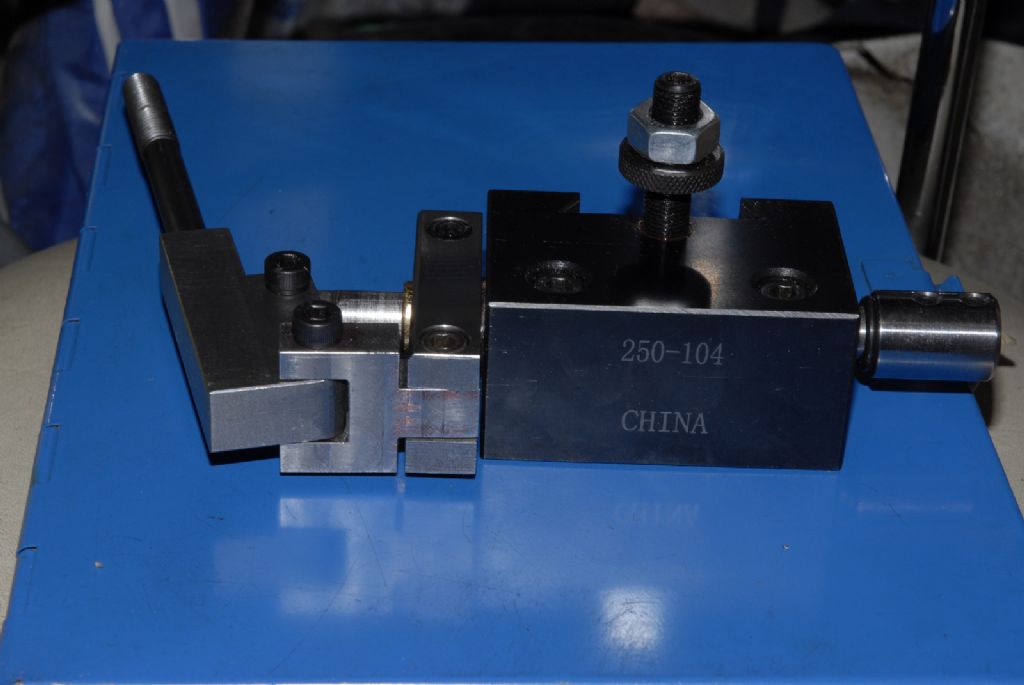
So I needed to think of a way to attach a lever to the boring bar holder without drilling any holes into it and have some kind of shaft passing through it with a way to secure a tool bit in the end. A brass sleeve was turned to 20mm OD x 93mm long to pass through the main body of the boring bar holder and drilled through, initially 10mm but was not quite concentric for some reason so I had to increase the ID a little using an imperial drill. I have no reamers or a boring bar long enough, so a drilled hole is the best I can achieve for the moment.
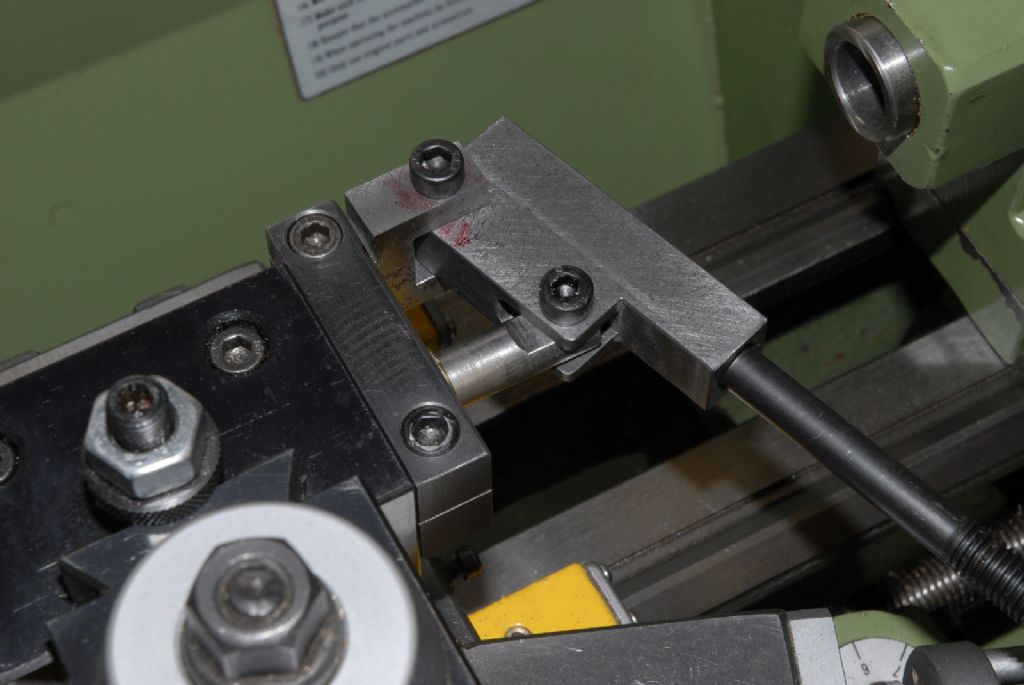
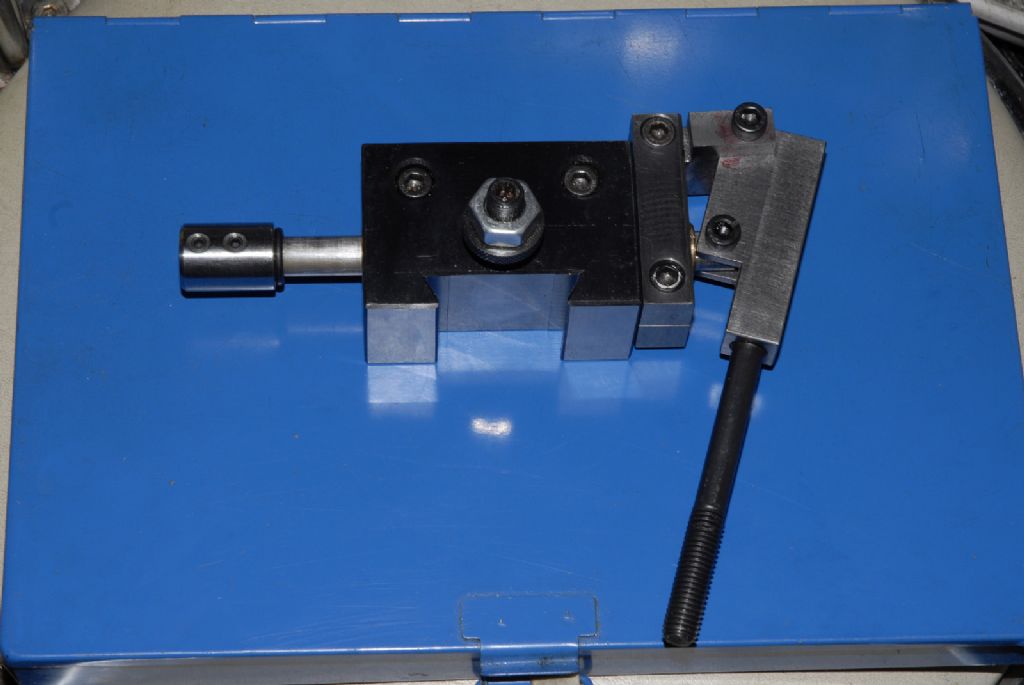
The sleeve was made long enough so that a combined clamp and integral pivot link could be secured onto it. This clamp link provides the first part of three linkages used to hold a lever and the tool-bit shaft passing through the brass sleeve. The tool-bit shaft was then turned to a very close sliding fit to the sleeve and brought to final dimension by polishing with emery paper.
All linkages were milled and drilled on my milling machine. The linkages use standard M6 cap-head screws as pivots and work ok for the time being. The handle shaft is one of the T-slot hold down bolts used on my milling machine. I want to try out some of the different lengths of these bolts before making a final piece from bar stock.
Here are some photos of the broaching tool which still requires some clean up and a handle:


I have also recently been introduced by forum member Murray "Muzzer" to the Autodesk Fusion 360 CAD/CAM software package (Free home user license!) and have been re-designing this tool whilst learning the package.
I've used slightly different and standard dimensions in the CAD version and improved the pivots with Clevis type pivot pins. The software allows output of the CAD models to 2D drawings which I have completed for all the parts. I am more than happy to share these basic drawings and models with any forum members, but (here's a disclaimer) as a beginner there may be some shortcomings in the design/fit. Animation of the parts within Fusion 360 shows that the tool works with no unwanted collision between moving parts. I'm not sure about pivot clearance requirements so all bearing surfaces are planar i.e. no clearance gaps!
Here's a picture of the design in Fusion 360:

I have had a further idea to motorise this tool, swapping out the lever for a high torque motor available from Ebay for minimal cost (in the post). The 12VDC motor has a 5000-150rpm reduction gearbox and I'll need to design a cranked mechanism to make it work and a mounting bracket.
A couple of chaps on the forum have mentioned the tool could be handy for cutting keyways and I think it could also be used to mark dials and possibly cut bevel gears.
Thoughts about other changes:
– A longer travel on the tool-shaft to allow room for a depth stop, but this might introduce unwanted deflection.
– Change the tool-bit holder to a removable chuck of some type.
If anyone would like the drawings or models please let me know. If it's ok with the forum moderators I can post a direct link in this thread to a multi-page PDF document containing all the drawings.
I am not linked in any way to the companies mentioned above, except as a customer.
Thanks,
Ed.
Edited By Ed Duffner on 25/06/2015 01:28:24
 Michael Gilligan.


