watchmakers lathe accuracy

Advert

watchmakers lathe accuracy

Home Forums Manual machine tools watchmakers lathe accuracy

Viewing 21 posts - 1 through 21 (of 21 total)
  • Author
    Posts
  • #14200
    Henry Rancourt
    Participant
      @henryrancourt22682
      Advert
      #534078
      Henry Rancourt
      Participant
        @henryrancourt22682

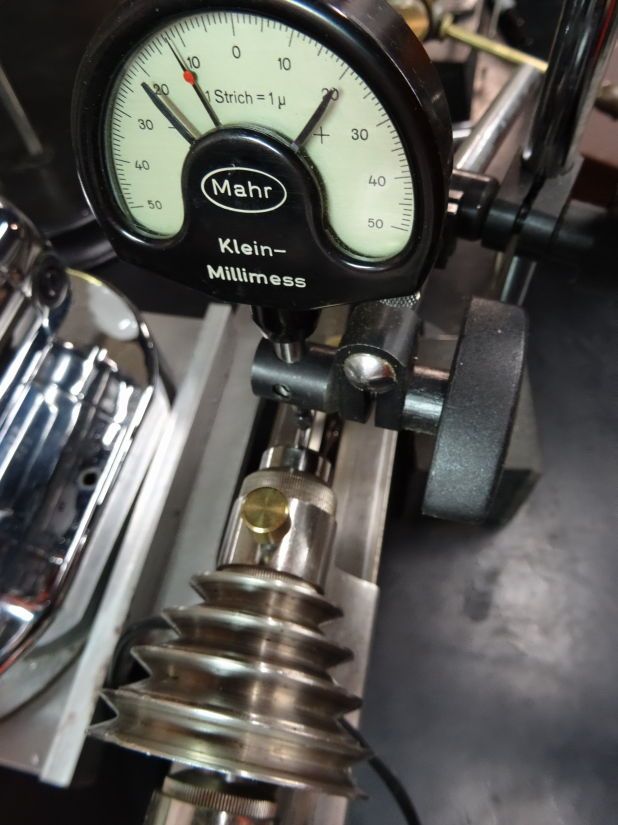
        dsc00552lathe10.jpgdsc00563dialindicators5.jpgNow this may be hard to believe but the Boley Leinen 8mm lathe, I've owned for 15 years has amazing, to me, spindle runout accuracy.

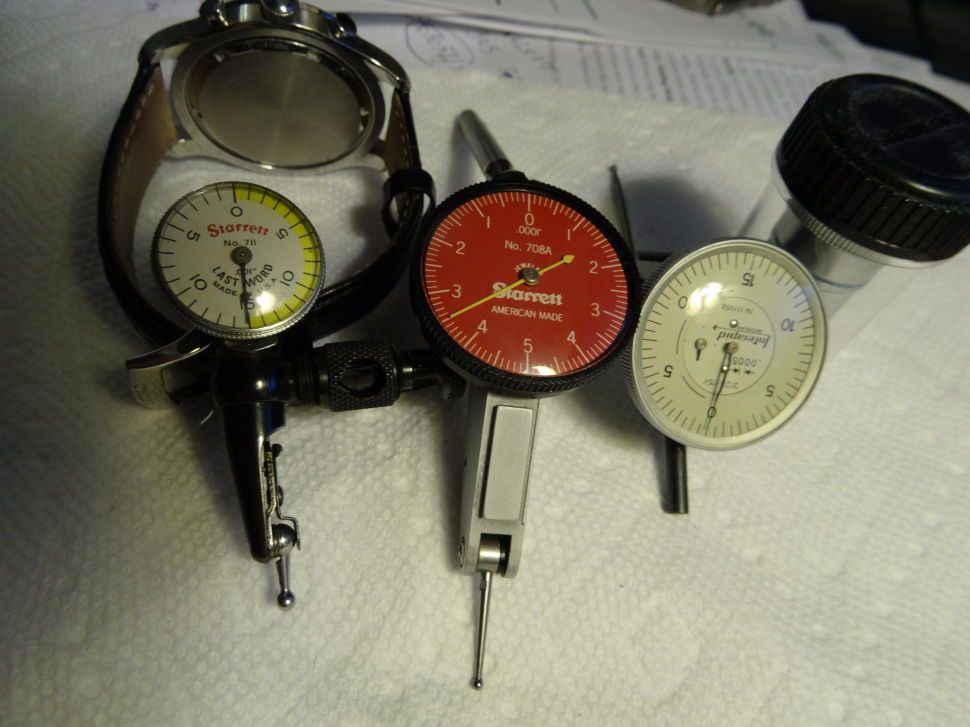
        About 5 five years ago I measured the spindle runout, starting with a last word indicator with .001 divisions and the indicator never moved. I switched to a .0005 division dial indicator and again no movement. So I switched to a .0001 division indicator and saw very slight hard to see movement.

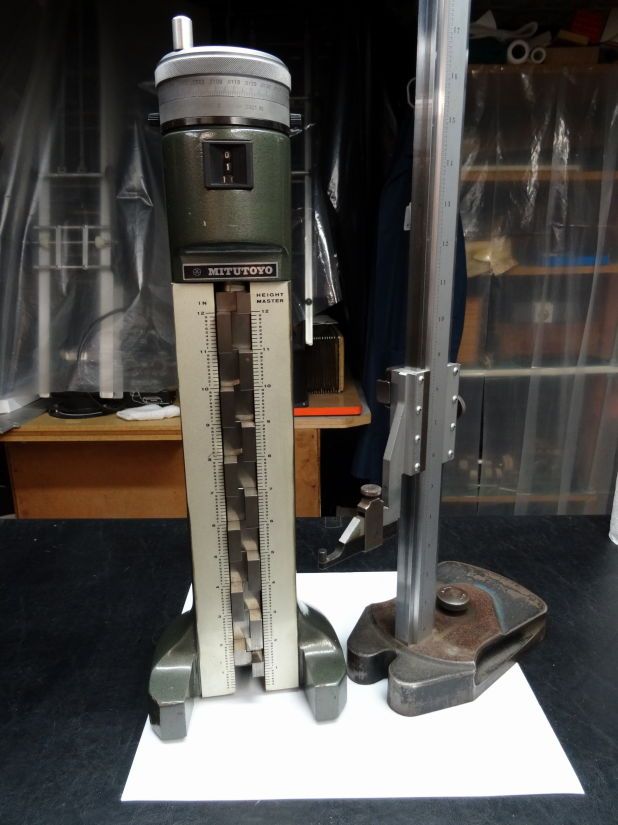
        Since then I’ve acquired a Mahr Klein Millimess 9129 and last night I went through the .001 to .0001 indicators again and got the same results. So I set up the Mahr indicator and the pointer moved about 1um which is equal to .00004 (1um actual vale is .00003937…..). This is amazing to me or is it normal for watchmakers lathes? All my indicators are calibrated using my Mitutoyu height gage.

        dsc00562dialindicators3.jpg

        #534079
        Hopper
        Participant
          @hopper

          It's quite possible.

          But that very tall magnetic stand anchored to the bench next to the bed with the flexible fine adjustment joint in the middle of the second arm could be flexing all over the place by several thou too.

          A more stable set up might be to mount the clamp that holds the dial indicator gauge directly on the first upright bar of the magnetic base and then clamp the magnetic base to the lathe bed. The more direct the better. Whatever you do, get that fine adjsutment joint out of the equation. They have no place in precision measurement.

          And I can't see exactly what you are measuring from there — the spindle itself or a piece of bar held in the collets, or something else. An overall view picture would help.

          Edited By Hopper on 16/03/2021 03:17:42

          #534082
          Henry Rancourt
          Participant
            @henryrancourt22682

            Thanks for the reply. I was an inspector in a state of the art metrology lab in one of the largest aerospace companies from 1969 to 1974. I was just curious about accuracy of these old lathes.

            #534083
            Hopper
            Participant
              @hopper

              Well if you are happy with your measuring process — I still have some mistrust of those flexible joints based on experience — then the answer is yes these lathes can have that little runout. Enjoy.


              Edited By Hopper on 16/03/2021 04:51:44

              #534088
              Howard Lewis
              Participant
                @howardlewis46836

                Superb accuracy!

                I would be proud to own a machine of such quality. But probably frightened to use it for fear of causing wear!

                But you won't find many folk with Height Mics, outside of industry, unless they have been involved in quality, inspection and metrology. If only we could measure in such conditions of cleanliness and controlled temperature and humidity.

                I second Hopper's comments about flexibility in measuring set ups.

                You can't measure, reliably, to a tenth of a thou if the measuring device is supported by something which can move that much of itself.

                A bit like measuring with a tape measure when your hand is shaking!

                But, in practical terms, often, we are making a one off part to fit another one off part, under whatever the ambient conditions happen to be at the time, so the absolute dimension is of lesser importance.

                Howard

                #534105
                John MC
                Participant
                  @johnmc39344

                  Could the OP edit his first post so we know what the units are please, (2nd paragraph).

                  I presume the the lathe spindle is supported on plain bearings? If that is so then there will be some clearance so the bearing can be lubricated properly.

                  How where the measurements taken? Just by rotating the spindle, if so I would expect the results quoted. What about up and down/side to side movement? Try measuring with the DTI on top of the spindle and then gently lift the spindle, (simulating a cut) . I would suggest that the necessary clearance in the bearing would show if the measuring equipment is a s good as you suggest.

                  Also, some measurements after the the machines been running would be interesting.

                  John

                  #534199
                  Michael Gilligan
                  Participant
                    @michaelgilligan61133

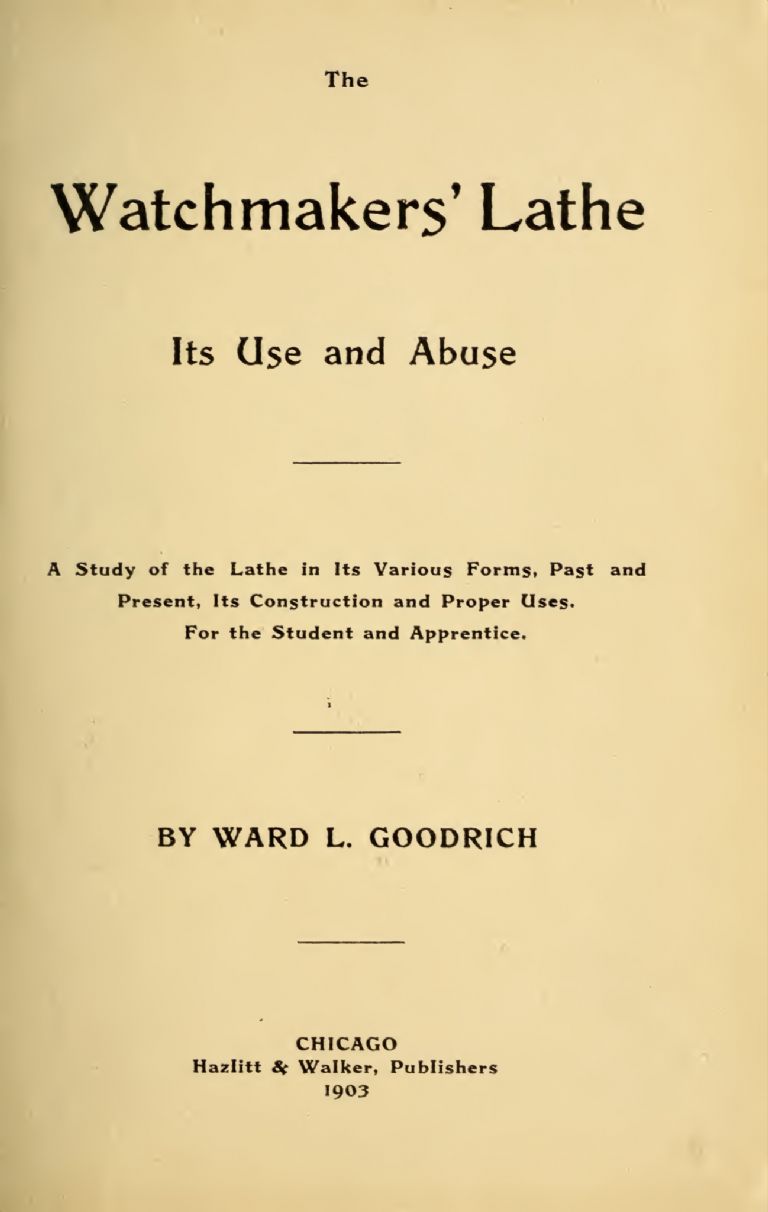
                    To better appreciate the expected performance of a watchmakers’ lathe …

                    I recommend reading this:

                    .

                    c4f6d51a-2490-4f0c-8ac4-00086ec5c475.jpeg

                    .

                    MichaelG.

                    #534231
                    Tom Sheppard
                    Participant
                      @tomsheppard60052

                      It is good enough to make watches with. It doesn't need to be any better than tha so it simply doesn't matter what its absolute accuracy is. The quality is in the hands that use it.

                      Edited By Tom Sheppard on 16/03/2021 17:09:28

                      #534263
                      Henry Rancourt
                      Participant
                        @henryrancourt22682
                        Posted by John MC on 16/03/2021 08:33:38:

                        Could the OP edit his first post so we know what the units are please, (2nd paragraph).

                        If you are asking what the value of each division is, it equals .00003937".

                        #534274
                        Tom Sheppard
                        Participant
                          @tomsheppard60052

                          To a watchmaker it measures 0.00004432951''' but one such will be sensible enough to use microns which are a proper measurement and coincidentally, what the dial is calibrated to.

                          #534279
                          Anonymous

                            Where does 0.00004432951" come from?

                            Incidentally the official designation for a millionth of a metre is micrometre although, of course, micron is in common usage.

                            Andrew

                            #534280
                            Tom Sheppard
                            Participant
                              @tomsheppard60052

                              0.00004432951''', not 0.00004432951''. That is something completely different!

                              #534281
                              Michael Gilligan
                              Participant
                                @michaelgilligan61133

                                Ooohh …Tom’s playing “What’s My Ligne ?

                                MichaelG.

                                #534299
                                Hopper
                                Participant
                                  @hopper
                                  Posted by Tom Sheppard on 16/03/2021 21:13:36:

                                  0.00004432951''', not 0.00004432951''. That is something completely different!

                                  Is it the diameter of the head of a pin?

                                  #534317
                                  Anonymous
                                    Posted by Michael Gilligan on 16/03/2021 21:33:03:

                                    …Tom’s playing “What’s My Ligne ?

                                    Actually he's playing AITA, and the answer is yes. As a result of his unhelpful response to my honest question he has been promoted to a very exclusive club.

                                    Andrew

                                    #534325
                                    Roger B
                                    Participant
                                      @rogerb61624

                                      Having read the OP I thought I would see what runout my lathes would show. Here are a couple of shakey handheld videos. As I had a setup in the chuck of the Hobbymat I made the measurement on the chuck mounting flange. This is not very smoothly machined and as I realised afterwards it has an 0 stamped in it to position the chuck. The mearurements were made with a 1 micrometer resolution TESA indicator mounted on a Mitutoyo magentic stand. The runout is around 10 micrometers and I was not able to see any deflection with hand presure on the chuck.

                                      **LINK**

                                      I repeated this with my Proxxon FD150, this time measuring on the chuck register. It was difficult to get the indicator in place. The runout here was around 5 micrometers and I got a couple of micrometers deflection when pressing on the spindle nose.

                                      **LINK**

                                      #534327
                                      Michael Gilligan
                                      Participant
                                        @michaelgilligan61133
                                        Posted by Andrew Johnston on 17/03/2021 09:05:07:

                                        Posted by Michael Gilligan on 16/03/2021 21:33:03:

                                        …Tom’s playing “What’s My Ligne ?

                                        Actually he's playing AITA, and the answer is yes. As a result of his unhelpful response to my honest question he has been promoted to a very exclusive club.

                                        Andrew

                                        .

                                        Sorry, Andrew … in my innocence, I had to look-up AITA

                                        I was intending to leave it for a while before responding to Hopper; but it’s probably better to do so now

                                        What’s My Ligne ?“ was an intentional pun, not a typo

                                        … If I could work out Tom’s “clever” responses, I’m surprised you didn’t.

                                        MichaelG.

                                        .

                                        Edit: __ to avoid labouring this any further:

                                        https://en.wikipedia.org/wiki/What%27s_My_Line%3F

                                        https://en.wikipedia.org/wiki/Ligne

                                        Edited By Michael Gilligan on 17/03/2021 10:12:28

                                        #534334
                                        Hopper
                                        Participant
                                          @hopper

                                          Hoho. A watchmaking joke. Very droll. laugh I'll pay that.

                                          Interesting link. 1 ligne = a round wick folded over and measured. Whole different world those button makers live in.

                                          #534361
                                          Meunier
                                          Participant
                                            @meunier

                                            Slightly different, 'what's my line' and wonder if there are any remaining "sagger-makers bottom-knockers" still working in the Potteries ?

                                            Ligne also = French/Swiss measure of diameter of watch movements, also 'French Inch'

                                            DaveD

                                            #534409
                                            Anonymous
                                              Posted by Meunier on 17/03/2021 13:47:19:

                                              Slightly different, 'what's my line' and wonder if there are any remaining "sagger-makers bottom-knockers" still working in the Potteries ?

                                              DaveD

                                              Nope unless the Gladstone Pottery Museum has a pretend one, doubt any real ones are still living the way pneumoconiosis used to wipe out the old time potters.

                                            Viewing 21 posts - 1 through 21 (of 21 total)
                                            • Please log in to reply to this topic. Registering is free and easy using the links on the menu at the top of this page.

                                            Advert

                                            Latest Replies

                                            Home Forums Manual machine tools Topics

                                            Viewing 25 topics - 1 through 25 (of 25 total)
                                            Viewing 25 topics - 1 through 25 (of 25 total)

                                            View full reply list.

                                            Advert

                                            Newsletter Sign-up