Francis
There are many designs of tool tip height setting systems out there.
Possibly the simplest "quick and dirty" one is a simple block to sit on the bed with the bent end of a scriber screwed into it so the point is exactly on centre height. Needs a three piece scriber but if you are willing to sacrifice the bent end cost is basically nowt.
Most common designs have a base and stout post with a pair of flat bottomed indicator pointers affixed to it. One pointer is set so its bottom is at centre line when the base is on the lathe bed and the other, set lower, is on centre line when the base is on the cross slide. Normal practice is to make the indicator pointers sharp so they can be used to scribe witness lines at centre height on a job. Not a feature i've ever felt the need for but most well respected correspondents consider it desirable.
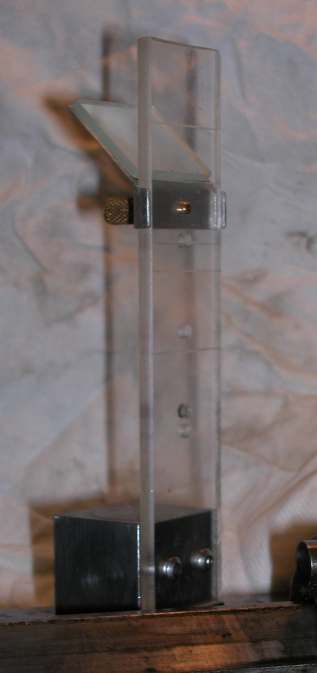
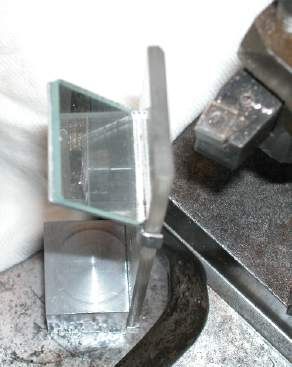
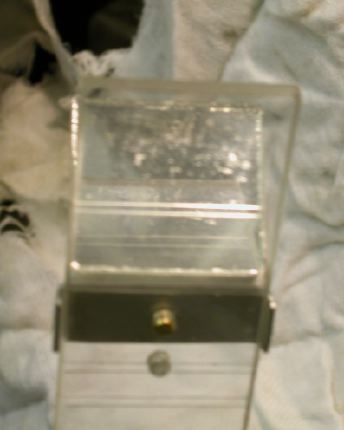
I prefer an optical version having an adequately thick transparent plastic plate is held vertically on a base with witness lines scribed on both sides at using a sharp centre. One set of lines is made with the base on the lathe bed, the other with it on the cross slide. Some creativity is needed to do the lathe bed reference lines. Unfortunately I can't remember how I did mine. Having lines on both sides means that when looking horizontally through the plate you see only one line so tip height can be judged from some distance away. I have a mirror that can be mounted onto mine so I can look down rather than through. Most of the time I just work off the front line but sometimes when setting up mid job the device cannot be got close too the tool tip. My perspex plate is only 5 mm thick which is on the thin side, 10 mm would be better. I'll change it if a piece of 10 mm ever comes my way but what I have works well enough.

Using the mirror

Lines

Although effective all these versions of the conventional tool height gauge work best with QC and similar screw height setting systems.
If you are using packing it would be much nicer if the actual tip height could be measured and packing stacks made to the correct height rather than trial and error. I have seen depth micrometers and verniers set-up to do the job but usually only as temporary expedients. Back in the day dedicating a proper measurement instrument to the job was unaffordable for Home Workshop and Model Engineer folk.
These days perfectly adequate dial gauges can be got quite inexpensively so fitting one with an "elephants foot" and on a suitably sturdy stand with fixed height arm would work well to measure actual tip height. Dial gauges have a small ball end screwed into the probe as standard so measurements can be accurately mate at a point even if the surface is imperfect. The "elephants foot" is an alternative end fitting able to measure edges and the like where aligning a small ball end is impractical. Typically 1/2" to 1" diameter made very flat and set exactly at right angles to the dial gauge probe. Can be bought as accessories but esily made with a bit of care. 1/2" will be fine.
Clive
Edited By Clive Foster on 05/05/2021 09:25:49
Brian Baker 2.


