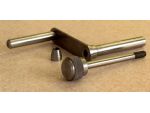
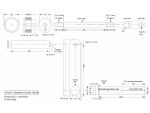
Although not used regularly, some workshop accessories can be assets when the need arises. These attachments are often put on the Must make list but we usually manage to do the job using an alterative method. Apart from a difference in size these items often vary little in design from one machine to another, so only the dimensions need to be altered to make them compatible with a particular machine. In my own case, even such a small detail tends to delay the project even more, until a few minutes are available, to study the dimensions, to make certain that the object which is designed for a bigger machine can be scaled down to suit my own smaller model, the Unimat 3.
Little can be said about construction, apart from turning the drawbar sleeve where, due to the limited space for the travel of the lathe saddle, the following may save a little time. Cut a suitable length from 1/2in bar, set it in the lathe chuck and support the other end using the fixed steady. Face off the end and bore a 7.5mm hole to a depth of 30mm finishing with a countersink bit to make the job tidy. Remove the fixed steady and support the bar using a dead-centre in the tailstock and with the cutting tool holder set towards the tailstock end of the cross-slide, turn down the blank for as far as the saddle will travel, to 10mm or a diameter to fit the lathe spindle.
Enjoy more Model Engineer reading in the monthly magazine.
Click here to subscribe & save.


