It would seem to be the general consensus that some form of ‘Electric Emery Cloth’ is a useful addition to the workshop and to this end, I considered buying a combination disc and belt sander.
I found just the item at the Ascot exhibition at a reasonable price, but was informed that I could not take one away and would have to place an order for subsequent delivery. I thought this strange, as I believed everyone went away from exhibitions with a boot full of bargains bought at the event.
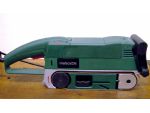
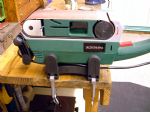
Whilst pondering where best to place my order, I happened to pay a visit to the local Lidl store where I saw a belt sander on offer for £13.99, photo 1. Not being much of a woodworker, I almost passed it by until I had a close look at the box and saw that it was supplied with a stand for horizontal and vertical mounting.
Enjoy more Model Engineer reading in the monthly magazine.
Click here to subscribe & save.
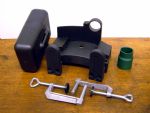
It had a soft start and variable speeds within the range of 180 – 340 m/min. Also included were a dust collection box and a vacuum adapter, photo 3.
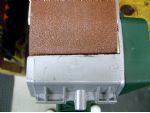
It would be unsafe to use bench mounted out of the box as there was no stop to prevent the material flying off towards the operator should the grip on the workpiece be lost, so this was the first consideration.
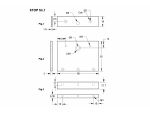
Spacer Fig.1
Mounting Plate Fig.2
A piece of 3mm plate was cut out and cleaned up to 80mm x 55mm. The spacer was lined up with one edge, and the holes spotted for drilling and tapping M3. The two holes in the spacer were opened to 3mm and countersunk. These pieces were screwed together and placed in position to check that there was adequate clearance above the belt.
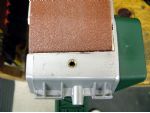
When all was seen to be well, the plate was drilled 6mm and countersunk. With the plate centred over the casting, the hole was spotted through and the casting drilled and tapped M6 for securing with an M6 countersunk socket screw.
Stop Fig.3
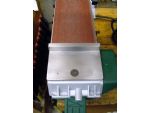
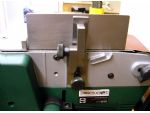
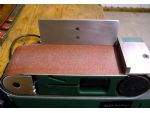
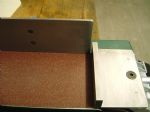
A piece of 1/2in. x 1/4in. MS was squared up to 80mm long and added to the front of the plate to provide a means of holding work square to the belt against the stop, photo 5. Unfortunately, due to constant removal of the screw for development, the thread in the casting gave out as this is not super quality aluminium.
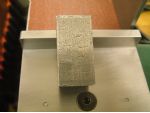
The thread was drilled out to 8mm and a threaded top hat bush fitted from beneath the casting. Fortunately the casting is hollow on the side under the drive belt guard and there is 7mm clearance to insert the bush attached with a blob of Vaseline to a 6in. rule. This allowed a screw to be started and draw the bush into place against a thick washer, photo 6.
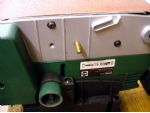
Having sorted out a stop, thoughts turned to an adjustable side fence. There are two 27mm wide guides on the side of the sander with M6 tapped holes, probably for this purpose, photo 7 although one is obstructed with a Philips screw. Given the problem with tapped holes in the casting, a 25m length of M6 studding was stud-locked into the usable threaded hole.
Fence hinge Fig.5
A piece of 3/8in. x 1/2in. bar was cut off and finished to 30mm long. A mark was made on the centreline 1/4in. from one end and punched. The punch mark was lined up under a centre drill in the drill press and a deep centre made. This was followed by a 5.9mm drill, and the hole reamed 6mm Dia.
Mounting Hinge Fig.6
A piece of 3/8in. x 7/8in. bar was cut off and finished to 40mm long. A line is scribed 1/4in. from one end and another 1/4in. from the adjacent edge and the intersection punched. The reamed hole is produced as before. The two pieces are joined with a piece of 6mm rod through the holes with the long edges with the 1/4in. dimension laid on a flat surface.
The mounting Fig.4 is placed on to its hinge Fig.5, centred over the joint in the hinge and pressed hard against the protruding top of Fig.6. This provides a positive stop for the fence when in the vertical position. Secure in place and spot through the fixing holes into Fig.5 then drill and tap M4.
Assembly
Prepare a 6mm Dia. stud 25mm long, faced and threaded M6 for 6mm one end, then chamfered 0.5mm at both ends. The plain end is inserted into Fig.6 with the chamfer just showing, and secured in position with a 2mm dia. pin as in the sketch.
Turn up two knurled finger nuts as in photo 8, with a longer extension on the one for height adjustment to allow clearance with the hinge piece. Note the packing piece behind the fence in the photograph is not now required, as the width of Fig.6 is sufficient to place the fence over the belt. The chamfered 3mm notch in Fig.6 was needed to allow clearance for the fence to tilt on this particular sander.
The fence is made from a piece of 3mm plate, cut to the dimensions as per the sketch. The holes are marked out and drilled M3 tapping size, so when offered up to the installed hinge standing on a thin spacer (6in. rule), the holes can be spotted through and the hinge drilled and tapped.
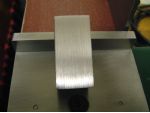
The holes in the fence are opened up to 3mm and countersunk to bring the screw heads just below the surface and the final part assembled. Make sure that with the fence against its stop, there is a small clearance above the belt and the fence is square to the belt table, photo 9.
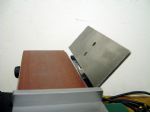
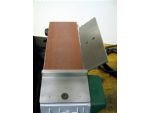
When the fence is tilted to 45deg. the gap is increased, photo 10, which is corrected by lowering the hinge mounting, photo 11.
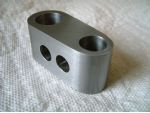
Photo 15 is the tailstock body of under construction, given a final finish with a 100 grit belt. I don’t normally finish my tools with any abrasives, but in this case it provided a quick and effective means of cleaning up and blending the end radii produced by filing.
Should it be desired to shape small pieces of work, better visibility and control could be obtained if a small additional table were fitted to the stop piece, and the unit mounted vertically.


