Name plates

Advert

Name plates

Home Forums Beginners questions Name plates

Viewing 4 posts - 26 through 29 (of 29 total)
  • Author
    Posts
  • #276352
    John Haine
    Participant
      @johnhaine32865

      I just posted on the workshop progress thread some pics and description of engraving some plates for John on my CNC mill.

      Advert
      #276387
      mark smith 20
      Participant
        @marksmith20
        Posted by Roger Head on 28/12/2016 23:50:16:

        Hi Mark, that plate looks really good yes. As you say, getting any real depth of etching consistently is very difficult, but if a shallow etch is acceptable, then getting sharp, high-resolution linework is quite straightforward.

        I am particularly interested in the red and black infill that you have achieved – could you please give us some details on your method and materials for achieving that, and also some close-ups of the finished plate.

        My 13 x 40 has no plate for the threading dial, only a table (in a poorly photo-copied manual) that looks like it was scratched out by a one-legged chicken clutching a blunt pencil! That page in the manual is now deteriorating through constant reference, so I've been 'thinking about doing something' (i.e. procrastinating) for a while.

        Roger

        Hi Roger, Sorry just noticed your post.

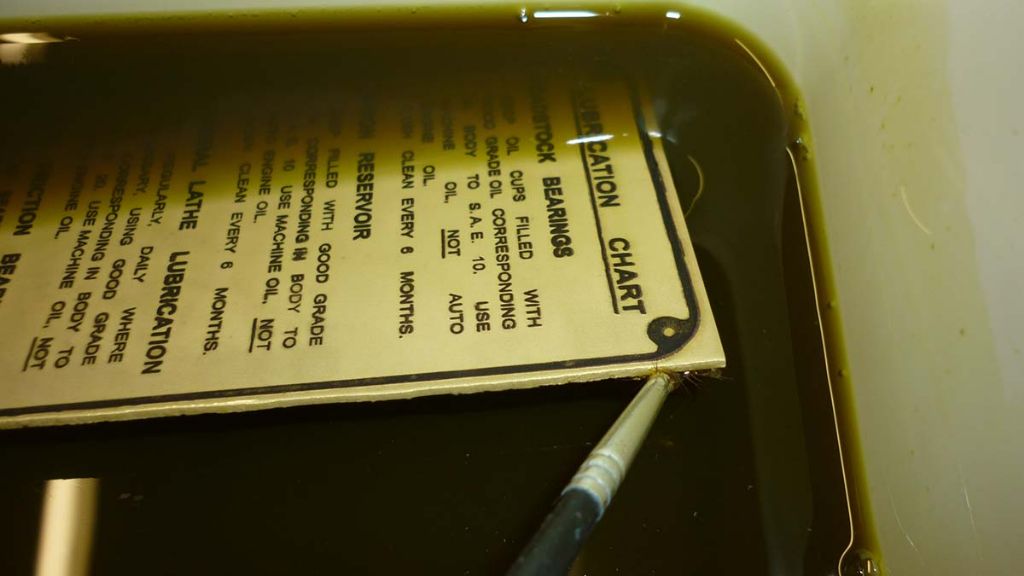
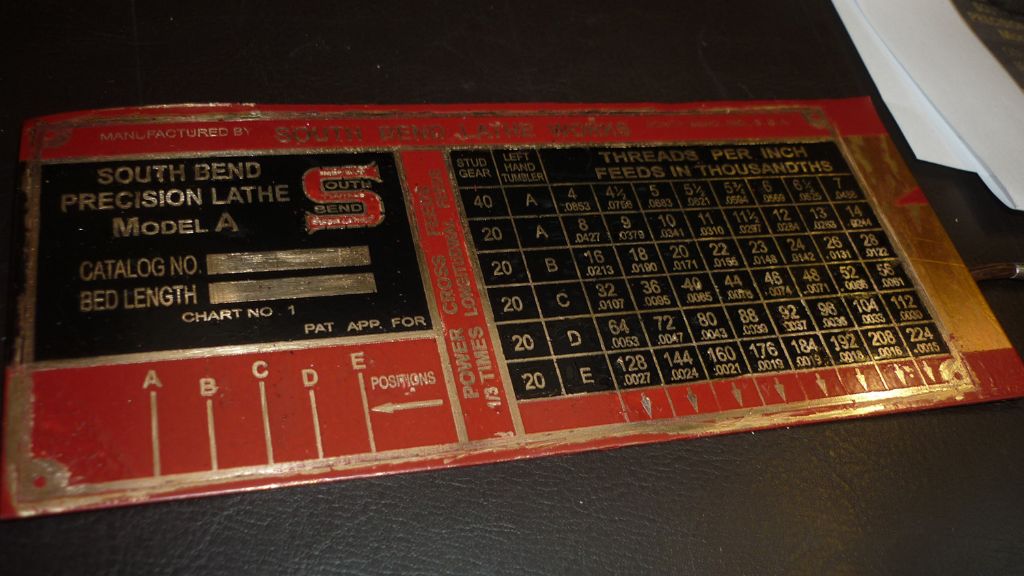
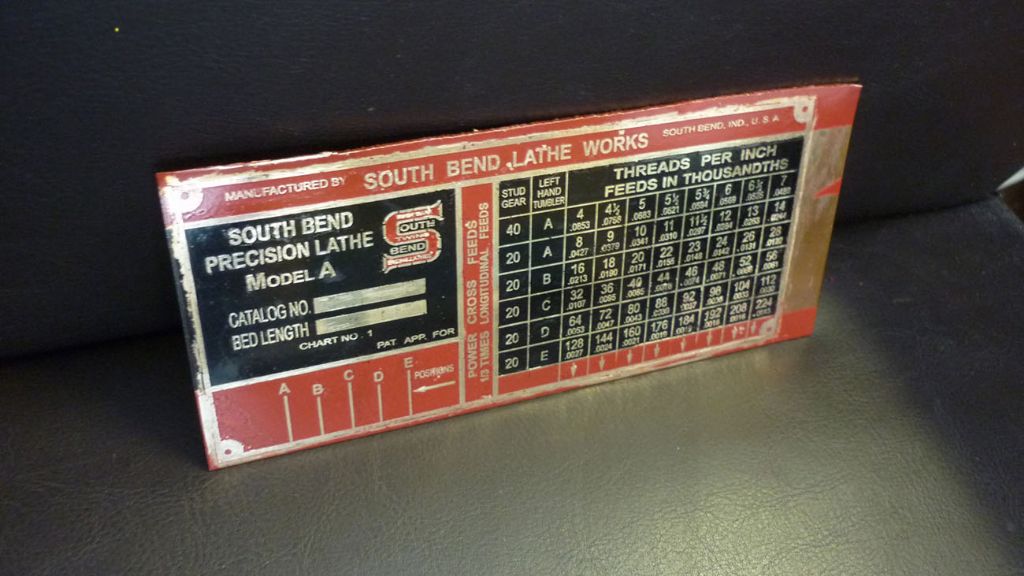
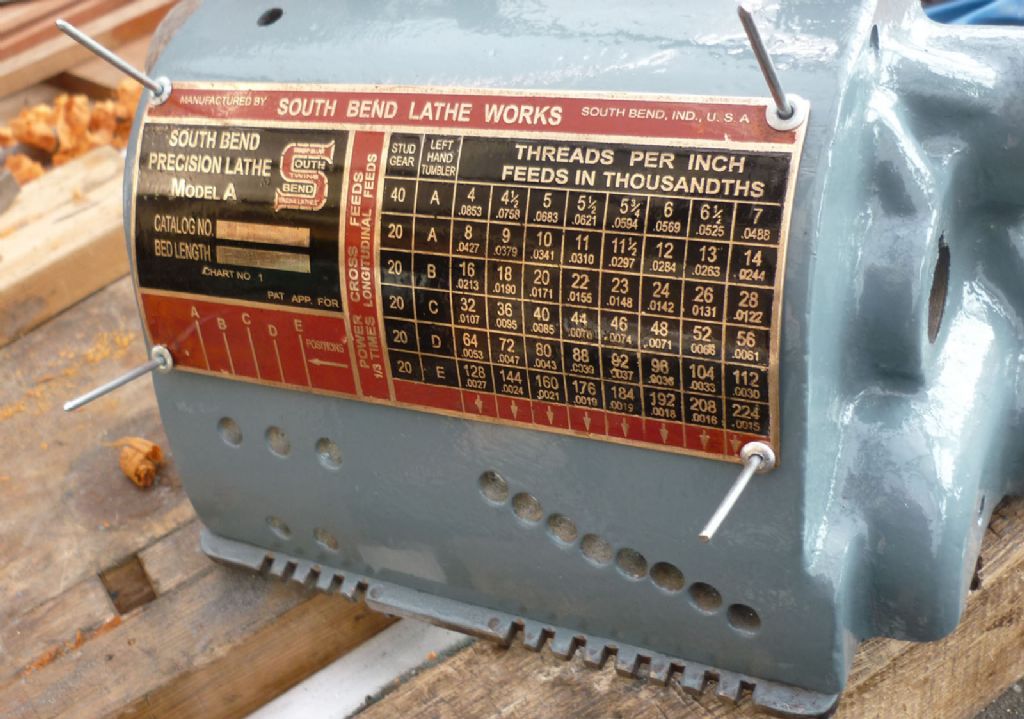
        heres some more photos, this plate was my very first attempt, using a used Samsung ML 1860 b/w laser printer i bought on ebay for a tenner. Still had the Samsung proper toner cartridge in which worked great!

        (but when i replaced the toner cartridge with a generic cheap replacement off ebay to do further plates ,it was rubbish,The toner wouldnt transfer properly using heat and was just crap, so anyone doing this be warned some toners don`t work with this method).

        The red and black enamel was just two tins of Rustoleum painters touch spray from Wilkinsons. In black and Balmoral red.**LINK**

        Because of the shallowness of the etch it was quite an ordeal to do. I masked off the main areas and sprayed them. Gave them a day to dry and then the hard bit carefully scraping off the paint from all the high spot (ie the letters/numbers,etc… It was almost impossible to not knock little bits of paint off here and there. I just touched it up with a very fine brush and a bit of spray paint sprayed onto a plastic yogurt lid.

        Once i thought it looked ok ,i painted the all thing with a couple of coats of clear acrylic lacquer that i had lying around. as said the hardest bit is removing the paint from the high spots . I di try abrasive paper on a glass plate on another plate i did with some success, again the depth of etch makes it difficult..

        p1250986.jpg

        p1260008.jpg

        p1260014.jpg

        p1260021.jpg

        #276423
        Roger Head
        Participant
          @rogerhead16992

          Thanks Mark. I was afraid the story was going to be something like that – plain blood, sweat, and tears. It must have taken an age for the scraping-back and touching up!

          +1 for talent and perseverance.

          You're right about toner variability. 15+ years ago, my Laserjet 4MP would produce the most solid black infills that you could ask for, and it was possible to create 6mil / 6mil trackwork interspersed with large power and ground areas. But it grew old and I eventually replaced it with a Brother 5350 – great for normal printing, terrible for pcb artwork. Apparently the toner that Brother use is different to the earlier toners (according to something I read in one of the pcb forums). Certainly it isn't a patch on the LJ4.

          Roger

          #276657
          RRMBK
          Participant
            @rrmbk

            Hi John.

            I made up a number of nameplates using the " press n peel " stuff mentioned in John Baguley's website . These were for makers nameplates for a small 2.5 Gauge loco but the definition turned out fine and once the background was painted and the upstand polished, really looked good. There are a number of tricks to getting the photo etch film clearly defined without smudging but once you get the hang of it i suggest the process is very effective. Instead of ironing the film on as many suggest I placed the brass on the iron with the film fixed on top and used a wooden wallpaper seam roller to impress the image on the plate. Also warming and agitating the Ferric solution helps. Think gentle warmth ( airing cupboard top of cylinder ) and an aquarium air pump for example. Its a slow process, a good etch takes a few days, but in my experience the end result is well worth it. Hope this helps.

            Kind regards

            BK.

          Viewing 4 posts - 26 through 29 (of 29 total)
          • Please log in to reply to this topic. Registering is free and easy using the links on the menu at the top of this page.

          Advert

          Latest Replies

          Home Forums Beginners questions Topics

          Viewing 25 topics - 1 through 25 (of 25 total)
          Viewing 25 topics - 1 through 25 (of 25 total)

          View full reply list.

          Advert

          Newsletter Sign-up