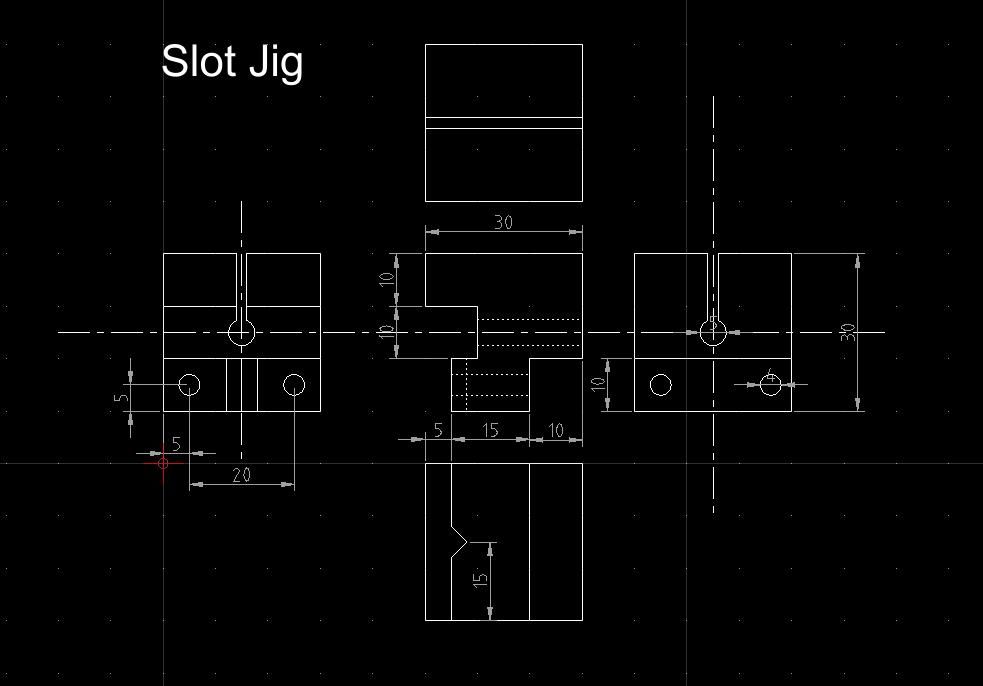
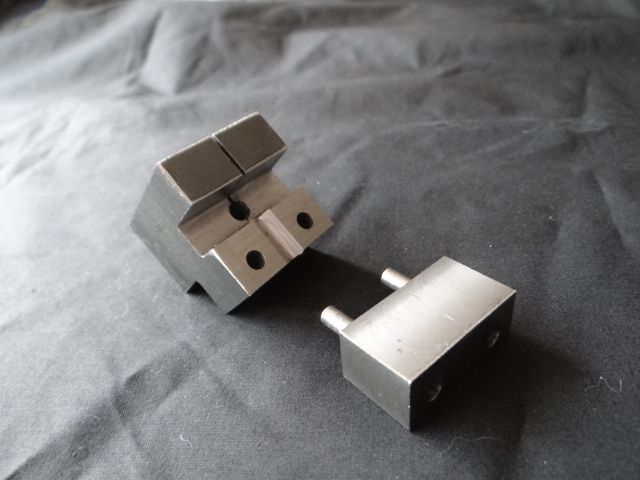
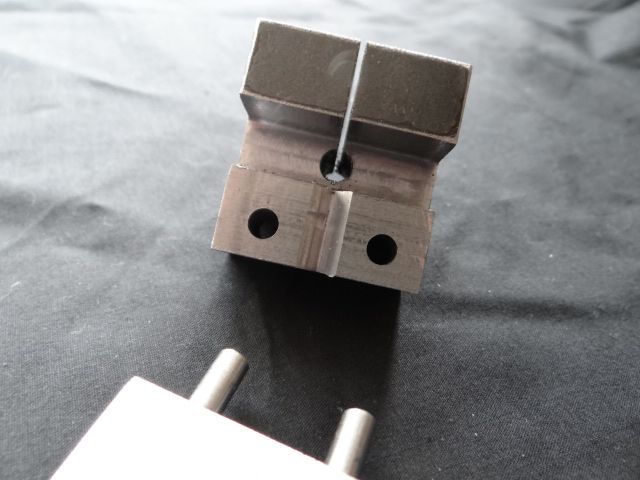
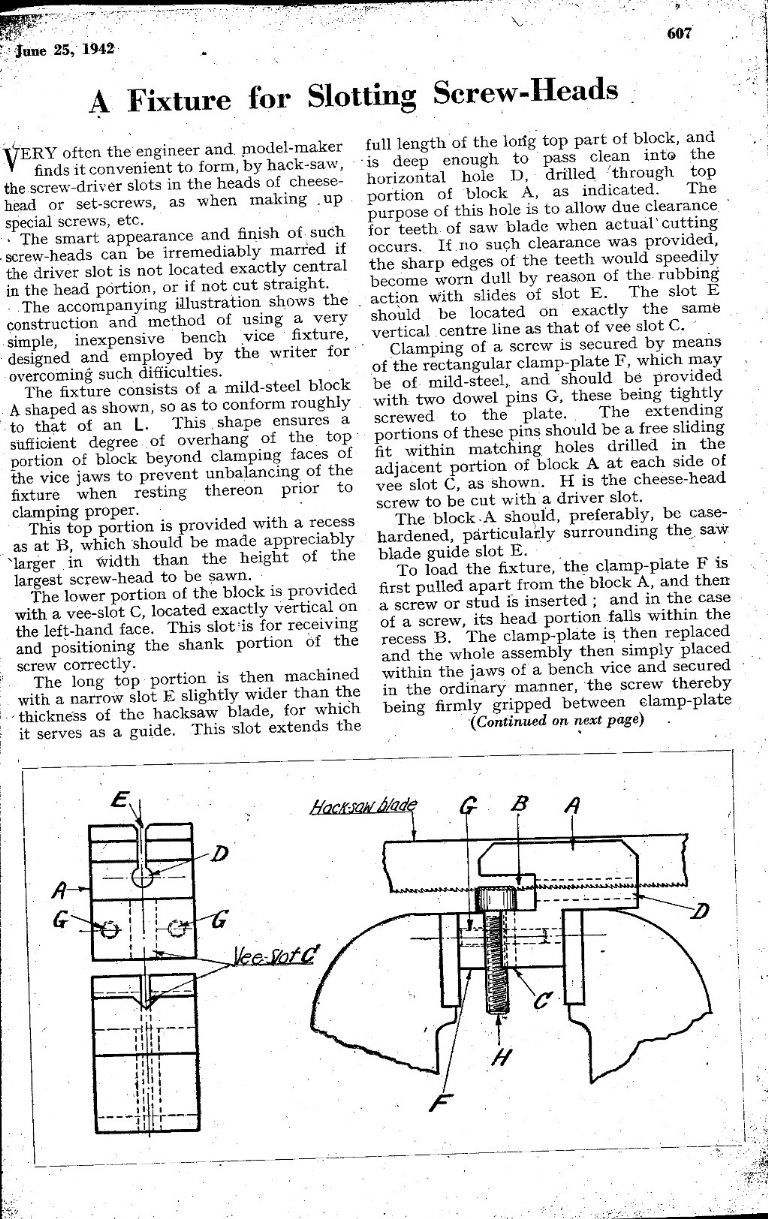
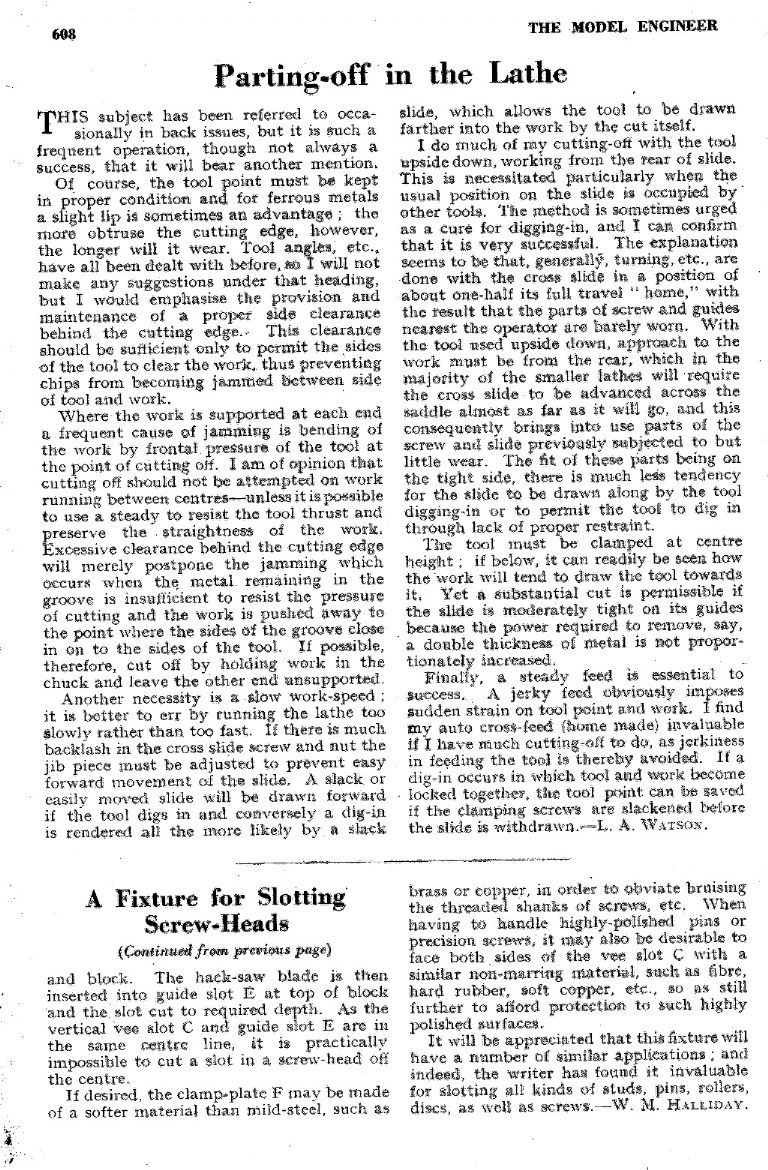
I'm pleased to report that the jig now works to my satisfaction. Not perfect but 'good enough'.
Inspired by Hopper, I started by checking if it was possible to centralise the cut by twisting the blade in the guide slot. By twisting hard the maximum play at the bottom of the Guide Slot is about 1.5mm, which was just enough to hit screw-head centre at one extreme. No easy solution there unfortunately. For the same 'bends the blade too much' reason I didn't try Steve's adjusting screw idea.
Then I picked up on HowardT and Bandersnatch's idea, but reversed it by trying to locate the correct position of the Vee from the Guide Slot. This isn't easy because the work has to be rotated to cut the Vee and all the references move.
Before cutting a new Vee I followed Tim's suggestion and restored sanity by skimming down the misplaced over-deep Vee.
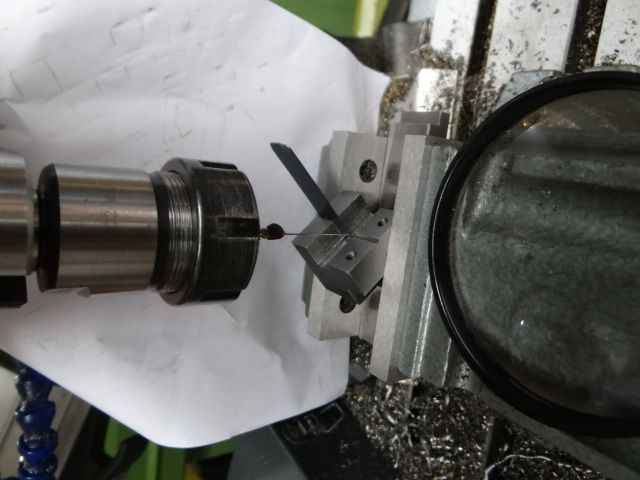
Then, by putting some shim in the Guide Slot with the work rotated I was able to physically locate Vee centre with a wiggler pin stuck to the end-mill. A magnifying glass helped.

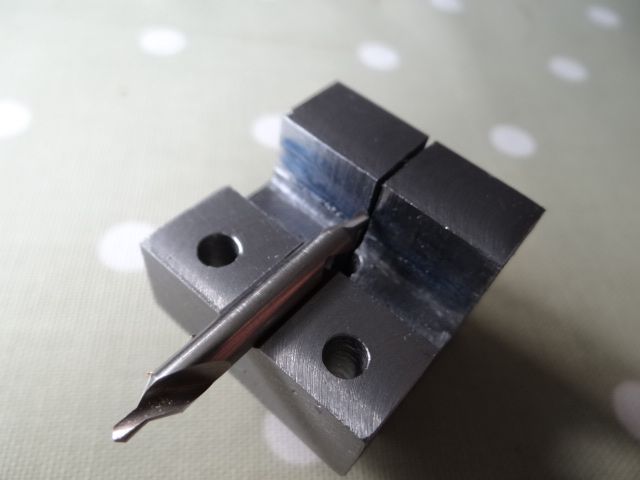
With a 4mm end-mill the point of the Vee should be correctly centred when the end-mill is 4mm deep. I went in 3.5mm and then, without moving the work, I tested the Vee's alignment to the Guide Slot with a Centre Drill (i.e a rod with a pointed end!)
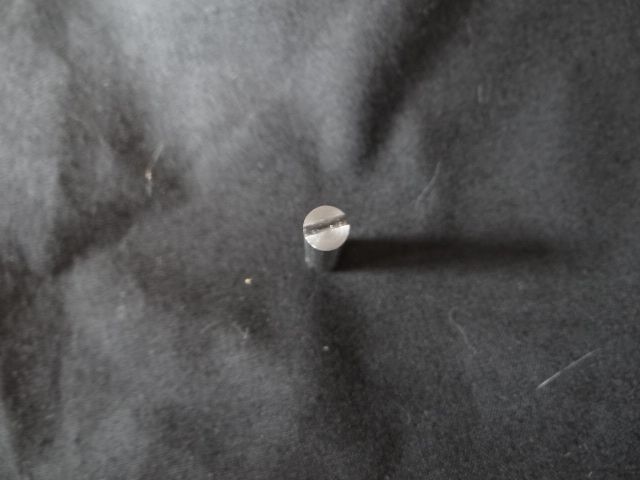
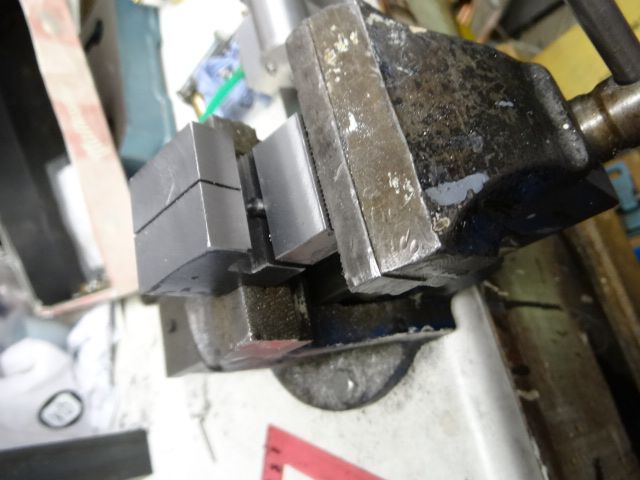
Alignment was off by about a millimetre, so I took the cut down to 3.9mm and tried again. The Centre Drill test showed that this was closer. but I still needed to go deeper. In the end I deepened the cut four times by 0.1mm before the Centre Drill looked right. (I couldn't get a decent photo of this test being done in the mill but next picture shows what I did.)

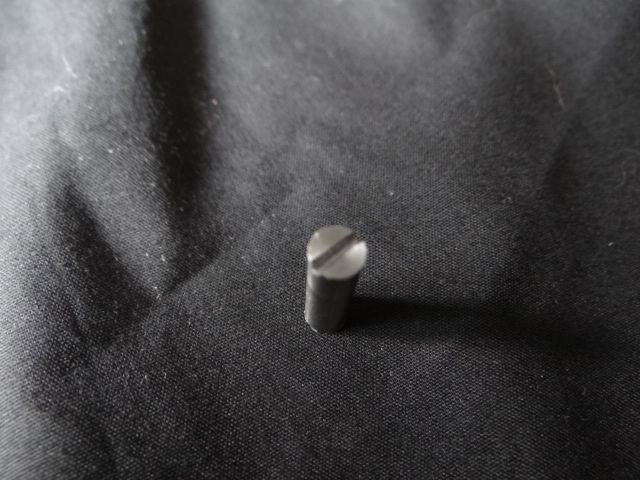
The moment of truth:

Bingo:

So, root-cause analysis time.
I made the jig from Black Mild Steel bar stock in the belief that the body was 'square enough'. It's actually slightly out, which put the Vee and the Guide Slot off reference. The error happens to be accumulative and was further compounded by the way I marked the job out. Not squaring the metal off properly was a mistake!
My first attempt at cutting the Vee had me removing the work from the mill-vice every time I checked the alignment. I now think this was a bad mistake – an improperly squared job tilted at an angle, being repeatedly removed and replaced to check the effect of shaving metal from one side only of the Vee. It's not unlikely that metal was accidentally removed from the wrong side of the Vee as well due to reset errors.
I also failed to think about the best way of locating the Vee relative to the Guide Slot before starting work. If I was doing it again I'd do it the other way round
Very many thanks for all your excellent help and suggestions. I may well incorporate some of them in a more carefully made Mark 2 version.
Cheers,
Dave
SillyOldDuffer.


